Alien Sky – iPhone Photography Tutorial
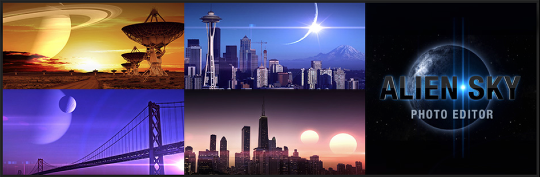
There’s a new kid on the block from BrainFeverMedia, the developers of LensLight and LensFlare….Alien Sky. With this app one can, as the makers put it, “…create fantastic and futuristic visions…” through the use of the app’s collection of space objects and lens flares. The interface of Alien Sky is just like LensLight and LensFlare so if you are familiar with these, than using Alien Sky will be fairly straightforward. What I would like to do in this tutorial is to give you a quick introduction of how this app works…and then show you how I built my own otherworldly image. So let’s begin…
If you haven’t yet picked up this app, you can do so here. It retails for $0.99/£0.69/download here.
Step 1
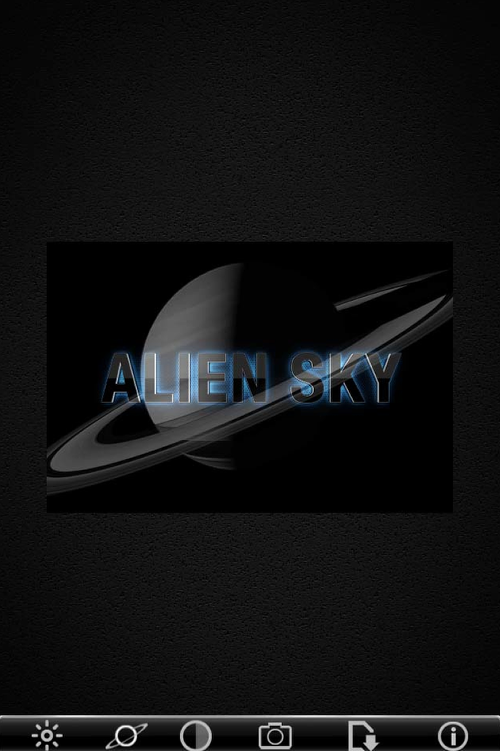
When you open Alien Sky in your iPhone, you have the choice of working it from a vertical or portrait position…
Step 2
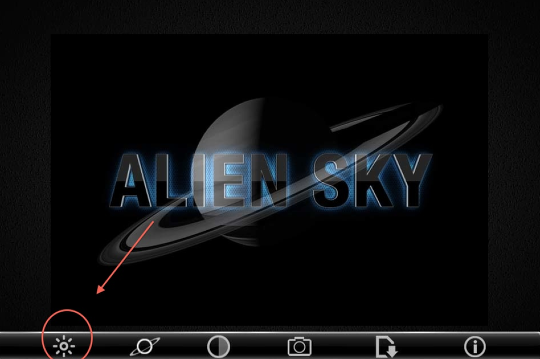
…or from a horizontal or landscape position. I would recommend using the app in the horizontal position, as this will give you more of a working surface.
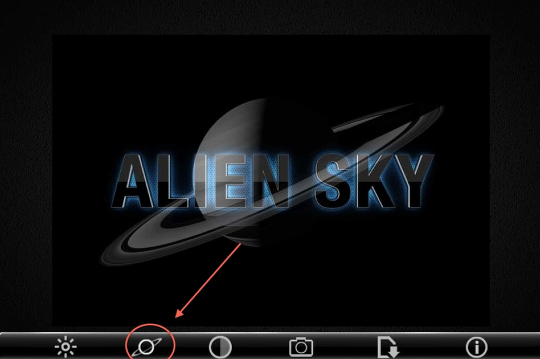
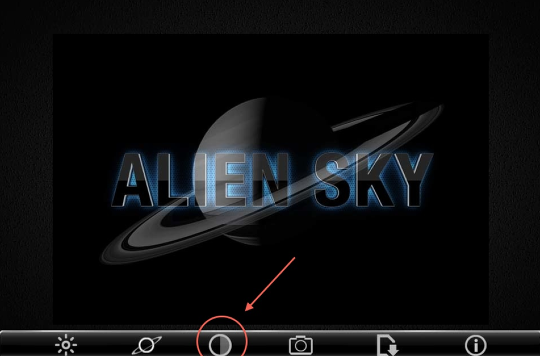
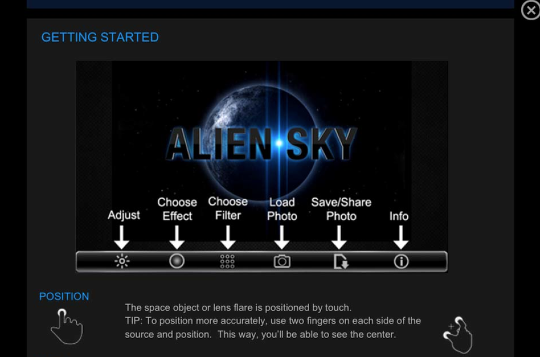
Okay…let’s do a quick tour of the controls. The first one I want to talk about is the color and brightness control pop-up panel, which you activate by clicking on the gear symbol.
Step 3
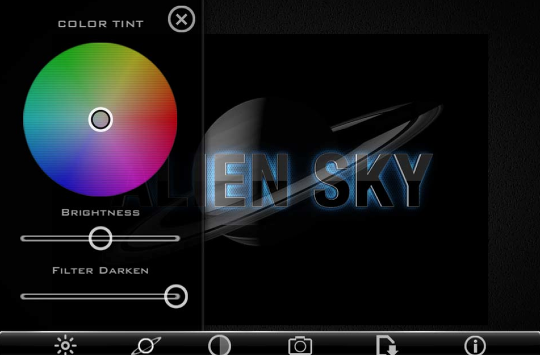
In this pop-up window, you can control the color tint of the space objects and flares as well as the brightness of these. Once you have applied a filter, the bottom slider bar will allow you to control the brightness of this. (You can’t control the size or rotation of any object…to do that you’ll have to touch and pinch the screen.) Oh…do you see how much of the screen this pop-up panel takes up? This is one of my pet peeves with this app as it blocks out what you’re trying to adjust. There’s an easy enough way around this…which I’ll show in a bit.
Step 4
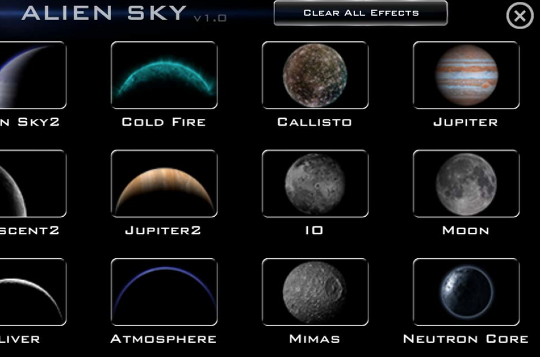
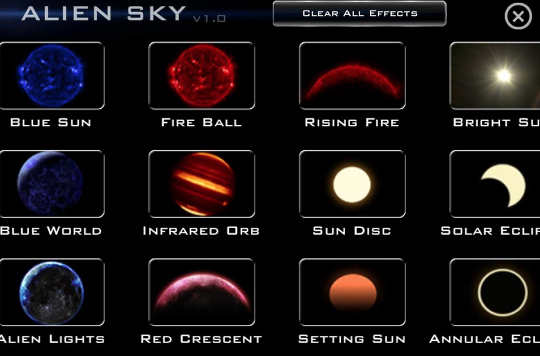
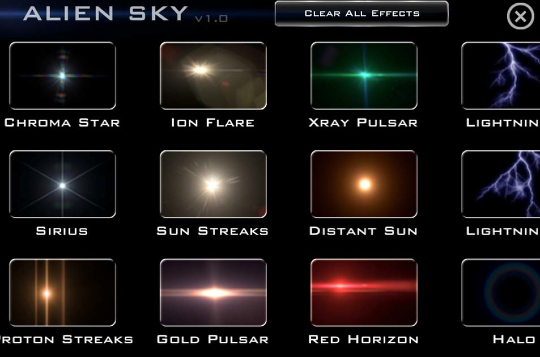
The next control will bring up the space objects and flares! So…click on this and the selection panel will open.
Step 5
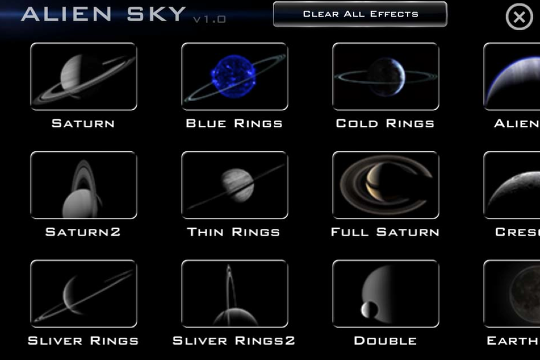
The next couple of screen shots will give you an idea of what’s available. Quite a bit actually!!

Step 6
Now let’s take a look at the filters…
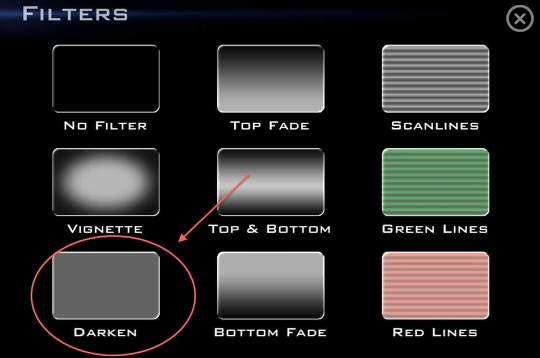
Step 7
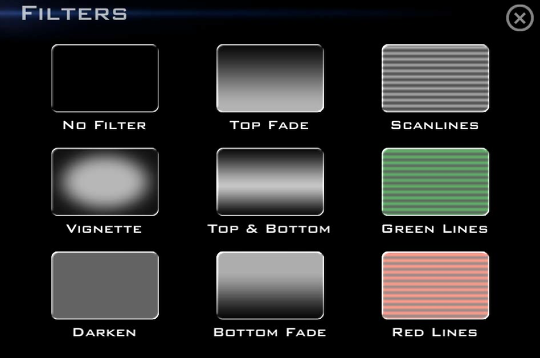
The default setting seems to be “No Filter” so if you want to use a filter to help set the mood of your image, you’ll have to come here and pick one of the nine.
Step 8
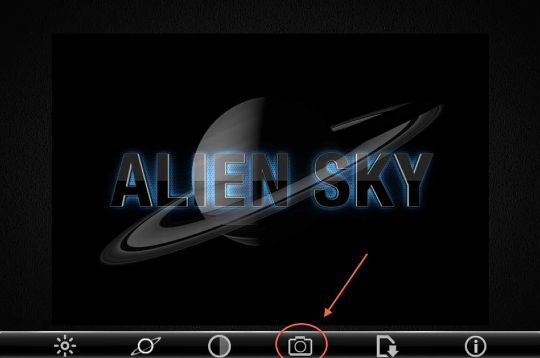
The next control is used to bring an image into Alien Sky….
Step 9
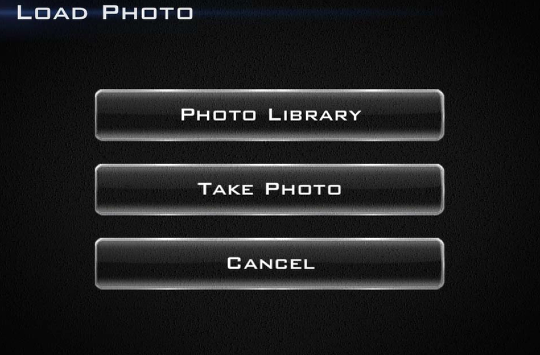
You can either import an image from your Photo Library or use your device’s camera.
Step 10
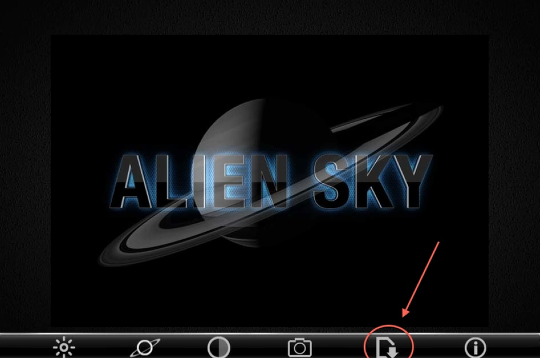
This tab activates the screen that allows you to save/render your image….
Step 11
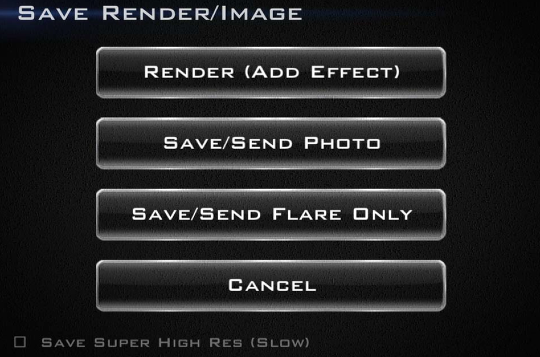
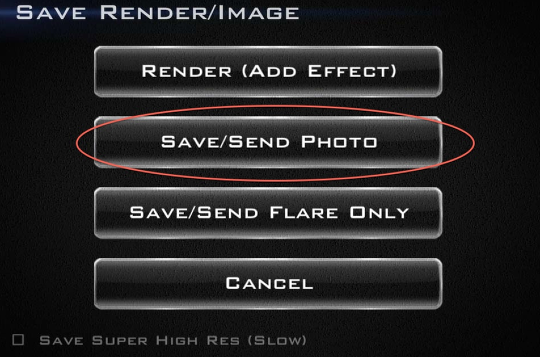
The top button is used when you want to use more than one space object or filter while creating your image. You’ll need to come to this screen and click on this button each time.
The second button will let you save and/or send your image to different apps. The third button let’s you save/send just the flare combo you built…leaving the base image behind. This is a cool feature!
Step 12
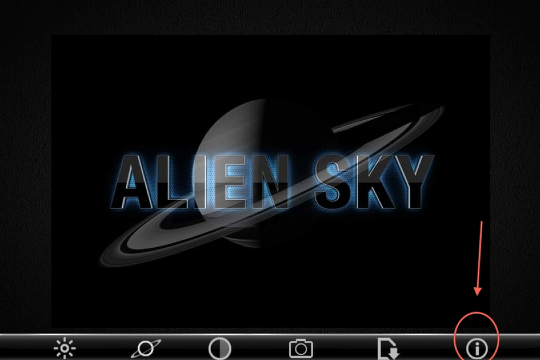
The final tab opens the info screen….
Sep 13
You’ll also find a short tutorial on the app in this screen as well. Okay! That finishes up my quick tour…time to show you how I used it to create my image, “Beyond”.
Let’s get started!
Step 14
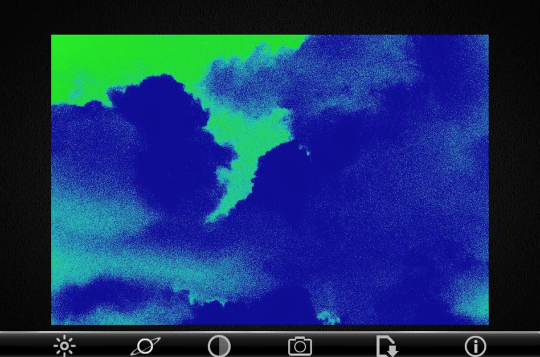
The first thing I did was to build my “base” image in FX Photo Studio. This started out as a stock photo of clouds that I had shot sometime ago…to which I applied various FX Photo Studio filters…
Step 15
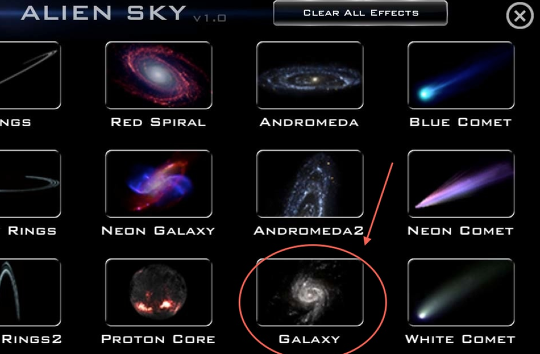
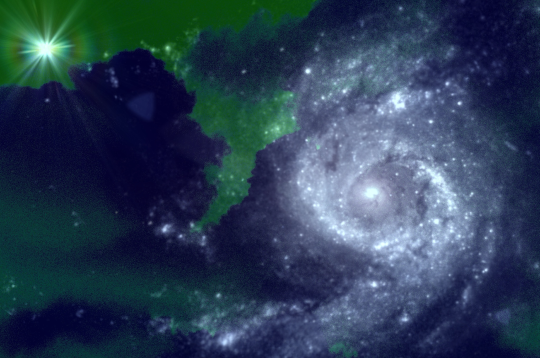
Moving to the space objects panel, I chose “Galaxy”…
Step 16
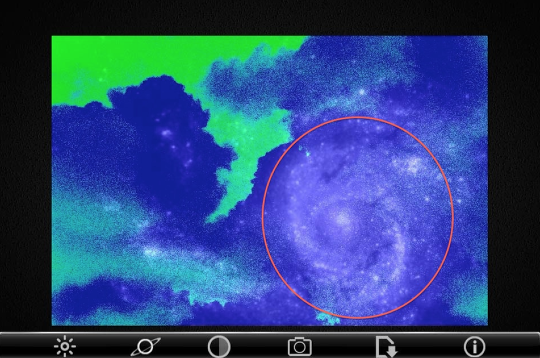
Using the usual two-finger “pinch and spread”, I adjusted the size, rotation, and position of “Galaxy”.
Step 17
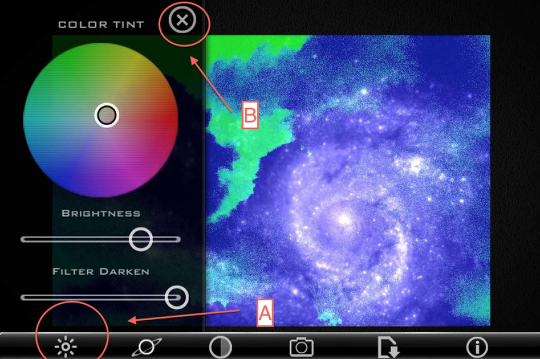
Activating the “Light” control panel, I used the Color Tint wheel and Brightness slider bar to adjust these two features. Since the control panel blocks out half the screen, you have to turn it off using the (B), take a look at what you’ve done, reactivate the panel using (A)…and so forth until you’re happy.
Step 18

Done with “Galaxy”, I went to the Save/Render screen and clicked on the top button. This saved my image and reopens it so I can add another object. (Note: After you’ve done this, you can no longer change anything about the other objects.)
Step 19
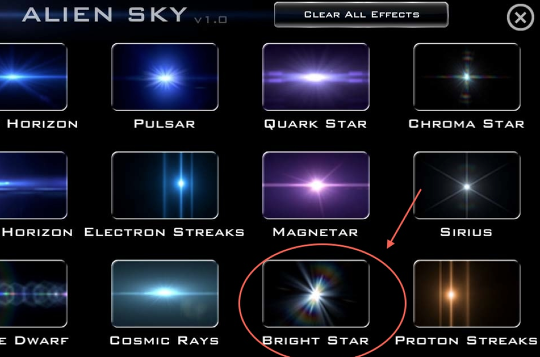
Again, going to the object menu, I chose “Bright Star”.
Step 20
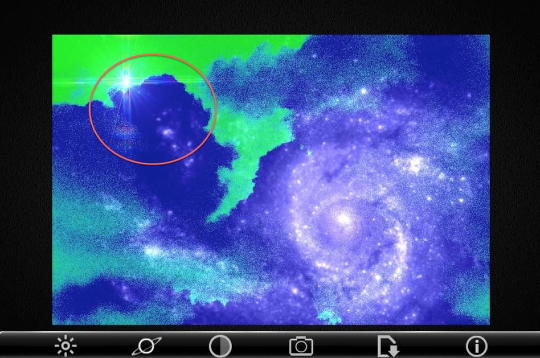
And…like with the first object, I positioned and sized “Bright Star”…
Step 21
…following this up with adjusting it’s color and brightness. I then went to the save/render screen and saved the image as I did above.
Step 22

Time to add a filter to bring it all together…
Step 23
After trying out several of these, I decided to go with “Darken”.
Step 24
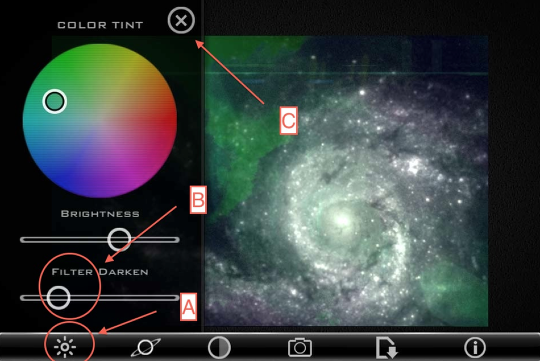
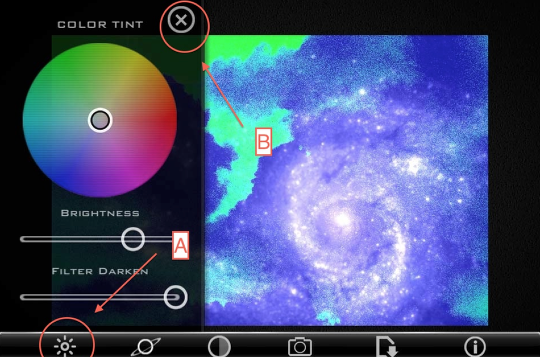
Going back to the “Light” control panel, I used the “Filter Darken” slider bar (B)…and clicking on/off (A) and (C)…until I was happy.
Step 25
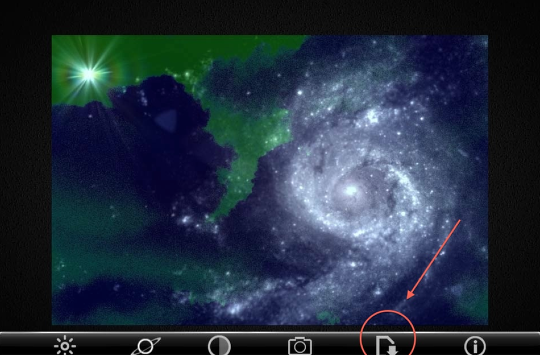
Done! Time to save!! So I clicked on the “Save” button…
Step 26
Clicked on the Save/Send button…
Step 27
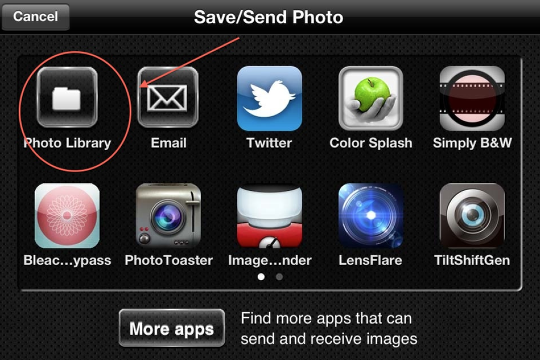
…and clicked on the “Photo Library” button to save to my camera roll. It is also in this screen that you can send your image to another app for further processing.
All in all, I found that I like working with this app given its compliment of “space objects” which makes Alien Sky a great companion app to LensFlare and LensLight. I think my only grip is the fact that the “Light” control panel blocks half the working screen…but even this is easy to work around. I’d say…give this app a try!!
I hope you enjoyed my review and tutorial. I would appreciate any comments and/or feedback…even questions you might have. Thanks in advance!!
Final Image
I hope you enjoyed my review and tutorial. I would appreciate any comments and/or feedback…even questions you might have. Thanks in advance!!
David Hayes
David is Head of Technical Tutorials here at theappwhisperer.com and this role adds to the many things David has done in his life…some of which he considers more significant than others. Yet, he feels all have made him the artist he is today. He’s been a cook at a truck stop, a janitor at a military base, worked in advertising, been a banker managing other people’s money, and an elementary school teacher. Trained as a photographer as an undergrad, he’s recently returned to these roots and now considers himself foremost a photographer and secondly a mixed media artist. You can find David’s work on many other popular websites including his own: http://www.clearerreflections.com.

7 Comments
Robert Lancaster
WOW! I really like the images produced. Great stuff!
Outstanding tutorial.
Missed out on a promo code for this marvelous app … so come on winning lottery ticket … Robert needs a new app! 🙂
Kim Martino
As I expected, David. Excellent tute!! Thank you:))
David
Thanks Robert! I’m glad you like the tutorial…and go ahead spring for the app…it’s worth it!! (o:
David
Thanks Kim! I appreciate this!!!
Carol
I’m already using Alien Sky on your recommendation, Dave, but this tutorial has really made it much clearer for me. Your end result is stunning, and your tutorial is easy to follow. Congratulations!
David
Thank you so much, Carol! I’m glad you liked it!!
Pingback: