Olloclip Tutorial – Creating A Stunning Macro Flower Image, Using An Olloclip
The Olloclip lens system consists of three lenses. A wide-angle, fish-eye and a macro lens. The macro lens magnifies your image roughly around ten times. It allows you to get close to focus on your subjects with your iPhone, usually within 12 to 15 mm of your subject.
With the Olloclip macro lens I had to learn how close to get to my subject in practice and when to back up. Initially, I tended to get in very close to my subject and then have to back up to get some kind of focus. It does help to have your iPhone on some kind of tripod/support to keep your hand steady. It also helps to determine what area you want in focus beforehand. The rest will blur out. With some practice and patience the Olloclip macro can give you some wonderful images.
In this tutorial I take you through the steps to create a wonderful macro flower image.

Step 1

This is my original shot, I took this with the Olloclip Macro lens attached to my iPhone 4.
Step 2
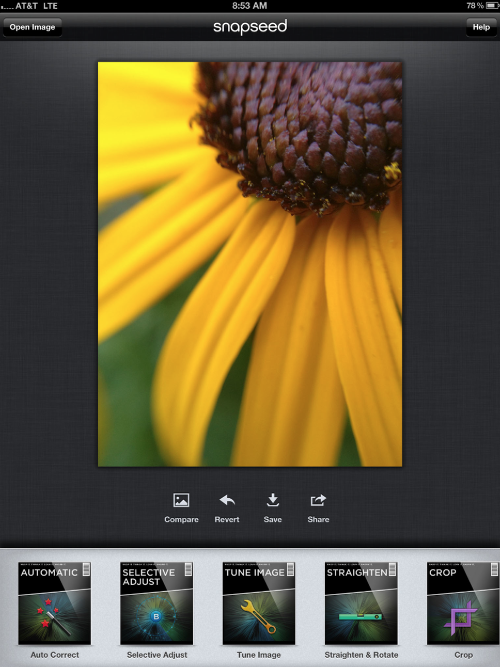
After I had taken the shot using the Olloclip macro lens, I opened the image in Snapseed. For me, this is where I normally start my apping.
Step 3
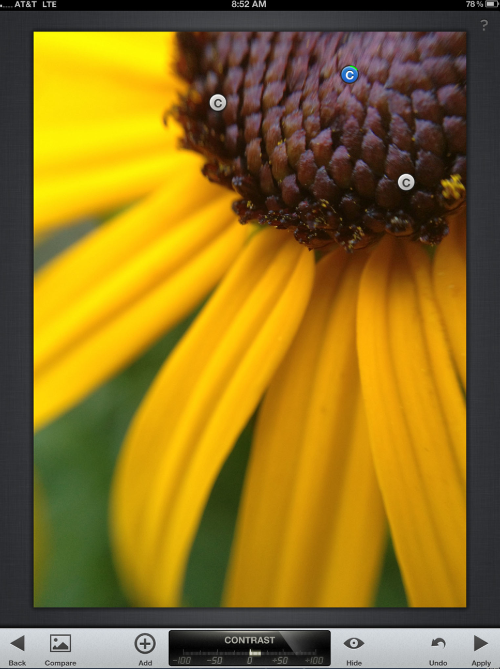
Within Snapseed I opened up ‘Selective Adjust’. Selective adjust let you modify only the selected areas you want to change and not the whole image.
Click on the + symbol (bottom) to activate and place your point where you want change. As you are placing the point a pop out will show the area you are in. To expand or detract that area use your fingers to make bigger or smaller. Every point you place on the image has 3 options- brightness B, contrast C, saturation S.
Use your finger or stylus to swipe up or down on image to get to these options. In this image I only used the Contrast option.
Step 4
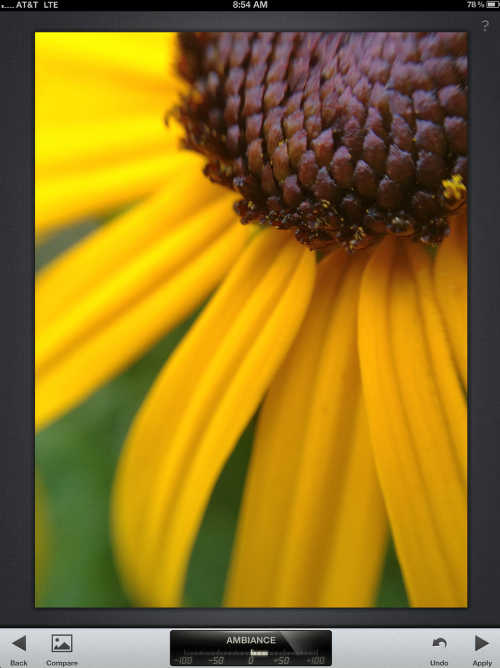
I then selected ‘Tune Image’ whilst still in Snapseed, use either your finger or stylus and swipe up or down for the options. Here, I chose Ambiance, this brings out the shadows and gives a bit of warmth to an image.
Step 5
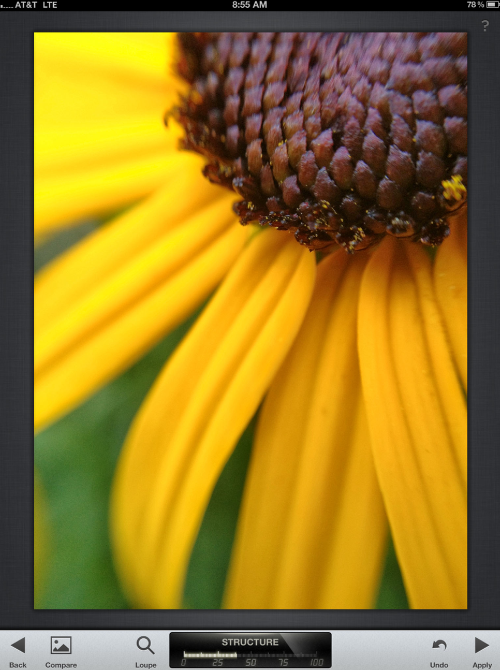
I then selected ‘Details’, as you can choose either sharpening or structure by swiping your finger on an image. I selected ‘structure’ as this helps in bringing out the details in the seed head.
Step 6
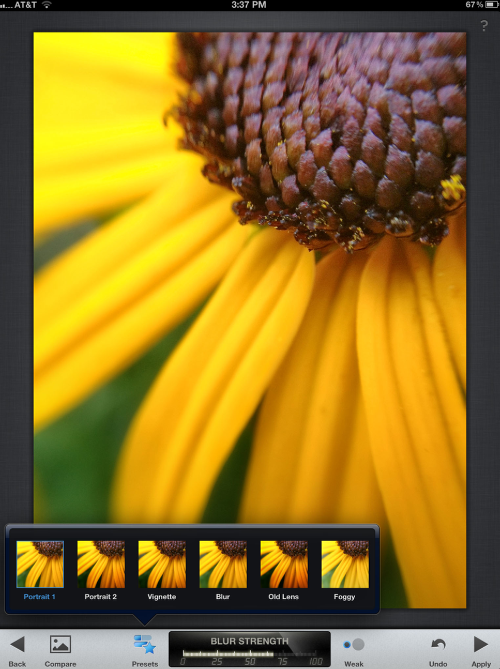
Center Focus is a great way to gently stylize an image. At the bottom of the page you can see the different preset options. To get to the presents just click on bottom of page where the star symbol is. For this image, I chose the Portrait 1 preset. By default the center focus will show on your image with a blue dot and will be in the center. If the exact center is not where you want the focus to be, you can tap the blue dot and move it and also make the circle of focus larger or smaller by using the pinch method. If the blue dot vanishes, just tap in the center and it will reappear.
Step 7
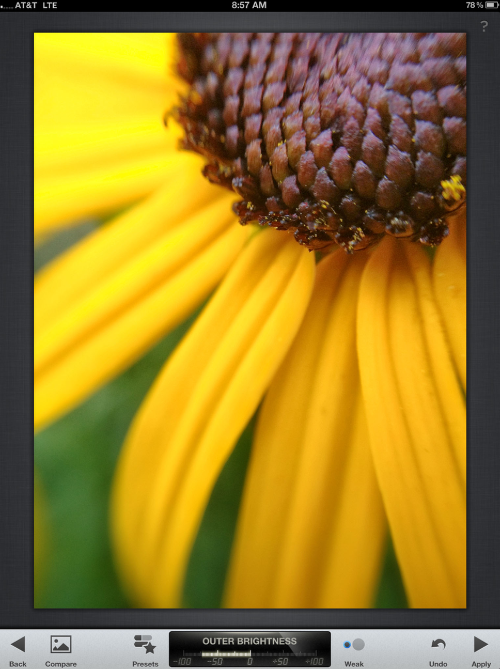
With each preset there are 3 other options to use, to really make this your own preset. Swipe up/down on an image,
Blur strength
Outer brightness
Inner brightness
Step 8
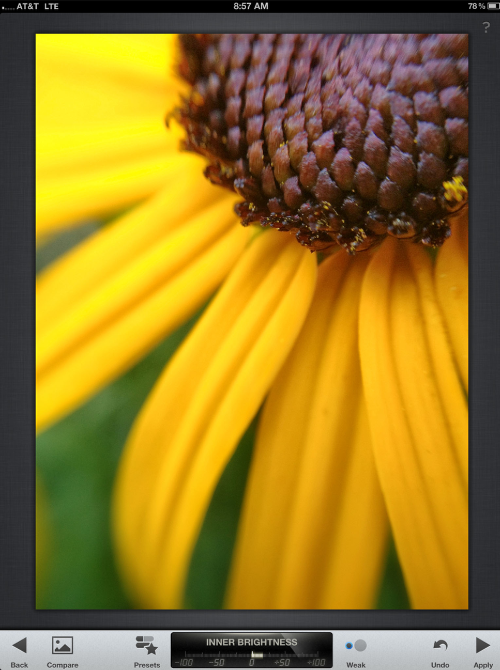
In this image I have used all three of the options.
Step 9

Here is the result of the changes made with the Olloclip macro lens and the Snapseed app. To me, it looks great without doing any other work, but I still wanted to get a different look. So I continue…..
Step 10
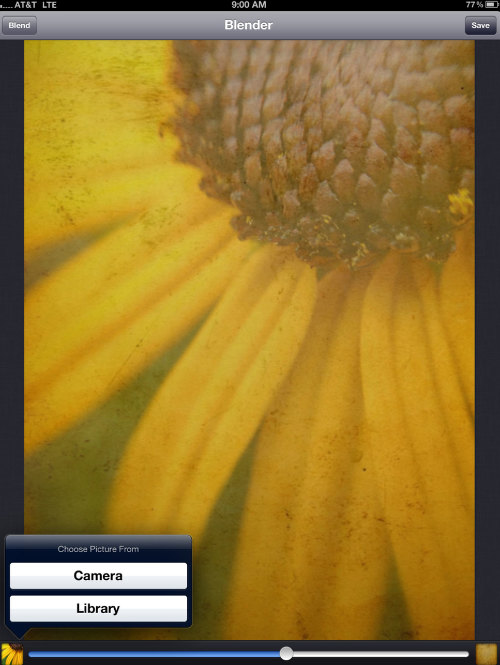
I wanted to blend two images together, the saved Snapseed version and a texture. I keep a separate folder of textures that I use. I opened the images in Image Blender, in the blend option (top), I normally go though most of the blend types to see the look I want.
Step 11
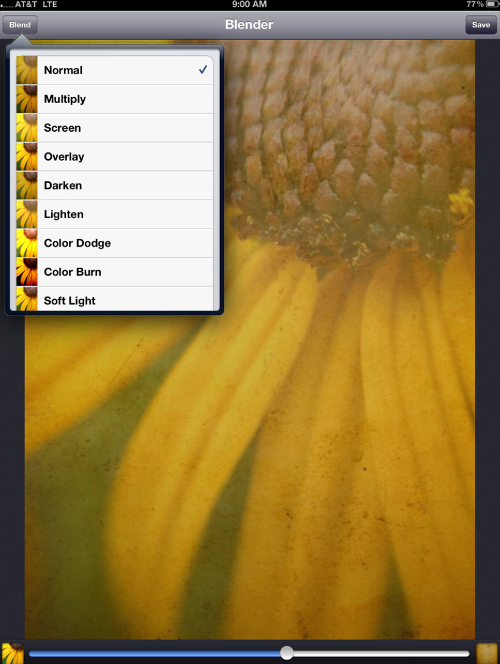
In this instance, I chose the Normal blend mode and played around with the slider (bottom). At this point I knew I needed to do some Masking of this effect on the seed head.
Step 12
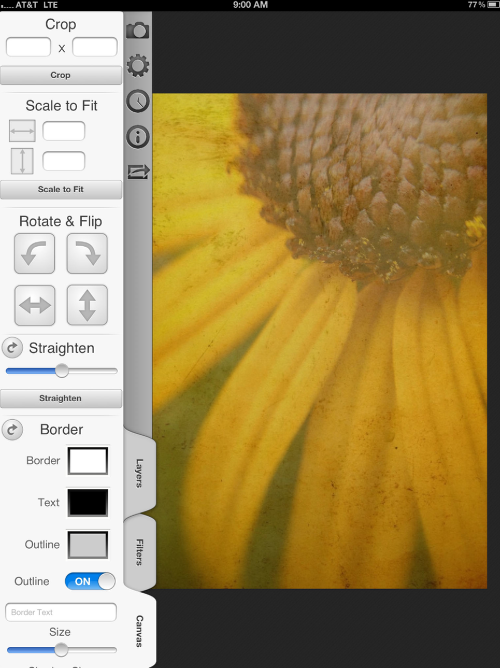
My preference for masking is in Filterstorm. Open the saved version from Image Blender.
Step 13

Go to Filters- Add Exposure.
Step 14
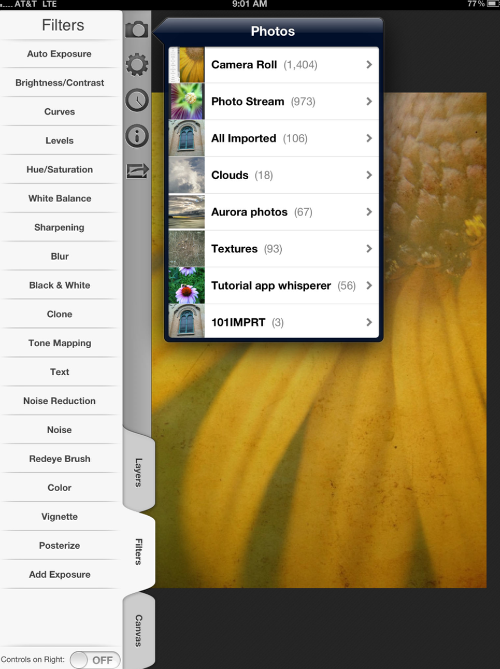
Adding Exposure will bring up your photos. For the second image I chose the saved Snapseed version.
Step 15
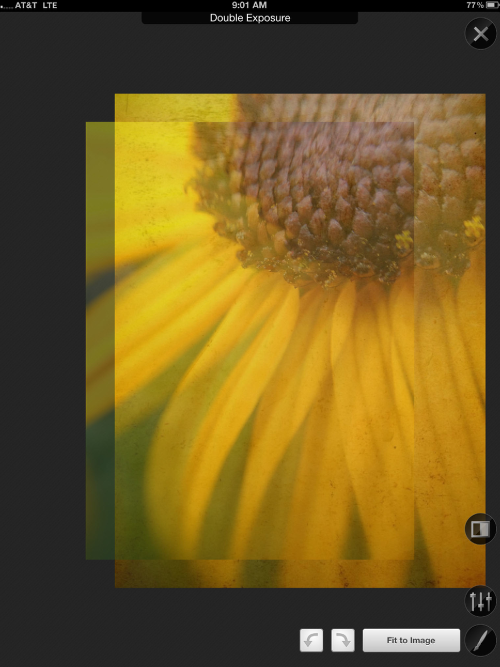
When the second image is brought in you need to select “Fit to Image” (bottom).
Step 16
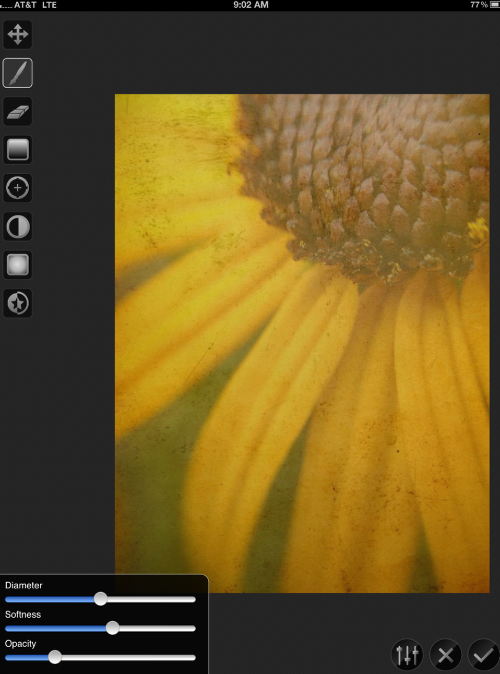
Select the brush symbol and then the Diameter of brush, softness and opacity. I normally will start out with a low opacity and build it up if necessary. To see what you have masked, choose the 3 bars (right bottom). Masking view comes up and you have two options.
Step 17

When you are done, hit the Check Mark symbol (bottom).
Step 18
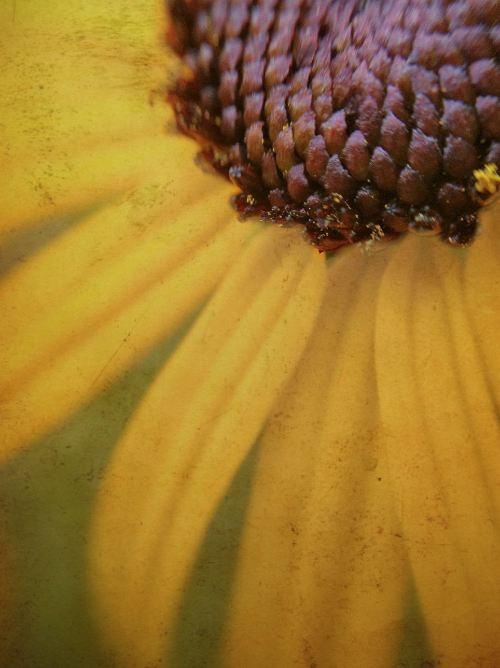
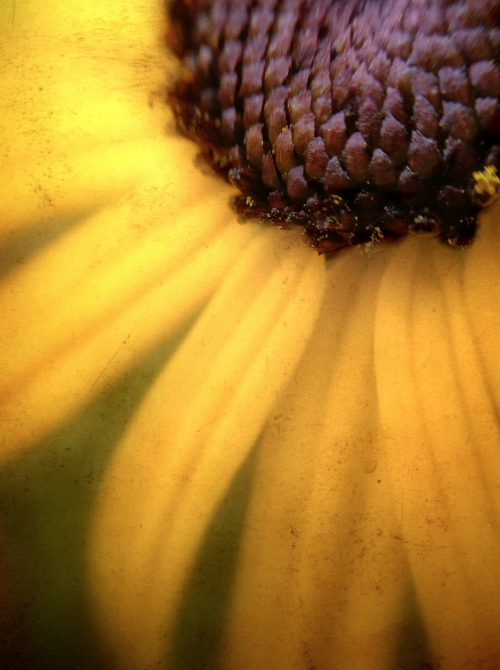
This is the result at this stage. I saved this Filterstorm image.
Step 19

I then opened the image in Photo FX Ultra in order to put more light effects on the flower. I selected Light- Halo- Halo 1. This made the seed head too dark but otherwise I liked the effect. I then selected the brush (top), which brings up another screen.
Step 20
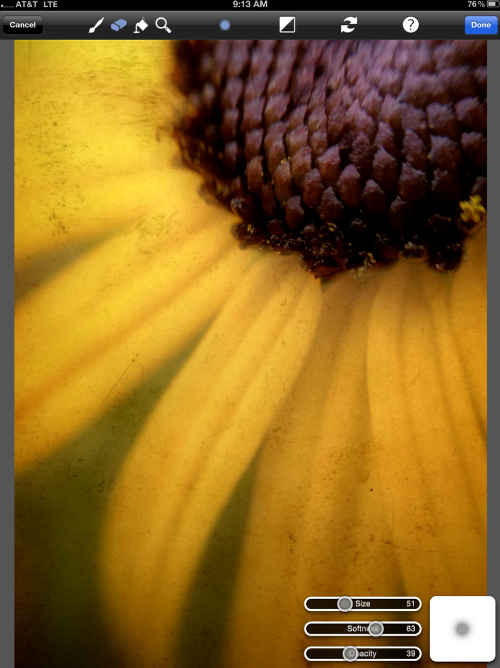
Next I selected the eraser, then brush size, softness and opacity. Finally, click on Paint and then select Done and you are back on the main screen.
Step 21
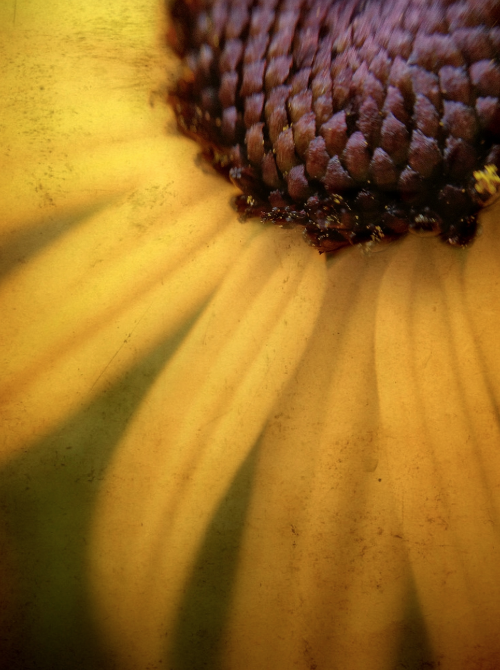
This is the result at this stage.
Step 22
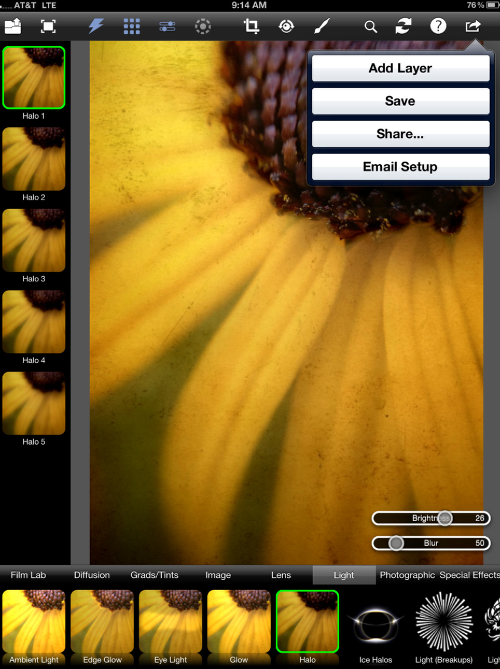
Back in the Main screen, I selected the save symbol(top right), it will give you the following options, Add Layer, Save, Share or Email Setup.
Step 23
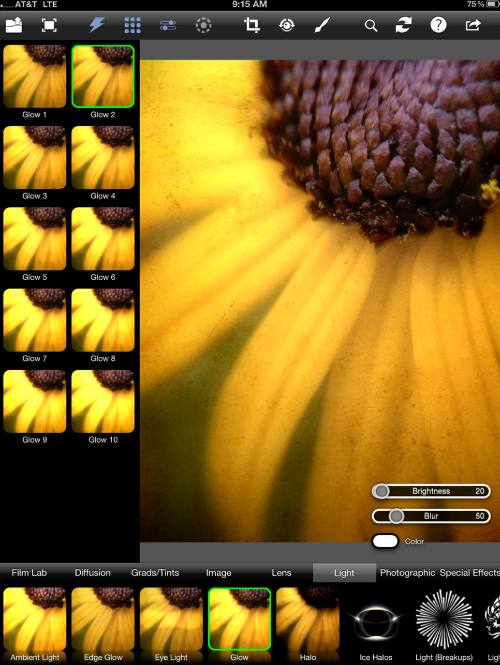
I selected Add Layer for one more effect. For the next layer, I chose Light- Glow- Glow2. I then selected Save.
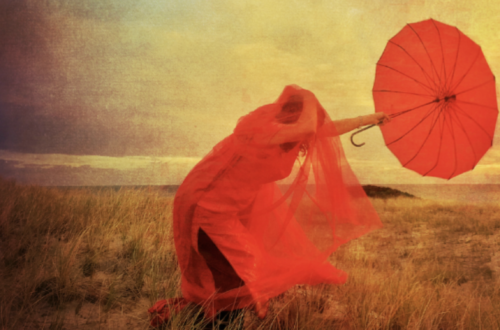
Final Image
This is my final image, none of this would of been possible without the use of the Olloclip macro lens. I have created a unique macro image that is stunning to view and totally different to my original image. I am thoroughly pleased.
Irene Oleksiuk
Irene Oleksiuk was born and raised in Chicago and now lives about 40 miles from the city, in a country setting where she feels she belongs. In 2001 Irene signed up at the Morton Arboretum and started working on her Nature photography certificate. She loved it and met some great people. Since she purchased an iPhone her photography has really taken off. Irene contributes to Pixels/the art of iPhoneography and combined with the help of Knox Bronson (Pixels), Irene’s images have been show in galleries across California.


4 Comments
David
Great tutorial, Irene!! Love your final image!!!
Irene Oleksiuk
Thank you David!
Carlton Stith
This is a very nice edit Irene. I really appreciated the inclusion of Filterstorm in your process. I would like to see you do a tutorial on Filterstorm some time in the future.
Irene Oleksiuk
Thank you Carlton for the nice comment! I would love to do a Filterstorm tutorial, have to see what Joanne has in mind.