BlurFX – Tutorial – Using Blur To Improve Your Mobile Images
Recently we published two similar articles by our Columnist ItalianBrother aka Dilshad Corleone, in the first one he used the app Big Lens, in the second he used After Focus. This time Dilshad takes us through the paces of using a similar technique with BlurFX. Over to you Dilshad (foreword by Joanne Carter).
A few days ago I was having a lovely conversation with my very good IG friend Ian Garrington (@iangarrington on Instagram), about the various blurring apps that one can find around. At one point he said something that made me come up with an idea, one of those moments when a light-bulb lights up over your head…
So here it is, the third of of three tutorials of my very favorite blurring apps. BlurFx is quite a different ball game, it’s like playing in a major league! When you first open BlurFx, it will almost seem as you have entered the cockpit of an airplane: it’s full of commands and buttons and bars… Contrary to the other two, you don’t have a pre selection page, but you are directly thrown into the main app.
I really hoping that this tutorial inspires you. If you would like to BlurFX, it retails for $0.99/£0.69 and you can download it here.
Step 1
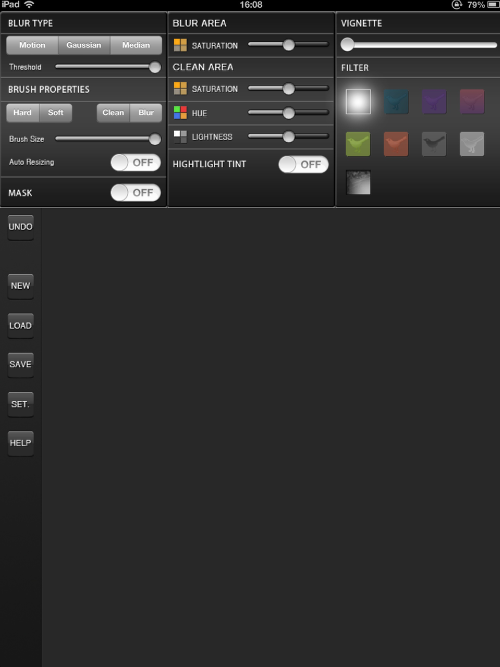
On the mid bottom left hand side you have a column with six different commands: Undo, New, Load, Save, Set and Help. The Undo can come in handy if you want to revert your changes. New, serves to load a new image, which we will do in a bit. Load, is quite the best command around, for it allows you to load an image that you were working on or have worked before, and it loads it up exactly where you had left it with all the masking and changes that you had done to that image. Save, well, saves your image where you want to be saved. And the last two are quite self-explanatory.
Step 2
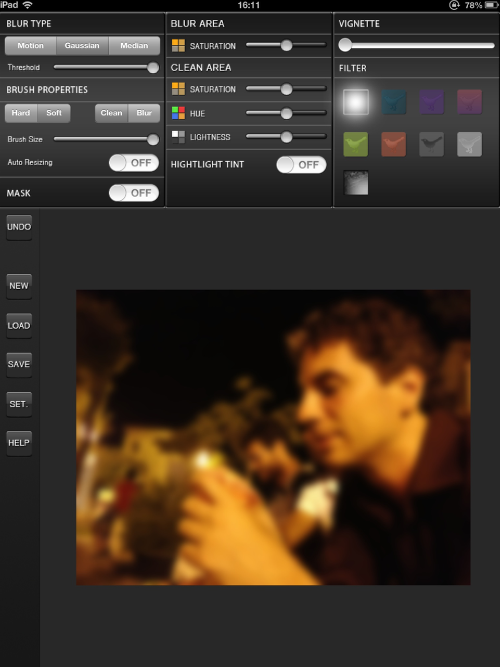
As soon as you load your image, the first thing you will notice is that the entire photograph is blurred, completely the opposite from the previous two apps that we have looked, why is that you may ask?
Step 3
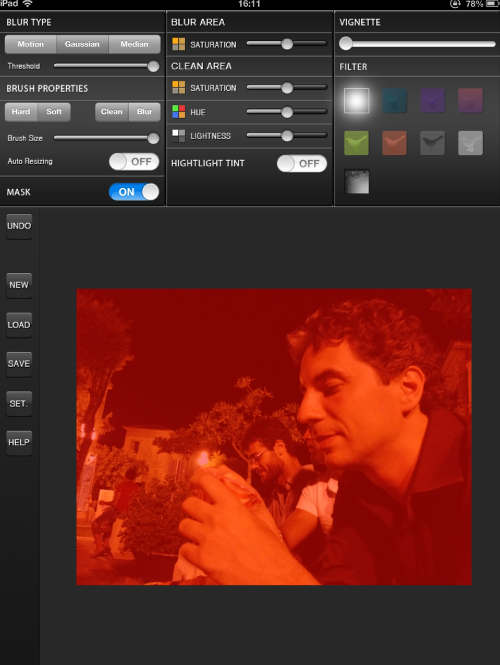
If you turn on the Mask command, the first button in the left bottom row, you will notice that your image is completely masked. Contrary to the previous two apps, in here you have to unmask the area that you don’t want to be blurred, and leave everything else masked.
Step 4
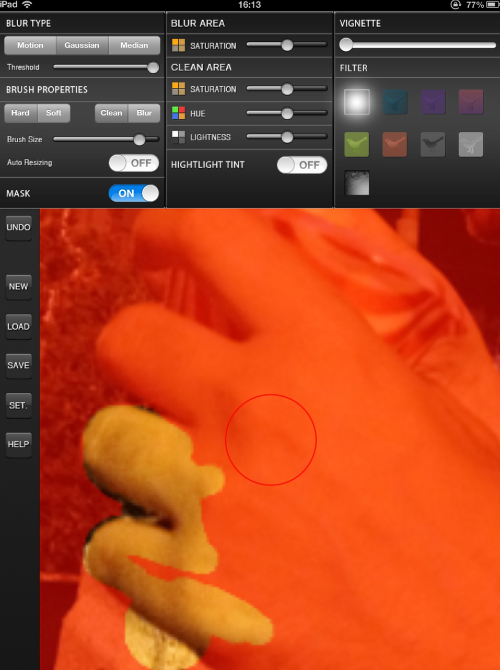
The middle left row is for the Brush Properties, this includes Hard/Soft, Clean/Blur, the Brush Sizing Bar and the Auto resizing button. Most of the time I will be using the Hard Brush and only to give the finishing touch I might select the Soft option. Clean, in here means unmask or focus and Blur means re-mask. I prefer selecting myself the size of the brush by moving the bar right or left, instead of having it on Auto, which depending on how much you have zoomed by pinching in or out your image, sizes the brush automatically.
Step 5
17 minutes and 39 seconds later, I have finally managed to unmask my subject and it was a tedious job! Now we can start playing with the different blurs.
Step 6
The top left hand row is for different three Blur Type: Motion, Gaussian and Median. The Gaussian Blur is nothing too special; you can move the threshold bar to increase or decrees the strength.
Step 7

At maximum strength, you can still see the background, and without a bokeh option, it’s just a normal blurred feel, it doesn’t make me go wow…
Step 8

The Motion blur has almost an earthquake feel, appstacked (by adding other apps’ effects) it really serves the purpose, but by itself, it just makes me feel seasick…
Step 9

What really makes this app different and worth it for me, is the Median Blur, which can out any troublesome background! It almost gives you an artistic brush feel to your image, and in this image I haven’t even increased the strength of the blur.
Step 10
By moving the threshold to it’s maximum strength you can’t see anything in the background, which is perfect and allows me to work on it even more with other apps.
Step 11
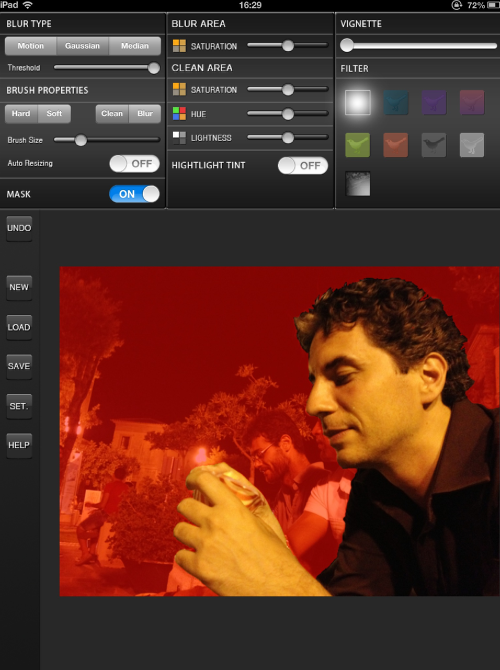
The Middle Column has two main Option areas: the Blur Area and the Clean Area. The Clean Area affects the area of the image which is in focus, and the Blur Area affects all the rest. In the Clean Area you have the Saturation, Hue and the Lightness options. In this particular image I have completely darkened my subject using the Lightness option.
Step 12
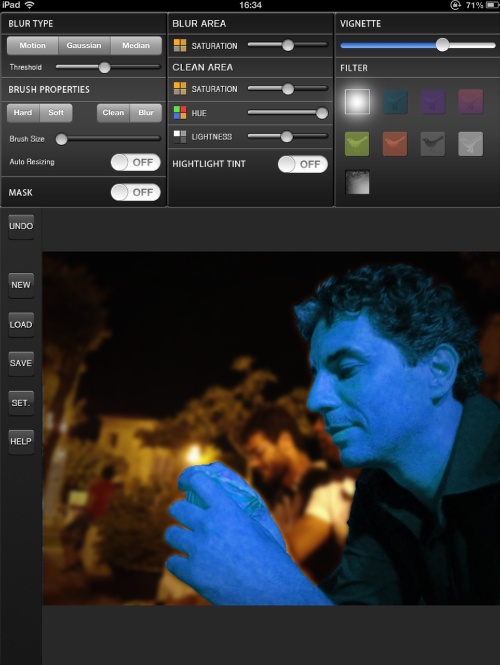
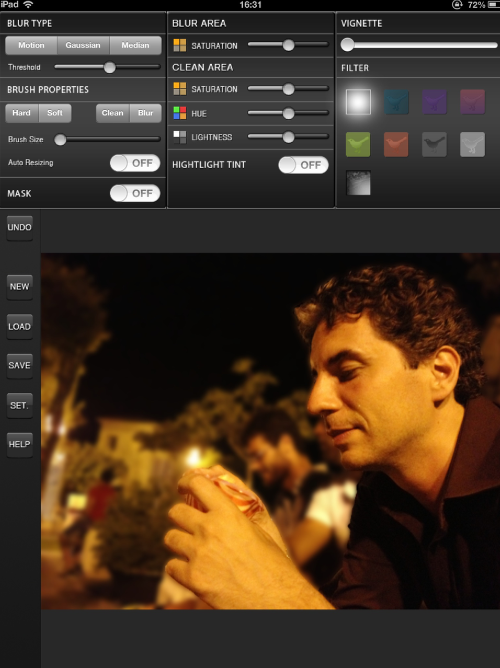
Playing around with the hue I found out that I can create some very interesting effects on my subjects, Liking this app more and more now!
Step 13
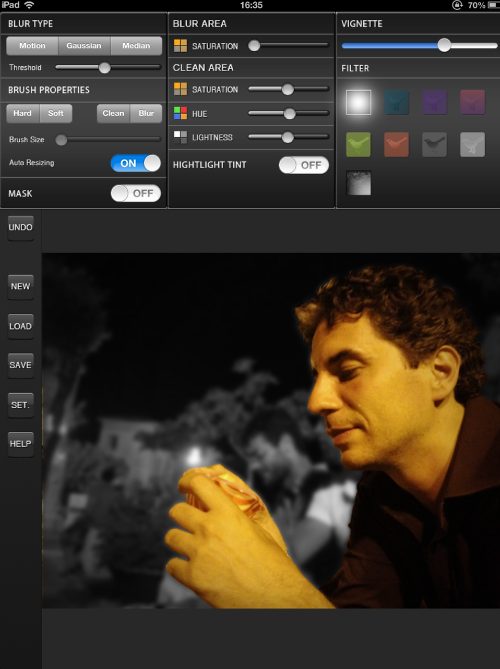
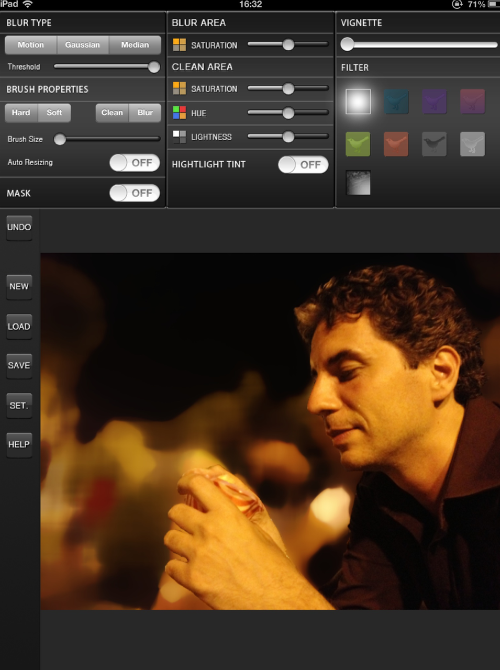
In the top Blur row there is only one option, the Saturation one. Here, I have unsaturated the background and kept the subject in color; however, by using this options in both areas it will allow you to render your image completely B&W.
One quite important thing that I have to mention is that the threshold bars in both the Blur and Clean areas are very sensible to touch and are quite difficult bring it back to their original middle position, so play with it only if you need it.
Step 14
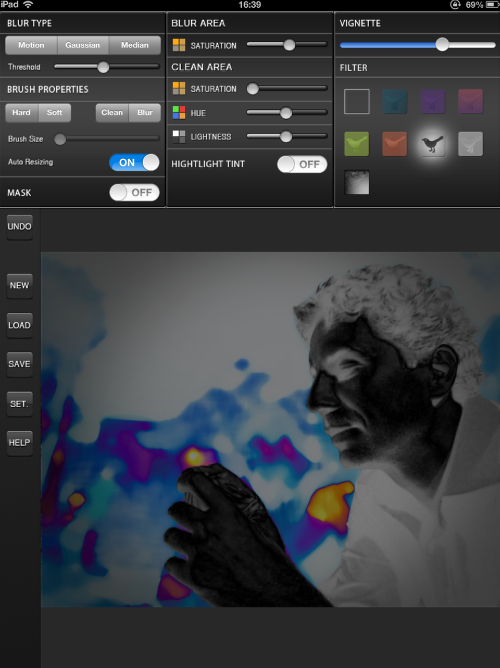
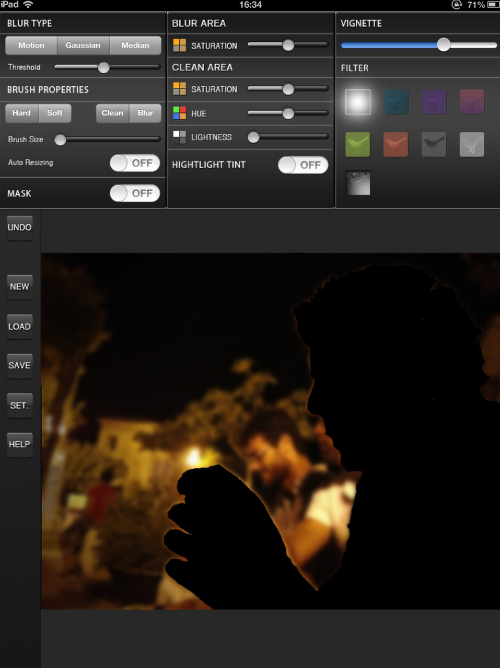
Finally, the last column has two main options the Vignette bar, which does what it says and the Filters menu, which are not too impressive. One that I liked, however, is the x-ray filter that made my day! I played around with this a bit and came up with this image, a bit of a psychedelic touch.. Well that is it, we have reached the end, or almost.
So, BlurFx is nothing like the other two. The process is very lengthy, the Gaussian blur is quite simple and it doesn’t have a punch to it, there is no bokeh, and the motion blur is quite quaky. What I really like is its Median blur, which when used at full throttle does the job for me. To continue, except the x-ray filter the rest are quite banal. Having said this, I still, for some strange reason, very much like this app.
Conclusion
All in all BlurFx is a lot more tedious and time consuming, After Focus is my favorite for the time being, it gives me everything and, while relatively very quick, it is precise too. BigLens, was my absolute favorite, but sometime one really needs to be careful and very precise… Too precise… One thing that I truly like about BigLens are the bokeh lenses. So, BigLens is the quickest, the best motion blur is in After Focus, and you can find a very solid structure in BlurFx, which also has the Best Median blur.
Hope you enjoyed it and now go and try it for yourself!
Dilshad Corleone
Dilshad Corleone aka italianbrother on Instagram, albeit in love with the photography of Henri Cartier-Bresson and his 35mm format, considers himself to be a true iphoneographer. His street photography has been exhibited at the Vyner Studio in London for the Photomonth East London (October 2012), at KCC Chelsea in London A collective Iphoneography Exhibition (November 2012), at the Truman Brewery in London for the Iconic London Exhibition (December 2012), at the Unit24 Gallery in London MobilePixation Mobile Arts Exhibition (December 2012), At the Laboratorio de Artes Variedades, Guadalajara, Mexico for the Dreams Without Borders Exhibition (December 2012 – January 2013), at the Garden Gate Creativity Centre in Berkeley, California and at the Galerie OutOfMyMind in Bremen, Germany as part of the Third Wave Iphoneography Exhibition (January 2013), at MacWorld International Conference in Los Angeles as part of the Mobilmasters Exhibition (Januarry/February 2013), Soho Gallery For Digital Arts in New York as part of the Mobile Photo Award Exhibition (February 2013). Dilshad’s work is gracing the wall of private owners in London, Italy, France, Spain and the USA, and he is a columnist for Theappwhisperer.com. Dilshad has travelled widely all over the world, especially in East Asia, Africa and recently in Iraq where he worked in an orphanage as a volunteer. His Iphoneography have a strong feel of the old 1920’s 1930’s photography and he loves the grunge, the dirt, and the grit. Dilshad is also fond to portray the unspoken London, the untold London, with heavily blurred background, men with big, long beards, hats and characteristic and peculiar faces. Iphoneography and Street-photography has given him the power to tell his stories, what he sees and what touches him.


8 Comments
maktub77
Well done, Dilshad!!!!
Dilshad
Thank you:) hope you enjoyed it!!
Louis Dallara
What no Android App ?
Dilshad
Unfortunately I am not really aware of the android market…. If I find something will let you know;)
Mikro
I find Afterfocus much easier to use than either Blurfx or BigLens.
Dilshad
Yes, you are right! Afterfocus is a lot easier! You should use the one that you feel more comfortable with! Tanks.
Steve H
Excellent!
Dilshad
Thank you so much!