Technical iPhone Photography Tutorial – 3D Camera – ‘Life Can ‘Pop’ From Your iPhone Screen’!
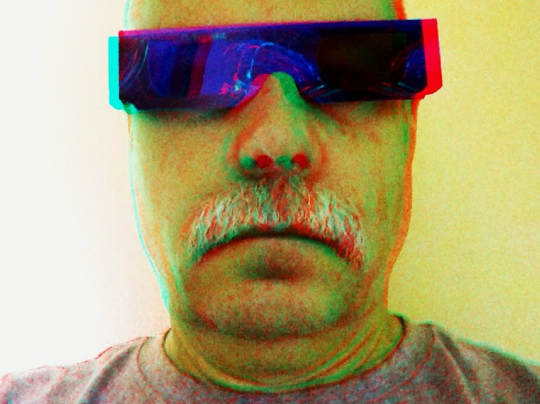
We’re delighted to publish David Hayes’ latest Technical iPhone Photography Tutorial, this time with the app 3D Camera. 3D Camera enables you to create your own 3D photos with your iPhone and share them with Facebook and Twitter friends, however you will need a pair of 3D glasses to view them, as David is sporting below.
3D Camera retails for $1.99/£1.49 and you can download it here.
Okay! Get those 3D glasses on…those red and blue cardboard creations that if worn just right when you look at a 3D image…things really do pop out! (I know you have at least one pair. You did get that SI Swimsuit issue with the 3D models? Talk about popping out!)
Juicy Bits iPhone/iPad app, 3D Camera really does allow you to create your own 3D images right in your idevice…and not just a basic 3D image. They give you all the settings that even a 3D aficionado would be happy to use.
In this article I’m going to show you enough to get you started. If you want to go deeper into the making of 3D images, you’ll need to explore all the nifty links that Juicy Bits supplies in its online manual.
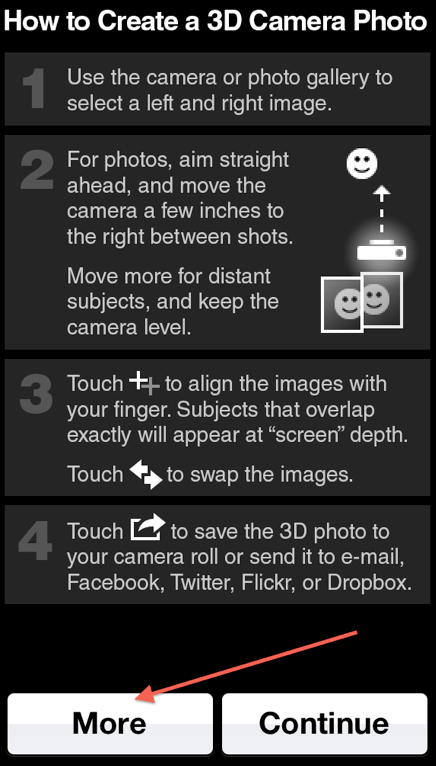
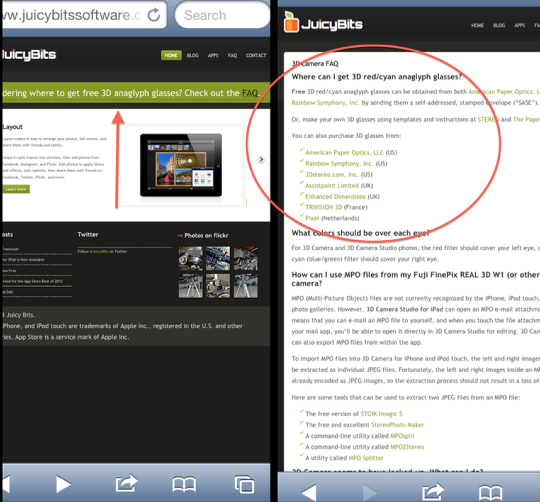
When you first open 3D Camera, this short How To window appears. Do read this over as it gives you everything you need to know before you start. Clicking on the “More” button takes you to the next screen that will take you to More info. If you don’t want More info, then click on Continue.

Naturally I wanted More info, so I clicked on “More”. I did watch the short 4-minute video tour which was quite helpful. I also printed out the “Online documentation”. Fascinating reading…all about 3D technology!!
I also went to Juicy Bits site and found out that they gave links to place that would send you free 3D glasses! I sent away to two places…both pairs came within two weeks. And seriously, you’ll need a pair to really enjoy the process of making 3D images.
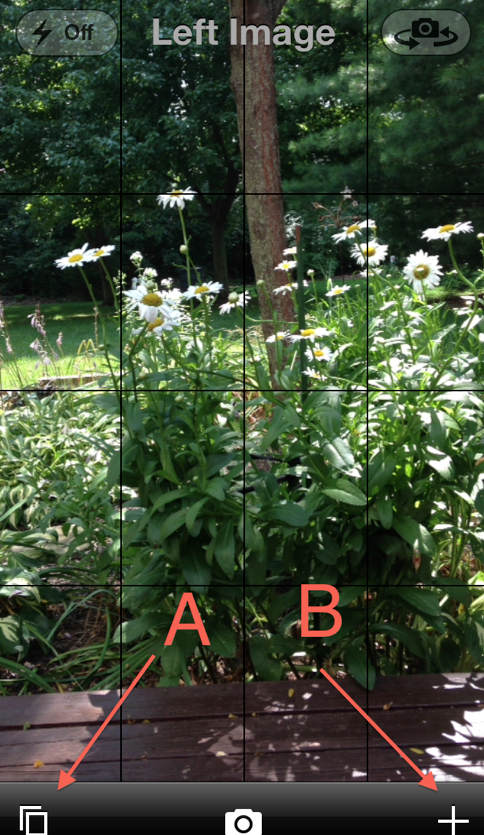
Time to make 3D! Click “Continue” on the Opening Menu if you have to…or after you’ve opened the app the first time, this screen will come up prompted you to take the left image. Couple of options here. You could compose your shot and click on the camera icon. Or…you could click on icon (A) that takes you to your camera role where you can pick an image from there. (The plus icon (B) selects several different grid systems to help in your composing and alignment.)

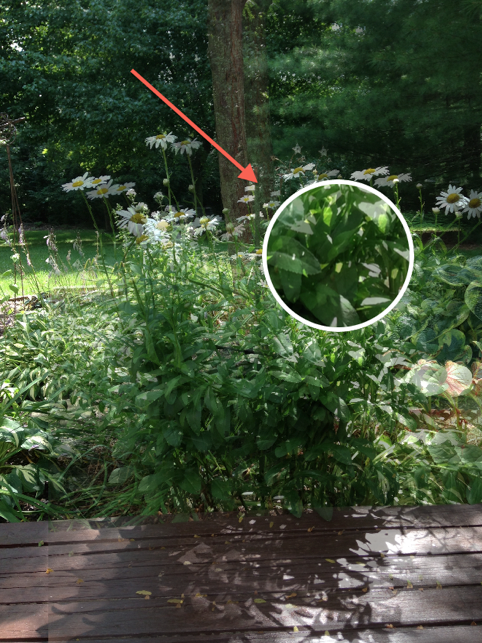
I elected to “take the shot”…so here’s my left image.
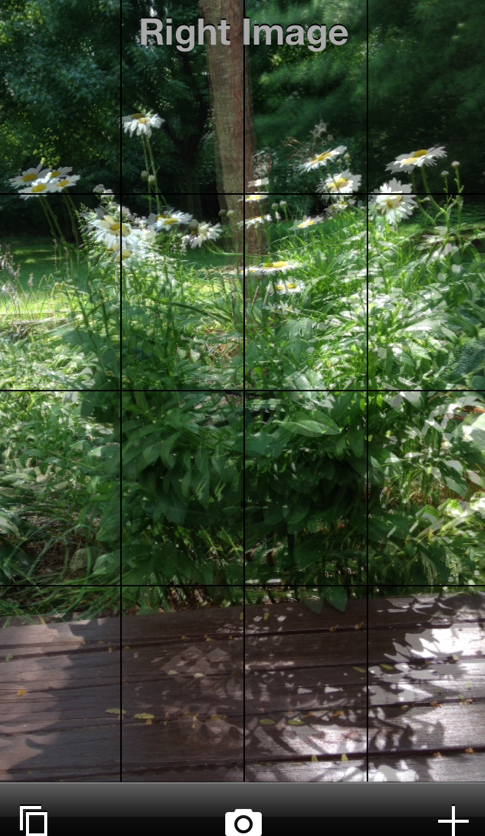
Next…you’re prompted to take the Right Image. You want to move your iPhone slightly to the right horizontally…not so much if you’re up close to your subject and a bit more if your subject is further away. Read all about getting the perfect set-up in Juicy Bit’s online manual. (Okay…the screen shot is a bit quirky, as I didn’t do such a great job holding my iPhone steady when doing it.) In any case, you can also go back to your camera roll and select the same image as the left image.

Here’s my Right Image…just to show you that I can hold my iPhone steady when I have to!!
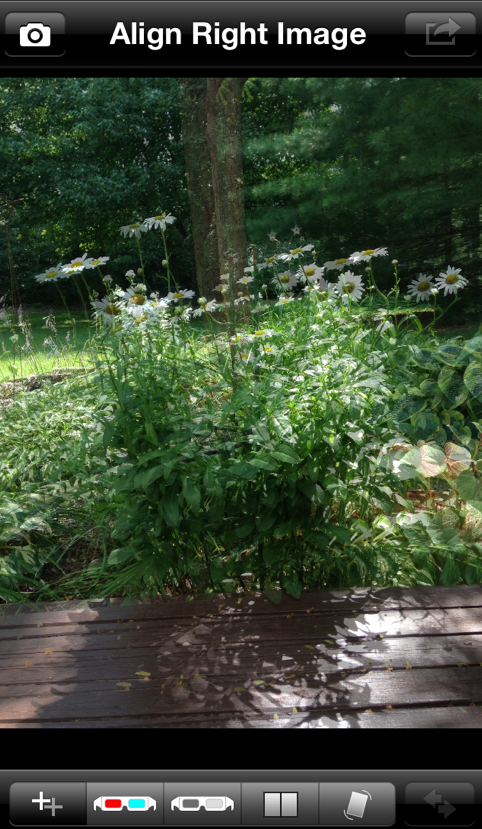
After your Right Image is taken, this screen will come up to allow you to do any last minute alignments. As you can see from this screen shot, I’ve moved the right image just a bit to the right while maintaining my horizontal plane.
You’ll use a finger touch to move the image around during the alignment process…and…the app always gives you a magnifier to help see the finer points of your image. Nice touch!

Now the fun part…time to put on your 3D glasses!! Once you’re done with the alignment, click on the first 3D glasses icon (A) and that will bring up the Color Anaglyph screen. This is your typical 3D imagery and you’ll need the 3D glasses to tell if it worked! If you want to make more alignment adjustments, click on icon (B) and this will take you back to the alignment screen. If you think you might have reversed the left image with the right image, click on icon (C) and this will put things right.
It will take several times of going back to the alignment screen to get your image just right. The online manual also goes into more detail on all of this.
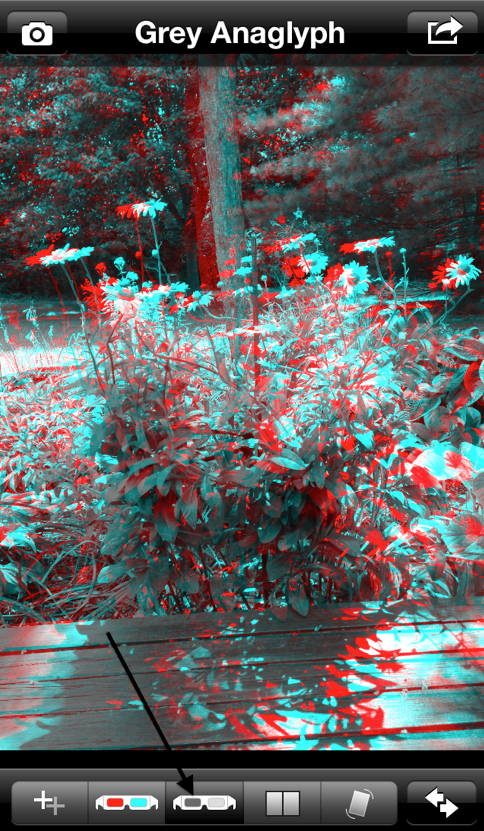
But let’s not top here. There are more 3D effects to look at!! Clicking on the next 3D glasses icon will bring up the Grey Anaglyph that is a cool effect in itself!
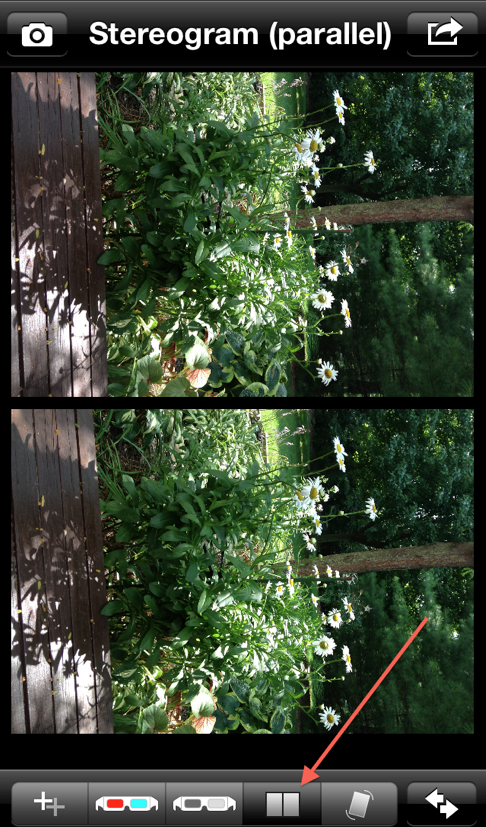
The next icon over, the split panes, will give you a Stereogram. Your first Stereogram option is “Parallel”. Do you remember the old stereoscopes? This is what you’d look at! Now…it is possible to see the 3D effect without a stereoscope…just takes a little practice.
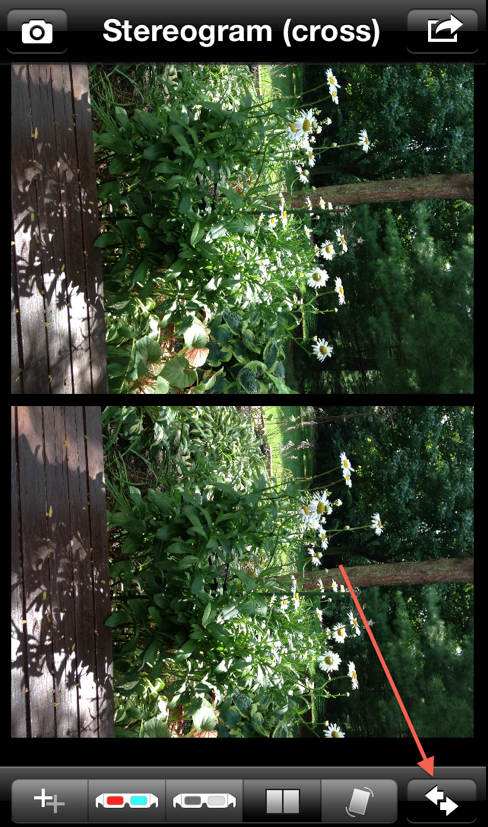
There is a second Stereogram option: “Cross”. You get that by clicking on the double arrow icon while in the Stereogram screens. Cross your eyes while looking at this…and 3D! (Just remember to uncross your eyes afterwards…you don’t want them to get stuck that way, do you?)
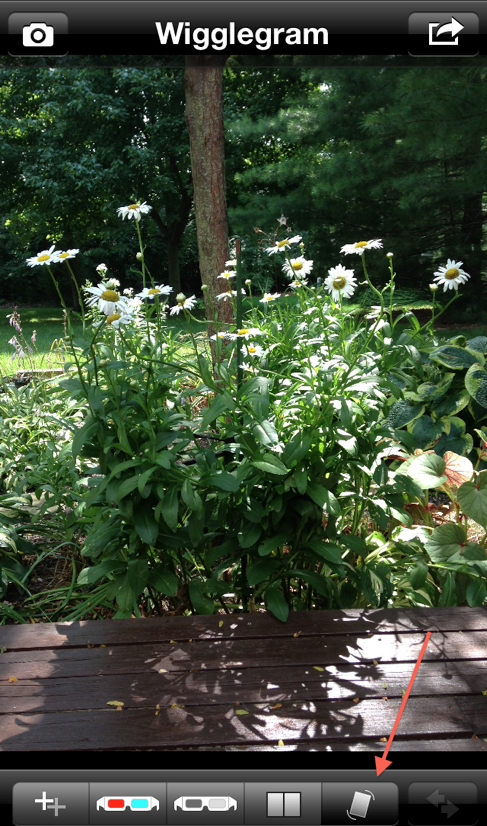
The last 3D option is a “Wigglegram”. In this mode, your image will “wiggle” back and forth very quickly giving a 3D effect. Give it a try!
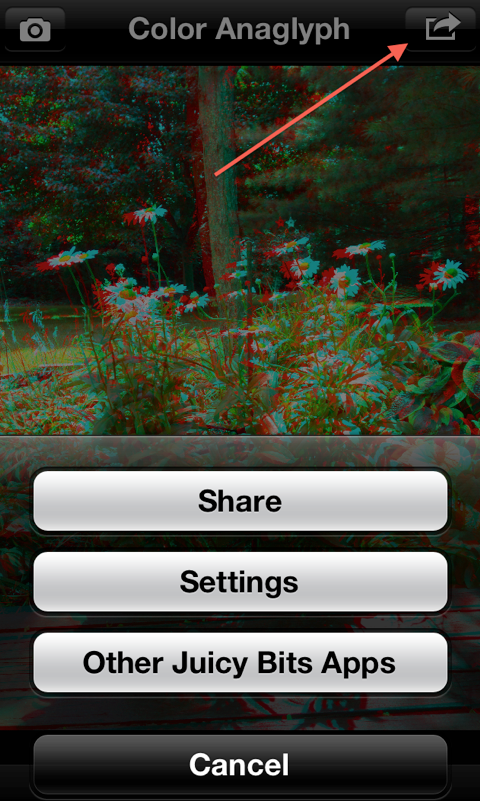
Time to talk about what to do with your 3D image! Click on the “Share” icon in the top right corner and this screen will come up.
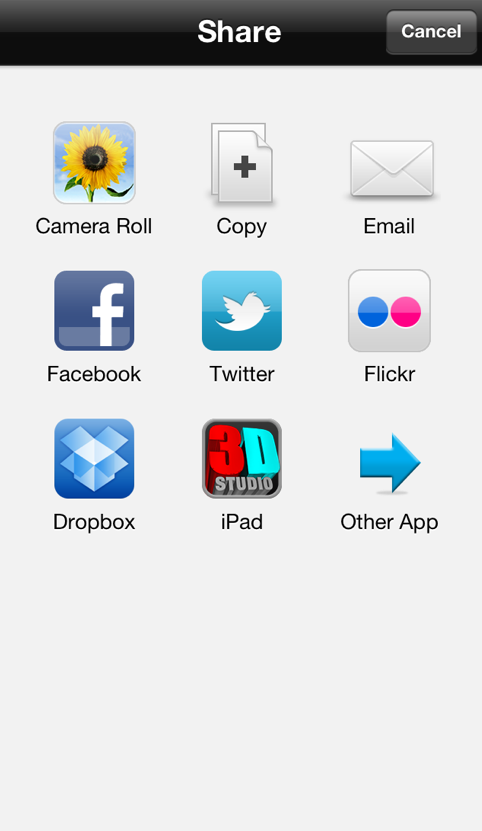
Here’s the Share menu with your options. Just a note here…you can’t save or share a “Wigglegram” that works. According to the developer, here’s why. Wigglegrams are actually animated GIF images and iOS devices won’t allow saving of GIF images to the camera roll. Until Apple changes this there’s no way to save it there. However, you can send it to Dropbox, copy it to the clipboard, or share it with other apps that can work with GIF images. So there you are…a work around. Fantastic!!
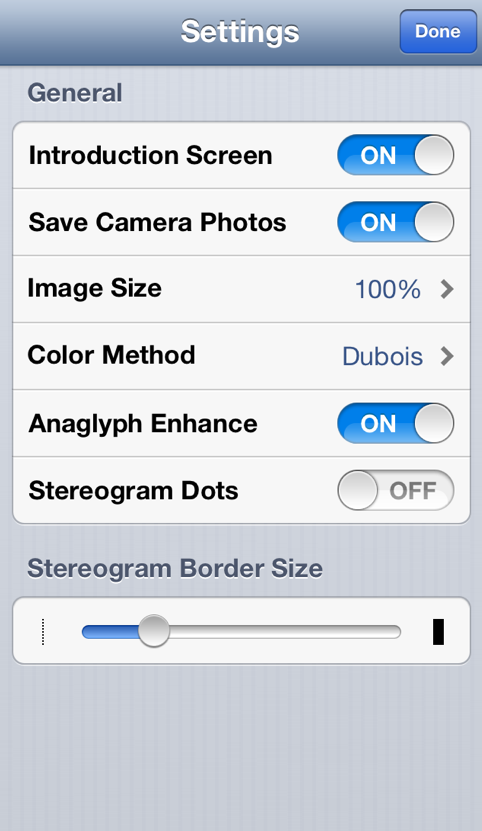
The Settings menu allows you to do things like establish your image size and so forth. Play around with the settings to see what you like best. The Color Method default is the Dubois method that is the standard 3D setting. However….
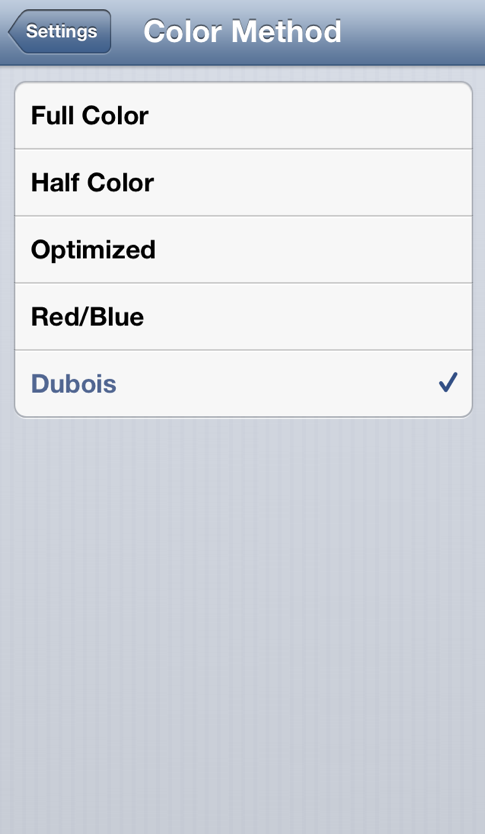
…you can tryout different methods to find the one that speaks to you the most! I haven’t done that…yet!
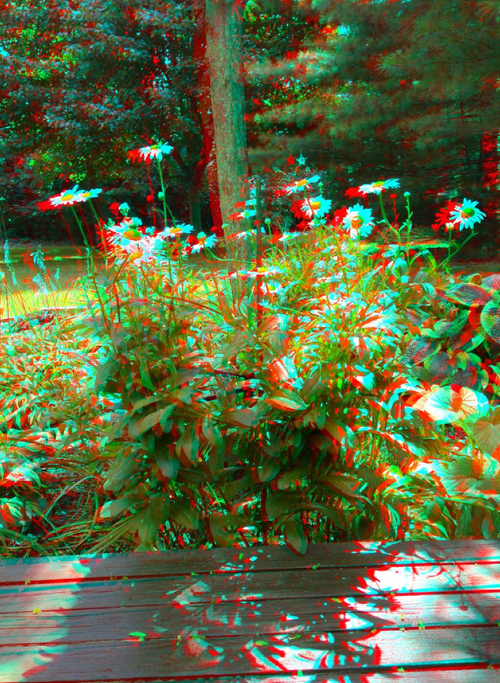
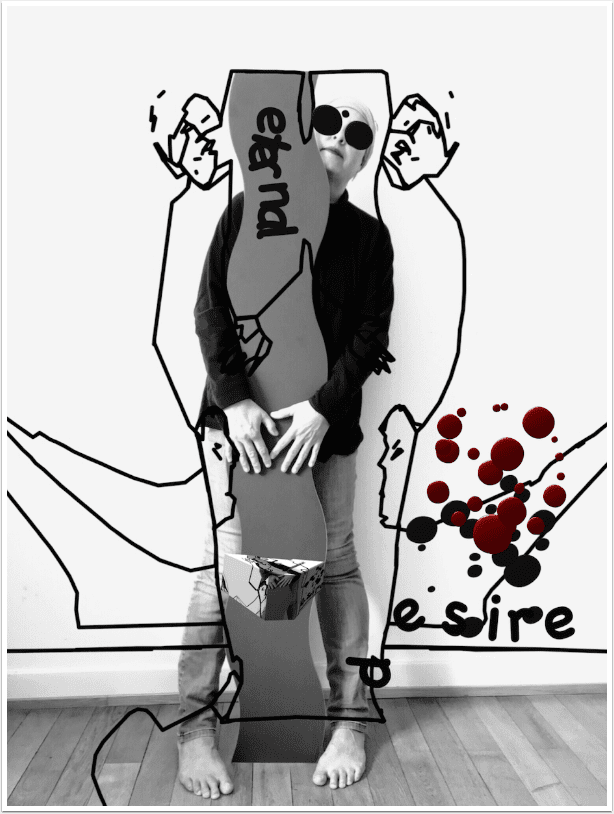
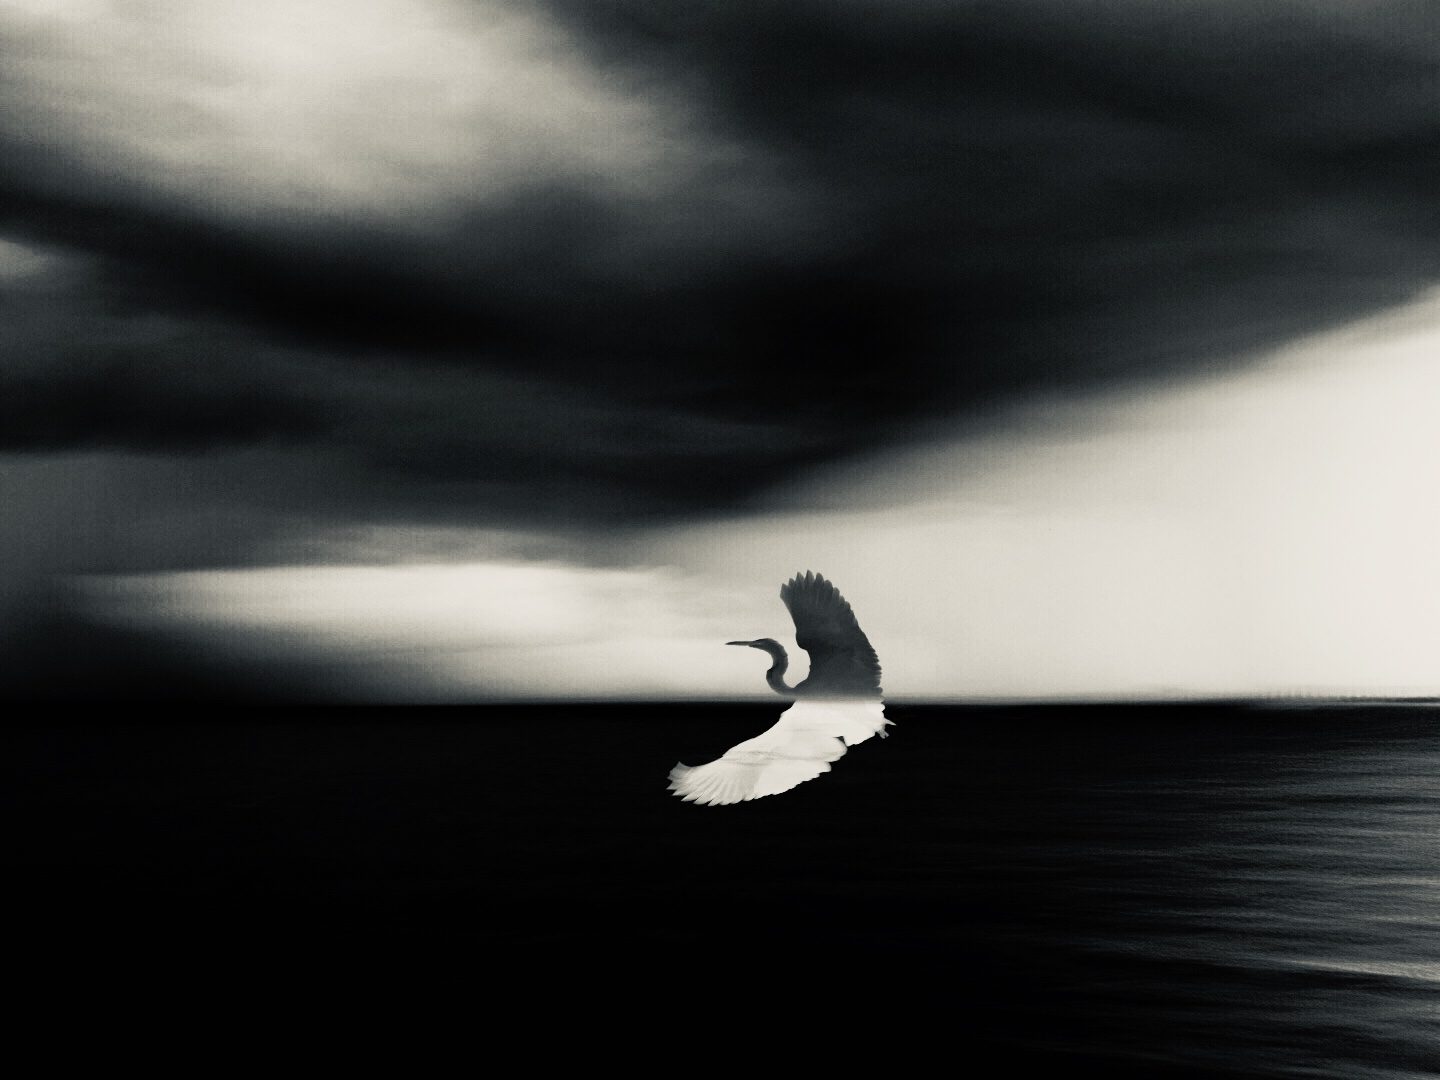
I’ll end with my final image. I do like 3D Camera as it’s pretty straight-forward in it’s approach to letting you get a nice 3D image. Now I just have to find a swimsuit model who will pose for me!!
David Hayes
David is Head of Technical Tutorials here at theappwhisperer.com and this role adds to the many things David has done in his life…some of which he considers more significant than others. Yet, he feels all have made him the artist he is today. He’s been a cook at a truck stop, a janitor at a military base, worked in advertising, been a banker managing other people’s money, and an elementary school teacher. Trained as a photographer as an undergrad, he’s recently returned to these roots and now considers himself foremost a photographer and secondly a mixed media artist. You can find David’s work on many other popular websites including his own: http://www.clearerreflections.com.