Technical iPhone Photography Tutorial – Diptic – Part 1
We’re delighted to publish the first part of two Diptic Technical Tutorials by our newest staff member, Jerry Jobe. Jerry joined us earlier this month to work alongside our Head of Technical Tutorials David Hayes, allowing us to increase our quantity of stunning photo app tutorials that we know you all value so much. We think you’re going to enjoy this tutorial a lot – over to you Jerry…
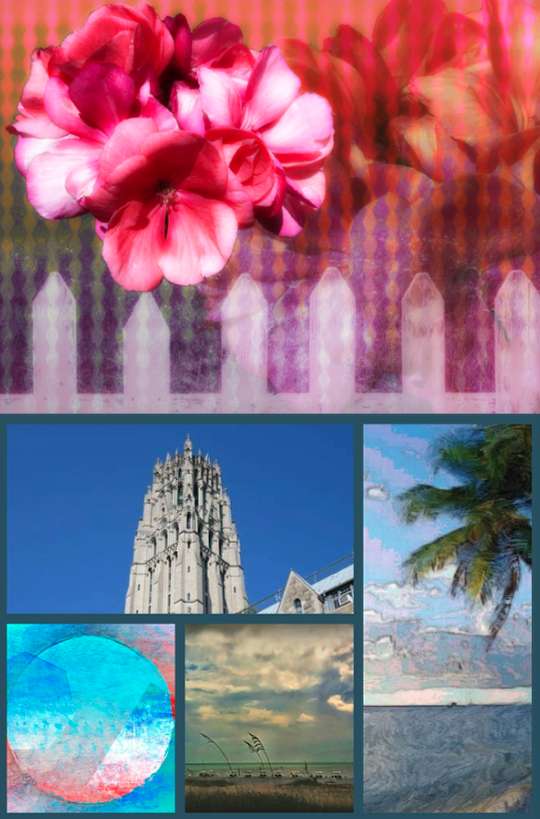
Diptic (Peak Systems) is a framing app, it can also be called a collage app, if you think of a collage as several photos placed in several boxes, circles or other shapes within a single image. I make a distinction between framing and collage apps that perhaps doesn’t exist. In the figure below, I consider the top image a collage. The images of the flower and the fence are “cut-out” and blended into the background. The bottom is framed pictures, which I don’t consider a collage.
Diptic is a very flexible app, regardless of what you call it. That flexibility means that the features are numerous enough to need two tutorials to describe.
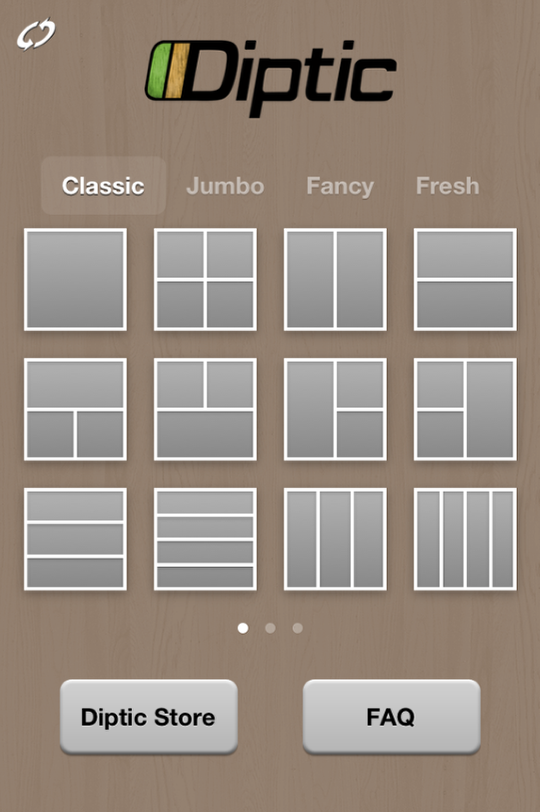
Diptic is a universal app, running on both the iPhone, iPad and iPod Touch. We’ll start out showing a few screens from the iPhone interface before moving to the similar iPad interface. You begin work in Diptic by choosing a layout. Diptic has multiple screens of layouts within each category (Classic, Jumbo, Fancy and Fresh); just swipe between the screens to see all the possible layouts.
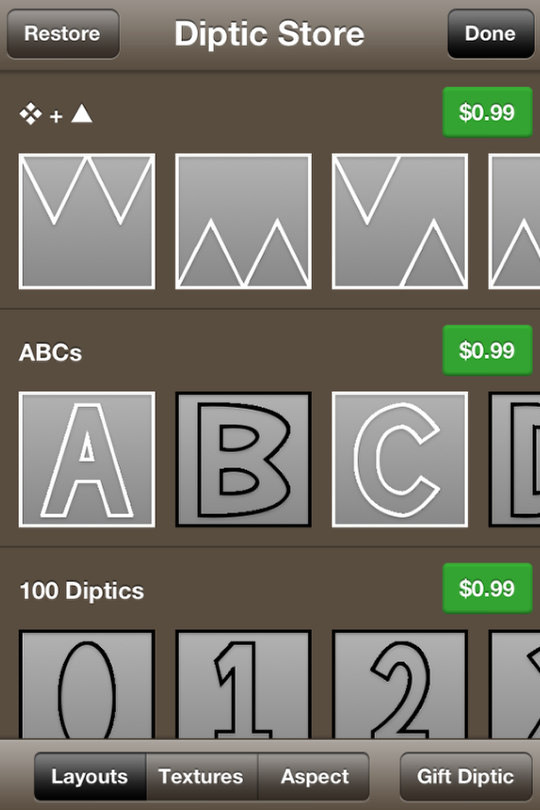
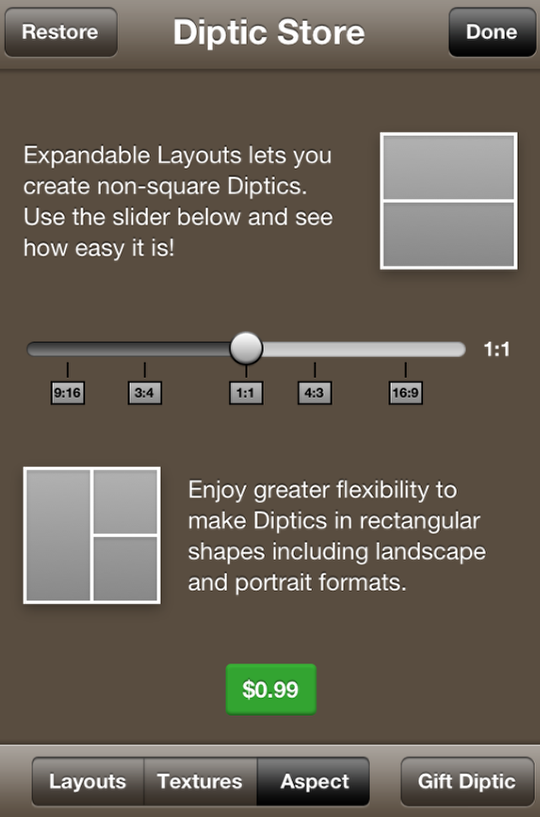
Diptic also has several categories of in-app purchases available in the Diptic store. The first category is Layouts, shown below.
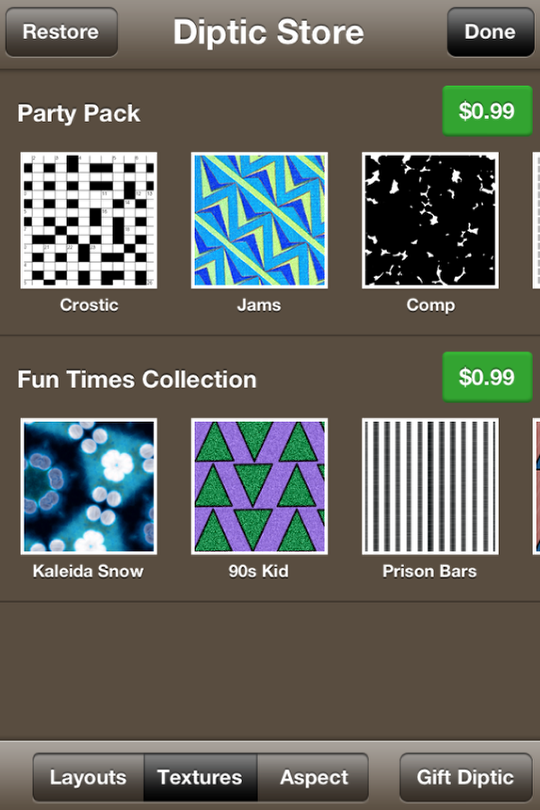
The second category is Textures for the area between photos on the image.
The third category, and the one that I find to be a necessary purchase, is Aspect. Diptic as delivered is limited to a square aspect ratio; this purchase allows you to change to ratios more compatible to printing and displaying in standard frames, such as 8×10 or 5×7.
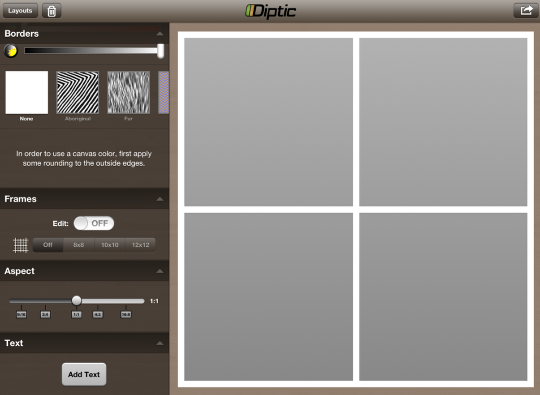
The Diptic interface on the iPhone is in portrait mode; on the iPad you can switch to landscape mode by rotating the iPad. This gives you a completely different look to the interface, with the various options in drop-down categories shown on the left of the screen. In the screenshot below you can see the first three categories: Borders, Frames and Aspect.

By scrolling down, I can now see the Text category as well. There is a major bug in the landscape interface. Attempting to collapse the Borders category in order to see the Text category, rather than scrolling down, results in a hard crash of the app. All work is lost. For that reason, I will work only in portrait mode from now on.
Editors Note: We have raised this point with the developers and they have explained they are working on a fix for this bug and it will be in the next update.
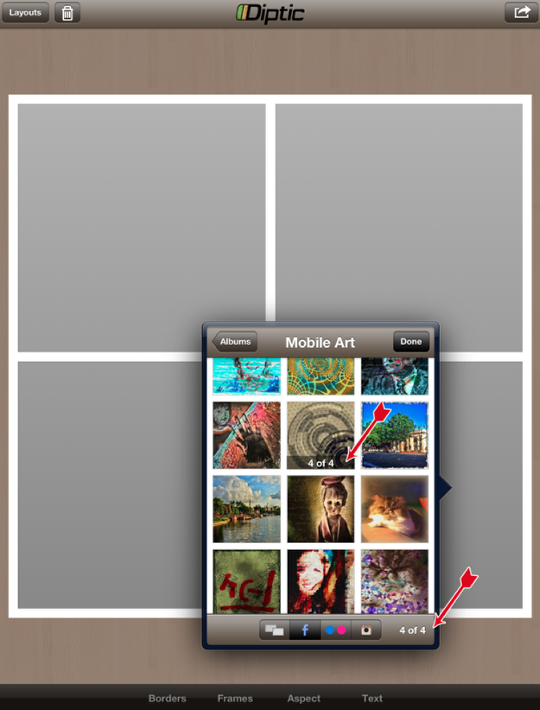
Pressing on an empty square (or pressing and holding on an already-filled square) will bring up the source picker. At the upper left of the picker you’ll see that you can choose to take a picture with the camera or fill the area with a color. Along the bottom of the picker, you will see Random (which will automatically fill all areas with different random photos from your library), Photo Library, Facebook, Flickr, and Instagram.
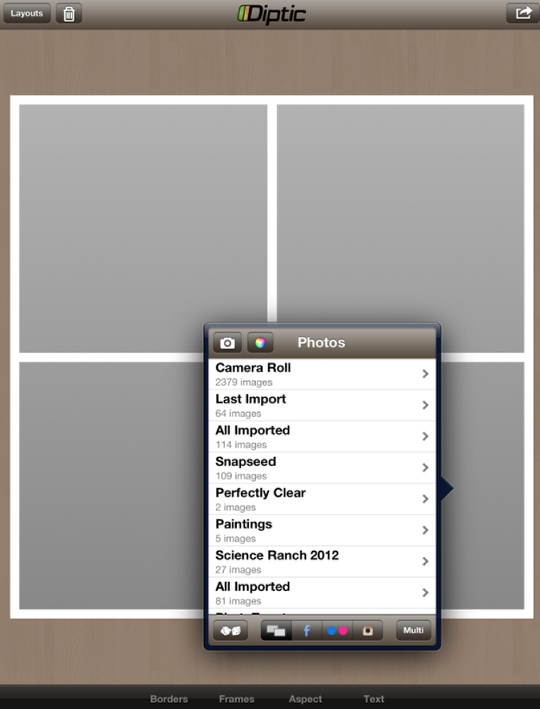
You will also see a Multi button. This allows you to fill all the spaces in a frame at the same time. The photo you have chosen is identified with an overlay within the folder, and the source picker also keeps a running tally of the shots you have chosen in the lower right corner (“4 of 4”).
Once the photos are chosen, you can manipulate the photo within each cell by using standard gestures: single finger to drag, two-fingered pinch to resize.
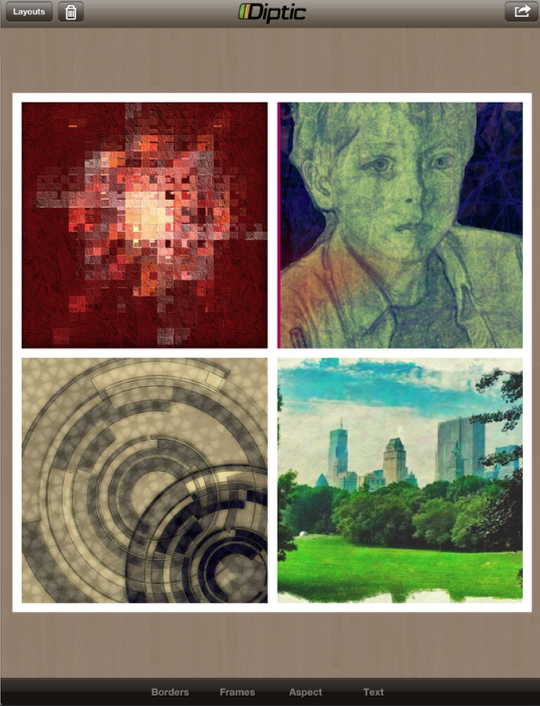
In order to swap photos from cell to cell, you tap on the two photos you wish to swap at the same time. In the photo below, I tapped on the upper left and the lower right cells simultaneously.
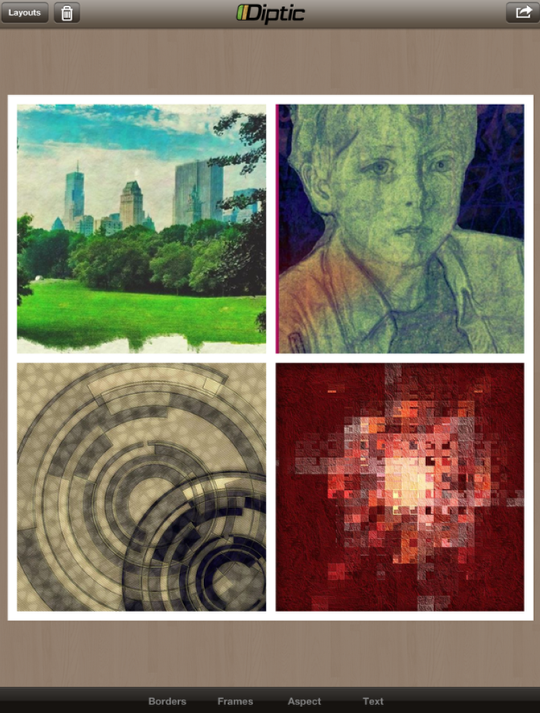
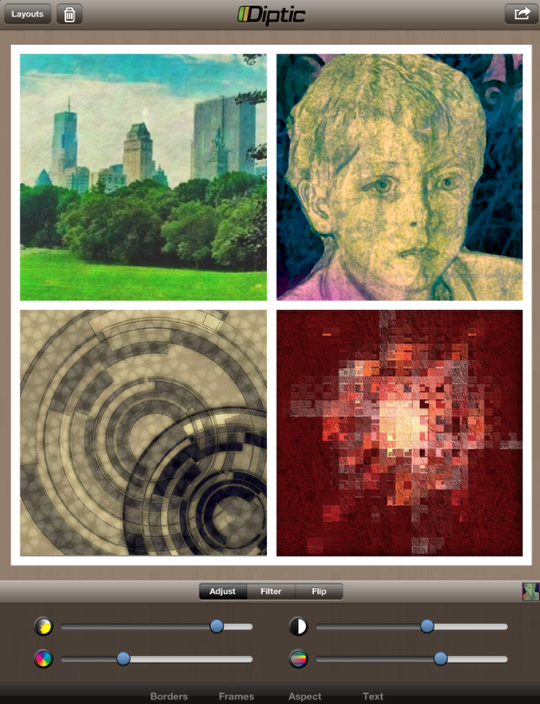
Tapping any photo will bring up controls for that photo. The top part of the toolbar has buttons for the three types of changes you can make: Adjust, Filter and Flip. It also shows a thumbnail of the photo currently being edited (in this case the upper right photo).
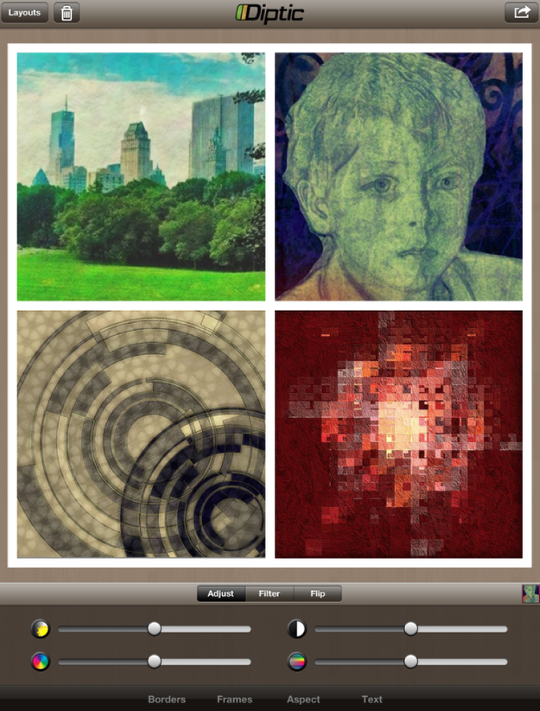
When Adjust is chosen, the sliders at the bottom control Brightness, Contrast, Hue and Saturation. In the figure below, I have added Brightness to the upper right photo.
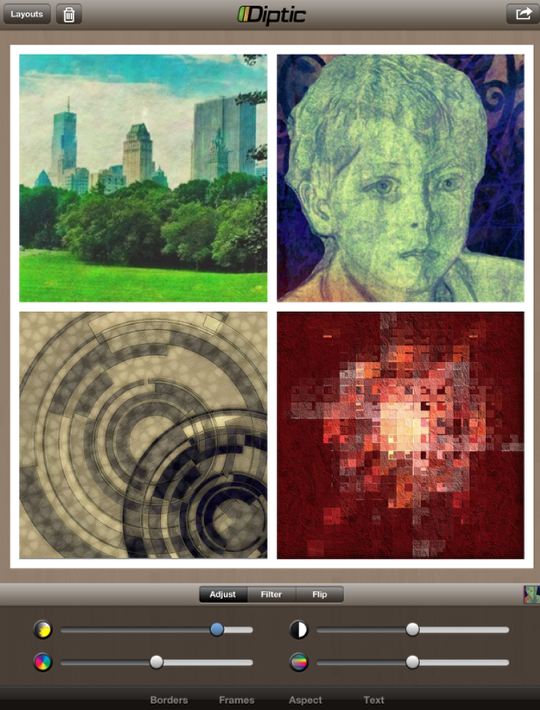
Then I added a bit of Contrast and Saturation, and warmed the color up by moving the Hue slider to the left (more yellow and less blue).
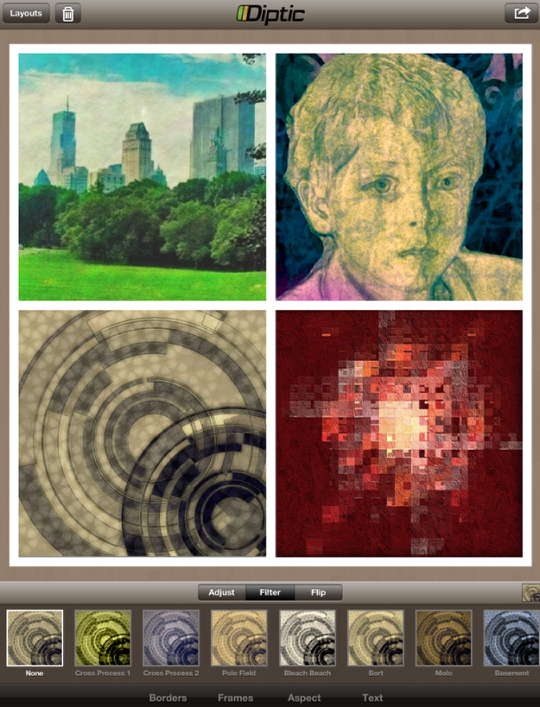
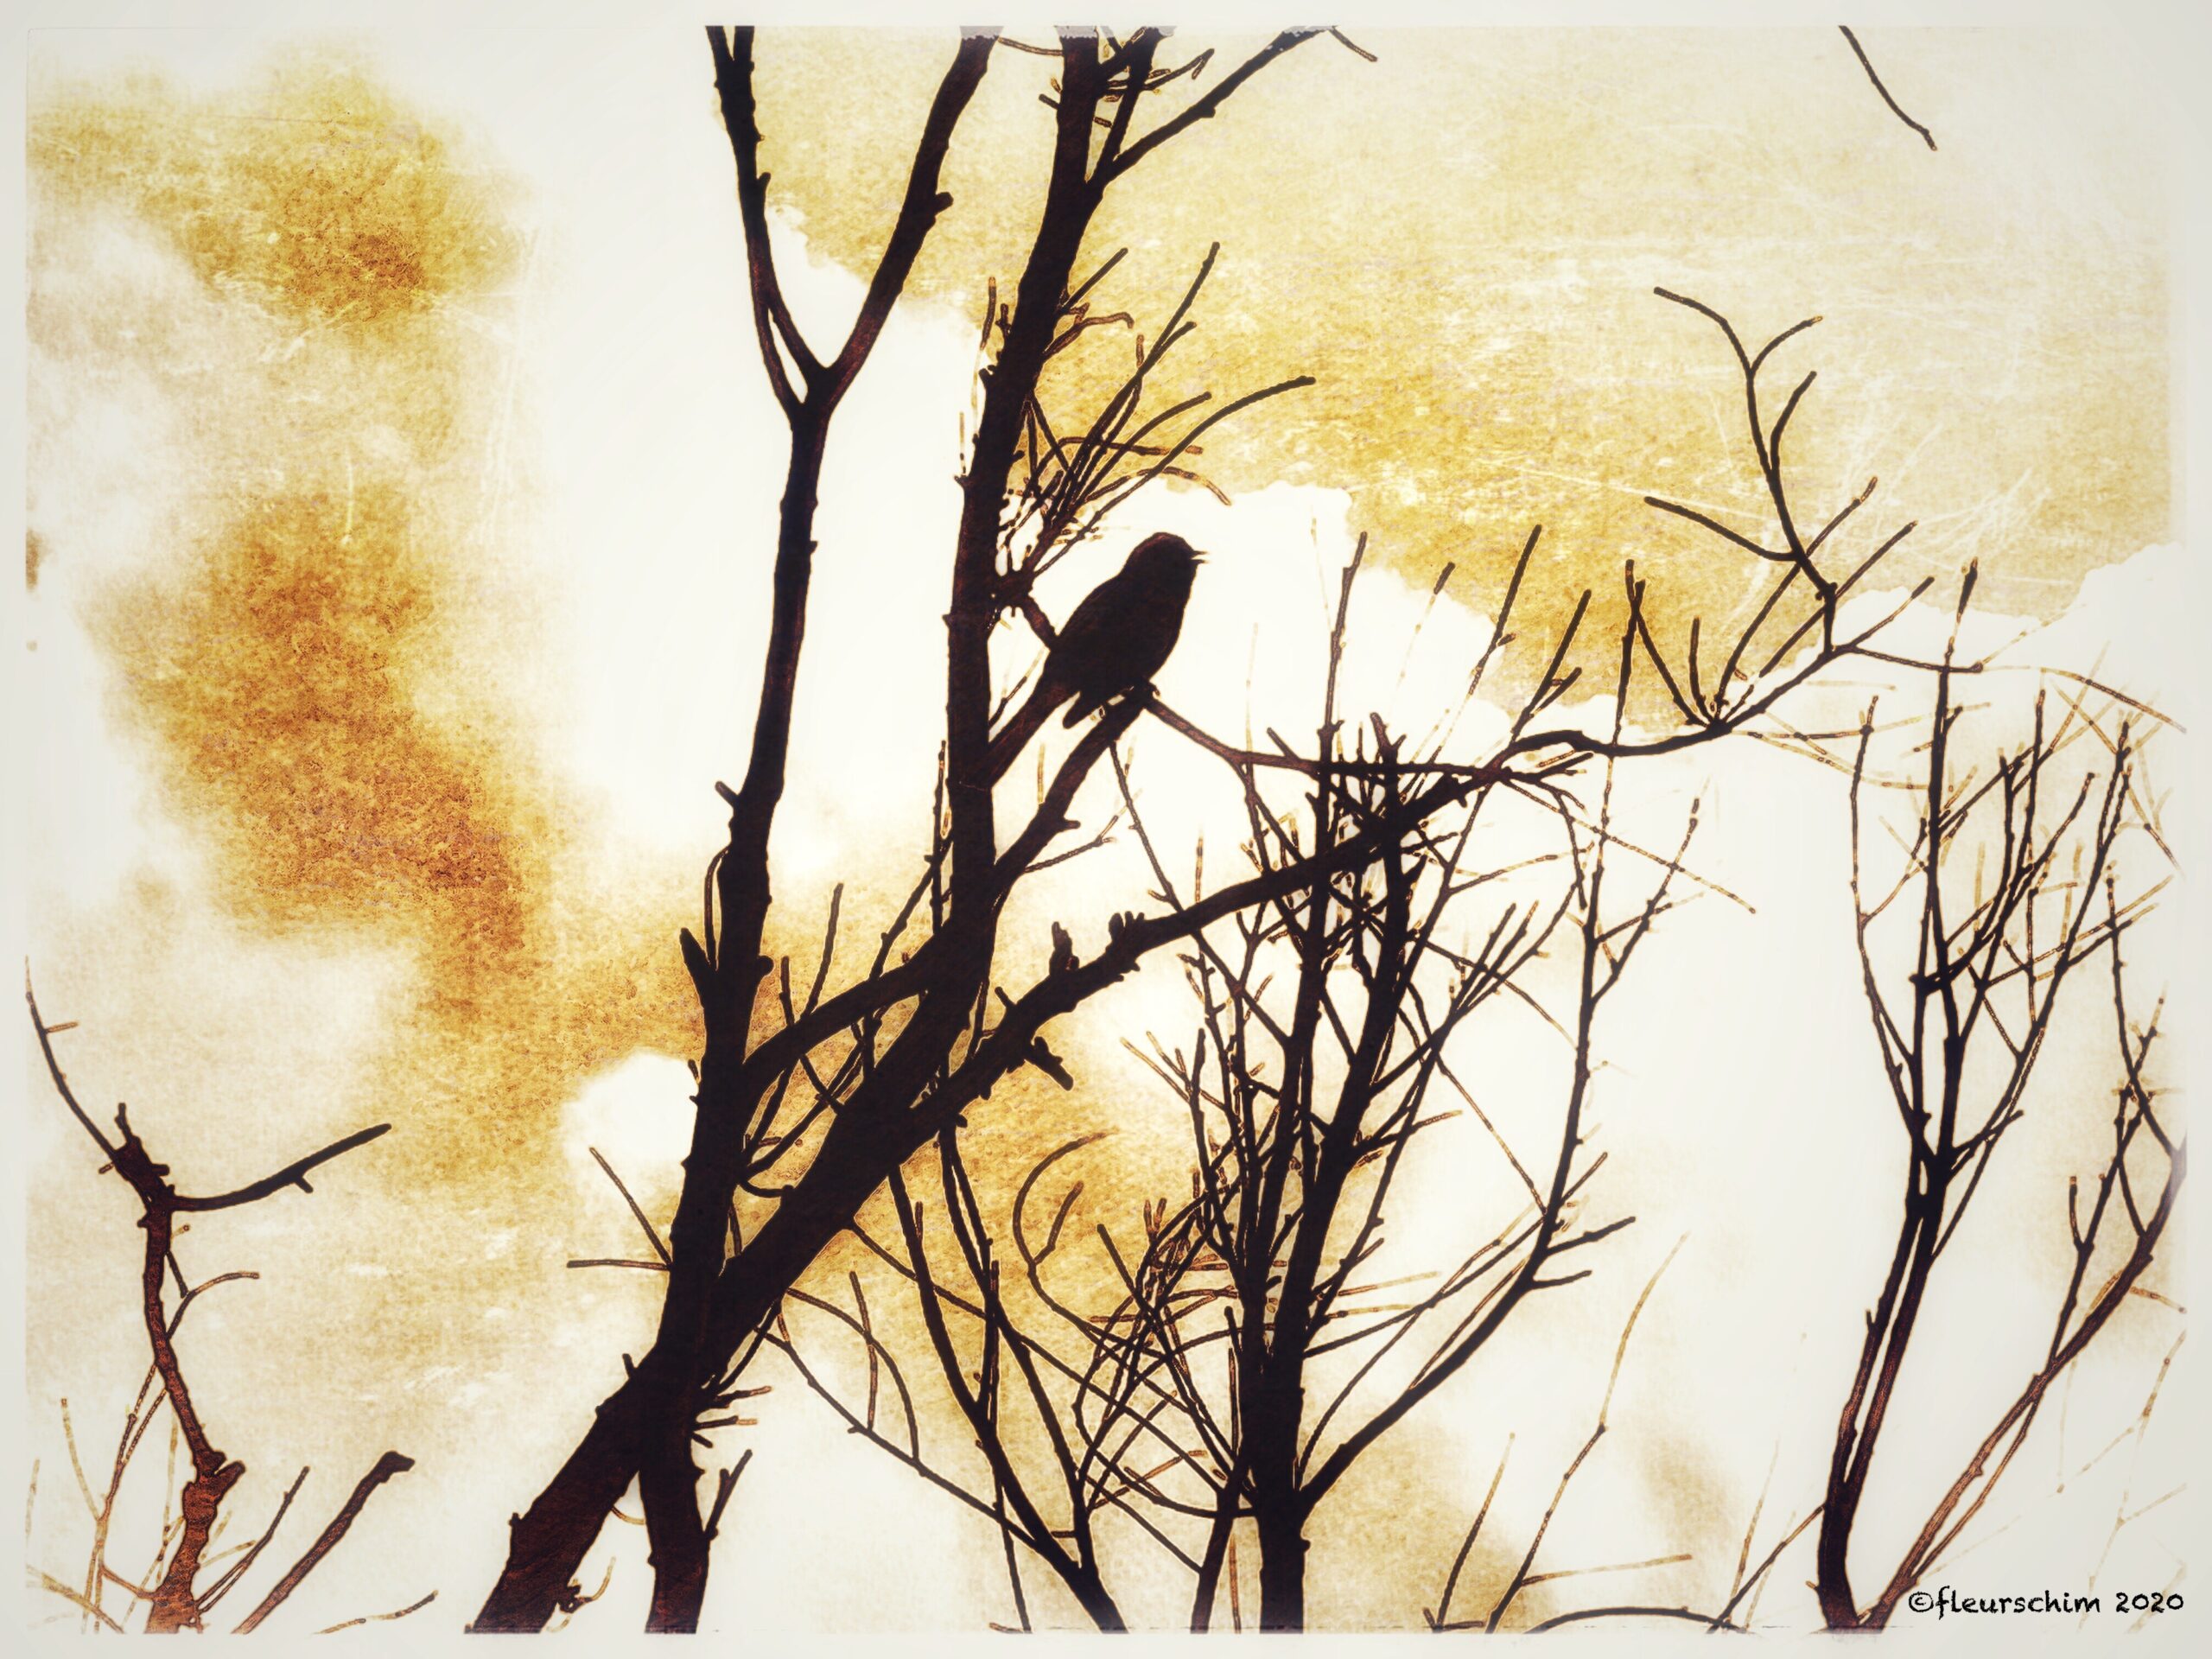
Next I decide to add a filter to the lower left photo. Diptic has a very nice feature with the filters, showing thumbnails of the actual photo with the filter applied, rather than a stock image. No guesswork on how the filter will affect your particular photo.
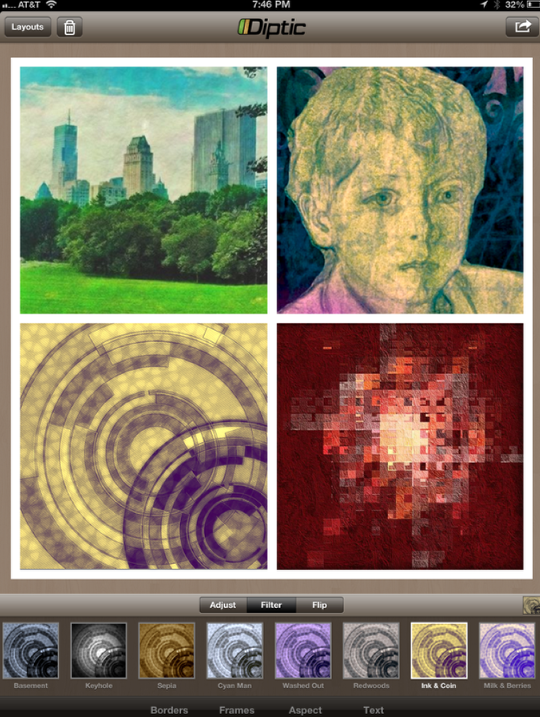
I choose Ink and Coin – the blue and bronze enhance the colors already present in the image.
The Flip function allows you to flip the image horizontally or vertically, or turn the photo 90 degrees clockwise.
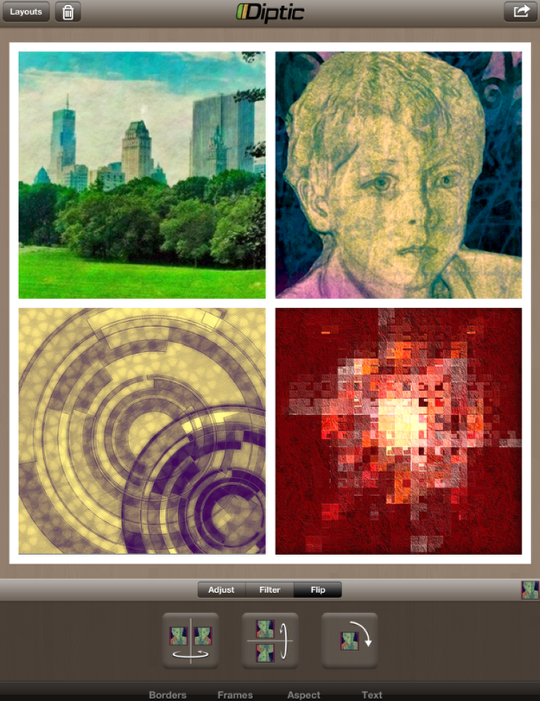
I decide my little fellow needs to be looking into the center of the frame, rather than off to the side somewhere, so I flip the photo horizontally.
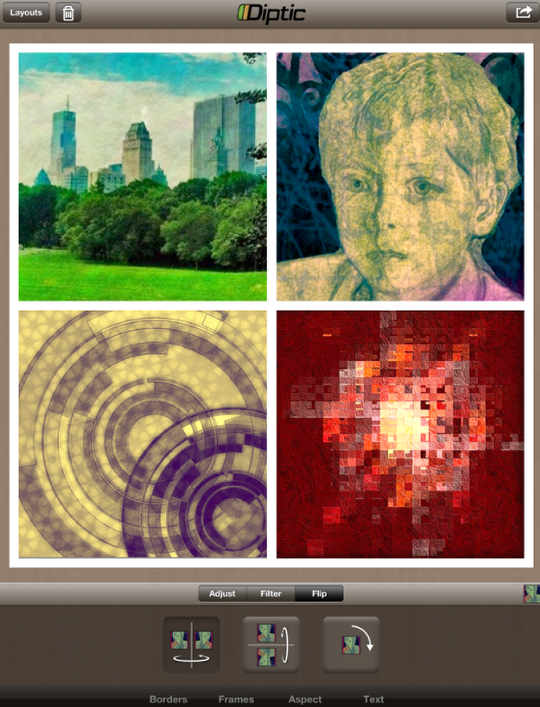
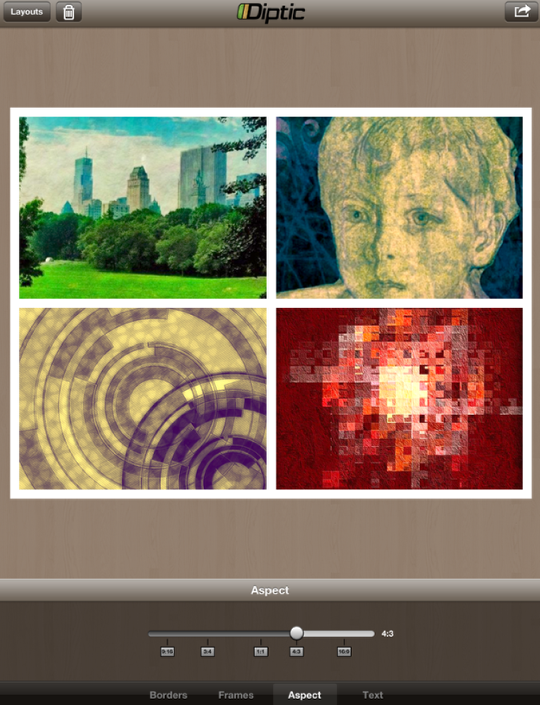
Down along the bottom of the screen you can see the actions you can take for the image as a whole – Borders, Frames, Aspect (if you have purchased that option) and Text. Let’s take a look at Aspect.
Aspect is controlled with a single continuous slider. You can move the slider directly to certain aspect ratios by tapping that ratio: 9:16, 3:4, 1:1, 4:3 and 16:9. In the figure below, I’ve tapped the 4:3 button.
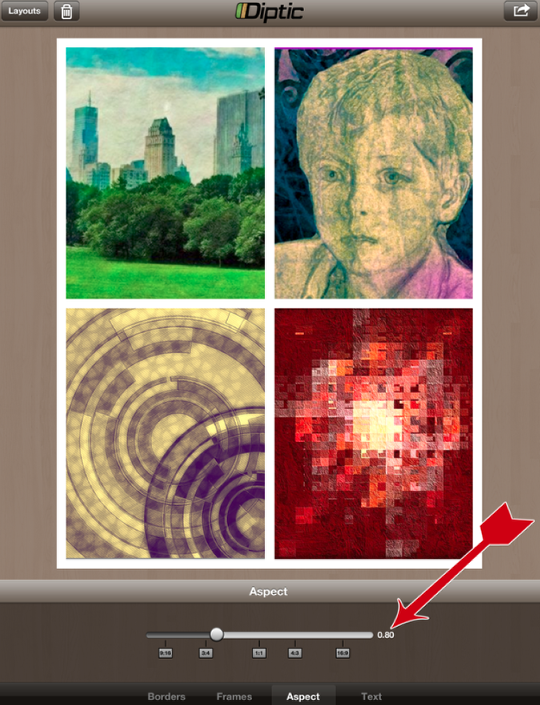
Let’s say, however, that you intend to print this image, and you want it to fit into a standard photo frame, like an 8×10. You can accomplish that by moving the slider (and using a bit of math). Here are some of the standard sizes and the slider setting to accomplish them.
▪ 5:7 – .72
▪ 8:10 – .80
▪ 10:8 – 1.25
▪ 7:5 – 1.40
This image would now fit nicely in a portrait 8×10 frame.
Conclusion and Examples
As I said, Diptic is a feature-filled app that will fulfill your framing needs quite nicely. Next week, you’ll see how to manipulate the frames themselves, to personalize your work.
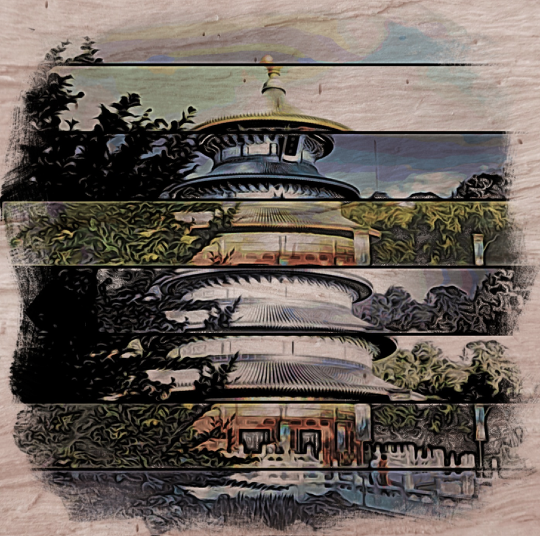
Before we go, I always like to show an additional work that (I hope) shows you something about an app that you may not have thought about. This week, I just want you to realize that Diptic doesn’t need to be the final app applied. In the image below, I took a photo I had of the China pavilion at Epcot and put it in each of the eight cells of the frame. I repositioned each iteration of the image and applied a filter to each. I gave it a thin black frame. Then I took the result through Jixipix’s Moku Hanga and got what I think is a very pleasing result. Enjoy!
Jerry Jobe
Never content with just scratching the surface of what an app can do, Jerry Jobe decided to pass on what he learned about imaging apps to others. He’s constantly trying to figure out just what tools other artists have used, and trying to incorporate them into his own work, in an attempt to find his style. He’s written tutorials on over 145 apps so far, which you can find (along with his Song of the Day entries) at http://enthusiasmnoted.wordpress.com/ He lives near Atlanta, Georgia, where he also finds a creative outlet in acting and directing in community theater.
3 Comments
Pingback:
Pingback:
Pingback: