Mextures – iPhone Photography App Tutorial – Part 3 – By Jerry Jobe
We’re delighted to publish the third and final part of a special series of iPhone Photography Tutorials with the app Mextures by our incredibly talented Editor to our Tutorials section, Jerry Jobe. If you missed Part 1 and Part 2 of this series, please go here. Don’t miss this (foreword by Joanne Carter). Over to you Jerry…(foreword by Joanne Carter).
If you haven’t picked up Mextures yet, you can download it here.
“In the two previous installments of my series on Mextures, we saw how to layer individual components onto your photos, and how to save particular combinations of those layers as Formulas. This time we’ll wrap up by showing you how to use the pre-packaged formulas that come with Mextures, and review how to modify those formulas for your own photos.
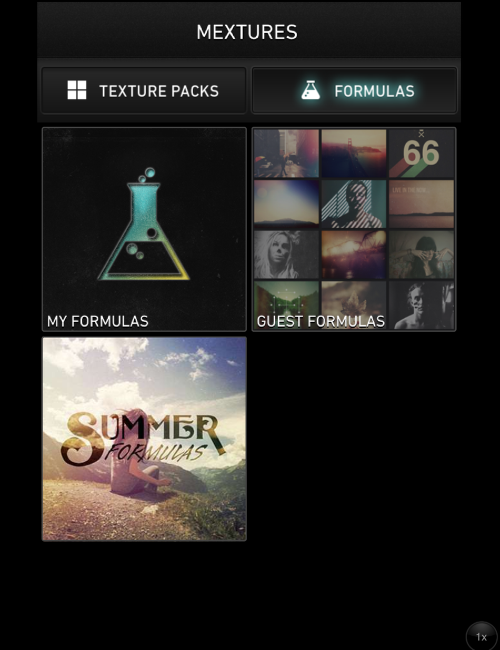
You’ll see above that formulas (as of writing this article) are grouped into three subgroups: My Formulas, Guest Formulas and Summer Formulas. Below I’ve chosen Summer Formulas, and the first formula is automatically applied to my photo.
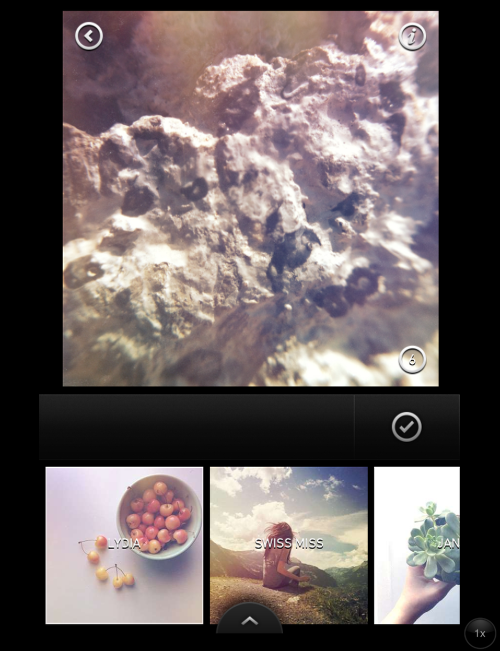
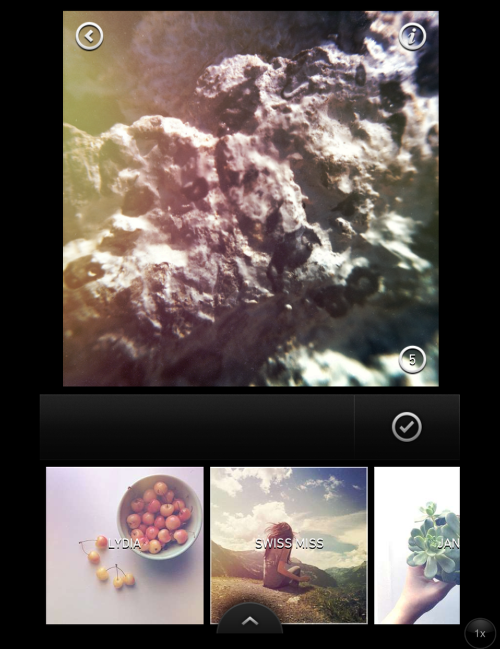
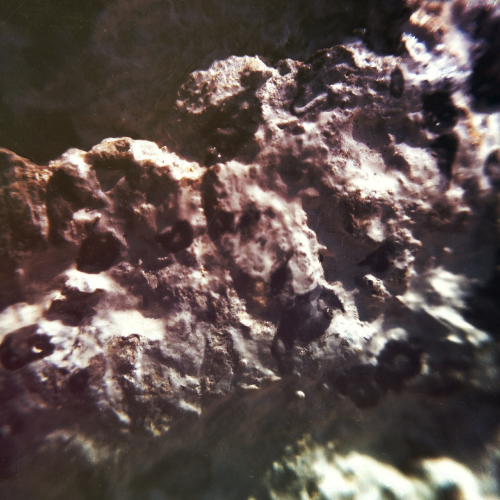
Lydia is a little bright for the macro photo of a rock, so I next select Swiss Miss. That looks to be something I can work with, so I tap the check mark and am returned to the Edit screen.
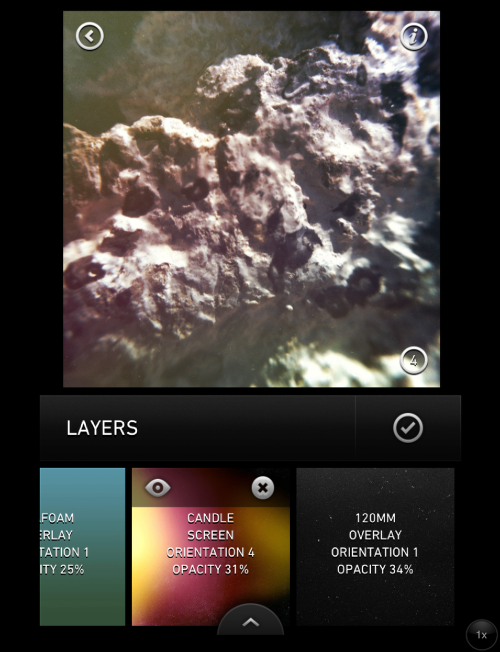
The yellow light leak on the left edge would be better suited (in my opinion) for lightening the shadows on the bottom edge. First I have to identify the level that is adding that light leak, and I find Candle.
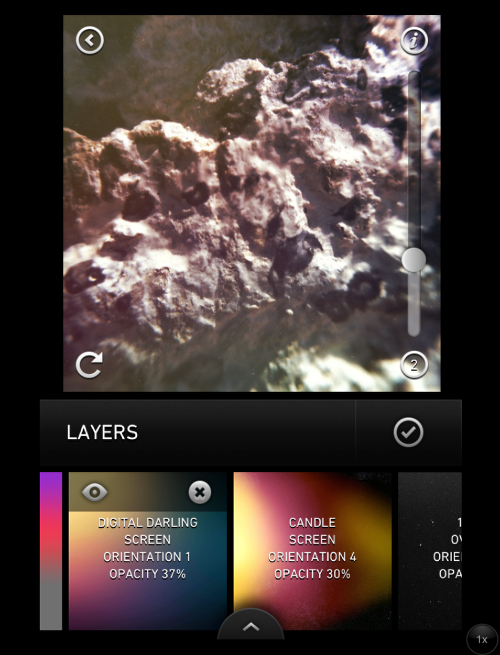
Now I rotate the layer clockwise three times, until the yellow is along the bottom of the screen. I also lower the opacity, so the Candle layer now has Orientation 4 and an Opacity of 31%. You may notice that the Rotational arrow and Opacity slider are no longer visible. I’m not sure exactly what happened, but that’s fixable. Just tap another layer and tap back on the correct layer and those controls will reappear.
And below, you’ll see that they’ve come back and I lowered the Opacity one more tick to 30%. The upper left corner is still too bright, though. What’s causing that?
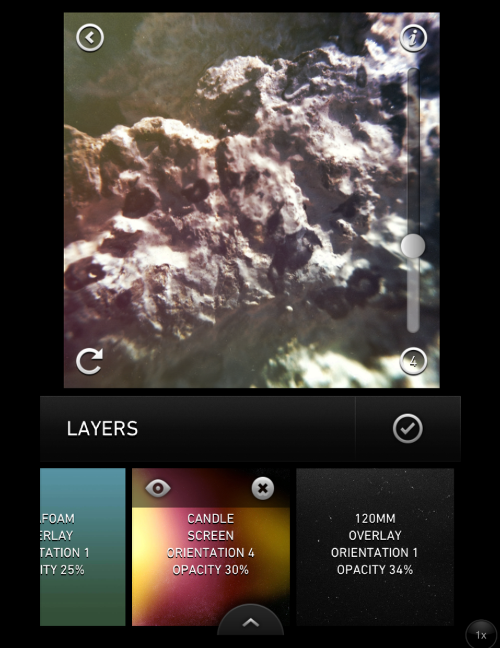
I look at my layers and see that the Digital Darling layer has yellow up in the upper left, so I lower the opacity of that layer.
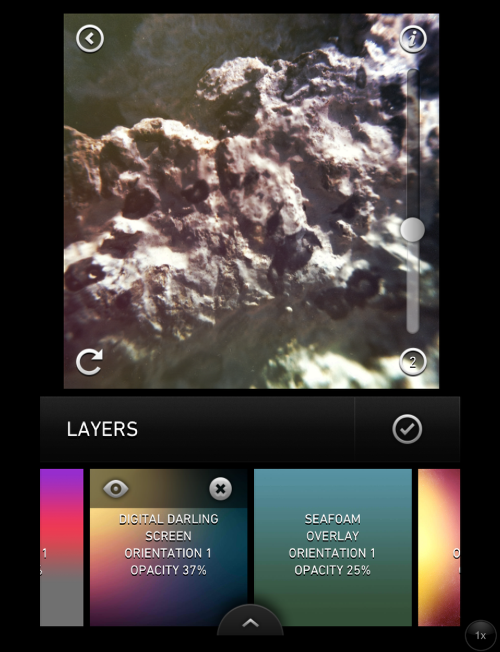
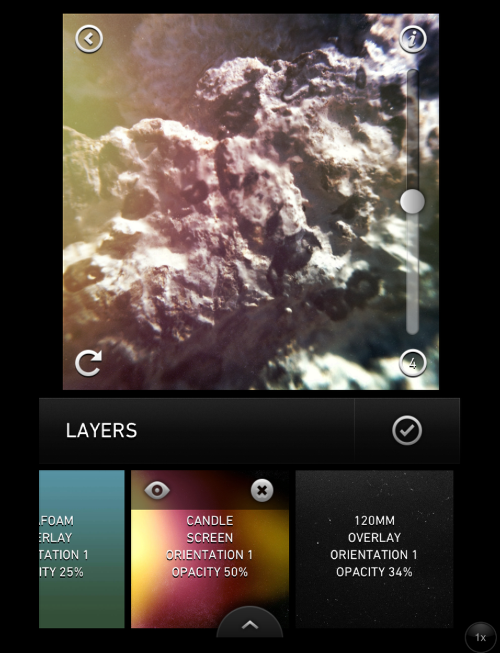
There’s a greenish tine that I don’t want, either. And it’s obviously coming from the Seafoam layer. A quick way to determine if that layer is needed at all is to tap the eye icon to hide the layer, as I’ve done below.
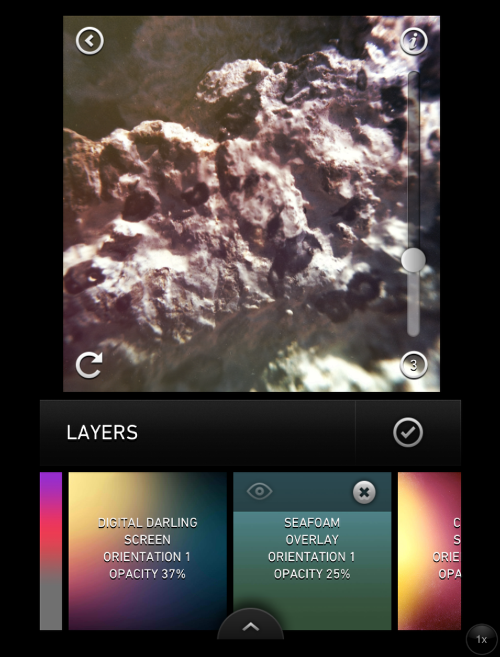
Well, I like that, so I don’t really need the Seafoam layer. So I delete it altogether by tapping on the X icon on the Seafoam thumbnail. And it’s gone. Remember: you are not making permanent changes to the formula, just modifying it for use on the current photo.
Once again, just as with your own formulas, you are able to add layers to the built-in formulas. I’ve added a vignette here to bring the total number of layers back up to 5. As far as I know, there’s no limit to the number of layers you can add – it will add to the processing time when saving, however.

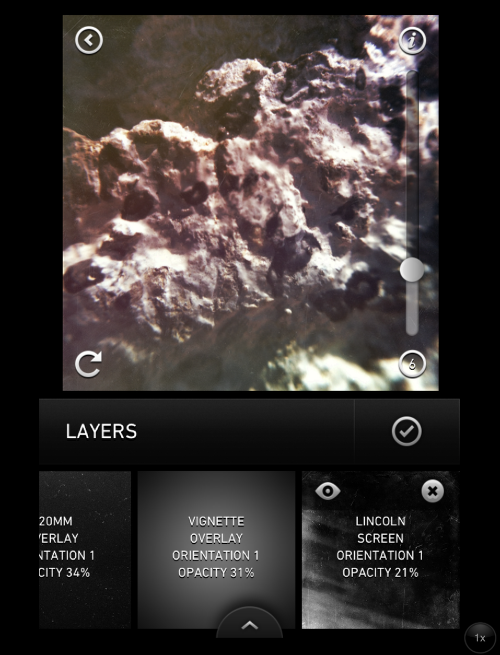
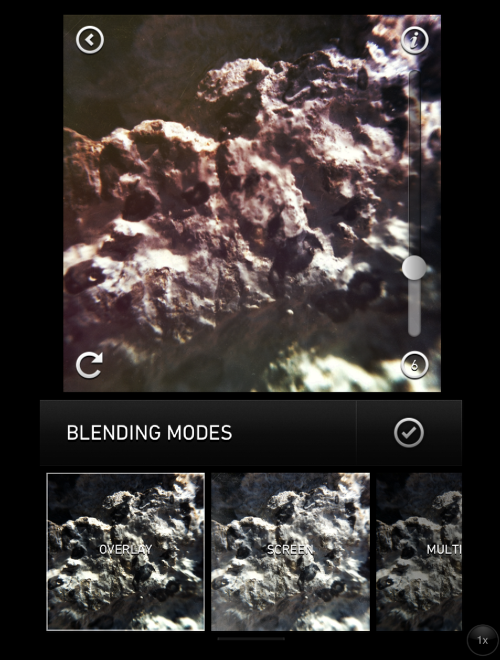
I also decide to add an Emulsion layer, Lincoln. By default, the blend mode is Screen. But my photo is getting too light for me, so I change the blend mode by exiting from Layer mode to the Edit screen and tapping the Magic Wand to bring up the Blend modes.
I like Overlay mode for this particular layer, because it helps jack up the contrast.
Then I go back to the Layers workspace and lower the opacity to 22%.
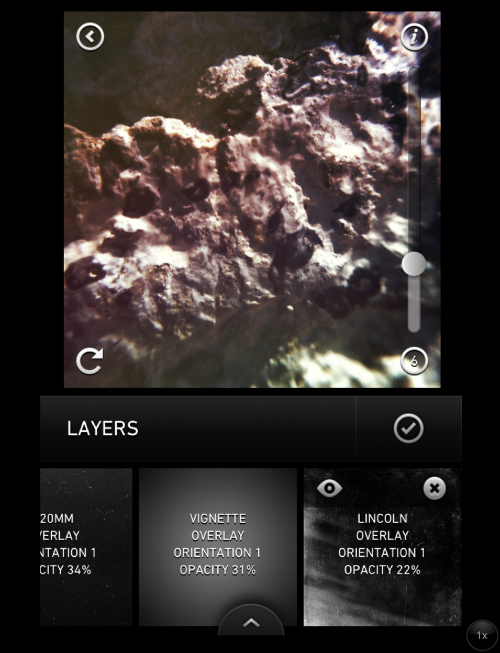
And here’s my finished image. There’s a touch more color in there, I used light leaks to open up some shadows – all in all, not bad.
Under the Guest Formulas subgroup there’s a further level of subgroups, identified by the iPhotography artist’s name.
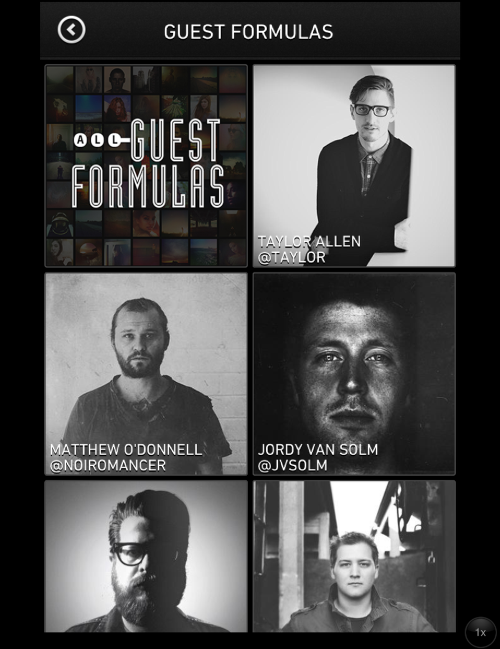
All in all, there are 10 artists and 47 different formulas available for your use.

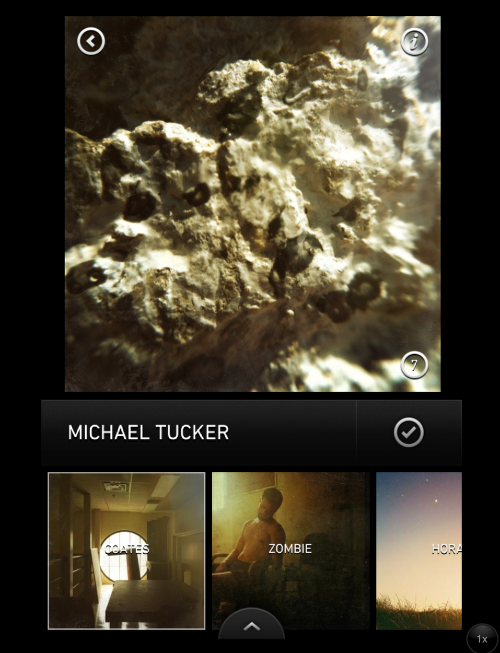
I choose Michael Tucker’s formulas down at the end, and his Coffee formula is OK…
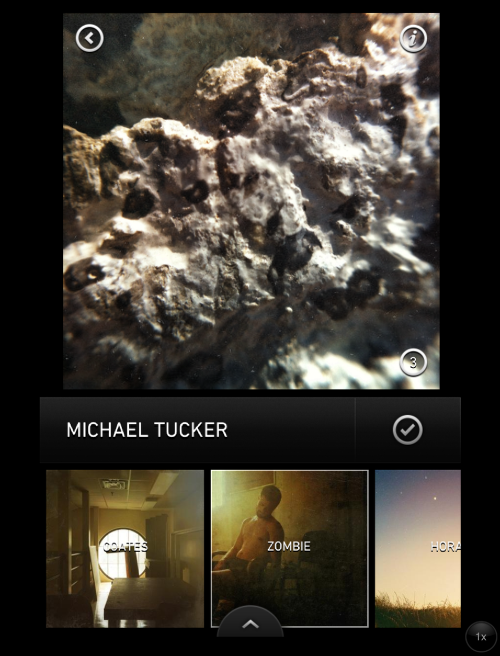
…but Zombie is better.
All in all, I consider Mextures to be a very powerful app for your grunge needs. (Your grunge needs? Who would have guessed I’d ever write that?) The power of the app is in the flexibility, based in the number of filters, how those filters can be modified, and the multiple layers that can be rearranged and modified individually until you’ve got it right. Getting rid of the forced square crop made this app one that I would not soon get rid of. I hope these tutorials have helped you in your use of Mextures. Enjoy!
Jerry Jobe
Never content with just scratching the surface of what an app can do, Jerry Jobe decided to pass on what he learned about imaging apps to others. He’s constantly trying to figure out just what tools other artists have used, and trying to incorporate them into his own work, in an attempt to find his style. He’s written tutorials on over 145 apps so far, which you can find (along with his Song of the Day entries) at http://enthusiasmnoted.wordpress.com/ He lives near Atlanta, Georgia, where he also finds a creative outlet in acting and directing in community theater.
3 Comments
RegiB
Wonderful tutorials as usual, thanks again!
Pingback:
Pingback: