Deco Sketch – Technical IOS Photography App Tutorial – Part 2 – By Jerry Jobe
It’s with great pleasure that we publish Part 2 of a Deco Sketch tutorial by our wonderful Technical Tutorial Editor, Jerry Jobe. This app is from the same developer as the equally popular Tangent app.
If you missed Part 1 please go here.
Deco Sketch retails for $2.99/£1.99 and you can download it here
We’re quite sure you will enjoy this a lot. Over to you Jerry…(foreword by Joanne Carter).
“In Part 1 of the Deco Sketch tutorial, we were working with a blank canvas, creating abstract techno images. In Part 2 we’ll see how you can add the lines and shapes from Deco Sketch to a photo, giving those photos an entirely different feel.
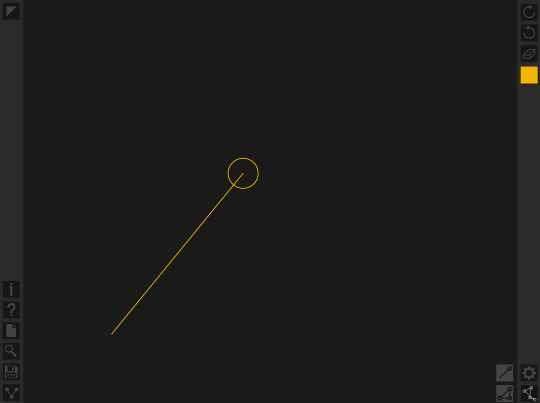
But before we start mucking up our photos, there are a couple of features that I promised to explain more thoroughly than I was able in Part 1. First is the Continuous Line Brush and the Dot Lines Echo setting. In the screenshot below, I have done a tap-drag-release to commit the first segment of the continuous line. With Dot Lines Echo off, the next time I do a tap-drag, one other line would continue from where the first left off.
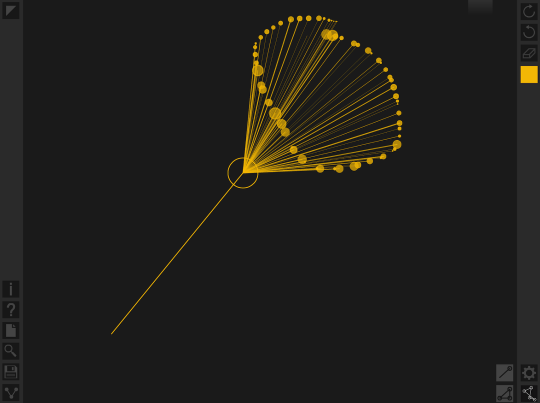
When I turn Dot Lines Echo on, then I can make a stroke that define the end points of a number of lines that all start where the first left off. In the screenshot below, an elliptical stroke has drawn an explosion of lines that continue the first.
I can then start a new Continuous Line by tapping the Start New Line button (single line with circle on end) on the lower right. If I were to continue the previous Line, it would start from the point where I ended the previous stroke.
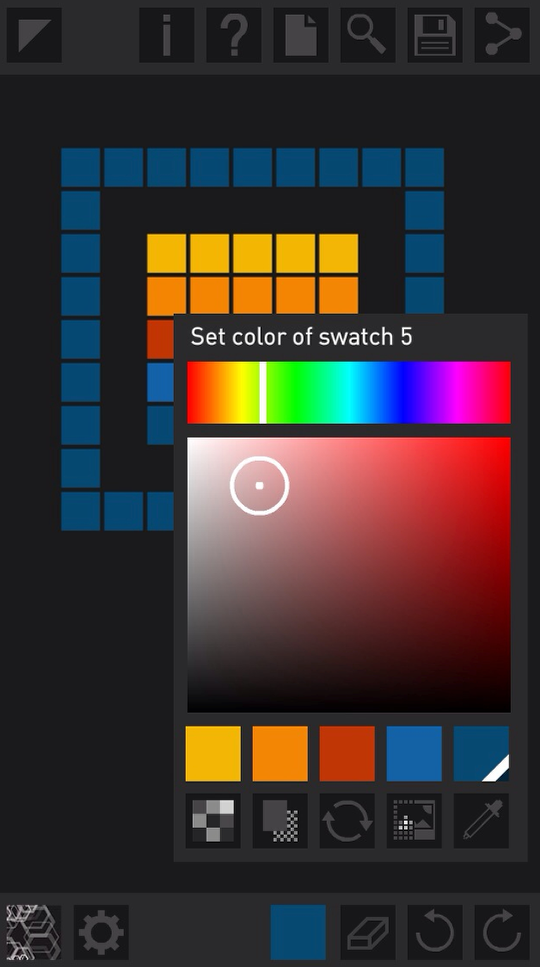
I also promised to discuss the buttons along the bottom of the Color window. As you may recall, those buttons are Swatch, Background, Color Cycle, Photo Color, and Eyedropper. The boxes above those buttons represent the color palette, made up of five swatches of color. Color Cycle, when turned on, will use the next color in the palette in order when a new stroke is made. (By the way, the next few screens are from the iPhone version of Deco Sketch, with the toolbars at top and bottom instead of on the sides.)
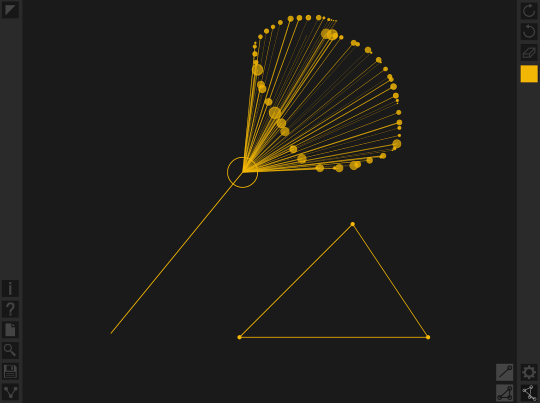
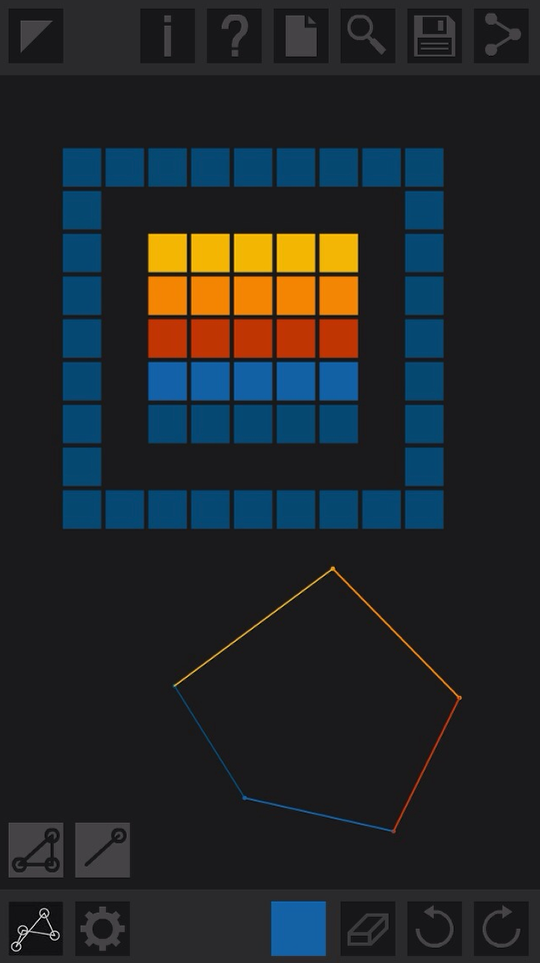
Below you’ll see two examples (on the same screenshot) of using Color Cycle. At the top we have rows of boxes, each made by a single stroke and each a different color. On the bottom you have a five-sided shape made with a Continuous Line brush, made in clockwise fashion starting at 9 o’clock. Each side, or stroke, is a different color.
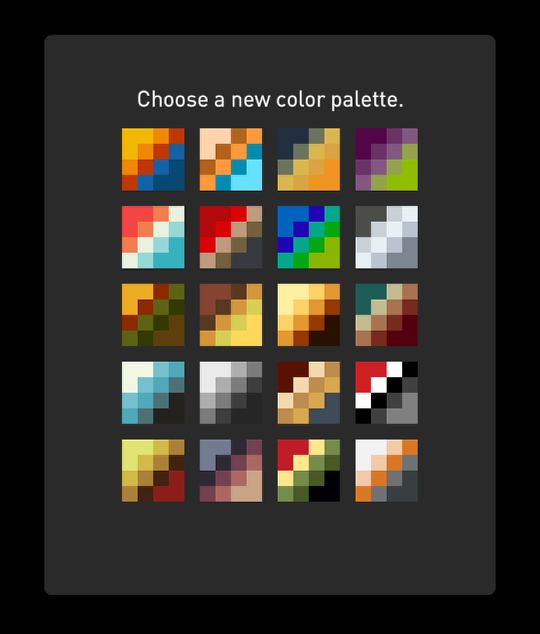
Setting the five different swatches in a color palette can be done with presets, accessed with the Swatch button, or by manually setting each color individually. Pressing the Swatch button brings up the following list of presets, all consisting of five different colors.
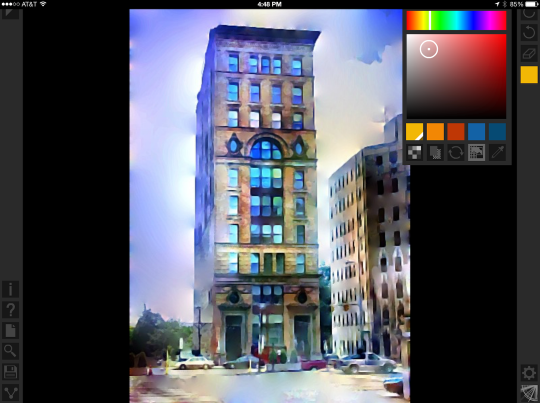
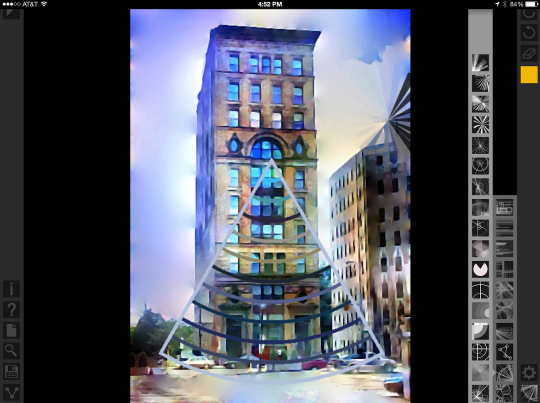
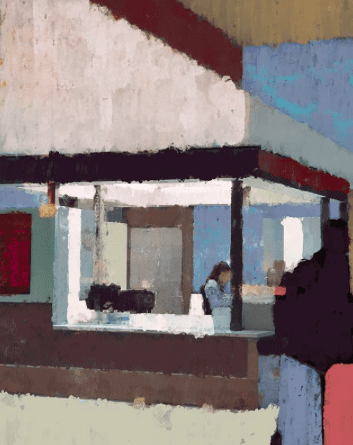
Now let’s look at Deco Sketch with a photo. In this case it’s a painterly treatment of a photo of a building in Buffalo. I want to see how Deco Sketch picks up the colors in the photo and uses them for drawing. So I tap the fourth of the five buttons at the bottom of the Color window, Use Photo Colors.
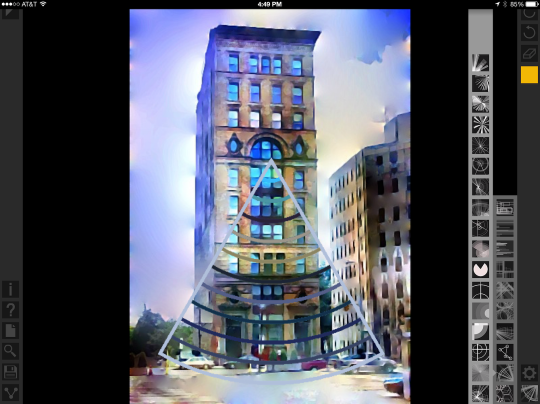
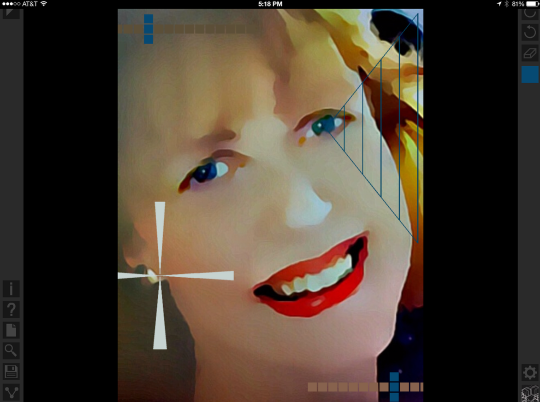
I pick a Radial Arc brush and start my stroke on the building, moving downwards. The brush is set to create arcs at fixed intervals, and as my finger or stylus hits the point where a new arc should be drawn, it uses the color that is under my finger at that time. The side lines at the ends of the arcs change color also, but will always end up with the color that is used for the final arc.
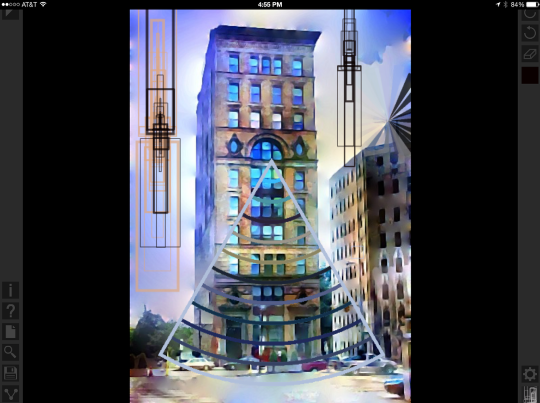
When I did the painterly effect on the image, it left a puckered-looking glitch atop the building on the right. I decided to cover that up with a brush that radiates from the middle. I start at the middle, move outwards, then in a circle that picks up the colors from the image as it places new arms. Notice that on the right it picks up black where I moved outside the image.
Tapping the eyedropper, then somewhere on the image, allows you to pick up a single color. This color will remain as you draw your stroke; it will not change as you move your stylus. Below I’ve chosen the Eyedropper and tapped a portion of the right building to pick up the tan color. I tap the Eyedropper again to set the color; as long as the Eyedropper is highlighted you will pick up color and be unable to draw.

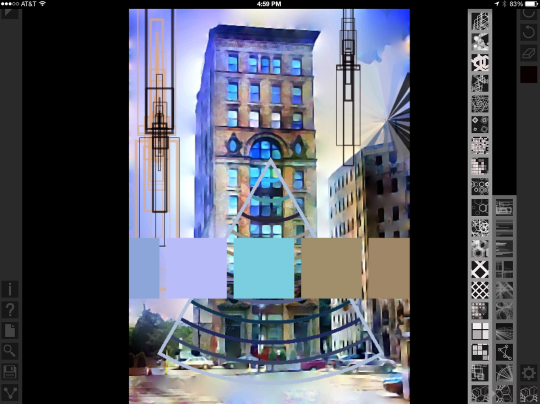
Below I’ve used the chosen color to draw some boxes on the left. Then I decided they were too light, so I changed the color to black and drew more boxes over them.
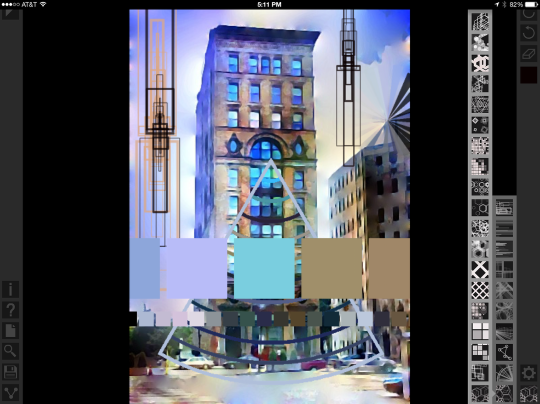
Let’s face it, those boxes are pretty darn ugly, and I would undo them immediately if I was actually trying to create something useful. Since we’re just experimenting, though, I don’t bother undoing, but instead continue with a nice effect. I pick the large square brush from the Polygon menu, and change the color method to Use Photo Colors. Drawing a horizontal line across the entire image produces a nice tiling effect.
I like that so much, I choose a smaller brush and make another stroke underneath it.
In the following image, I use the Eyedropper to pick up colors from the image to create my ornaments.
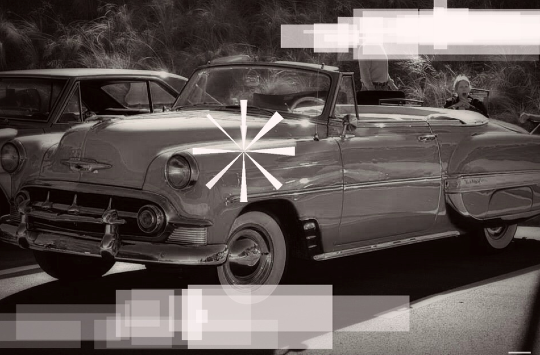
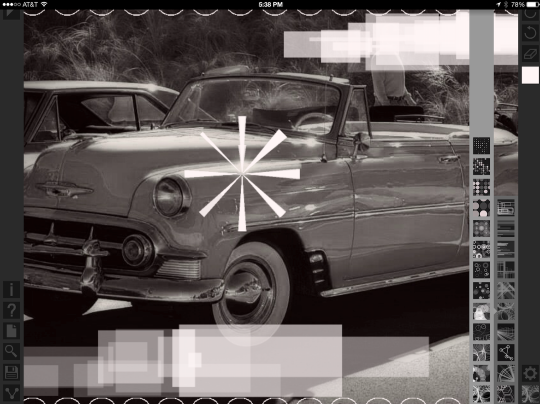
Up to now, I’ve been using bright, saturated colors in my sketches. But monochromatic ornaments work well on a black and white photo also.
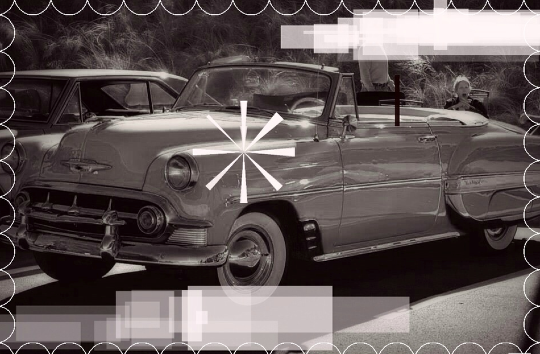
By experimenting with the Brush Spacing and Grid Snapping settings, I was able to use a brush that normally looks like a Slinky toy to create an evenly spaced border of circles around my car image.
Here’s the full image without the obscuring toolbars.
Deco Sketch is very powerful, but difficult to get right. You make a stroke, and have to think – is this what I wanted? Do I want the brush filled, or at a different angle? Do I want the shapes to be spaced out evenly? Snapped to a grid? So you undo, change the settings and try again. This can be extremely frustrating to the person who prefers to slap a filter or some stickers on a photo and call it good. But Deco Sketch performs a task that is not attempted by many other apps, and does so in a way that is not a “cookie cutter” process.
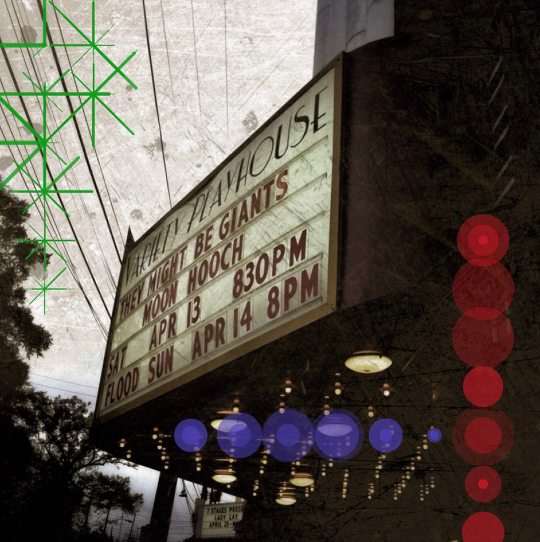
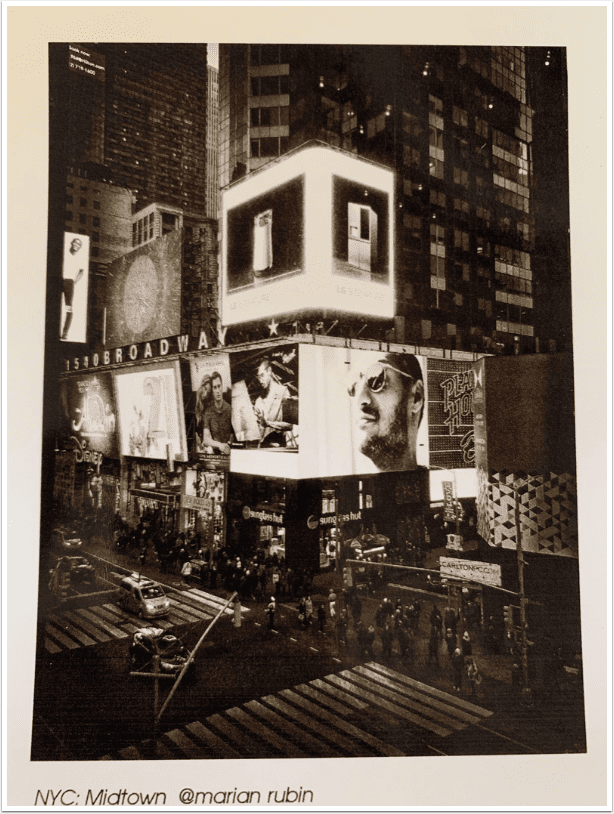
My first example is a marquee of a local concert venue. I used green lines to coordinate with the power lines and circles to coordinate with the marquee lights.
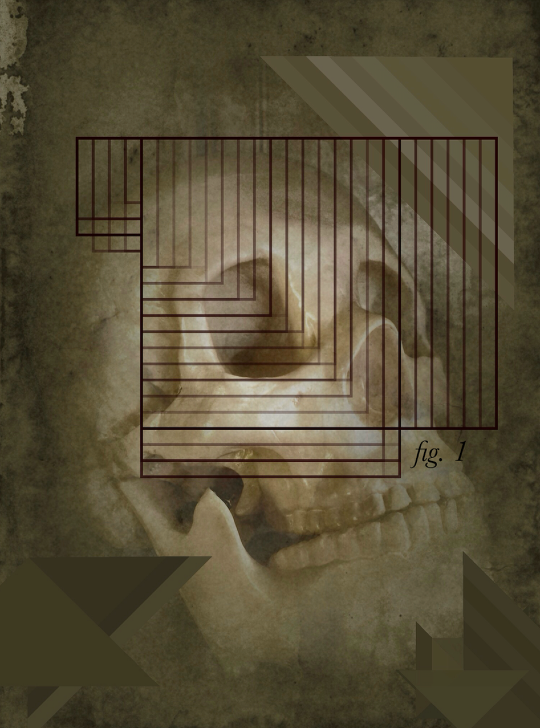
Next I used a photo of a skull that I had taken through Vintage Scene, added some triangular shapes and boxes through Deco Sketch, then added the text in Phonto.
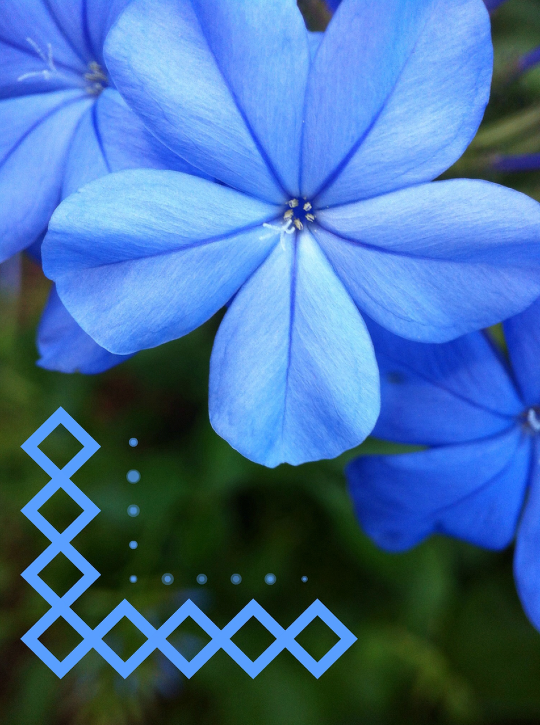
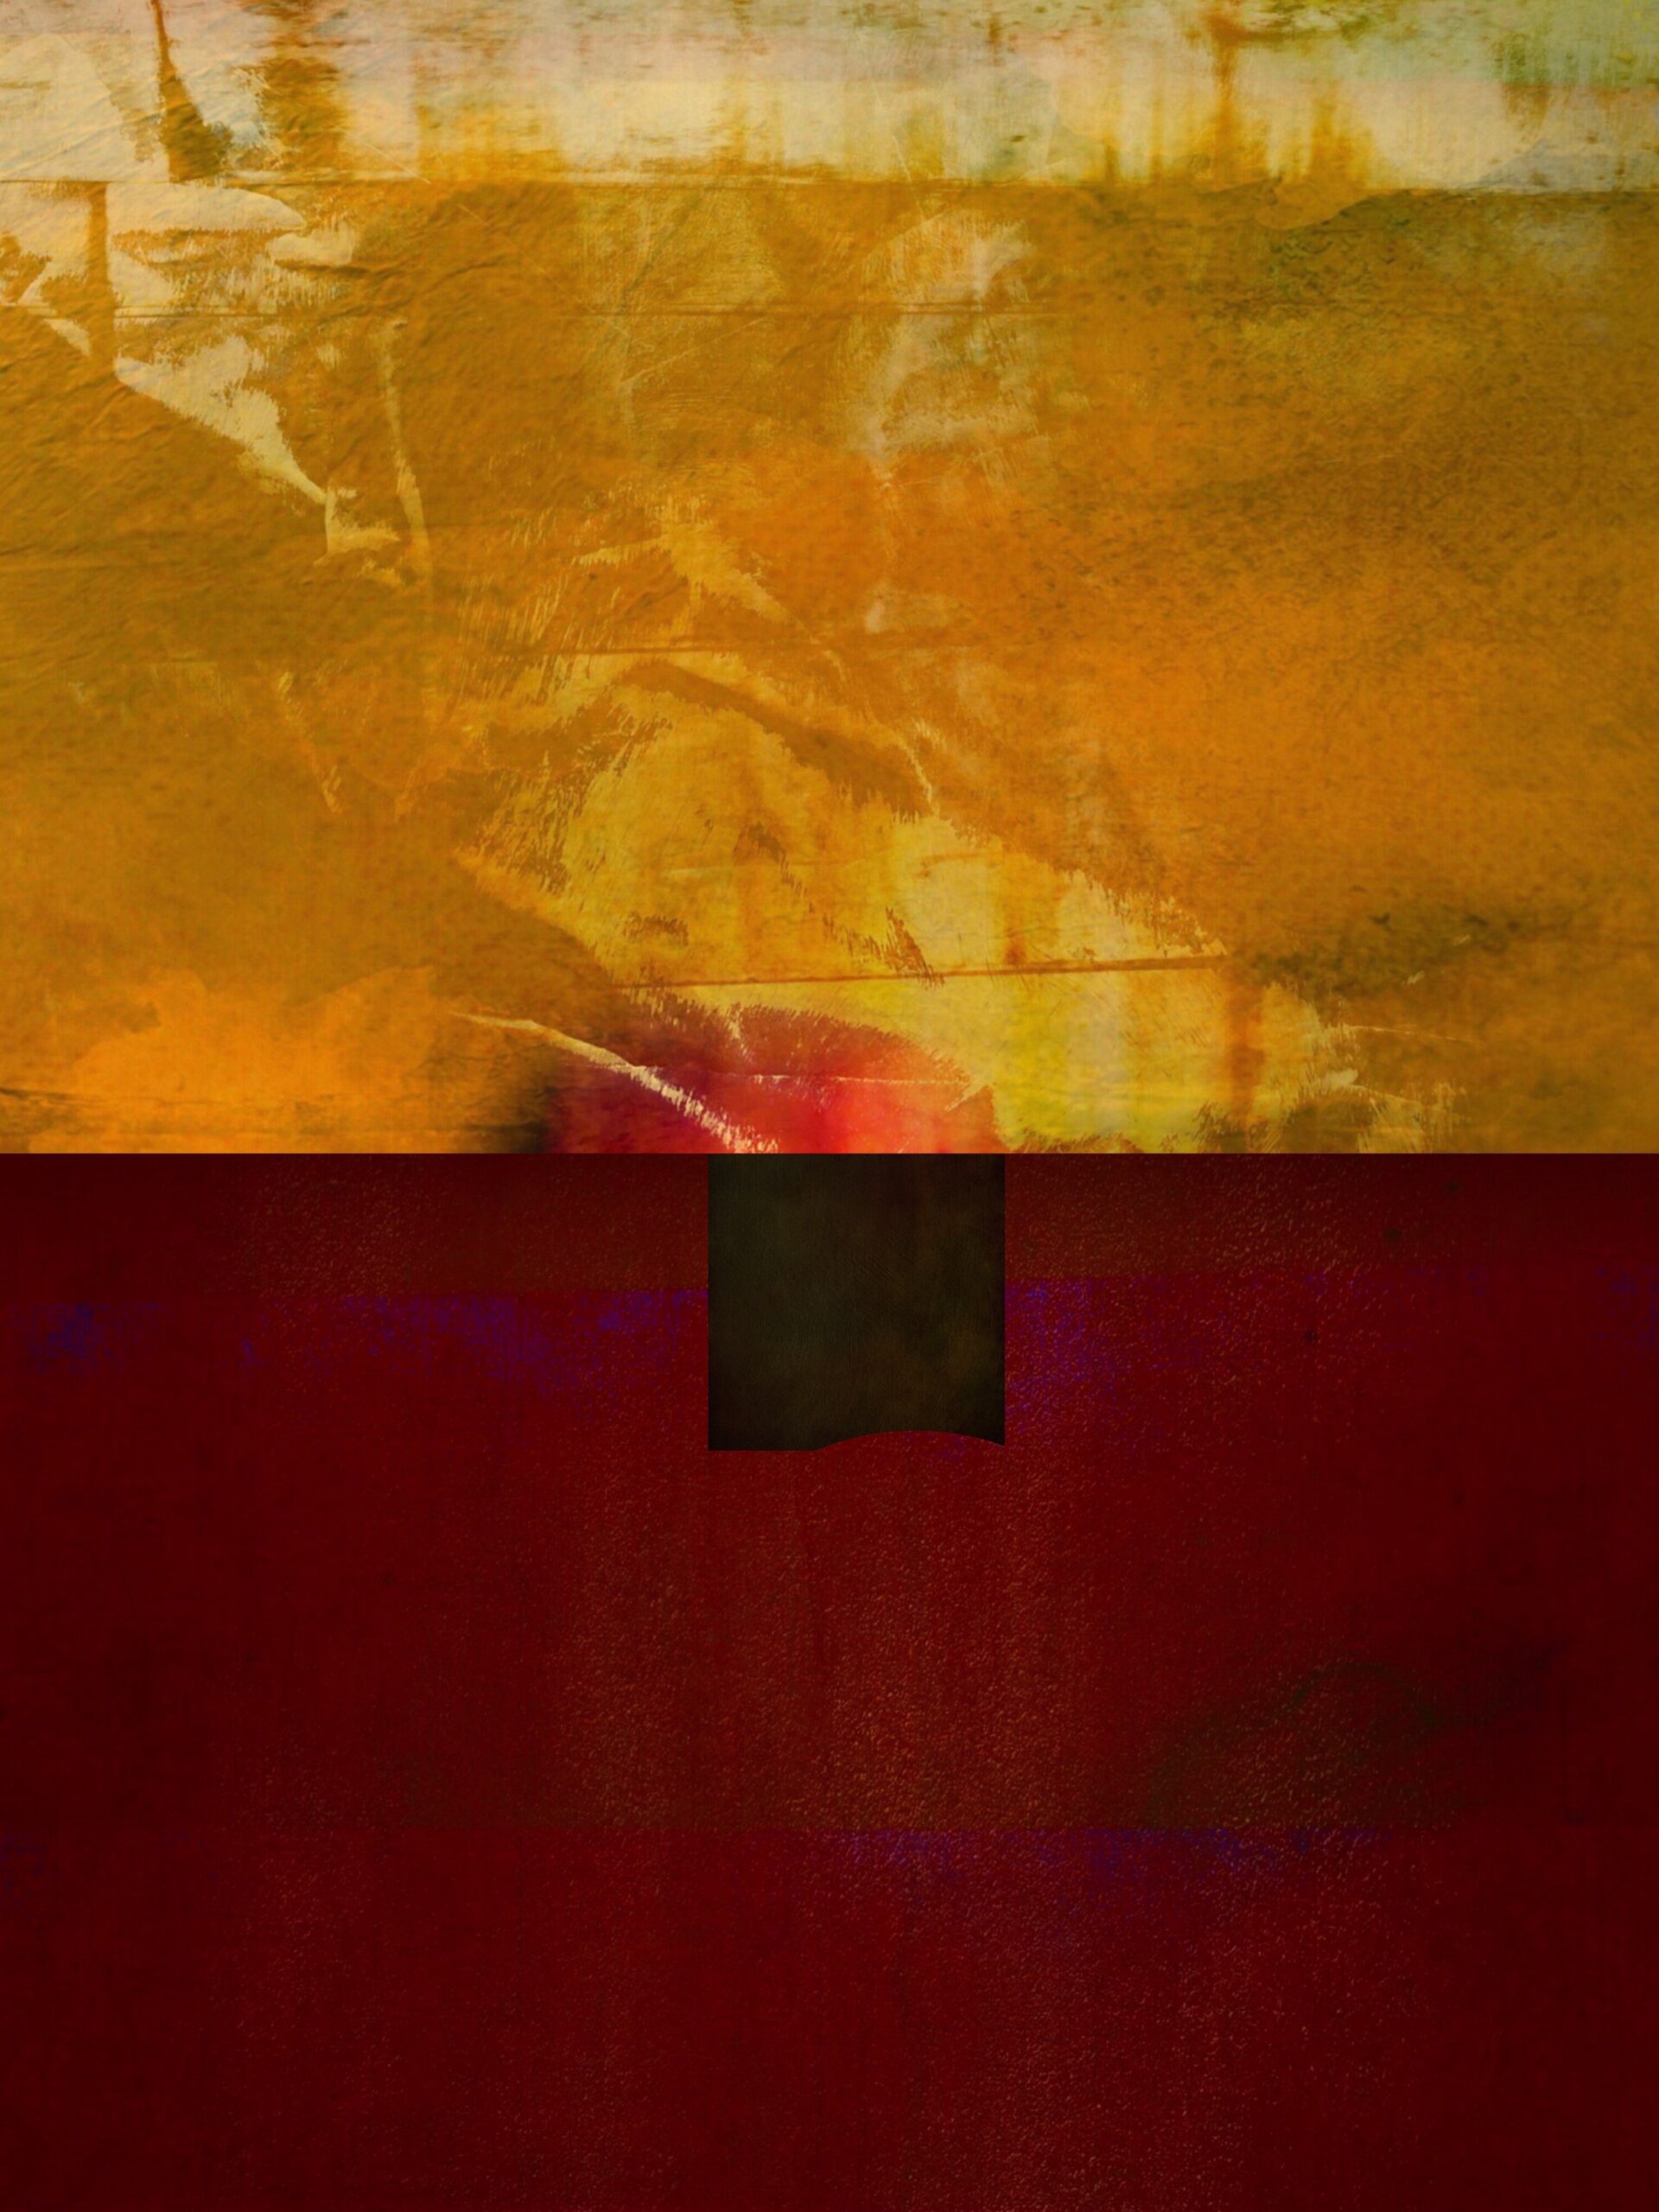
Finally, I used the Eyedropper to match the color of the flower, and added some ornament in the dead space to balance out the flower.
Deco Sketch is worth the learning curve. Enjoy giving it a try!”
Jerry Jobe
Never content with just scratching the surface of what an app can do, Jerry Jobe decided to pass on what he learned about imaging apps to others. He’s constantly trying to figure out just what tools other artists have used, and trying to incorporate them into his own work, in an attempt to find his style. He’s written tutorials on over 145 apps so far, which you can find (along with his Song of the Day entries) at http://enthusiasmnoted.wordpress.com/ He lives near Atlanta, Georgia, where he also finds a creative outlet in acting and directing in community theater.
One Comment
Andrea Bigiarini
Jerry Jobe is the Leonardo of iPhoneography tutorials.
Great one Jerry