LoryStripes – Technical iOS Photography App Tutorial – By Jerry Jobe
We’re delighted to publish the latest mobile photography Technical Tutorial by our fabulous Tutorial Editor Jerry Jobe, this time on the new and popular iOS photography app, LoryStripes. Don’t miss this, over to you Jerry. (Foreword by Joanne Carter).
We’ll wrap up our look at the apps of Ben Guerrette/Pixite with a walk through LoryStripes. It’s remarkably similar to Tangent (using “ribbons” instead of shapes), but instead of allowing for patterns and seven different blend modes, it allows for 3D perspective and masking.
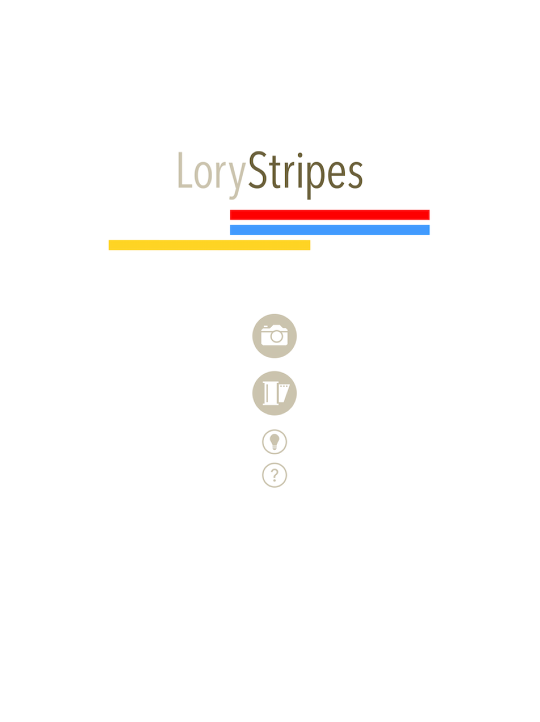
Like Tangent, the opening screen is very minimal. You can choose to take a photo, load a photo, get a little information about the app, or tap the light bulb to see some inspiration – user images manipulated with Tangent.
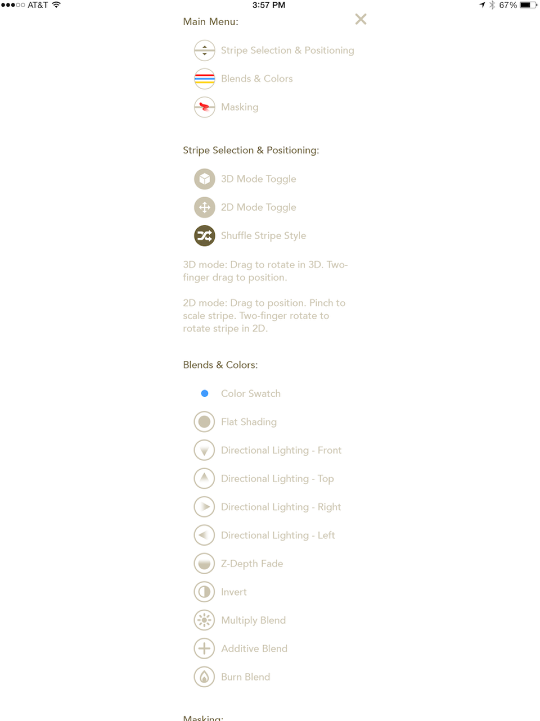
The information, once again, is minimal; but there’s more explanation of all the various controls, rather than just a few of them.
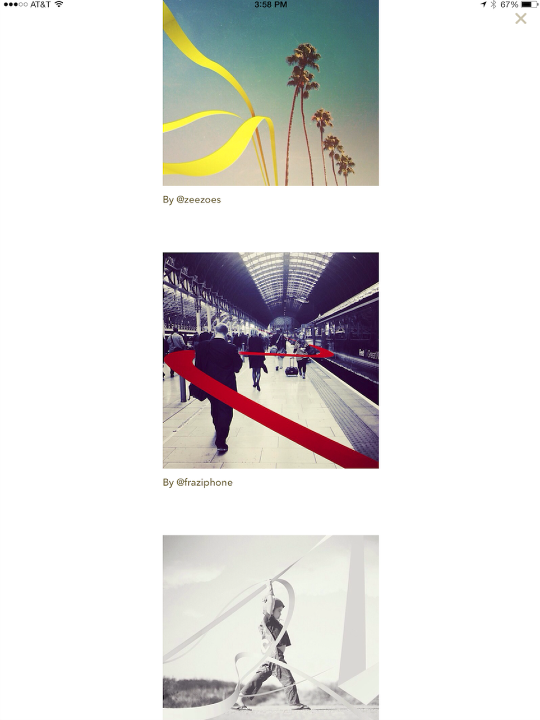
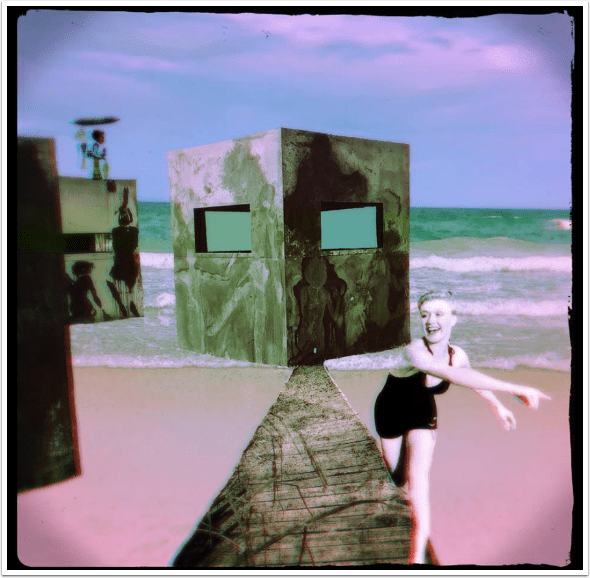
Below you’ll see a page of user images shown in the Inspiration section.
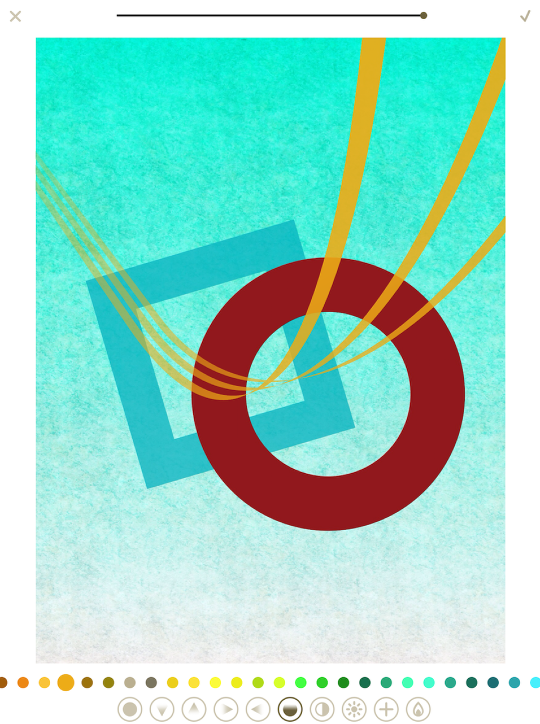
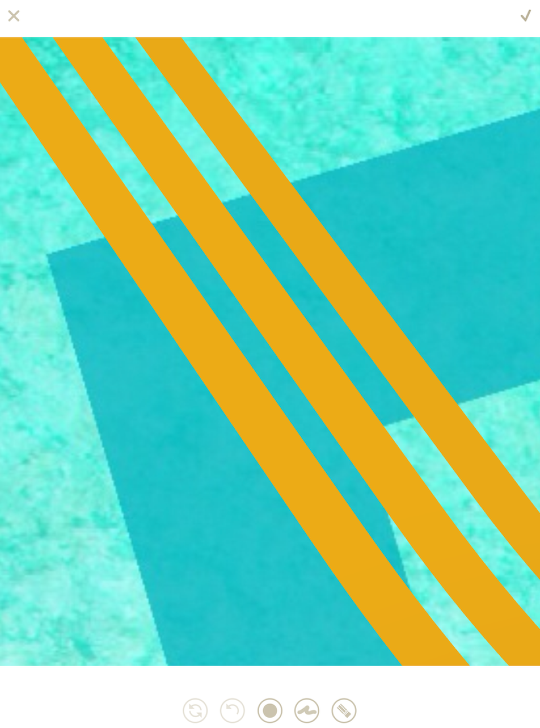
Once again, I am starting with a minimal background (created using iColorama and Tangent) so that you can more clearly see the effect of LoryStripes. LoryStripes does not have Styles, like Tangent, so the image is opened into the section where you choose the type of stripe to apply.
The stripe currently being applied is highlighted at the bottom with a darker circle surround. It also has a crossed arrow icon. Tapping that icon shuffles the characteristics of the stripes – the perspective, color and shading. It can create an entirely different look: below I’ve tapped the shuffle button once, and it happens to fit what I need for this image much more closely.
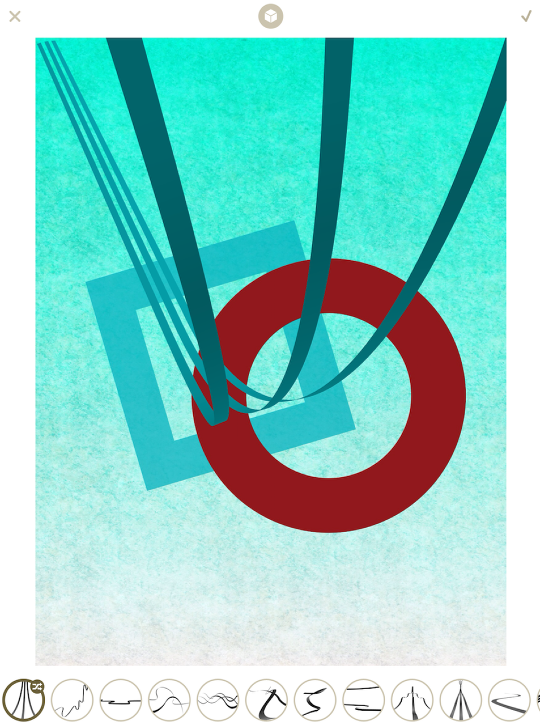
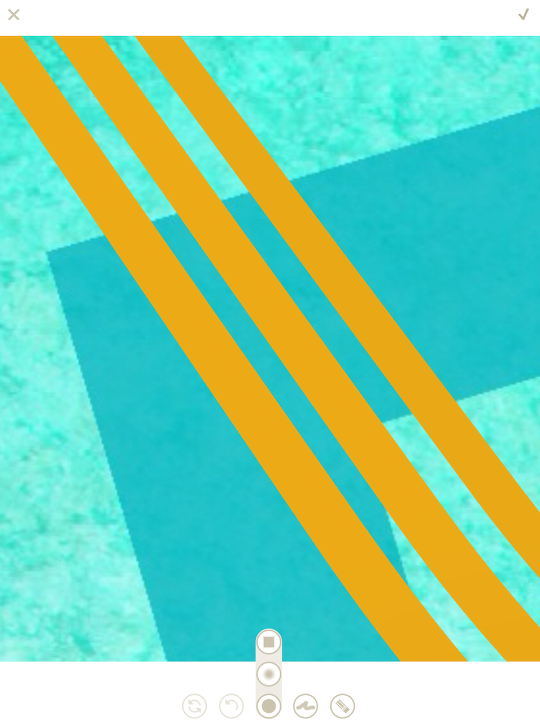
The X at the top of the screen backs out of any changes you have made. The check mark commits the changes. The center icon is used for two purposes; when it is a cube, then gestures on the screen will change the perspective of the stripes. When it is crossed arrows, then gestures will allow you to move the stripes around the screen. Below I’ve changed the perspective a little bit on my stripes.
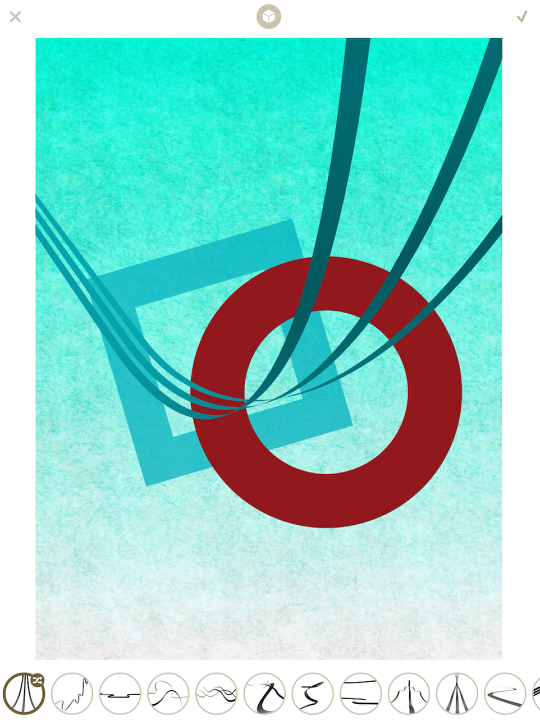
Tapping that center icon changes between the modes. Below I’ve changed it to the arrows, and then dragged the stripes up and to the right slightly. A pinch will allow you to change the size and rotate the stripes.
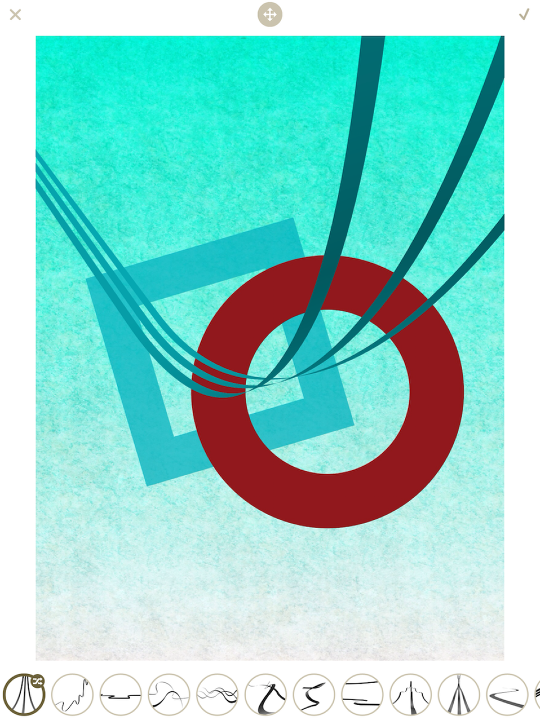
Next I tap the check mark to commit the changes. That takes me to the main screen, which has three options along the bottom: Stripe, which we’ve just seen; Color, which allows you to choose the color, lighting/shading, and blend mode; and Masking.
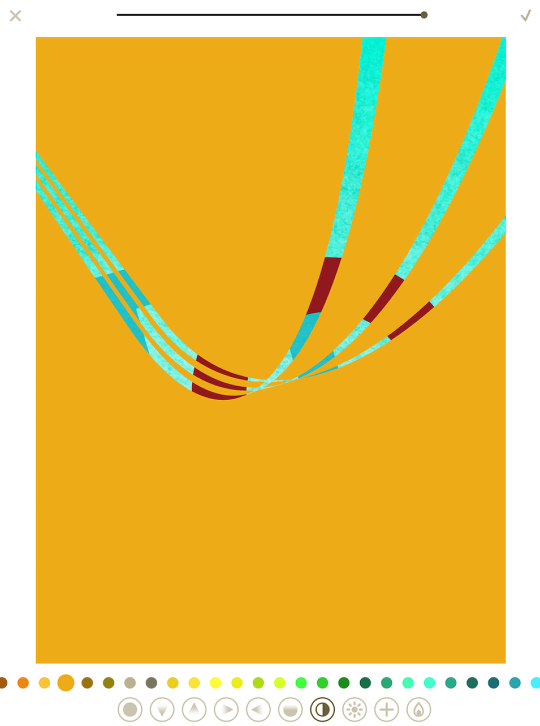
Let’s look at the Color section. Along the bottom you have a scrollable row of small circular swatches to choose the color of the stripes. Below that you have a series of ten buttons. The first six determine the lighting applied to the stripes. The seventh (the divided circle) is the Invert command. The last three are blending modes, for which lighting/shading does not come into play: Multiply, Additive and Burn. (Caution: What LoryStripes calls Multiply, I would call Lighten; the Multiply here lightens the underlying image rather than darkening it as traditional Multiply blend does.) Here I’ve changed the color to gold and the lighting to look as though it came from the right.

Below you can see what changing the lighting to seem as though it comes from the top does to the stripes.

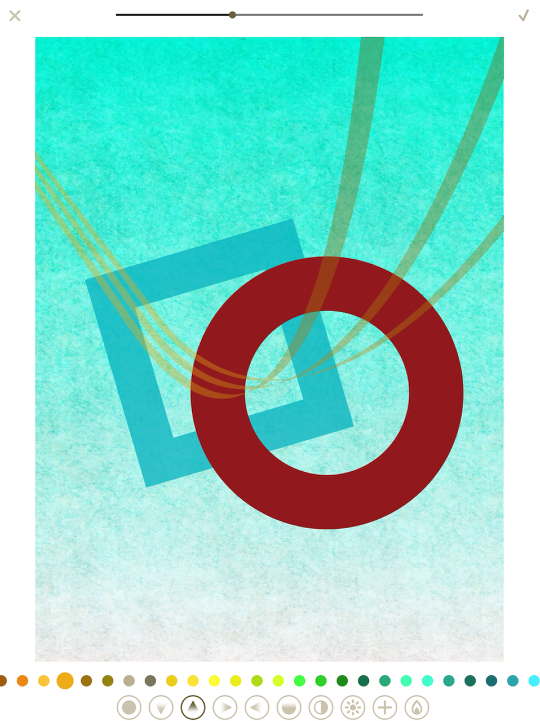
The first lighting setting is flat lighting. The last, or gradient one, shown below, is actually a fade command, allowing the opacity to be lowered as the stripe goes “away” from the viewer. The lighting is flat, so you can’t apply both fade and top-down lighting to the same stripes.
The Invert command is shown below. I’m sure it can be useful, but I haven’t used it on any images yet.
At the top of the screen in the Color section are the normal Cancel and Commit buttons, as well as an opacity slider for the stripe.
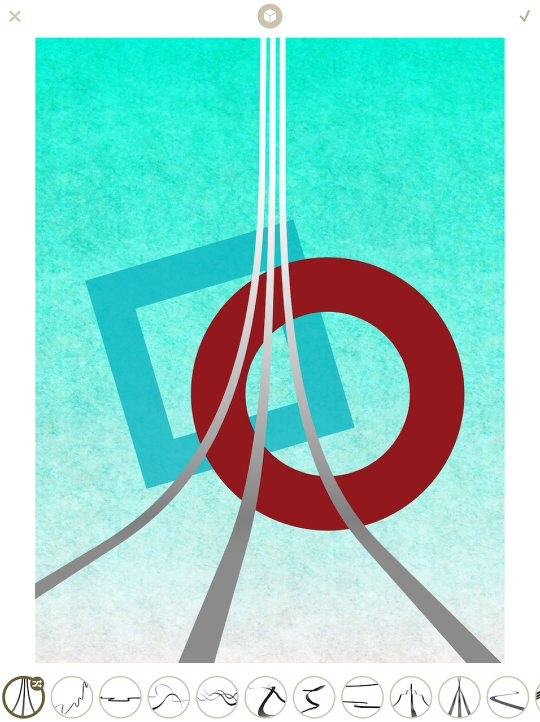
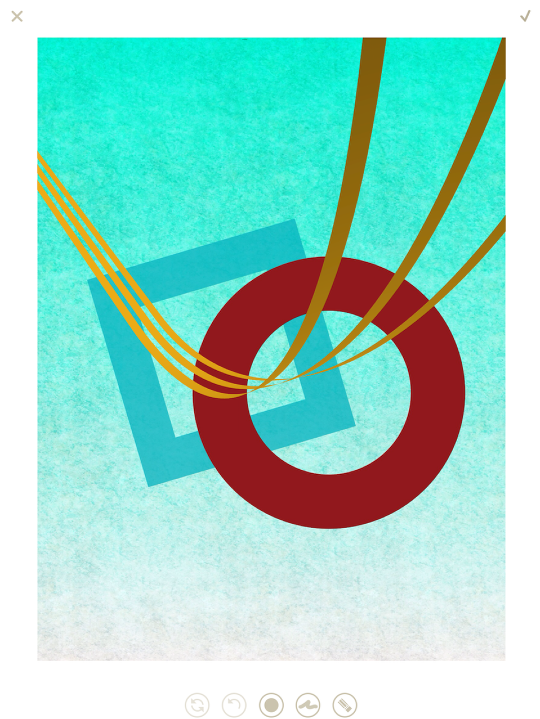
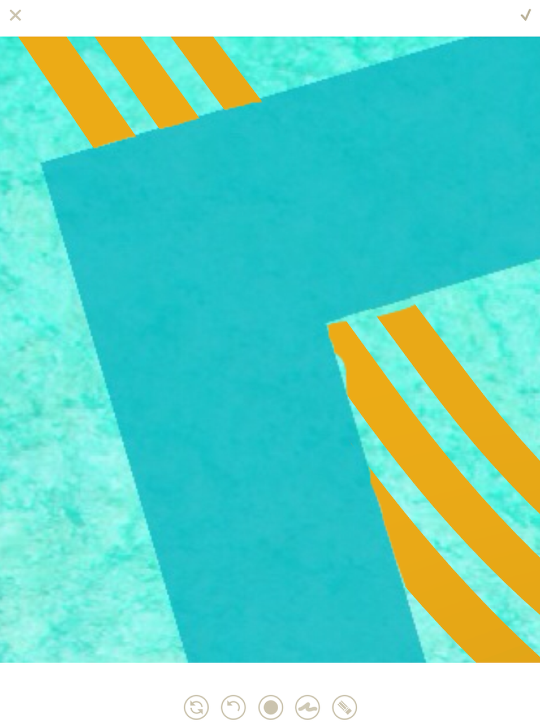
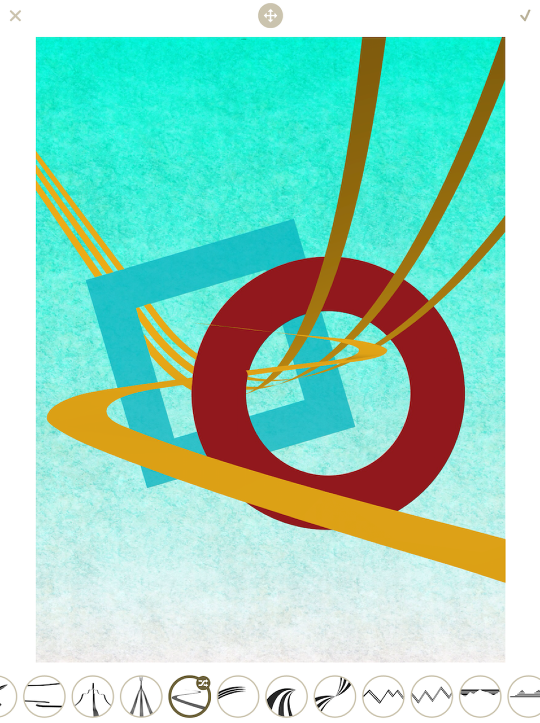
I committed the gold color with the top-down lighting, and have now entered into the Masking section. This allows you to make it look as though the stripes pass behind portions of your image. I want it to look like these stripes start behind the square and circle, then come forward through them both. The buttons along the bottom are: Reset the mask; Undo the last stroke(s) on the mask; Masking Brush characteristics; Show the mask as a red overlay; and a switch between masking the stripe (eraser) and painting the stripe back in (pencil).
A pinch will allow you to zoom in on a portion of the image for detailed work.
Mask Brush characteristics allow you to change between a hard-edged round brush, a hard-edged square brush and a soft-edged round brush. The brush size is relative to the screen, not the image – in order to make the brush smaller, zoom in; larger, zoom out.
Here I’ve started to paint out, or erase, the portion of the stripes on “top” of the square. Careful brushing, while zoomed in, can follow any edge.

If you make a mistake, as I’ve done below, then you can tap the last icon, changing it from the eraser to the pencil, and paint the stripe back in.
In the following image, the Show Mask button has been tapped, and a red overlay shows the mask. Notice how you can’t see the red overlay on the red circle. There is not a way to change the overlay color.
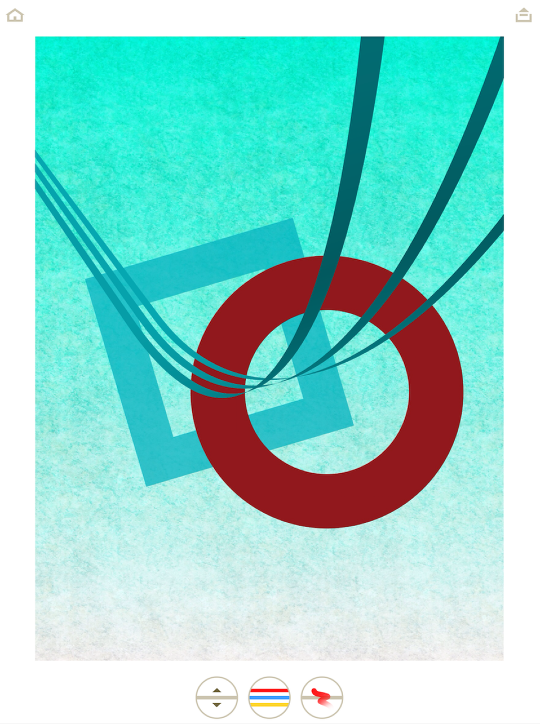
Once I commit my masking changes and come back to the main screen, I can choose to save the result by tapping the button in the upper right. On the other hand, I can add additional stripes by tapping “ReStripe”.
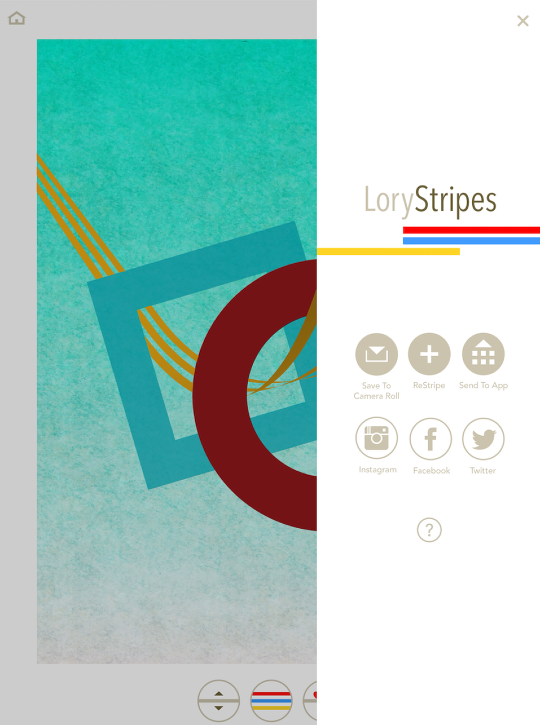
Tapping ReStripe brings you back into the Stripe section, so you can choose another stripe to apply. The previous color and lighting are used by default.
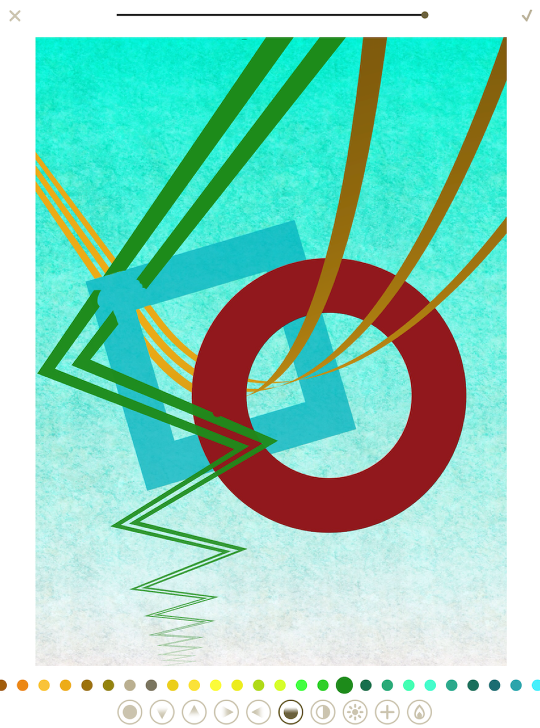
Below I’ve chosen a different stripe, a more jagged one. I also changed the color to green and the lighting to Fade. But in addition to the color and lighting being carried forward by default from the first stripe, I can see that the masking was carried forward also.
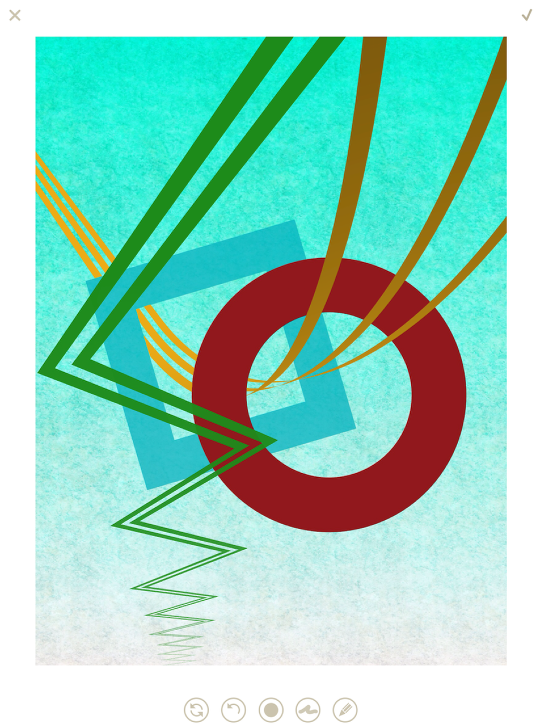
So I have to go into the masking section.

I use the pencil rather than the eraser to paint back in the mask (or tap the Reset/Clear Mask button).
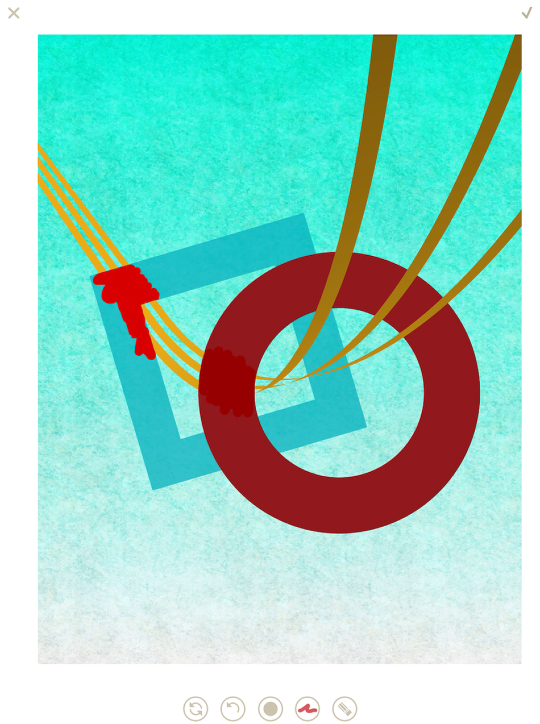
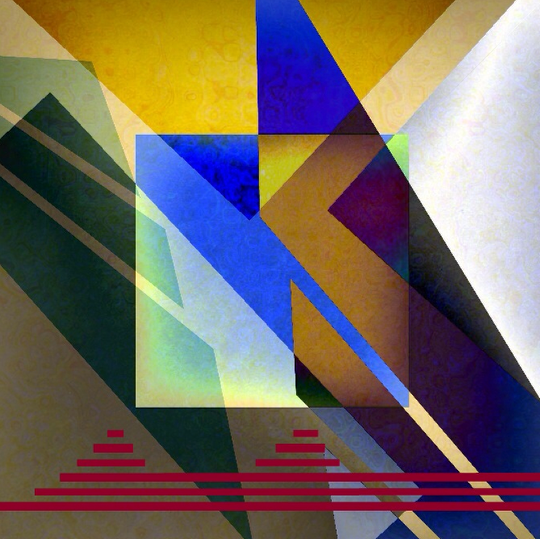
And that’s all there is to it! Let’s take a look at a few applications of LoryStripes, both in abstract work and with photos. My first example uses “buildings” from Tangent, along with a ribbon and airplane from LoryStripes.

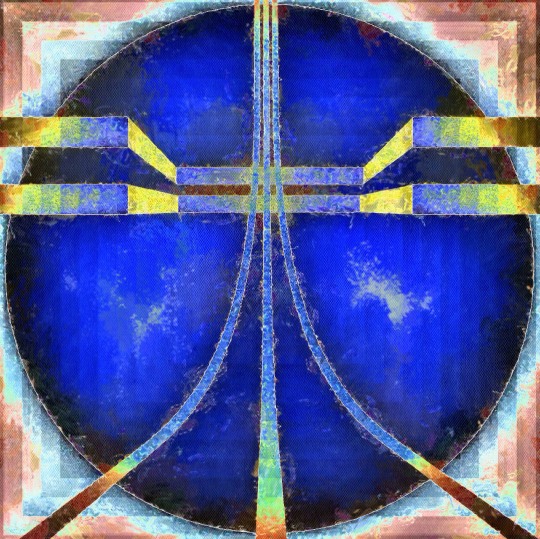
The next example used a square background layered upon itself in iColorama. Then shapes were added in Tangent before adding the final stripe in LoryStripes.
The next takes an image created in Tangent and LoryStripes through AutoPainter (I believe).
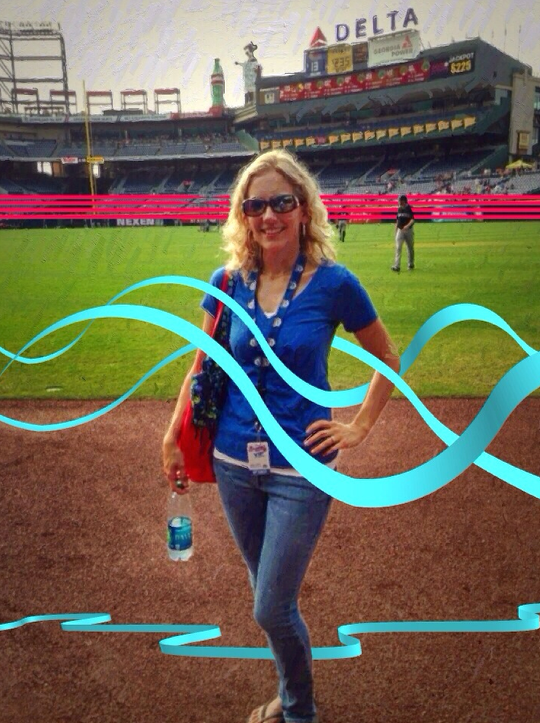
A Glazed image of a friend at Turner Field was a good one for “weaving” some stripes through.
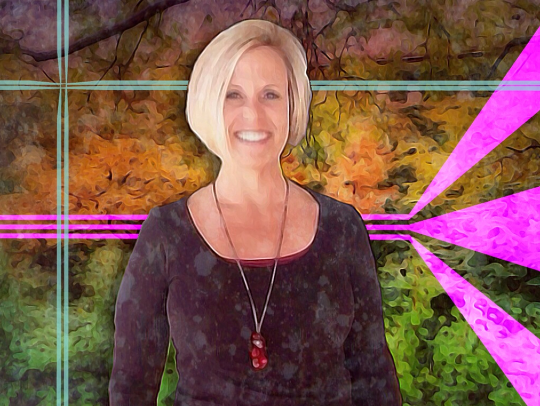
As was this image of my sister which was taken through iColorama before adding stripes.
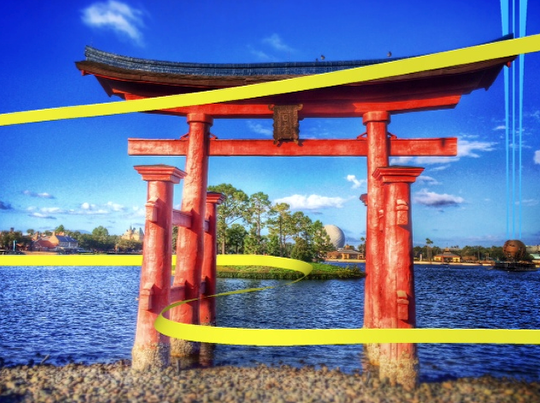
Here we added a little pizzazz to Epcot.
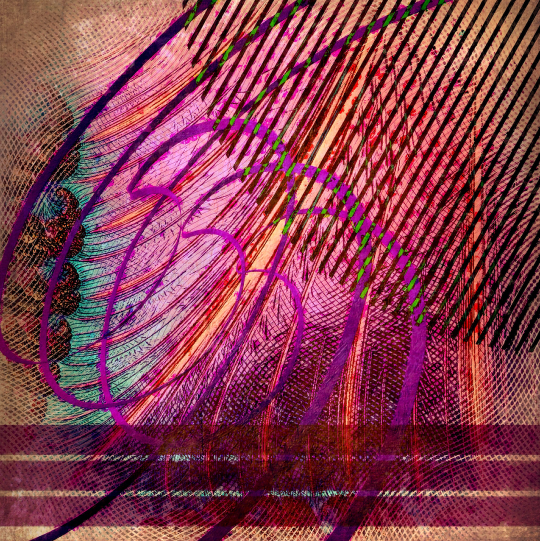
Finally, a conglomeration of Frax HD, Tangent, LoryStripes, iColorama and Distressed FX.
LoryStripes is a lot of fun, especially in conjunction with Tangent. Like Tangent, it could use true layering rather than ReStriping. On the other hand, Tangent would really rock with the addition of masking and lighting like here in LoryStripes. Enjoy!
Jerry Jobe
Never content with just scratching the surface of what an app can do, Jerry Jobe decided to pass on what he learned about imaging apps to others. He’s constantly trying to figure out just what tools other artists have used, and trying to incorporate them into his own work, in an attempt to find his style. He’s written tutorials on over 145 apps so far, which you can find (along with his Song of the Day entries) at http://enthusiasmnoted.wordpress.com/ He lives near Atlanta, Georgia, where he also finds a creative outlet in acting and directing in community theater.
2 Comments
Carlos
Nice job Jerry. Thank you very much for this tutorial.
Pingback: