iOS Photography Technical Tutorial – ‘PopAGraph’ Part 1 – By Jerry Jobe
We’re delighted to publish Jerry Jobe’s latest tutorial this time it’s on the app ‘PopAGraph’ and is in two parts, this is part 1. We think you will really enjoy this, over to you Jerry (foreword by Joanne Carter).
PopAGraph is free and here’s the link to download it
“With some apps, it’s easier to show you what they do than to explain what they do. PopAGraph by Flambe Studios is one such app. As suggested by the name, the app allows you to “pop” part of your image out over a frame, as if the frame can’t hold it. Let’s show you an example so you can know what we’re trying to do.

My, that looks tasty. Maybe that will be my reward for explaining PopAGraph to you.
PopAGraph is a universal app. Today I’ll be showing you the iPhone screens (for the most part). The iPad version will work in landscape mode as well as portrait. Here’s the splash screen you will see when starting the app.
After the splash screen disappears, you’ll be taken directly to the workspace. As you can see, the previous image worked on will be saved for further modification and will automatically be placed in the work area. I was working on a Valentine. The menu is accessed by tapping the orange arrow tab at the lower right of the workspace.
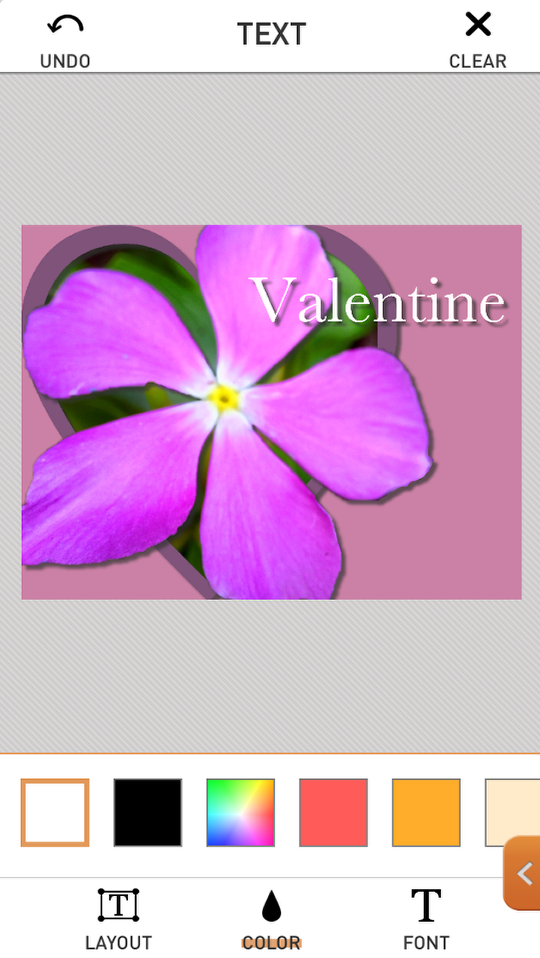
If you read the options from top to bottom, you get an idea of the workflow in PopAGraph. First you select an image. You apply a mask to tell the app which parts of your image should pop out of the frame. You can optionally apply filters to the “popped” and background portions of your image. You apply the frame(s). You add text, if desired. Then you add finishing touches before sharing the finished image. Below the Share button is a gear button for Settings. That’s where we’ll look first.

There are no real settings in PopAGraph. You can see the options listed below, and you’ll notice there are no resolutions settings, or any other kind of settings that will change how the app runs.
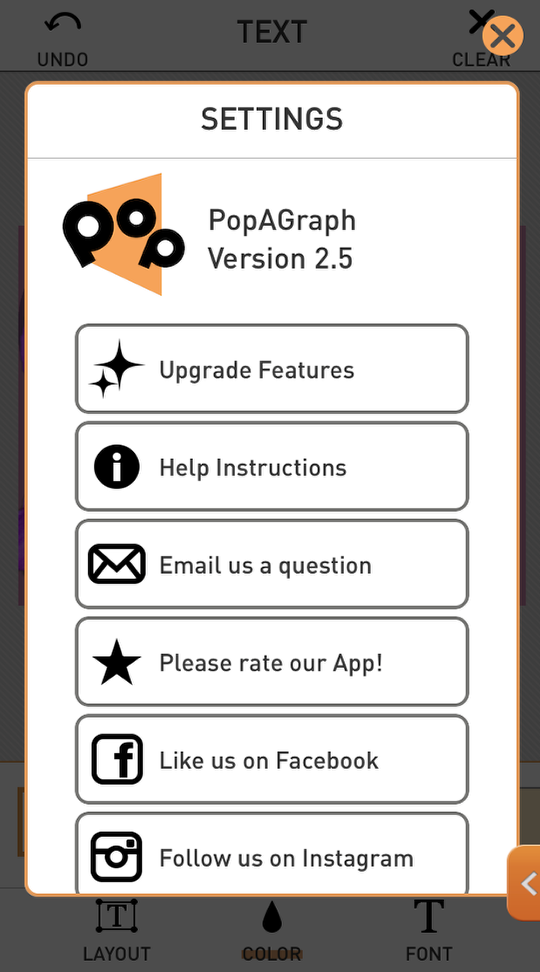
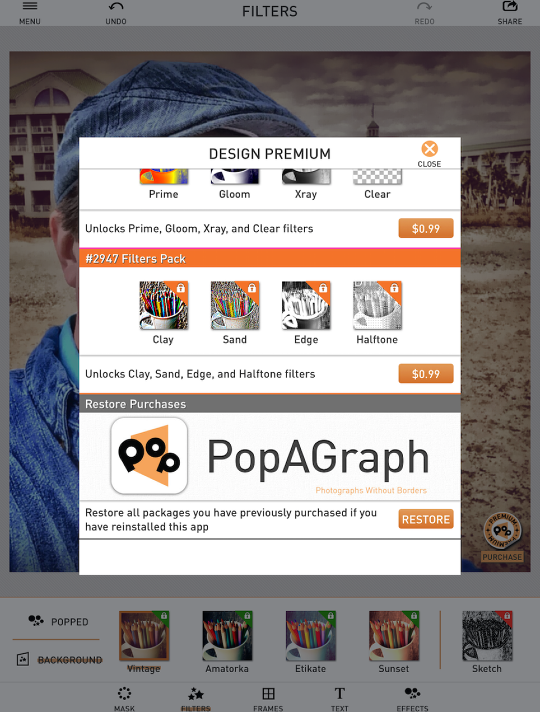
The first section is where you go to turn on all the features of PopAGraph by purchasing them. Although the app will work just fine without the added features, I would recommend taking the plunge and buying all the features at once, as you get a discount. If you have PopAGraph on two devices, then you only have to purchase the upgrade once; the Restore Purchases button will allow you to load upgrades to your iPad that you purchased on your iPhone.
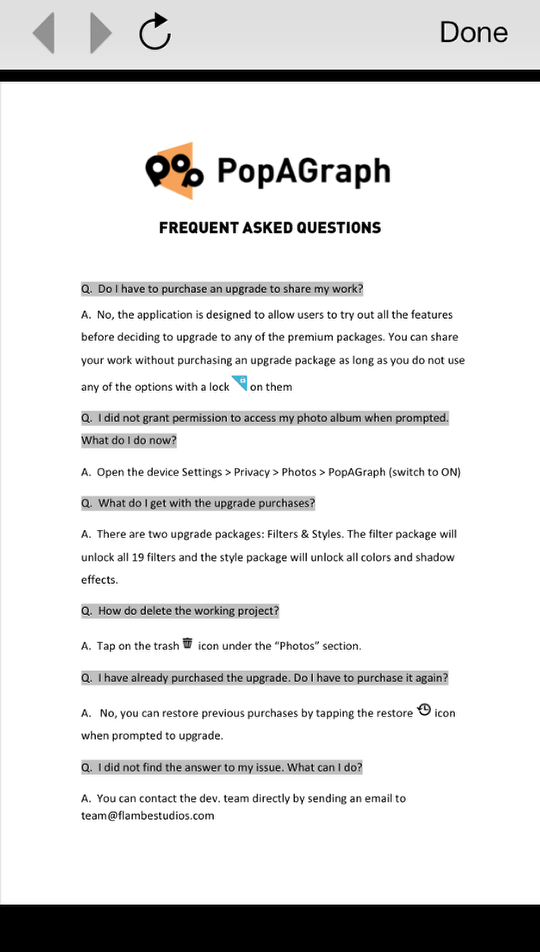
Below you will see the help screen. The tutorial is handy. It’s interactive, and runs automatically the first time you run the app. You can access it at any time here.

The remainder of the help is a series of PDFs which I find very small on an iPhone screen.
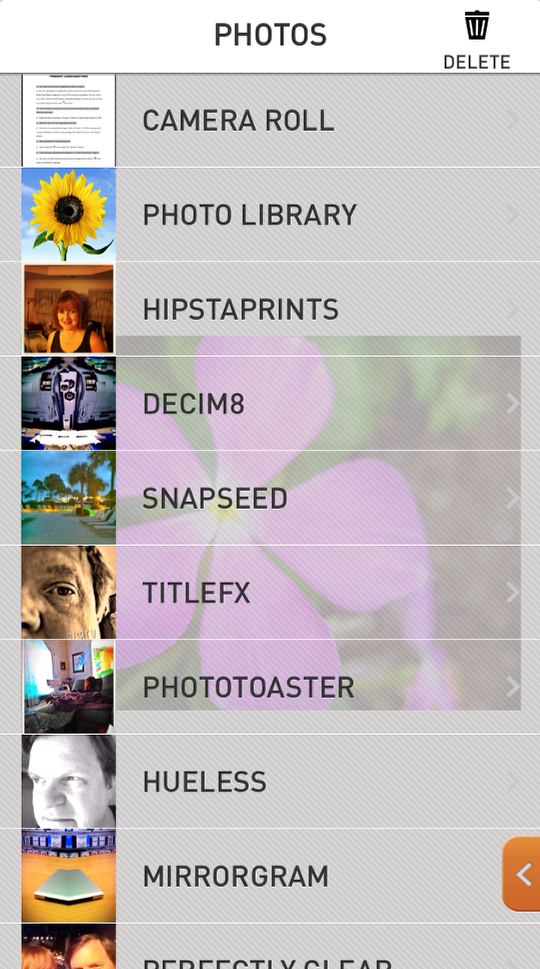
Upon returning from settings, I went to the menu and tapped photo to load an image. PopAGraph allows you to load from any album or your Photo Stream.
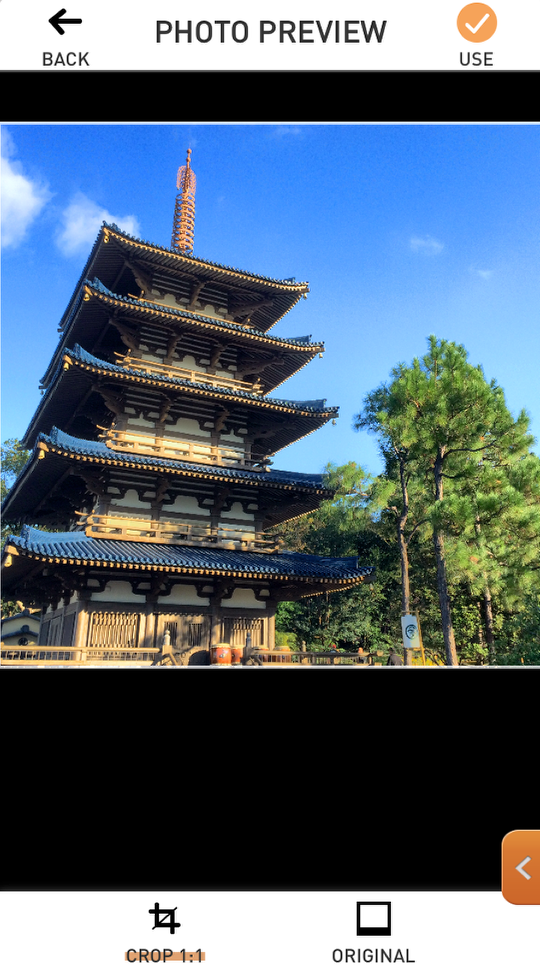
PopAGraph defaults to cropping your image into a square, but it’s easy to tap “Original” at the bottom and keep the original aspect ratio of the image. Then tap the check mark at the upper right to use that image.
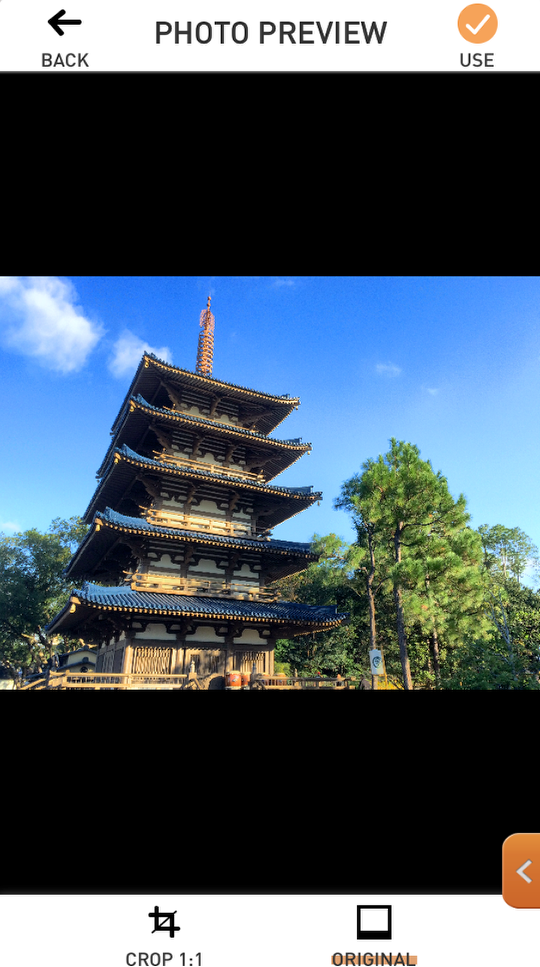
Below you’ll see that I chose the original aspect ratio.
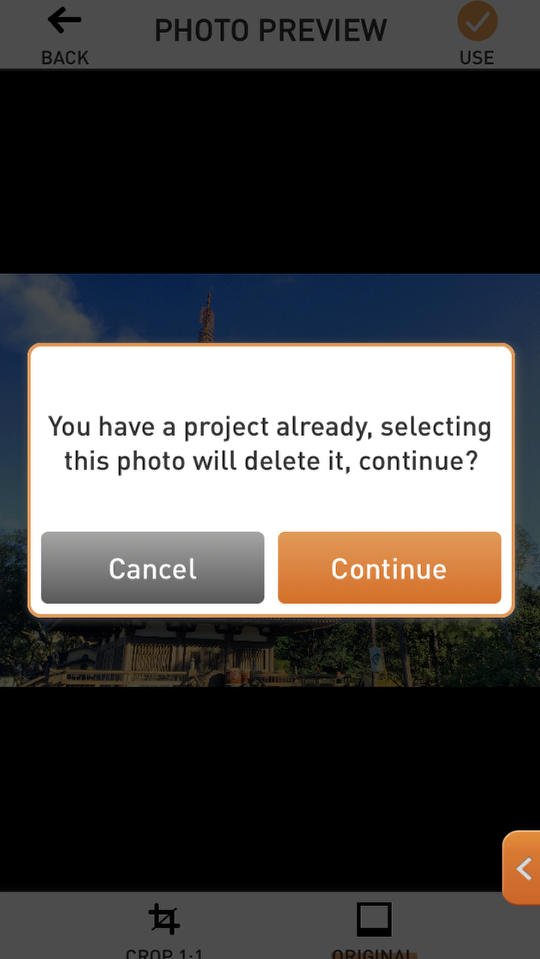
As I said above, if you’ve used PopAGraph before, the last image you’ve worked on will be pre-loaded to the workspace. PopAGraph will want to make sure that you want the new image to wipe out any work you’ve done on that previous image that wasn’t saved.
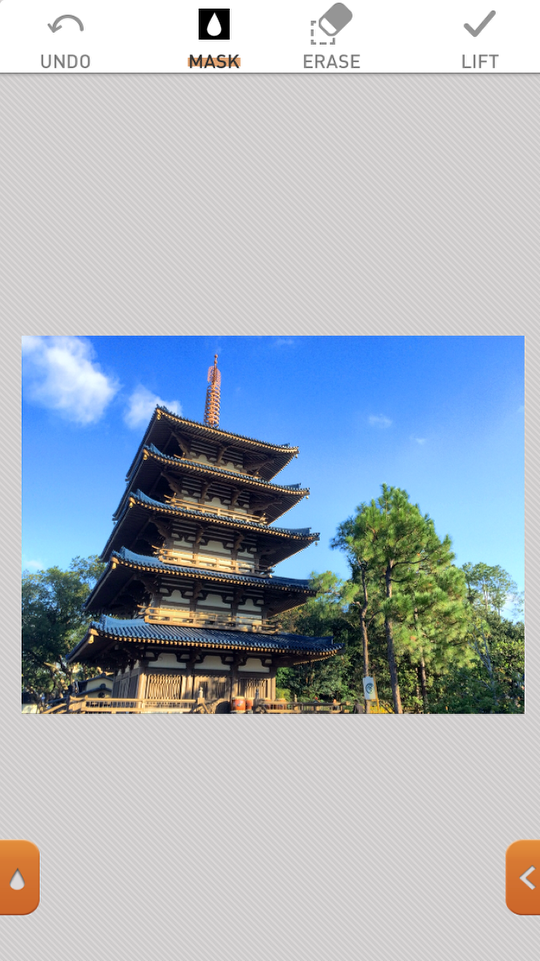
Once you load the image, you are automatically taken to the Masking submenu. At the top you can choose from the Masking brush, the Eraser, and Lift, which will try to contract your mask to fit to the edges. We’ll see how well Lift works in a moment. At the bottom left is an orange Drop tab, which contains the settings for the brush.
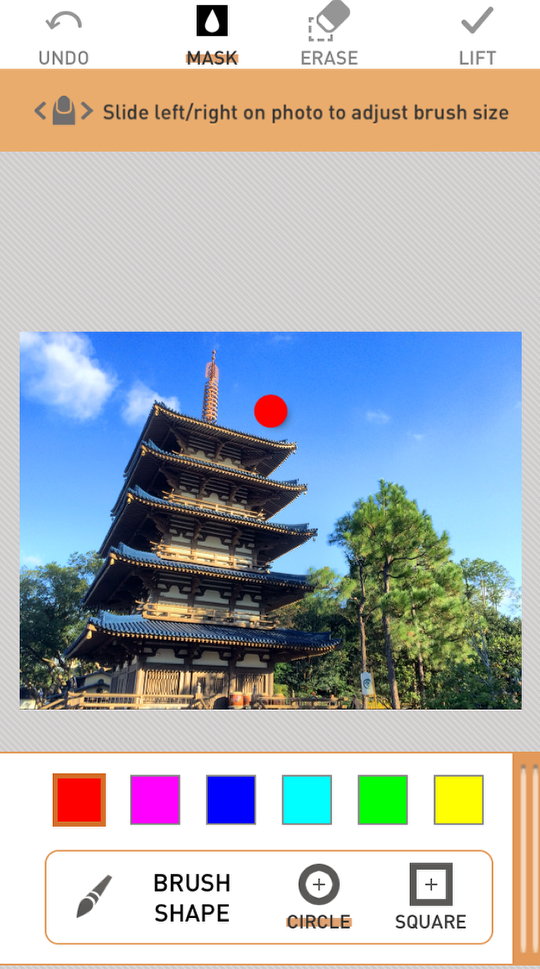
As you can see below, the app instructs you to move your finger left and right across the screen to shrink and expand the size of the brush. At the bottom you can change the masking color and the brush tip from round to square. Tapping the orange bar with the double white lines dismisses the brush settings and returns you to the masking screen with the new settings enabled.

Below I’ve made the brush larger by swiping right on the screen.
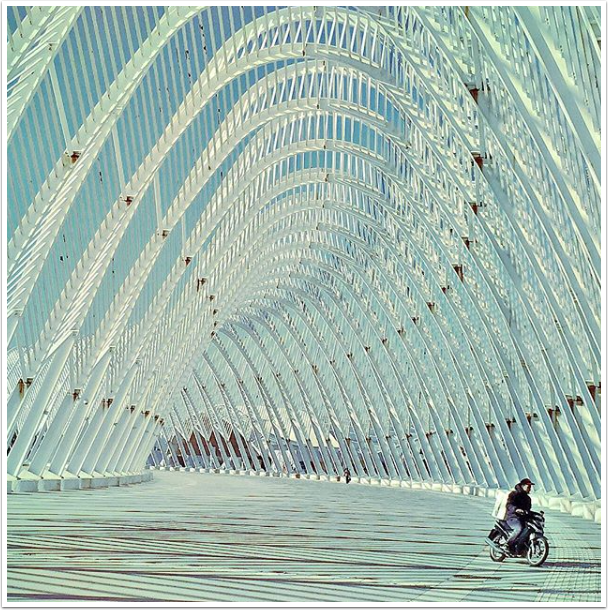
I know I’m going to be using the Lift function, so I loosely outline the building and trees.
I use a stylus with a clear tip for masking in PopAGraph, since my finger is too large to come anywhere close to the edge of the object I’m trying to mask, and blocks it completely. This is one of the few times that I find using a stylus necessary. The app would be greatly helped if there was a “loupe” function, where the area under your finger was displayed on another part of the screen, as in TouchRetouch.
Once the object is completely outlined, the app will automatically fill in the outline. In the image below, there is still a portion of the outline that is incomplete on the bottom right, so the fill is not done.
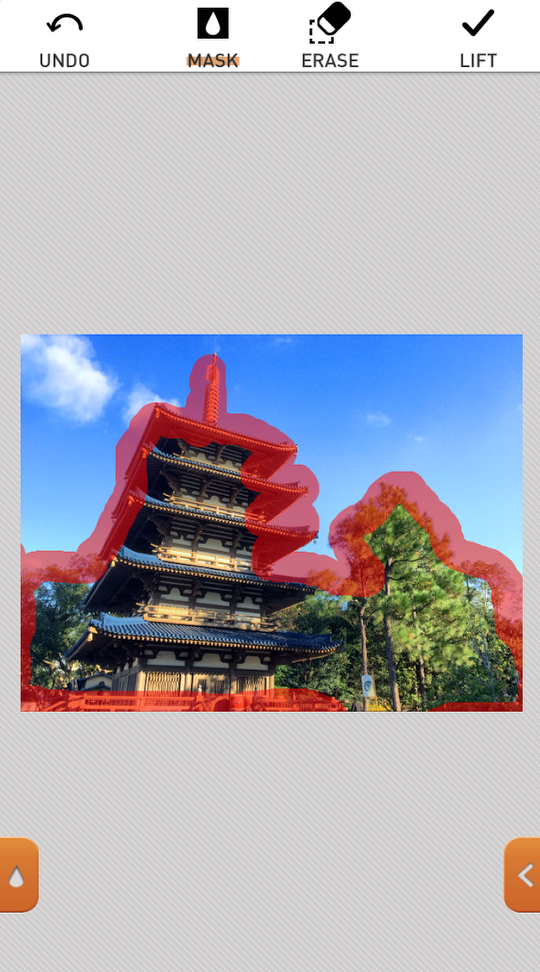
Below I’ve completed the outline and the mask is filled in by the app.
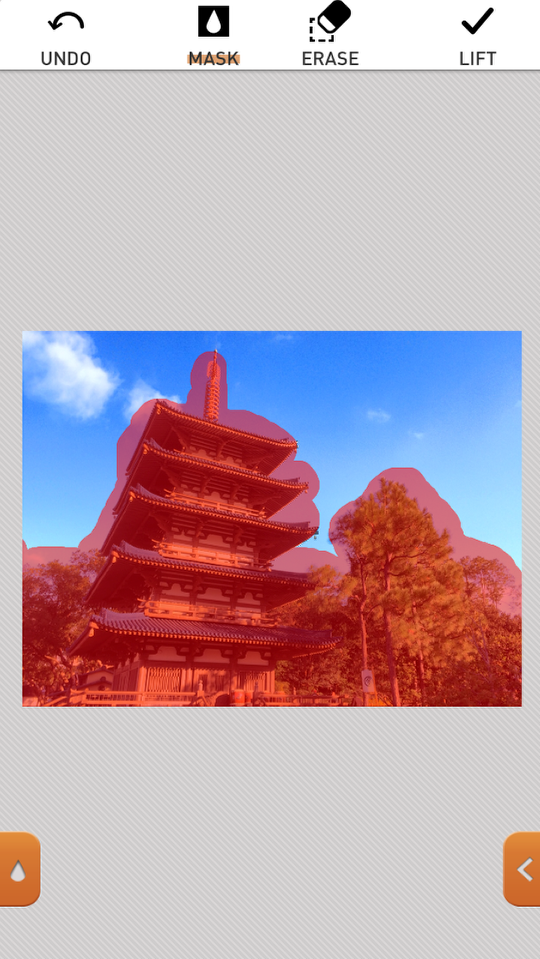
In the next screenshot I have tapped Lift and the mask has contracted. The Lift button changes to Clear, in case you want to start over. I think you can tell that Lift did a good job in some places, while other places will still need work.

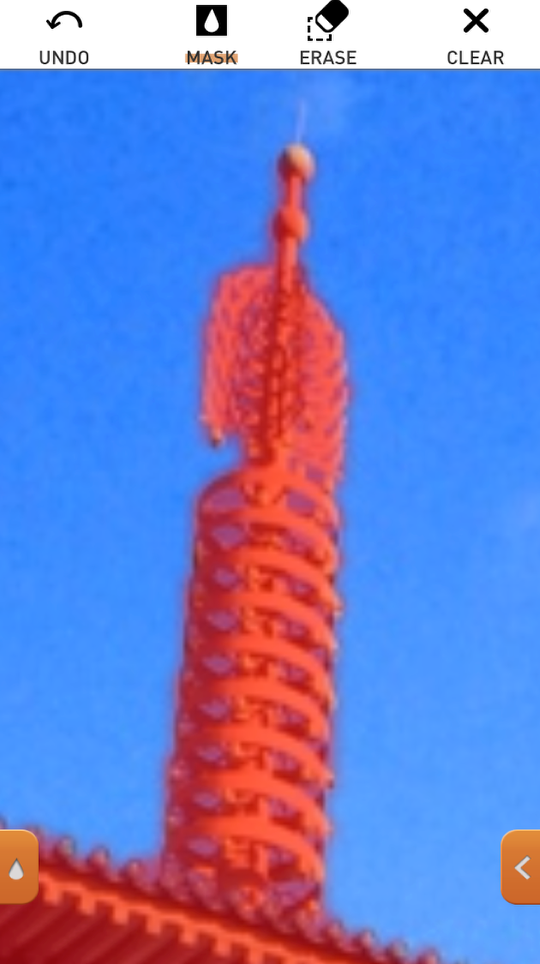
Let’s take a look around the mask. Here on the spire on top of the roof the mask fits very well.
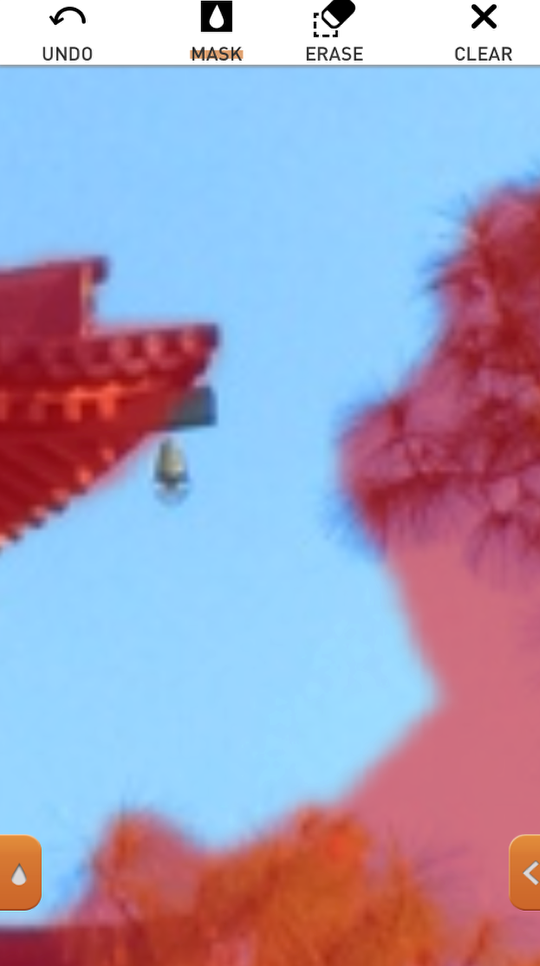
Here on another part of the roof you can see that the very edges and the little lantern were not masked, and the trees – well, PopAGraph can’t handle such fine work.
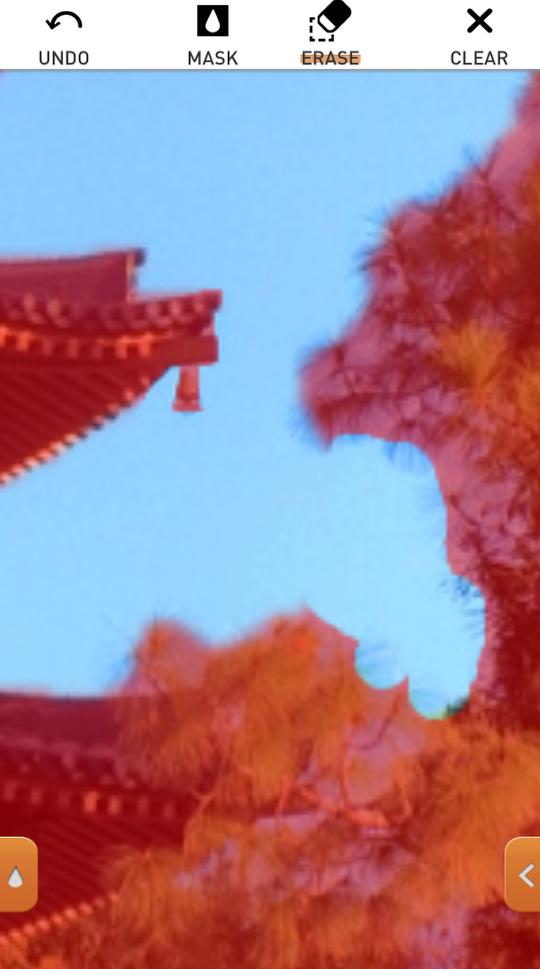
Using the Mask and Erase brushes, I managed to clean it up some. But the limitations on how far you can zoom in and how small the brush can be means that you can’t manually do fine masking work, either.
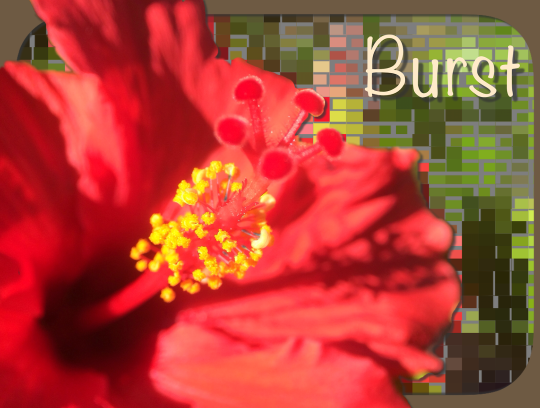
Now that we’ve got our mask created, and our tutorial is getting long already, we’ll take a break until the next article, when we’ll see how to use that mask to make our pagoda jump out of the frame. Until then, let me leave you with some more examples. The first one is a flower, where the background has been broken into tiles.
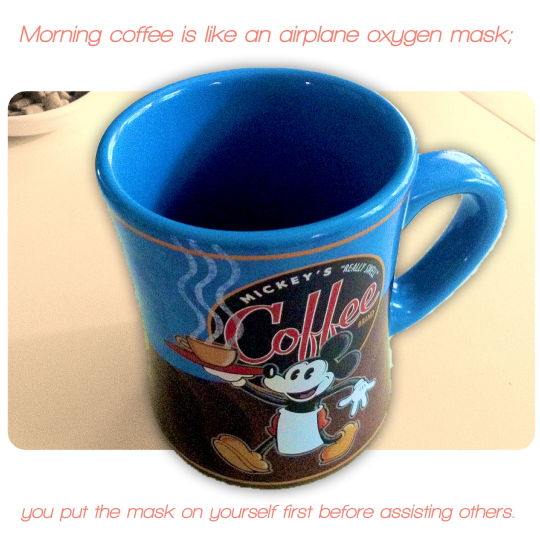
A simple image of a coffee cup, along with a Facebook status of a friend, makes a nice example of the possibilities available with PopAGraph.
I hope you’ll join me next time for the completion of my PopAGraph tutorial. Until then, enjoy!
Jerry Jobe
Never content with just scratching the surface of what an app can do, Jerry Jobe decided to pass on what he learned about imaging apps to others. He’s constantly trying to figure out just what tools other artists have used, and trying to incorporate them into his own work, in an attempt to find his style. He’s written tutorials on over 145 apps so far, which you can find (along with his Song of the Day entries) at http://enthusiasmnoted.wordpress.com/ He lives near Atlanta, Georgia, where he also finds a creative outlet in acting and directing in community theater.

One Comment
Pingback: