iOS Photography Technical Tutorial – Paper Camera & Pencil Camera by Jerry Jobe
We’re delighted to publish Jerry Jobe’s latest iOS Photography App tutorial today. This time Jerry takes two apps Paper Camera and Pencil Camera and looks at the mechanics behind their effects. Don’t miss this, over to you Jerry (foreword by Joanne Carter).
“Sometimes it’s nice to see an effect applied as you’re taking the picture or video, rather than waiting until later to see if the effect works with the photo. (I will concede that I find you get much better results by taking a normal image and apping it afterwards; I just realize that on rare occasions, a quick pic with effects already added can be fun.) Today I’m going to be talking about two similar camera apps that apply the effects as you take the image or video: Paper Camera by JFDP Labs and Pencil Camera by Lukas Jezny.
Paper Camera
We’ll start with Paper Camera, and a couple of caveats about the app. As I write this article, I am unable to access the website for JFDP Labs or support for Paper Camera. Also, the reviews on the App Store reference problems with the app since the most recent update. However, I have not experienced problems with the app on my iPhone 5S. If strong support for an app is a must for you, then you may want to avoid purchasing it.
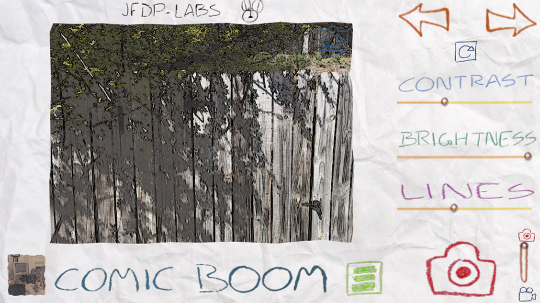
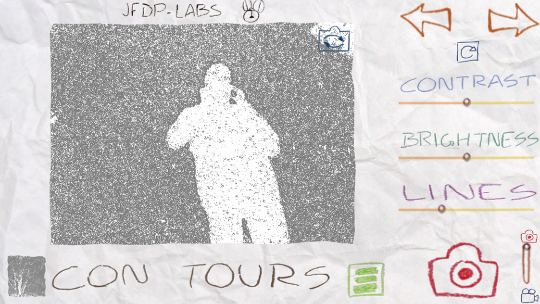
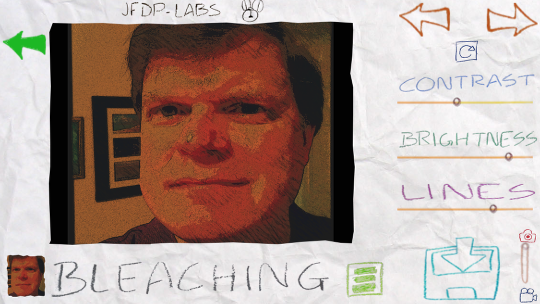
The interface for Paper Camera looks like a crumpled piece of paper with controls drawn in with crayon. To the left is the viewfinder; immediately below it is a description of the effect currently in use (“Comic Boom”). The arrows at the upper right step you through the different effects. There are three controls for Brightness, Contrast and the thickness of the Lines; the circular arrow in a box resets the three controls to the defaults for the particular effect. The little red camera is the shutter release. The switch in the bottom right changes from camera to video and back.
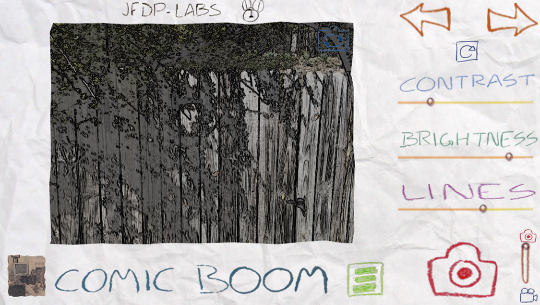
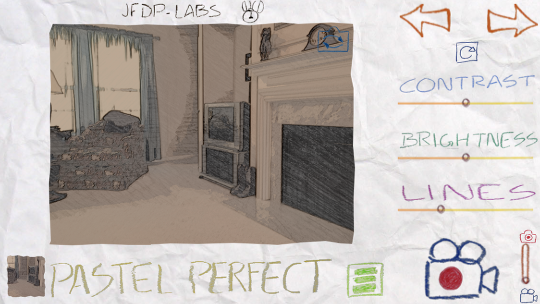
Below I’ve changed the controls, lowering the brightness and raising the contrast and line thickness. The changes are reflected in the image in the viewfinder.
Tapping the arrows steps you through the effects. They are:
- Comic Boom
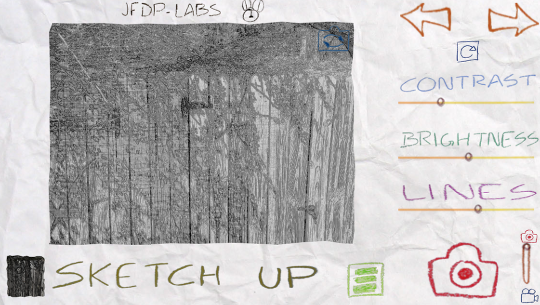
- Sketch Up
- Acquarello
- Old Printer
- Neon Cola
- Con Tours
- Bleaching
- Gotham Noir
- Half Ton (halftone)
- Granny’s Paper
- Pastel Perfect
- Andy Pop
- Pen and Paper (blueprint)
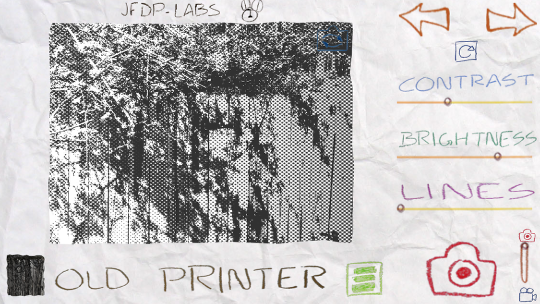
Here’s an example of Old Printer.
I like what Con Tours did here, making my shadow into a negative.
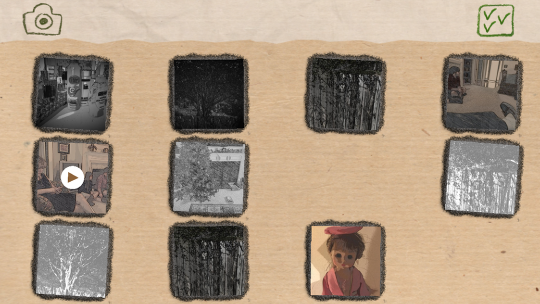
Tapping the image in the bottom left corner takes you to the gallery. Paper Camera does not save directly to the Camera Roll; instead it saves to an internal gallery and you can then export the image to the Camera Roll. This adds to the size of the app, so be sure to clean out your gallery on a regular basis.
If you see the check marks in the upper left, it means that tapping any image will bring up that image for handling (exporting or deleting). Tapping the checks turns the check into a minus sign and allows you to tap several photos and delete or export them all at the same time. The space you see in the gallery below seems to be a slight bug – although you can’t see the image, you can still select it for export or delete.
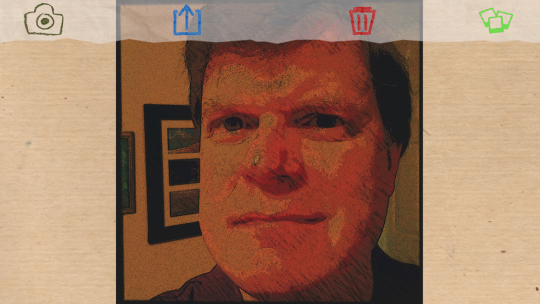
Below I’ve chosen a single image. You can export (blue box with arrow), delete (red trash can), Go back to the camera (black camera) or go back to the gallery (green polaroids).
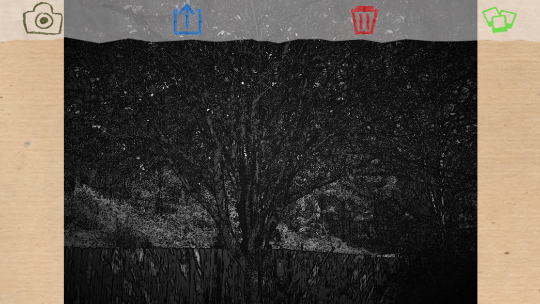
The export function uses the standard controls for iOS 7.

Here’s the saved version – a tree with Gotham Noir.

Both Paper Camera and Pencil Camera have video capabilities. In Paper Camera, you pull the switch at the bottom right all the way down, and the shutter button becomes a movie camera rather than a still camera. The red button flashes as the video is recorded.
Unfortunately, I am unable to show you the completed videos. I do so little video work that the additional $60 a year that WordPress charges to post videos on my blog is not justified. However, here’s a still from a video taken with Comic Boom.
Both apps also allow you to add the effects to images you’ve already captured. Tapping the box with the three green bars takes you to your photo albums, where you can choose a photo for loading. (You can’t add effects to a video after capture.)
The image I’m using is square, and it looks stretched out horizontally in the viewfinder. Don’t worry, because the photo is saved as a square. Tapping the floppy disc icon, which replaces the camera icon, will save the updated image to the gallery.
But it does save it just to the gallery, so you still have to export it to the Camera Roll
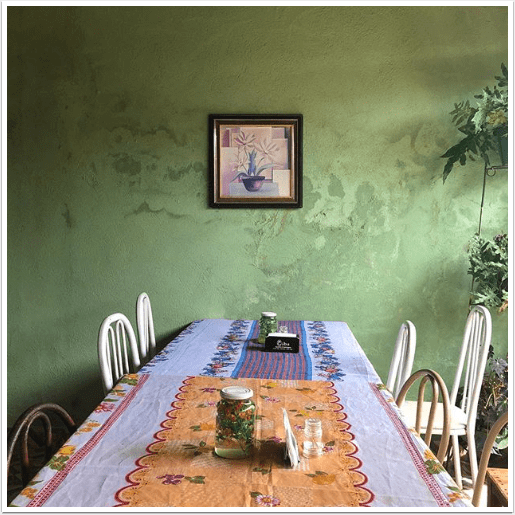
Below I’ve taken the saved image into iColorama for a little added Sketch and Border.

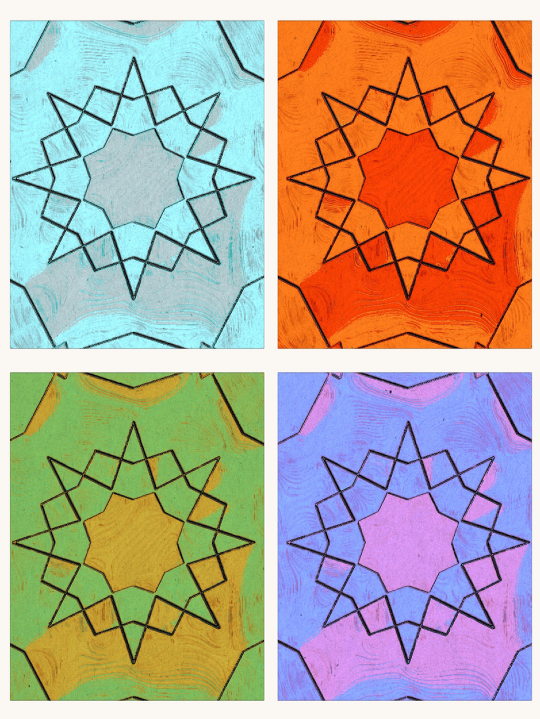
Next I took a shot with Kaleidacam and used the Andy Pop filter to get a Warholesque photo.
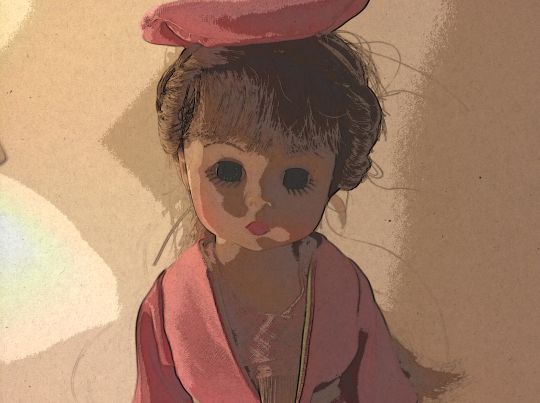
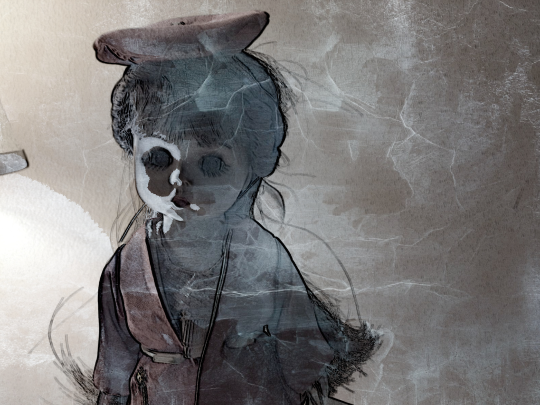
My final image for Paper Camera is one of my favorite subjects – the little doll with the beret. This used the Comic Boom preset.
Pencil Camera
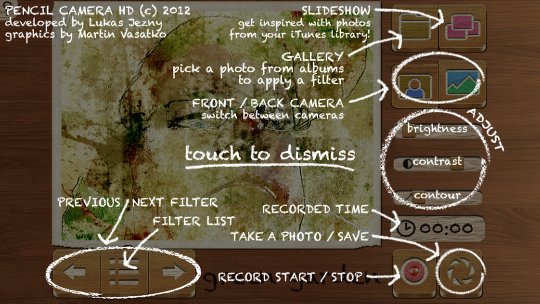
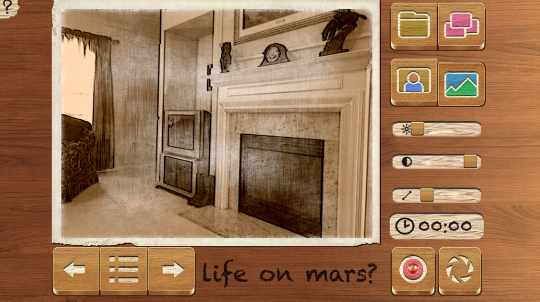
Pencil Camera has a remarkably similar interface – notice the three sliders in the same place have the same function (Brightness, Contrast and Lines). It’s a wood look rather than a crumpled paper look. There are a couple of differences, however.
The first difference is the question mark in the upper left corner. Tapping it brings up the help function (which Paper Camera does not have).
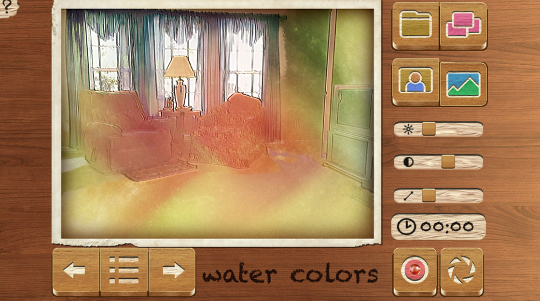
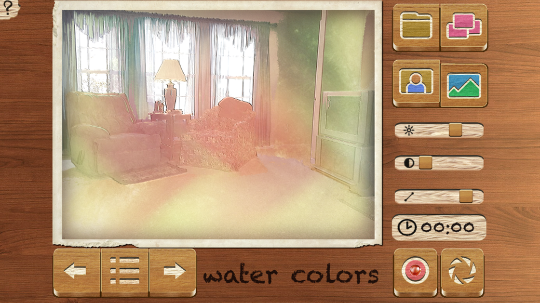
Below I’ve used the Adjustments to create a more washed-out watercolor. I lowered the contrast and moved the Lines slider to the right, which made the contour lines thinner.
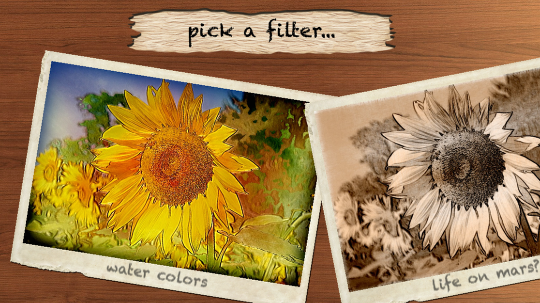
Using the arrows steps you through the different filters. I tapped the right arrow and got “Life on Mars?”.
Tapping the “dot dash” box brings up a list of the filters, which scrolls horizontally. Tapping the thumbnail would apply that effect.
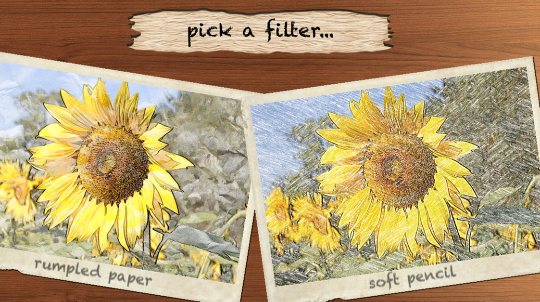
Below I’ve scrolled to the right and you see two more of the effects. The complete list of effects is:
- Water Colors
- Life on Mars?
- Pink Glasses
- Dirty Sketch
- Frozen
- Crayon’o’matic
- Rumpled Paper
- Soft Pencil
- Wooden Floor
- Hipster Culture
- Black Pencil
- Canvas
- Oil Paint
- Carved Wood
- Marble
- Golden Era
- Grunge
- Green Garden
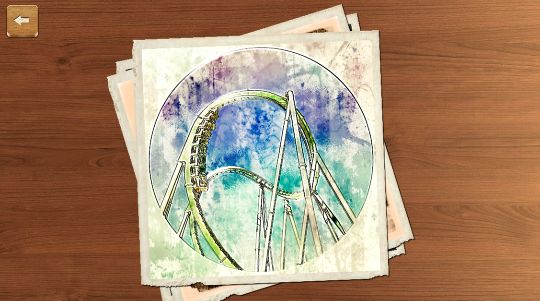
There is no gallery in Pencil Camera. Images are saved to the Camera Roll as you click the shutter. So the upper right button is not the gallery, but a slideshow created by applying random effects to random images in your photo albums. It’s to provide you with inspiration. Exit the slideshow by tapping the Back arrow.
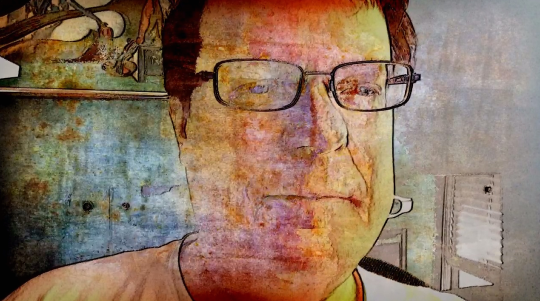
You have the shutter button for still images and the red button for video. Above the shutter buttons is a timer to show the elapsed time in a video. Below is a still from a video selfie taken with the Hipster Culture filter.
Tapping the Folder icon allows you to load an image for editing. Once again, you can’t edit an already-captured video. Notice that the shutter buttons have been replaced with a check for saving and an X for canceling.
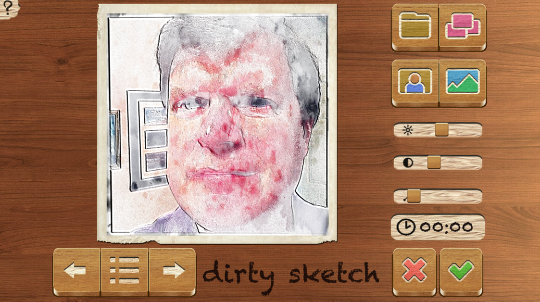
I applied Dirty Sketch to the same selfie I used in Paper Camera.

Pencil Camera, unlike Paper Camera, allows you to use the forward-facing camera so that you can use it for selfies. You can also take video selfies with the filters applied.

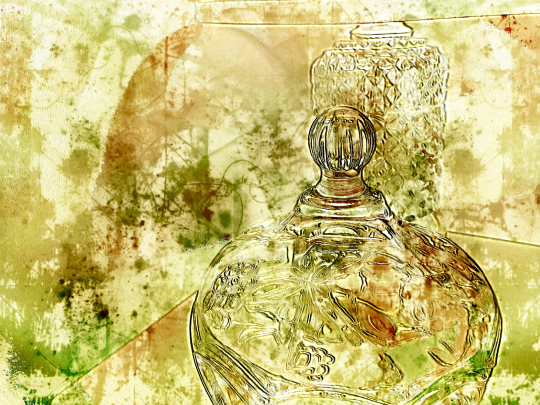
The effects are a bit stronger with Pencil Camera – so strong that sometimes it’s difficult to tell what the starting image is. Below I’ve got a cut glass bottle and lamp, done with the Green Garden filter.
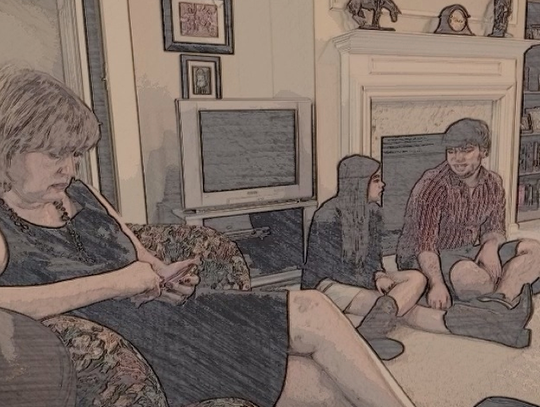
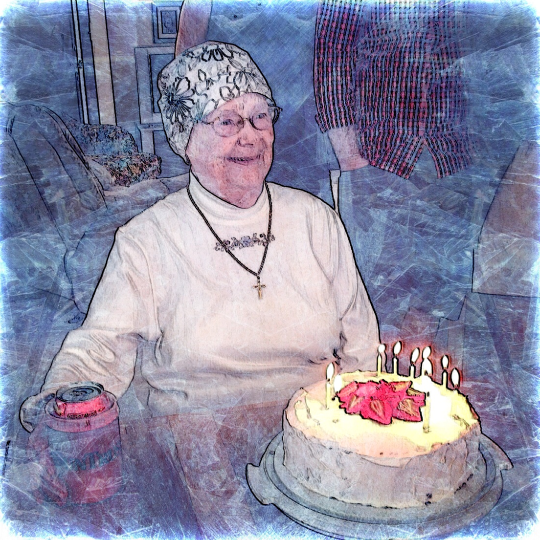
An example of the Frozen filter with my mom on her 82nd birthday.
And here’s that doll again, this time with the Marble filter.
In summary, both Paper Camera and Pencil Camera are fun apps if you’re willing to deal with the limitations. Both shoot in landscape mode only; both have effects which can be a little too intense, with no way to tone them down. Paper Camera has a gallery, which means a two-step process to get your photos into the Camera Roll. Pencil Camera allows for the use of the front-facing camera. Take a look at both of them and make your choice – or, do as I did and get both! Enjoy!
Jerry Jobe
Never content with just scratching the surface of what an app can do, Jerry Jobe decided to pass on what he learned about imaging apps to others. He’s constantly trying to figure out just what tools other artists have used, and trying to incorporate them into his own work, in an attempt to find his style. He’s written tutorials on over 145 apps so far, which you can find (along with his Song of the Day entries) at http://enthusiasmnoted.wordpress.com/ He lives near Atlanta, Georgia, where he also finds a creative outlet in acting and directing in community theater.
2 Comments
RegiB
Thanks for all the wonderful tutorials! I enjoy them most on TAW!
Pingback: