iOS Photography Tutorial – iColorama 3.81: Paint, Plane and Bound brushes
Jerry Jobe has created another fabulous video tutorial on the iOS Photography app – iColorama. This week, Jerry concentrates on the paint, plane and bound brushes. Don’t miss this…(over to you Jerry).
“There are some features which are very difficult to convey in the normal text-and-screenshot methods, and brush work is one of them. The new release of iColorama really boosts the painting capabilities within the app, and so I thought a video was in order so you could see the brush strokes. This 12-minute video barely touches on the new Paint, Plane and Brush brush types, but it will probably give you enough knowledge to want to try out these features yourself. After the video, take a look at some examples that use the brushes below. If you have any questions, post them at my blog, enthusiasm noted; at The App Whisperer; at the iColorama Community page or iColorama group on Facebook; or at the YouTube page for the video.
Click the image below to watch the video.
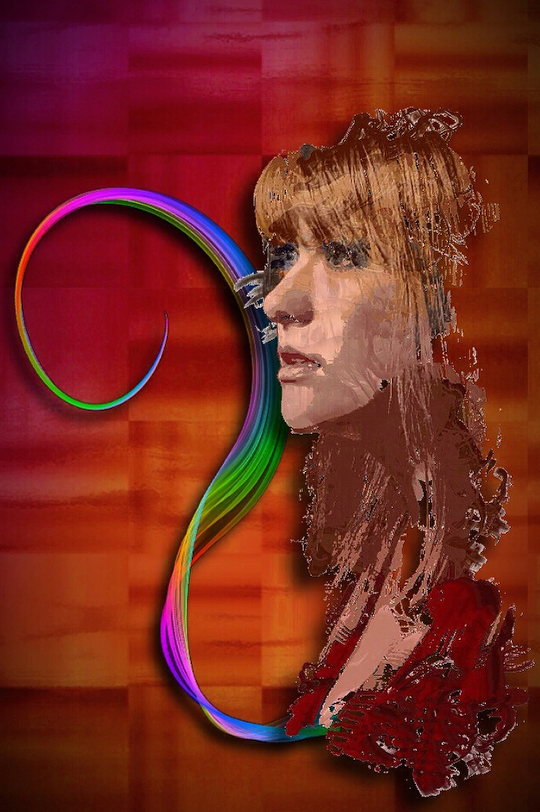
This one used Plane brushes over a white background. I then used the technique outlined two weeks ago to drop out the white background and add a drop shadow in Leonardo. I added the curlicue from Embers in the same way. The background is all iColorama – texture over background.
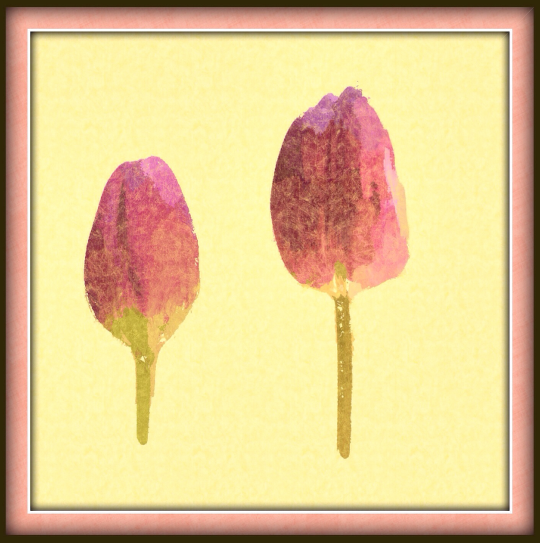
For this one, I used a yellow background. I then loaded a texture mask (Brush Mask>Import) and used the Bound brushes to paint through the mask. That’s what gives the “cracked paint” look. Finished with a five-level border.
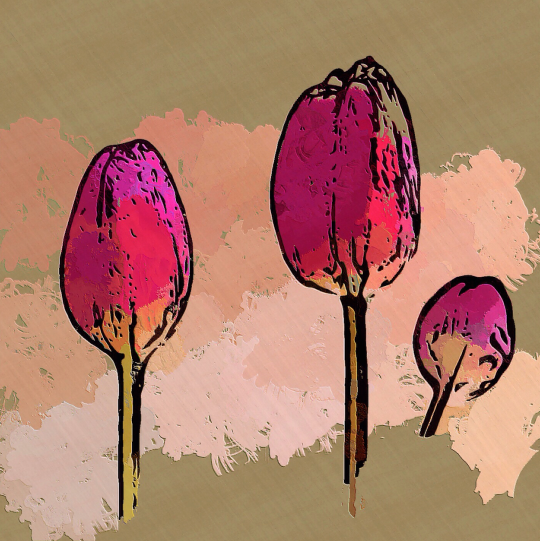
I took the same tulips through another process below. I took the original through Imaengine to get the thick black outlines. Then I used Bound brushes again, and added the outlines by using Effects>Blend. I used Effects>Raise to give depth to the paint, and finishes with a sketchy Texture.
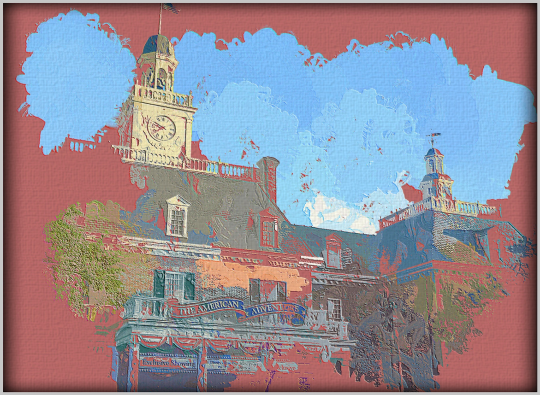
The final two images use the same initial image: the American pavilion at Epcot. The first one, below, uses about 20 dabs with Bound brushes over the dark coral background. Then the canvas texture and double border was added.
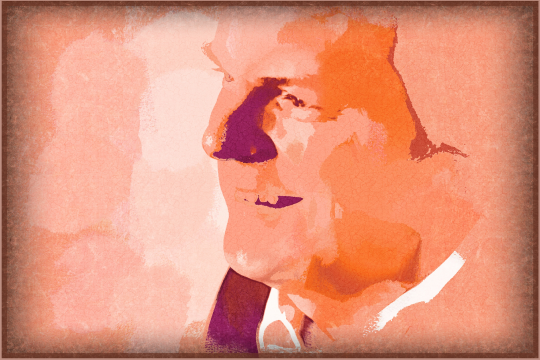
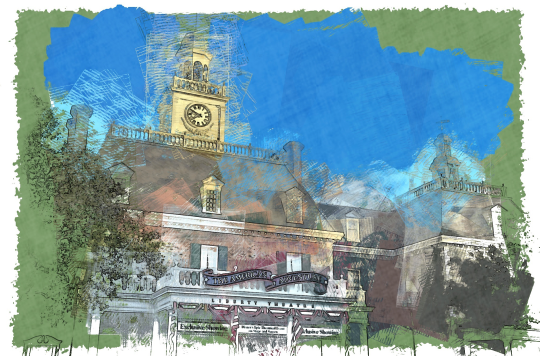
Our final image uses a Plane brush with a strong pattern. I saved off a version of the original made with Style>Edges>1, and masked that back in Multiply mode to add definition. I finished with Preset>Border>7.
There is so much added capability with these new features, that even a novice artist like me can produce works worthy of hanging. Enjoy!
Jerry Jobe
Never content with just scratching the surface of what an app can do, Jerry Jobe decided to pass on what he learned about imaging apps to others. He’s constantly trying to figure out just what tools other artists have used, and trying to incorporate them into his own work, in an attempt to find his style. He’s written tutorials on over 145 apps so far, which you can find (along with his Song of the Day entries) at http://enthusiasmnoted.wordpress.com/ He lives near Atlanta, Georgia, where he also finds a creative outlet in acting and directing in community theater.