iOS Photography Tutorial – Pencil FX by Jerry Jobe
We are delighted to publish our latest iOS Photography Tutorial by Jerry Jobe. This week Jerry puts Pencil FX through it’s paces, with some incredible results. Don’t miss this, (over to you Jerry).
Pencil FX retails for $1.99/£1.49 and you can download it here
“Sketching is the basis of most visual art. Before most painters apply brush to canvas or sculptors touch granite or gears or fashion designers start cutting fabric, they sketch out the idea or rough out the drawing. So it’s really not surprising that digital artists sketch as well, or that there are tools that will allow non-artists to get the same look by turning photos into pencil sketches.
The app I’m covering today is Pencil FX by Insatiable Genius. It’s not like other sketch programs I’ve covered like Instant Sketch, Ripped from Reality or MySketch. Ripped and MySketch look as though the pencil or chalk is scrubbed across the paper in one or two directions, becoming denser to fill in darker areas. Instant Sketch is purely edge detection. But Pencil FX, like its sister app Toon Paint, detects edges and then smooths them to give the lines more flow while also adding shading.
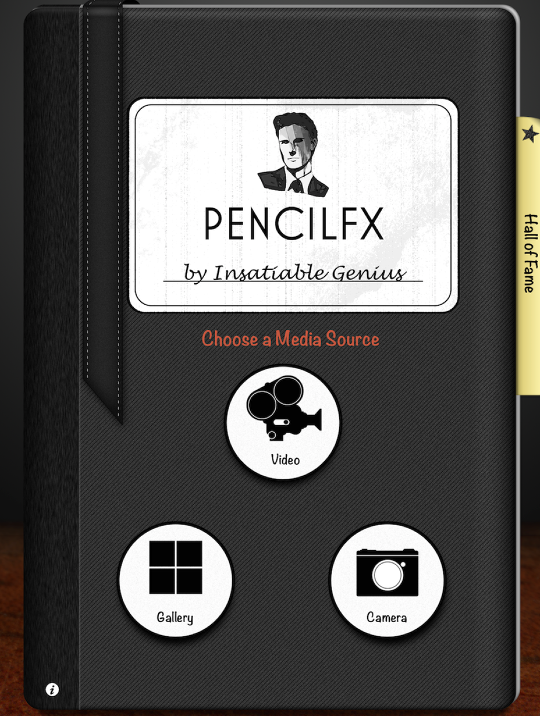
Pencil FX is a universal app, running on both the iPhone and iPad. However, it could use some interface tweaking because it will not run in landscape mode, and the bottom buttons are almost out of range on the iPad. Below you’ll see the opening screen, which allows you to choose your source”.
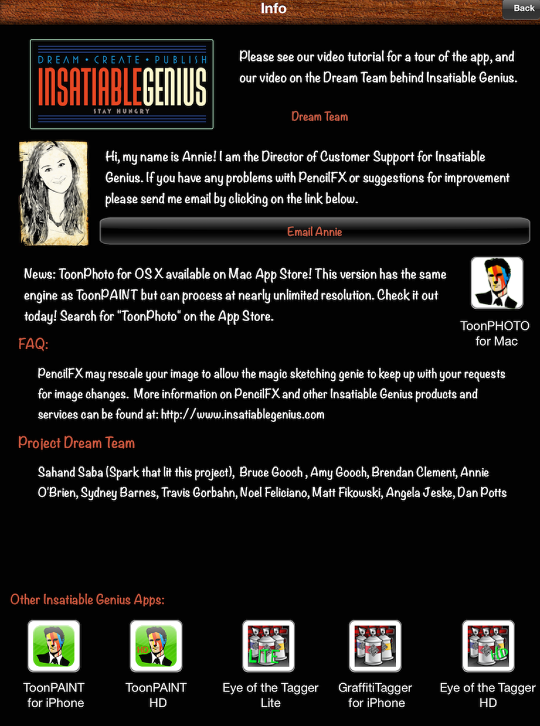
At the bottom left of the initial screen is a small info button. The resulting screen is shown below. It needs some work: there is no video tutorial, as promised, and the “Dream Team” link goes to a blank screen. One thing you should note, however, is the sentence under FAQ. Pencil FX will rescale your image to be able to refresh the screen faster, but when it outputs the finished project, it creates much larger output. Pencil FX actually prefers larger input: if you load a low-resolution photo, it warns you that your results may not be as smooth as you would wish.
The yellow “tab” at the edge of the initial screen leads to the Hall of Fame. That is filled with samples of output from Pencil FX, submitted by users.

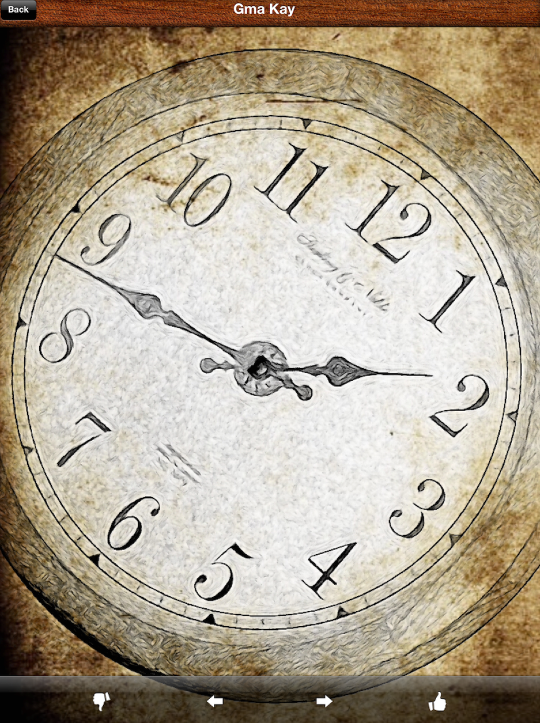
Selecting any thumbnail will bring up the sample full screen, with the ability to vote the image up or down. Submitting your own images to the Hall of Fame is done easily through the Save/Share screen.
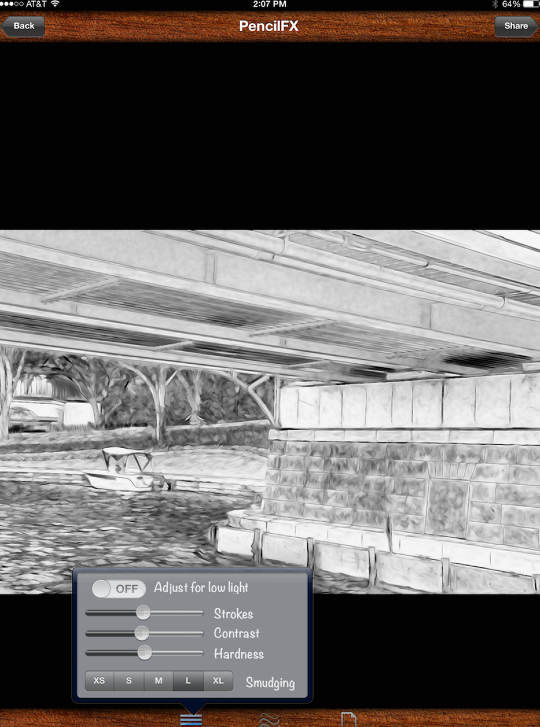
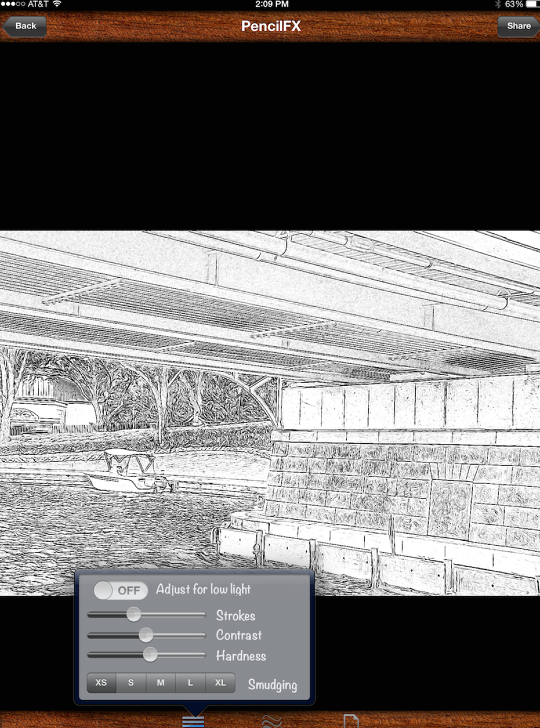
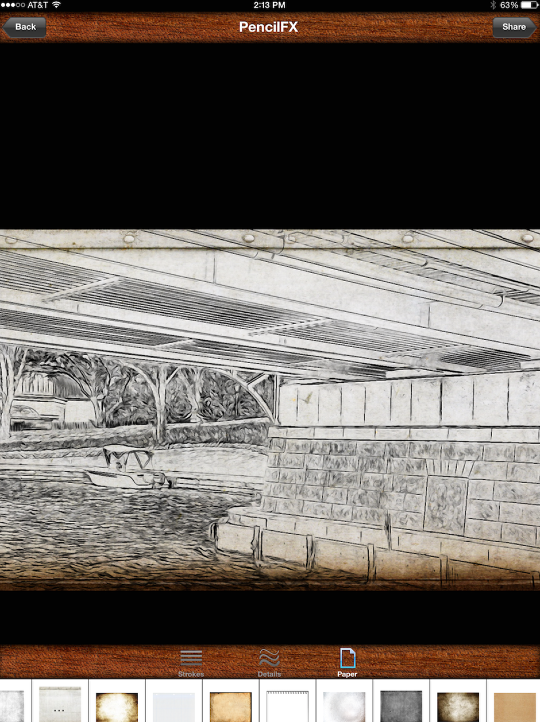
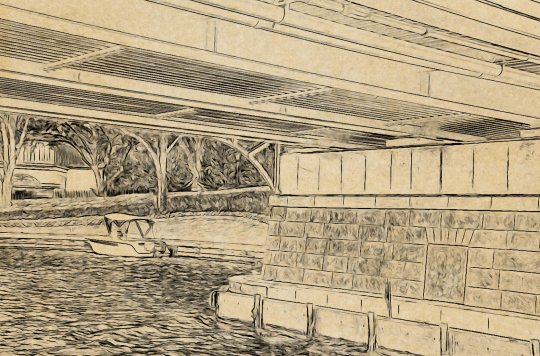
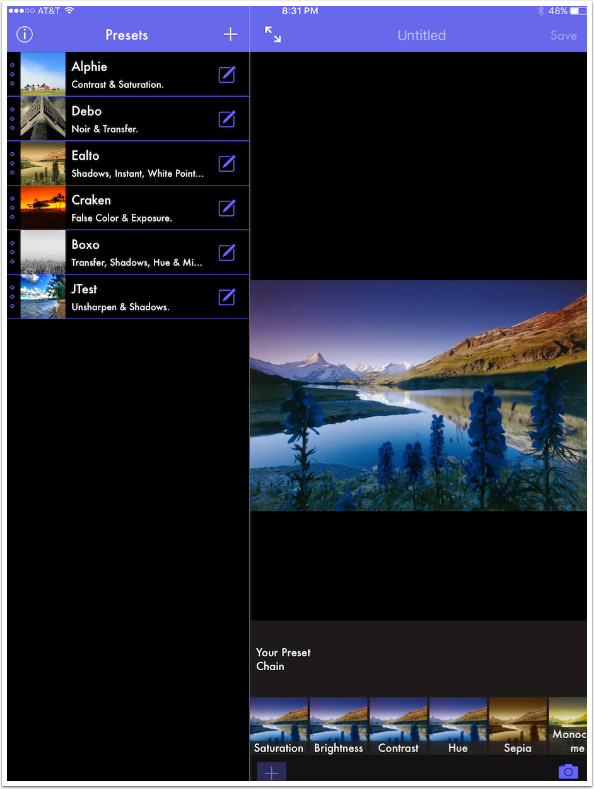
Below I’ve loaded an image of a bridge from my Camera Roll. At the top you could go back to load another image, or tap Share to save/share the sketch. At the bottom are three buttons which divide adjustments to the sketch into three categories. As the image loads, a default “look” is given to the sketch. (HINT: Sometimes when you load a photo in the iPhone version, you are confronted with a blank white image. Touch the first button on the bottom and change the Smudging setting. Your image should then appear.)
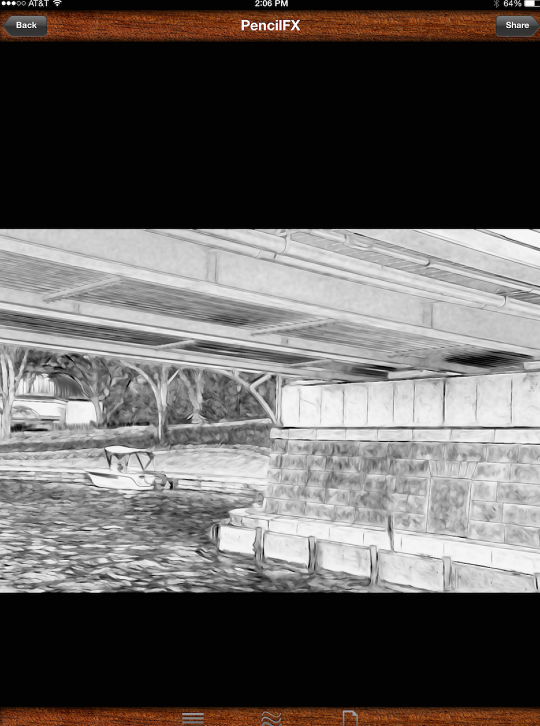
Notice how the bottom buttons are partially cut off. They are actually labeled Strokes, Details, and Paper, but you can’t see that here. That is what I mean when I say that the interface could use some updating. I’ve tapped the first button (the straight lines; Strokes) and a dialog box pops up with a switch, sliders and a series of buttons. The switch at the top is labeled “Adjust for low light”.
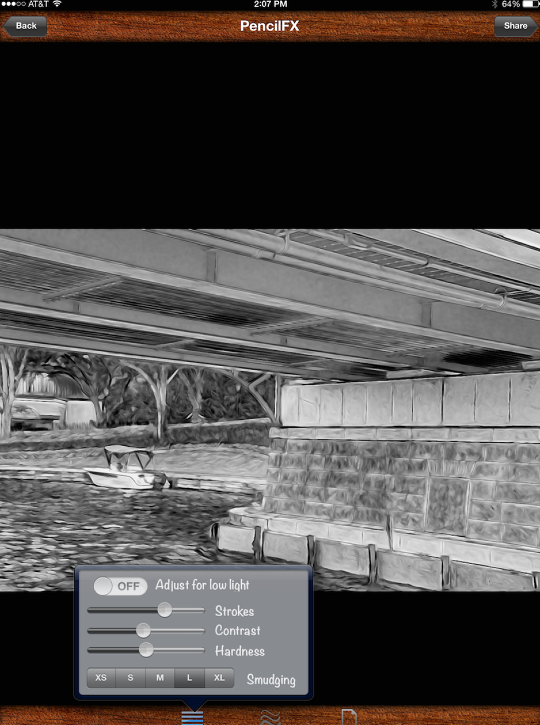
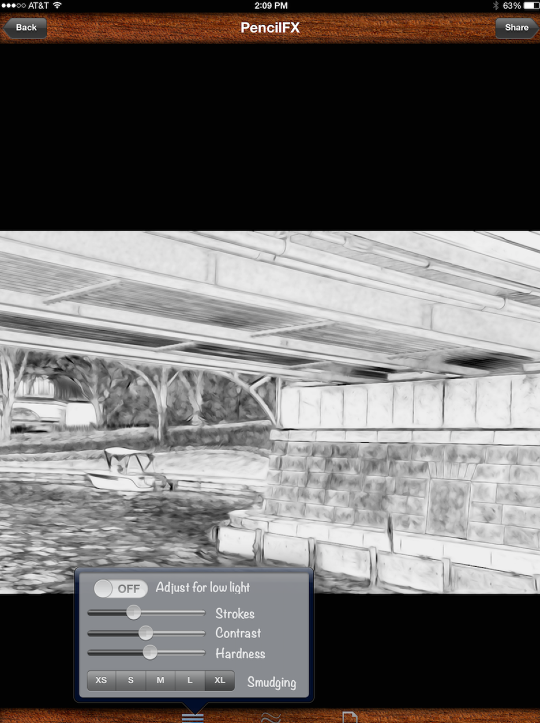
That switch will help your sketch not be a black mess when the original image is too dark. Below I’ve turned it on, and you can see it lightens the sketch considerably.

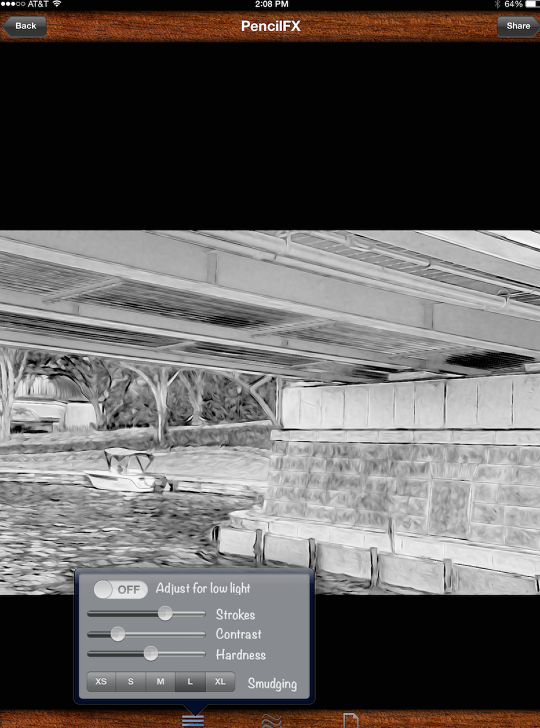
The Strokes slider calls for more or less edge detection. Consequently, when you raise the Strokes slider, as I’ve done below, the sketch will be darker. Strokes requires processing time to take effect and is not a real-time slider.
Lowering the contrast is going to tell the edge-detection processor that there is less distinction between dark and light areas, so there are therefore fewer edges. Lowering the contrast will make the sketch lighter, with fewer dark lines.
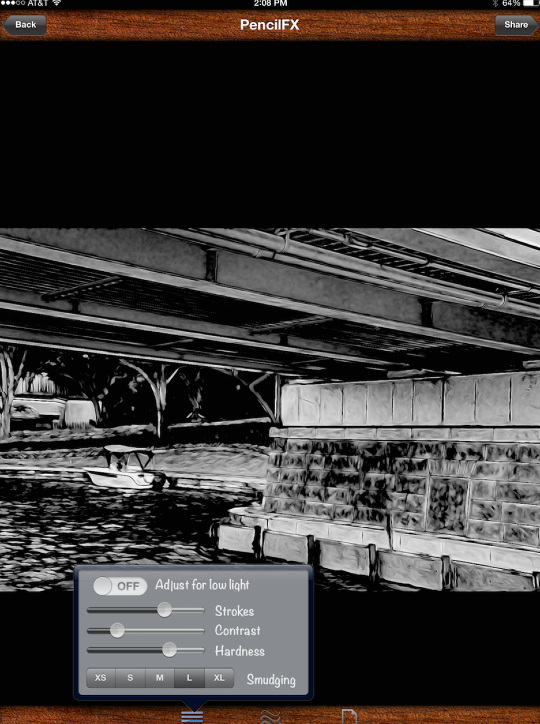
The final slider, Hardness, would have an analog equivalent of pressing harder on the pencil when drawing lines. You’ll see below that raising Hardness will result in a lot of black.
Smudging fills in the areas in between the darkest lines. It’s like taking your finger and rubbing the lightest lines to make the graphite from the pencil shade in between the structural lines. The default is Large, as has been seen in all previous screenshots. Below you’ll see what the result of eXtra Small smudging is.
And below I’ve raised the smudging to eXtra Large.
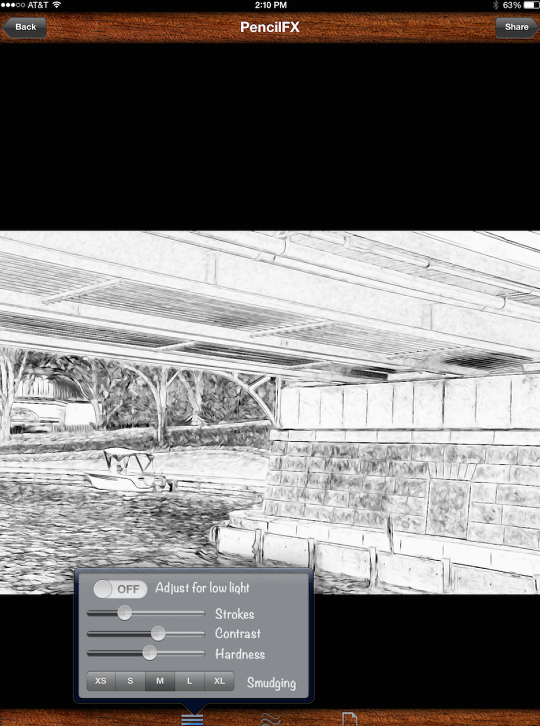
I think before I move on, I’ll lower the Strokes, raise the Contrast and strike a happy Medium with the Smudging.
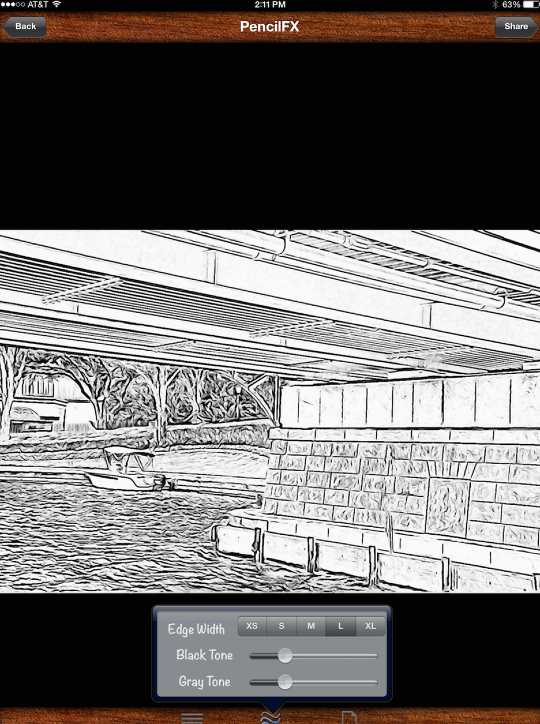
The next category of adjustments is accessed by tapping the wavy lines (Details) at the bottom. The first control is Edge Width, which defaults to Small.

Changing the Edge Width to Large, as shown below, really makes bold strokes. If you look closely, you’ll start seeing jagged lines, which are definitely a no-no. Don’t worry, though; as I said above, you’re working with a low-resolution copy of your image, and all that will be recalculated when you produce the high-resolution output.
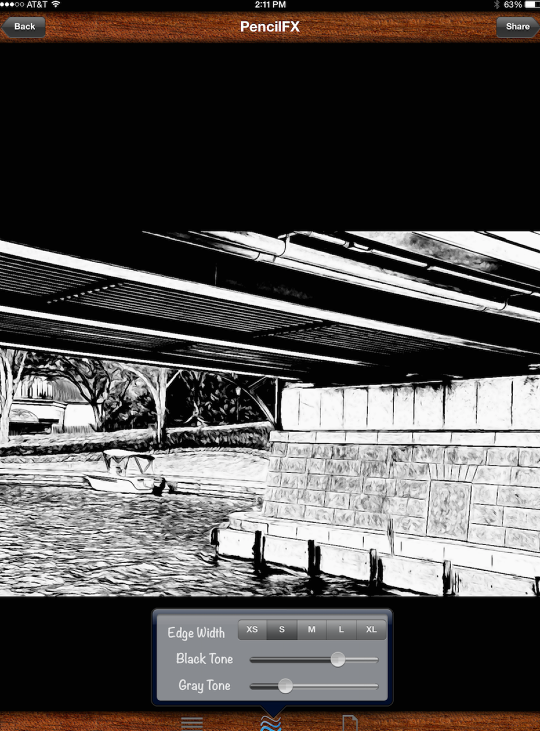
The final two sliders are for tweaking the sketch. The first is for adding black in the places between the structural lines/hard edges. Below you’ll see that the black can add up fast.
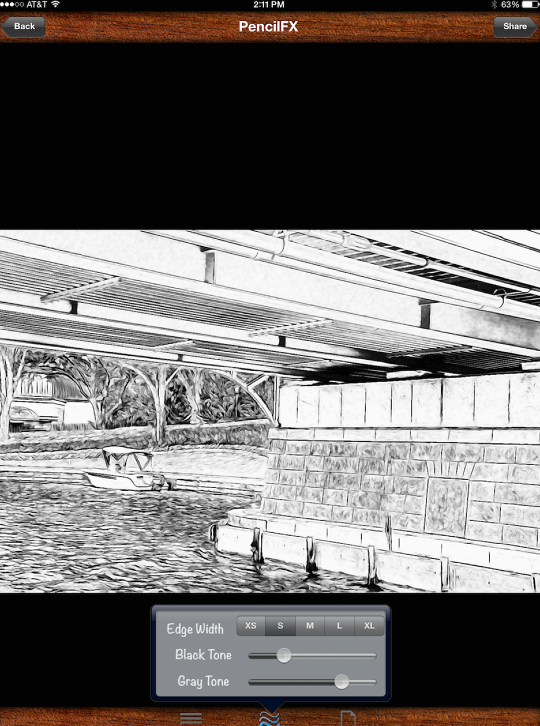
The Gray tone slider works on the mid-tones. Even that can result in blacks in the darkest areas of the photo, as shown below.
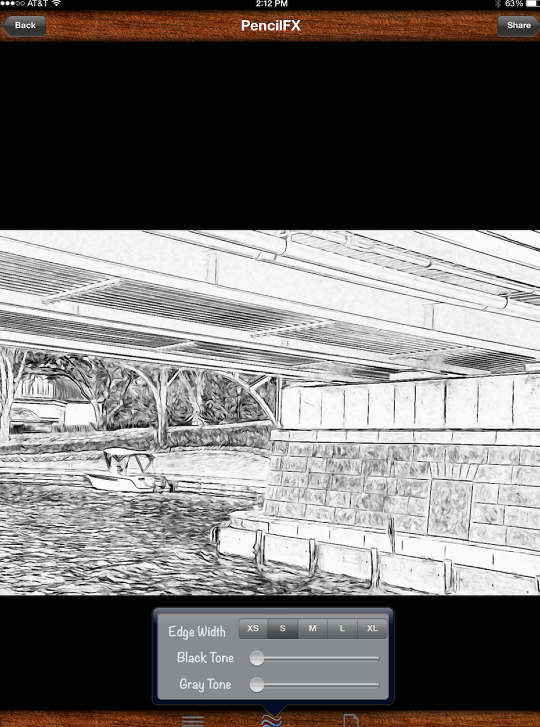
If you want to have just lines, without shading? Well, that might be difficult. My suggestion would be to try turning both Black Tone and Gray Tone down to nothing, as shown below. What I haven’t done below is to also turn Strokes down to 0 and set Smudging at XS. That comes the closest to having just a line drawing without shading.
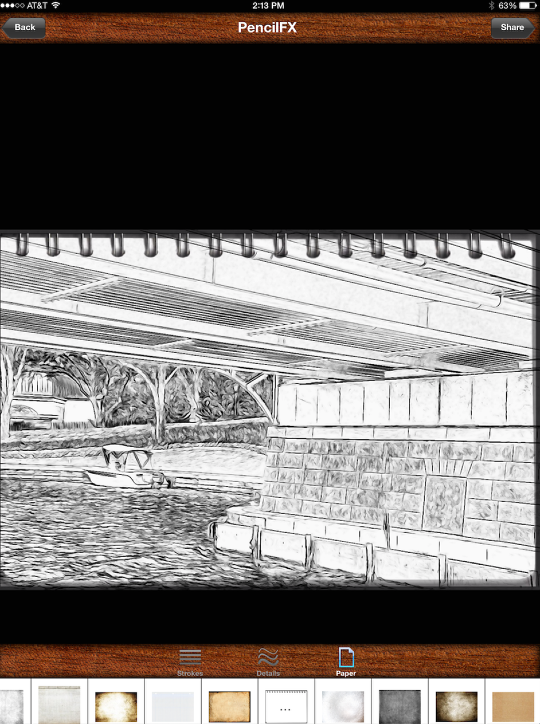
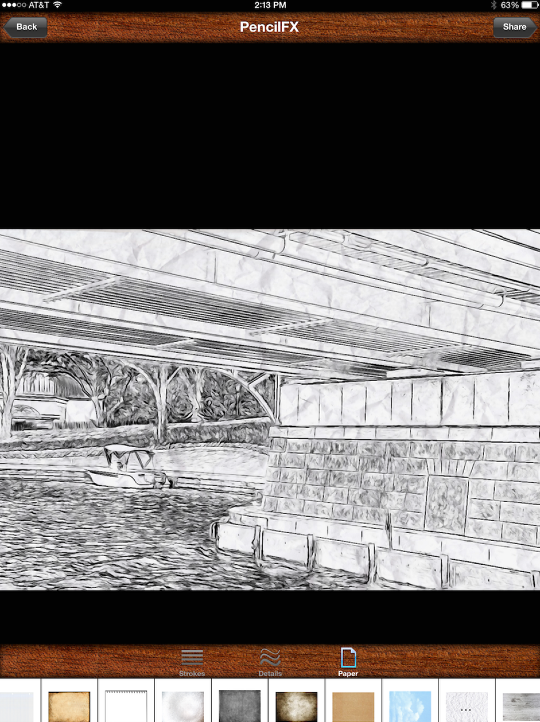
The third category of adjustments is Paper. This can apply texture to your sketch. In addition to the default (which is no texture) there are 14 paper presets. Below I’ve chosen one that looks like a spiral-bound sketchbook.
Below is one that more resembles a book binding.
Below is one that more resembles crumpled paper.
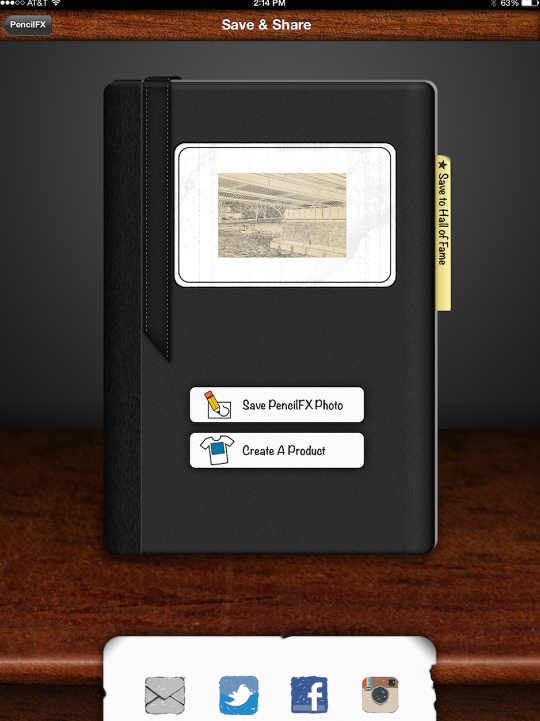
I’ve chosen a yellowed paper and tapped Share in the upper right corner to save my sketch. There’s a small representation there of my sketch. There’s a yellow tab that allows me to save the sketch to the Hall of Fame, as well as buttons along the bottom for email, Twitter, Facebook and Instagram. There’s also a button in the lower center that allows you to create products – or at least, it’s supposed to. All I get is a box telling me that the app is downloading the latest product list, and I have to force the app closed. So don’t press that button!
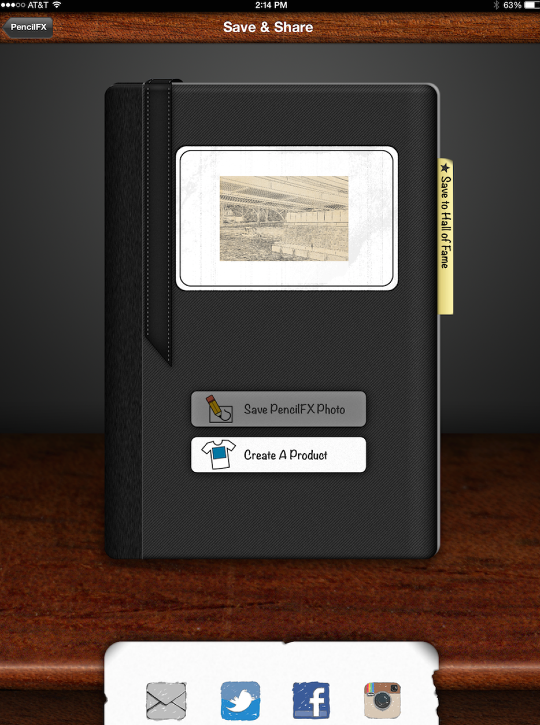
When you press the save button, the app recalculates the image and saves it to your camera roll. It doesn’t exit the save screen, however. The save button is grayed out as shown below and you can still share the sketch or save it to the Hall of Fame. Or you can just hit Back twice and load another image.
Below you’ll see my sketch.
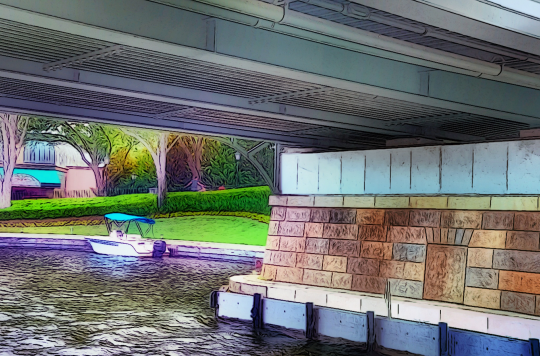
I like the output of Pencil FX. But I rarely use it as is. As I discussed when I covered Toon Paint by the same developers, I find it most valuable to blend the lines created back with a blurred or painted original to recover lost detail. Below I used Blur, Simplify and Tone Lab in iColorama to create a wash of color from the original, then Blend to add the Pencil FX sketch (with no paper texture) in Multiply mode on top. The remaining samples use the same blending technique.
But before I get to other samples, you may have noticed that there’s a video option for Pencil FX. It’s a little odd in that you have to shoot the video in the app, but it saves the original video and then reads it in to process the frames. You are processing a video from your Camera Roll, but you cannot process a video that was already on your Camera Roll when you start the app. Very weird.
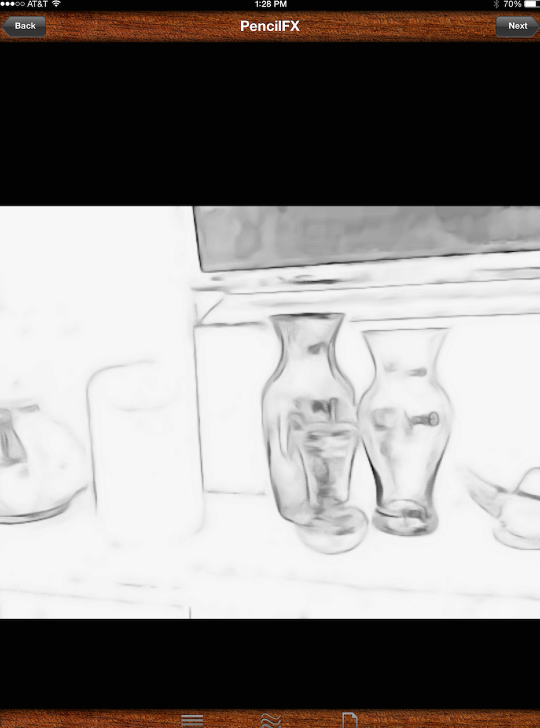
Below you’ll see the screen after I’ve taken the video. Pencil FX shows a representative frame, and you make your adjustments to Stroke, Details and Paper to that frame. When you tap Next in the upper right, Pencil FX applies those settings to every frame in the video.
Once the frames have finished processing, you are taken to the screen below, where you can view your video and save it if you choose.
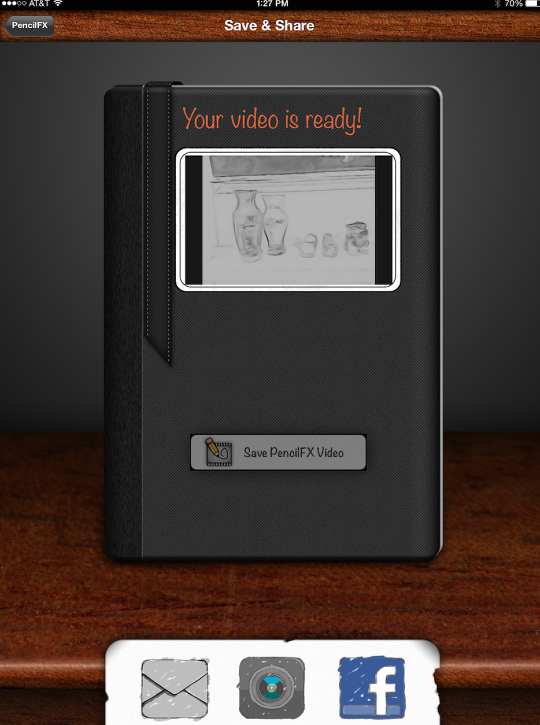
Here’s a short video I made using the default settings.
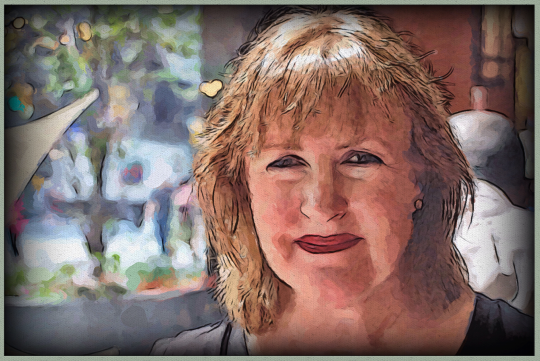
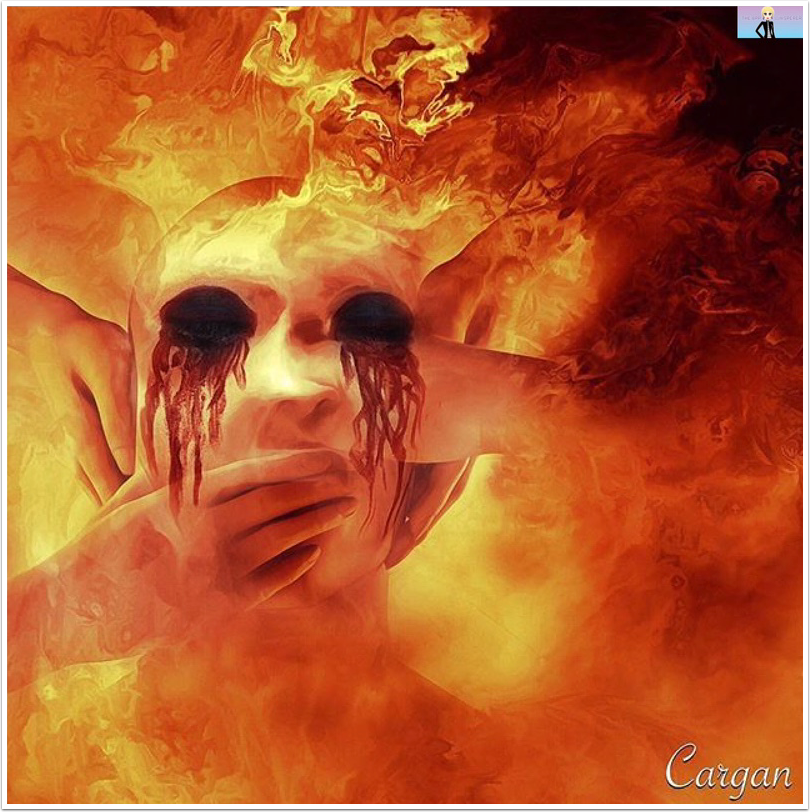
My first example uses just a touch of Pencil FX, with a lot of iColorama and Distressed FX. The Pencil FX is strongest in the hair and the dress.

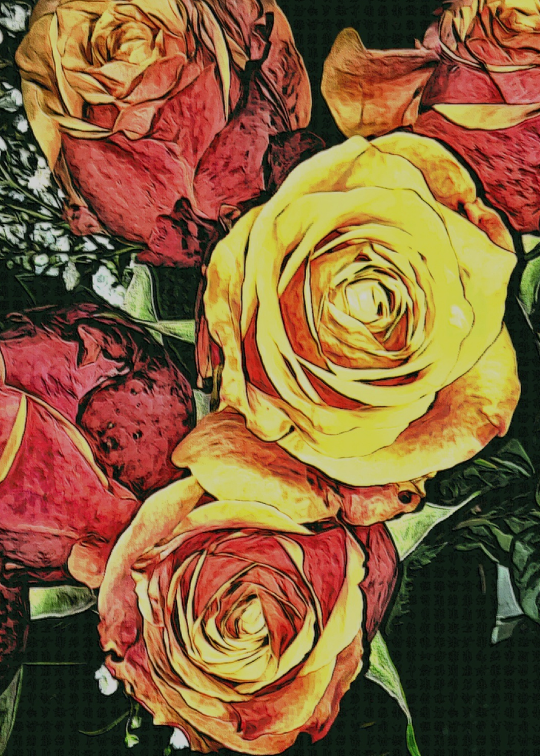
The next example gave some nice strong edges to the petals on the flowers. If you look closely you’ll see that the darkest background is actually an iColorama pattern.
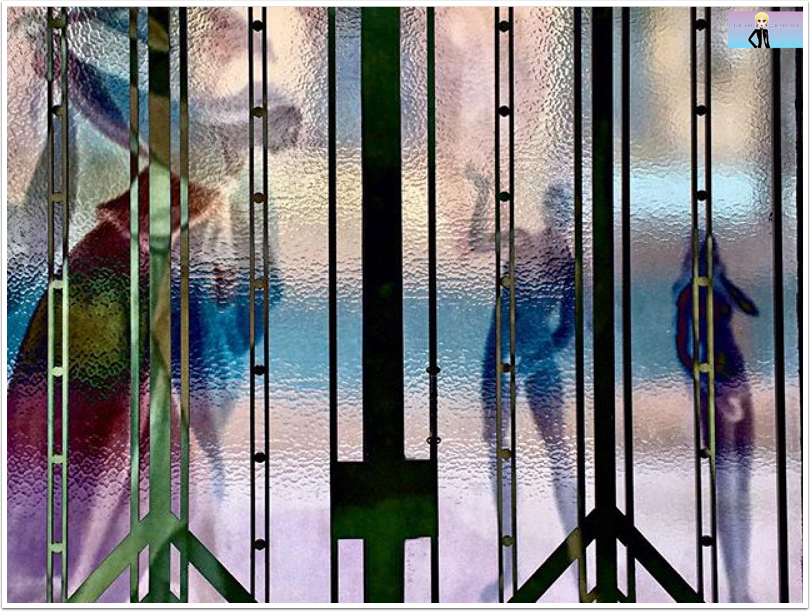
My final image uses the usual suspects – Pencil FX and iColorama – as well as Glaze to give it that painted look. The texture and border is from iColorama.
One would think, with all the problems in the user interface, that I would not recommend Pencil FX. They are troublesome, and the app does not seem to be well supported. Nevertheless, I like the results so much that it has become an invaluable part of my toolbox. Enjoy!
Jerry Jobe
Never content with just scratching the surface of what an app can do, Jerry Jobe decided to pass on what he learned about imaging apps to others. He’s constantly trying to figure out just what tools other artists have used, and trying to incorporate them into his own work, in an attempt to find his style. He’s written tutorials on over 145 apps so far, which you can find (along with his Song of the Day entries) at http://enthusiasmnoted.wordpress.com/ He lives near Atlanta, Georgia, where he also finds a creative outlet in acting and directing in community theater.
4 Comments
Bridget
Great tutorial!! I will play with a photo or two and see what results I can achieve. Thanks Again
Tracy Mitchell Griggs
Thanks for great tutorial 🙂
Carolyn Hall Young
Well done, Jerry Jobe! I agree that it is a worthy app. I have been frustrated with the quirky interface on the iPad, and surprised that it has not been updated in ages. It could be so great.
Pingback: