iOS Photography App Reflect+ – More Standing Water Ahead – Part 1 – by Jerry Jobe
We are delighted to publish our latest iOS Photography Tutorial by Jerry Jobe. This week Jerry writes Part 1 (of 2) about the new app Reflect+, one that you may find very useful to have in your toolbox. (Foreword by Joanne Carter).
Reflect+ retails for $1.99/£1.49 and you can download it here
“Back at the end of August, I did a two-part series that was a “battle” between two apps that add water to your images: ColorLake and Flood. Now, barely more than a month later, another app has come to the App Store that mirrors the capabilities of those other apps, and adds more bells and whistles. Upon reflection, I thought that I should cover this app as well. (I should also stop with the bad puns and get to it.) The app is Reflect, and it is made by Brain Fever Media, the company that also brings us LensLight and LensFlare, two apps that I’ve covered previously, and Alien Sky, Lens FX and Circular+, which I have not”.
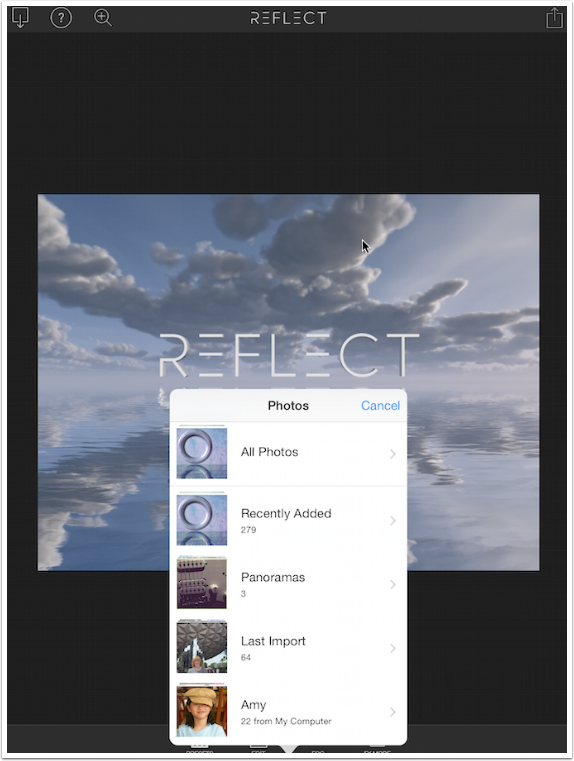
There’s a lot to Reflect, so we’ll go over the controls in two different articles. In this one, we’ll go through the basic operation, then add the fancy stuff in Part 2. After seeing the splash screen shown above, you’ll be asked to load an image, either from your library (Photo) or the Camera.
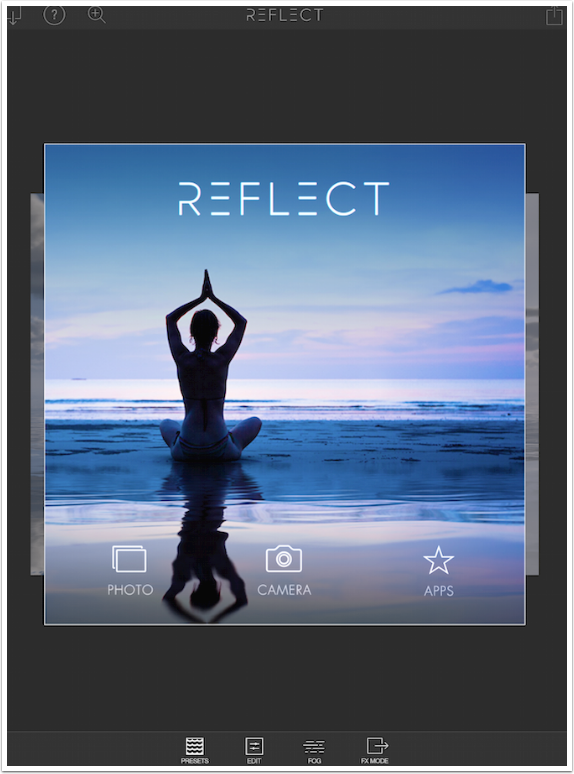
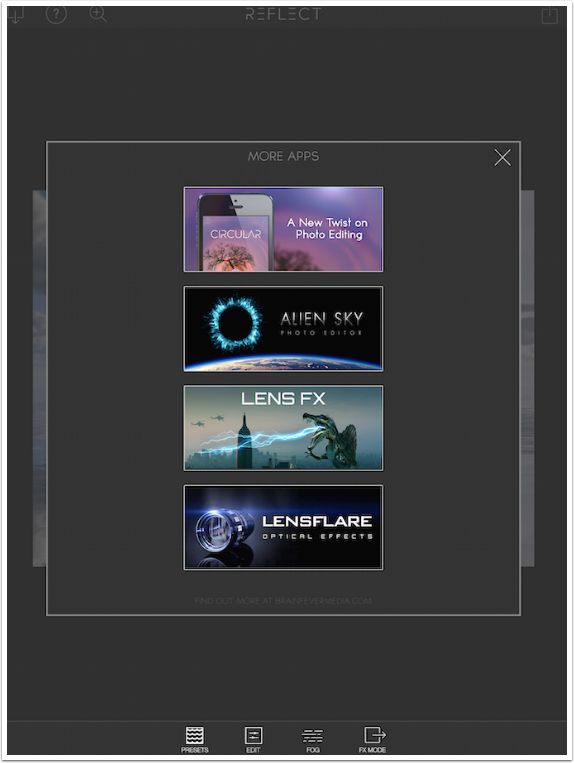
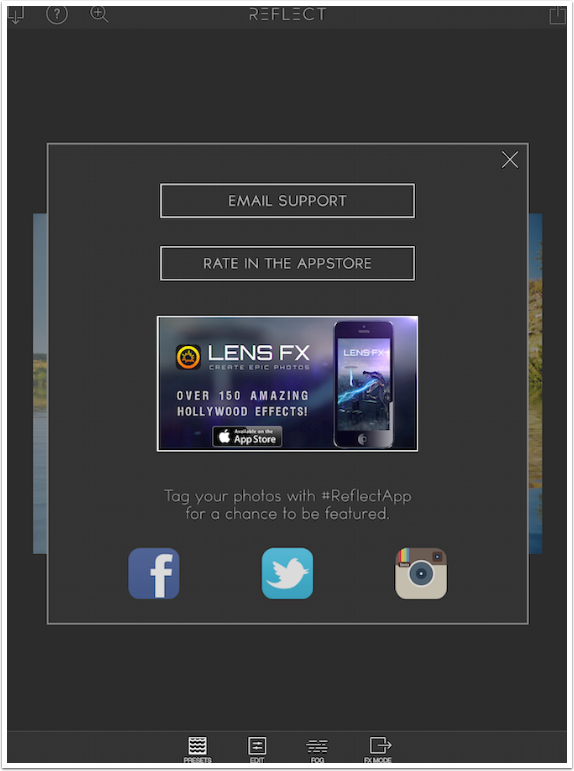
You can also tap Apps, which takes you to a series of ads for Brain Fever’s other offerings.
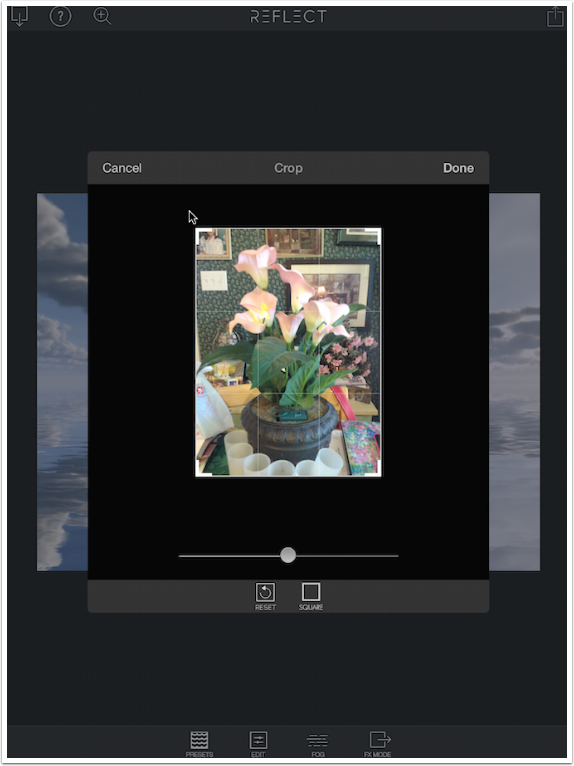
Whether you load an image from your albums, or take a shot with the standard camera, the first thing that happens is you are taken to a crop window. Here you can crop the image to a square or any other size you like; but what you should pay attention to is the grid over the image and the slider which allows you to straighten it. Like ColorLake, and unlike Flood, Reflect is limited to a horizon that is at 0°. So it is important that the horizon, or the place where you wish to put your waterline, is absolutely flat. You use the slider to straighten the image, and you use the grid to help you visualize the waterline.
Choosing an image is standard fare. It is nice that the image picker kept up with the new image storage method in iOS8, with the “Recently Added” album.
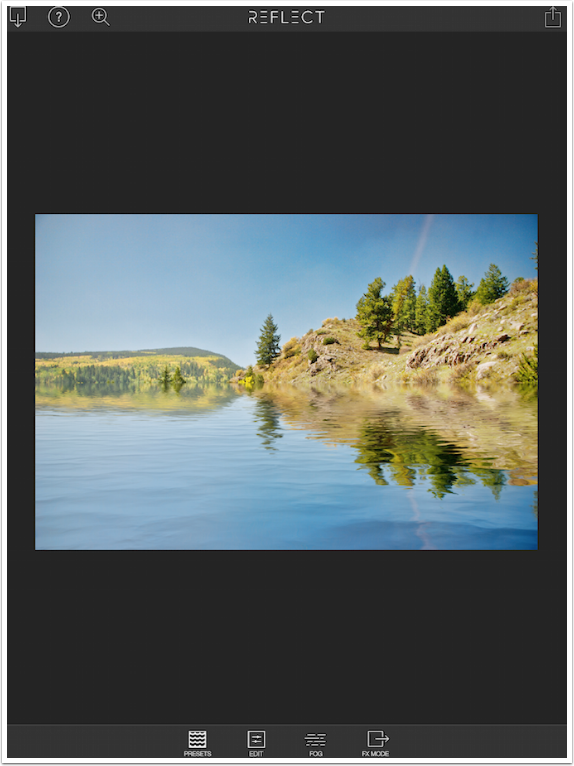
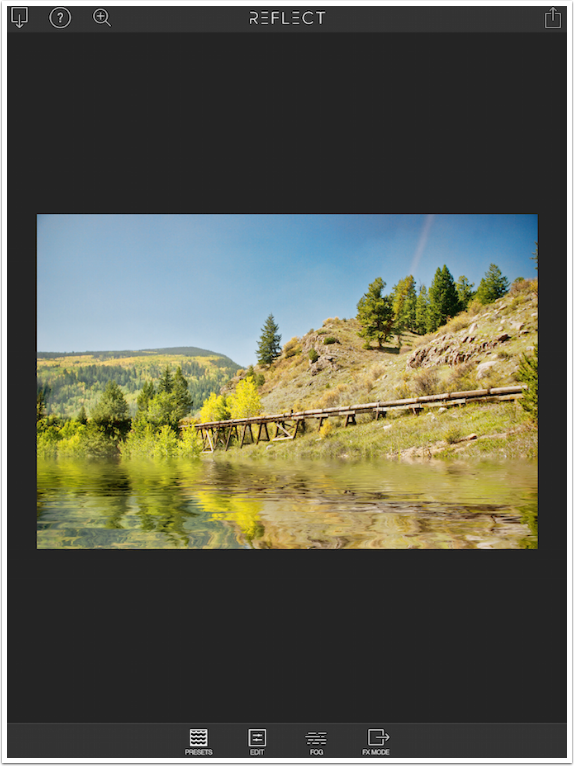
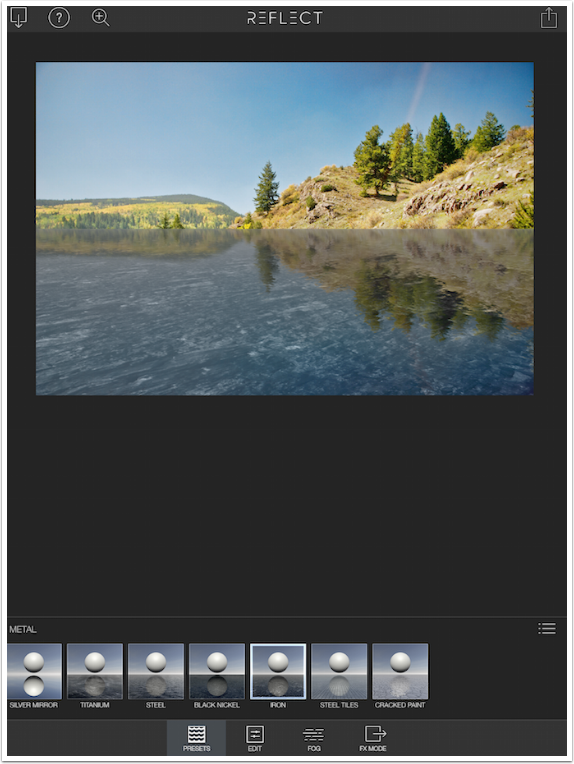
Below you’ll see the workspace for Reflect. The boxes with the arrows at the upper left and right corners are for loading and saving images, respectively. There’s a help button and a zoom button at the top, and buttons for Presets, Edit, Fog and FX at the bottom. A default lake setting is applied, with the waterline across the center of the image.
Below you’ll see the help, which is actually no help at all. But that’s why people like me write tutorials!
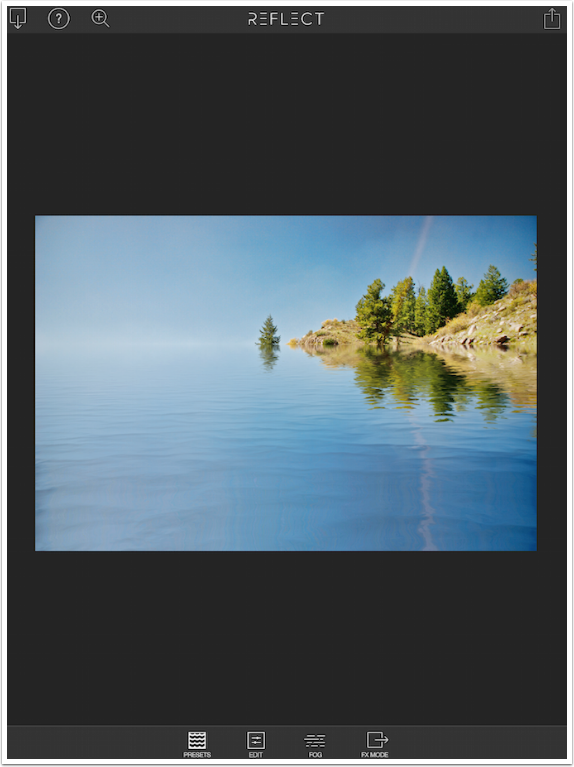
You tap anywhere on the image to set the waterline. You can also tap and slide, to help you get it exactly where you want it. Below I’ve moved it higher, over the hill on the left.
Then I moved it below the wooden structure.
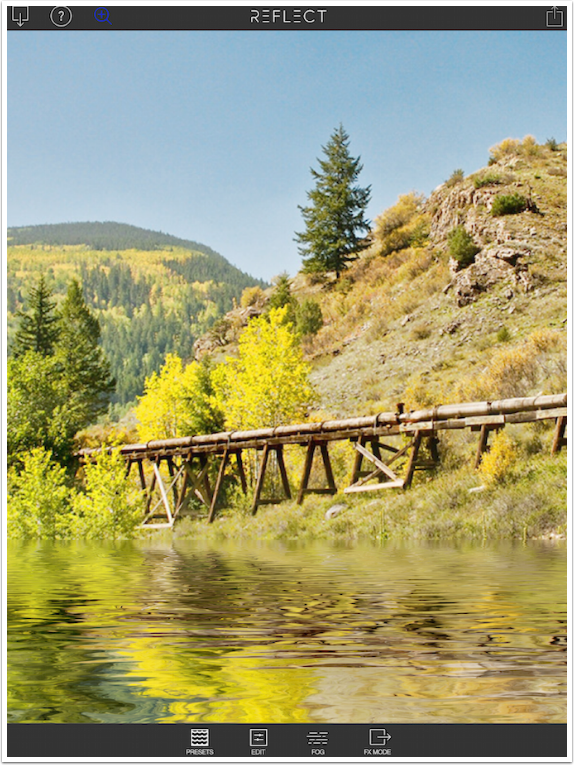
Since a tap anywhere moves the waterline, a two-fingered pinch can’t be used to zoom into the image to fine-tune the waterline. To zoom, touch the magnifier with the + sign icon, and you will be in Zoom mode. Now, a pinch will zoom in. As long as the icon is blue, as shown below, you will remain in Zoom mode until the icon is tapped again.
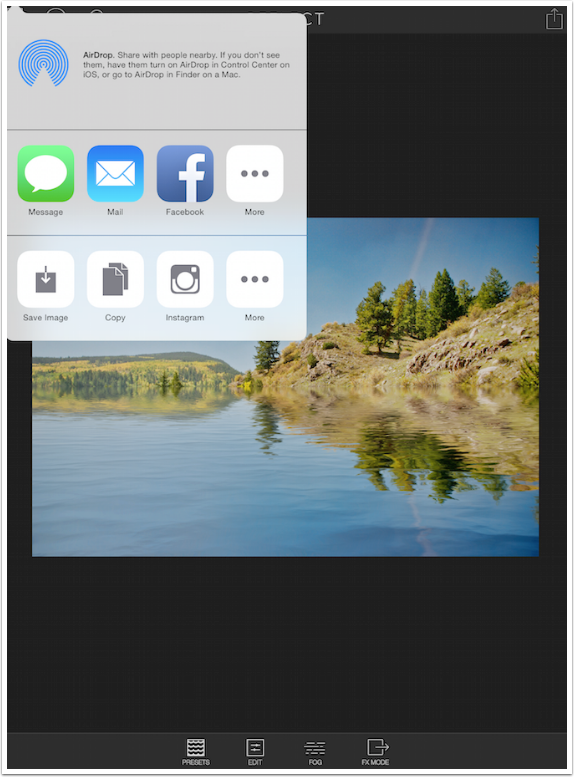
At any point you can Save your image by tapping the icon at the upper right. Save options are limited to those shown – there is no “Open in…” option.
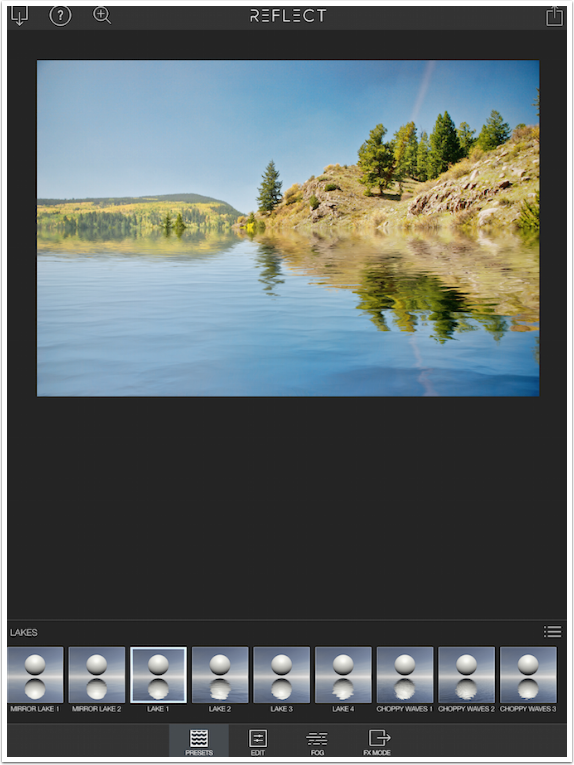
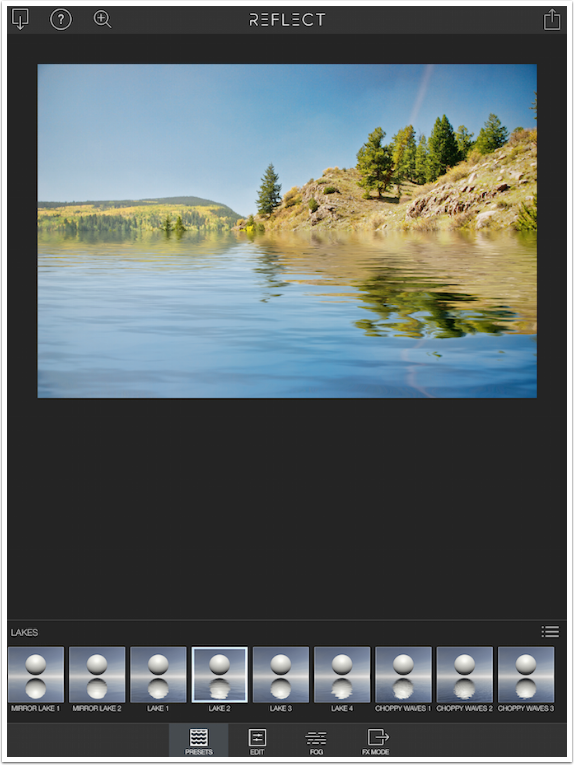
Let’s take a look at the Presets, accessed through the leftmost button at the bottom of the workspace. Presets are divided into four categories: Lakes, Oceans, Ice and Metal. Choose your category and a list of presets within that category appears at the bottom of the screen.

First up is Lakes, which has nine different presets. The currently selected preset (the default in this case) is indicated with a white surrounding box: Lake 1.
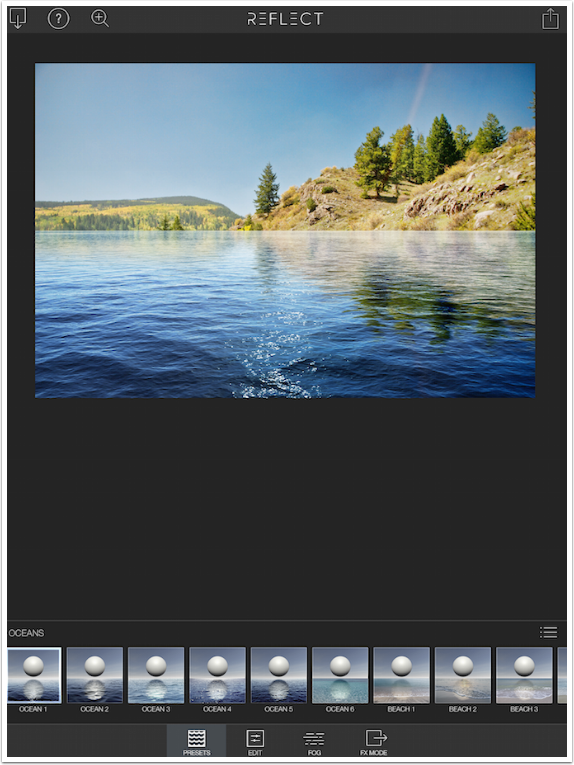
Choosing a different preset is done simply by tapping that preset. Below I’ve changed it to Lake 2. All presets are customizable; customization of presets will be covered in Part 2.
You return to the Category Picker by tapping the “List” icon at the right of the top bar of the Preset picker. This allows me to change to the Oceans category, which has ten available presets.
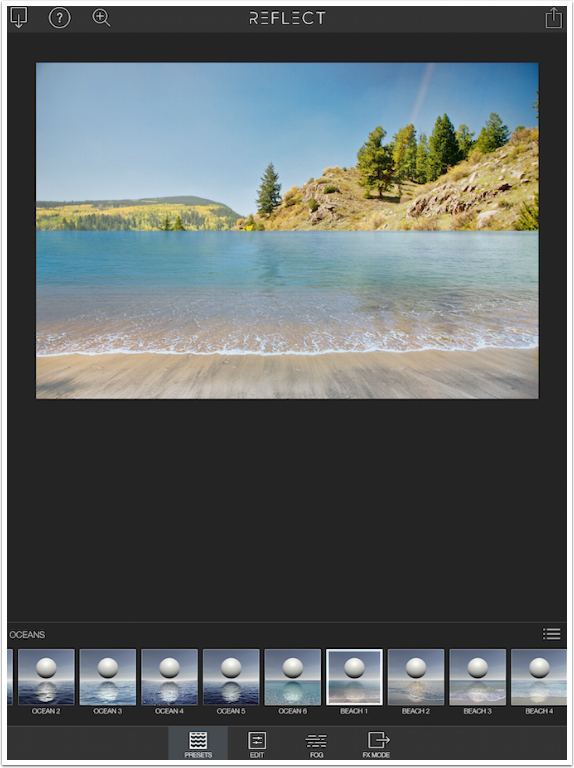
The Oceans category includes some Beach presets which puts sand underneath the added water. This can make for some strange results, such as the one seen below.
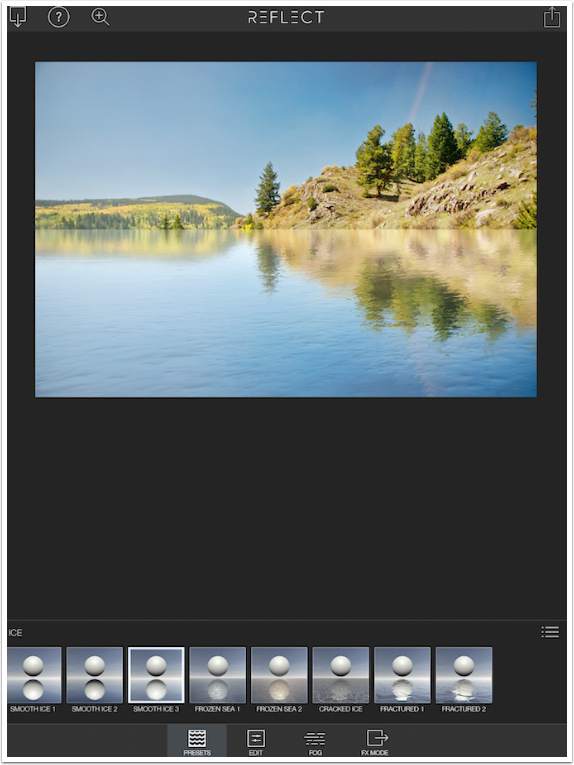
Ice presets (8 in total) would obviously work better with wintry scenes. With my sample picture it’s hard to believe that it is actually cold enough for ice.
The final category of Presets is Metal, with seven presets. Below I’m using Iron, which hardly looks realistic in our mountain landscape.
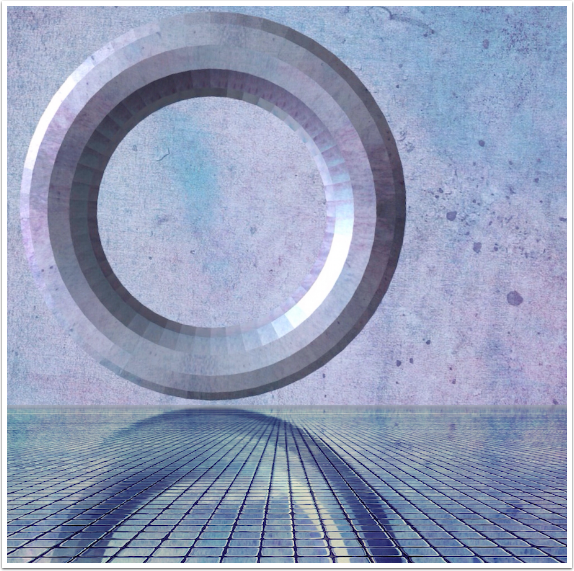
But those Metal presets can look great in an abstract image. That’s what I’ll show you to wrap up this installment. I created an image in Matter, then added the Steel Tiles preset in Reflect. Finally, I took it into iColorama to give a slight yellow cast to the “floor”.
Next time we’ll look at how to customize your reflections. Until then, enjoy!
Jerry Jobe
Never content with just scratching the surface of what an app can do, Jerry Jobe decided to pass on what he learned about imaging apps to others. He’s constantly trying to figure out just what tools other artists have used, and trying to incorporate them into his own work, in an attempt to find his style. He’s written tutorials on over 145 apps so far, which you can find (along with his Song of the Day entries) at http://enthusiasmnoted.wordpress.com/ He lives near Atlanta, Georgia, where he also finds a creative outlet in acting and directing in community theater.
One Comment
Pingback: