iOS Photography App Reflect+ – More Standing Water Ahead – Part 2 – by Jerry Jobe
We are delighted to publish our latest iOS Photography Tutorial by Jerry Jobe. This week Jerry writes Part 2 (of 2) on the new app Reflect+, one that you may find very useful to have in your toolbox. If you missed Part 1 of this series, please go here. (Foreword by Joanne Carter).
Reflect+ retails for $1.99/£1.49 and you can download it here
“Last time I stated our discussion of Reflect, the new app from Brain Fever Media that adds textured reflections to your images. I showed you how to import and save an image, and how to use the packaged presets. I also showed you that there is no help available within the app, so I’m trying to help you use this app that is not entirely intuitive.
I’m working on a mountain landscape, and have selected a Lake preset. When I then tap the Edit button, second from the left at the bottom, I am shown three sliders. (In the iPhone version, only one slider shows at a time; you must select which of the three sliders is shown by selecting one of three buttons.) The sliders – Displacement, Blur and Bottom Fade – have default settings that are based on the Preset chosen”.
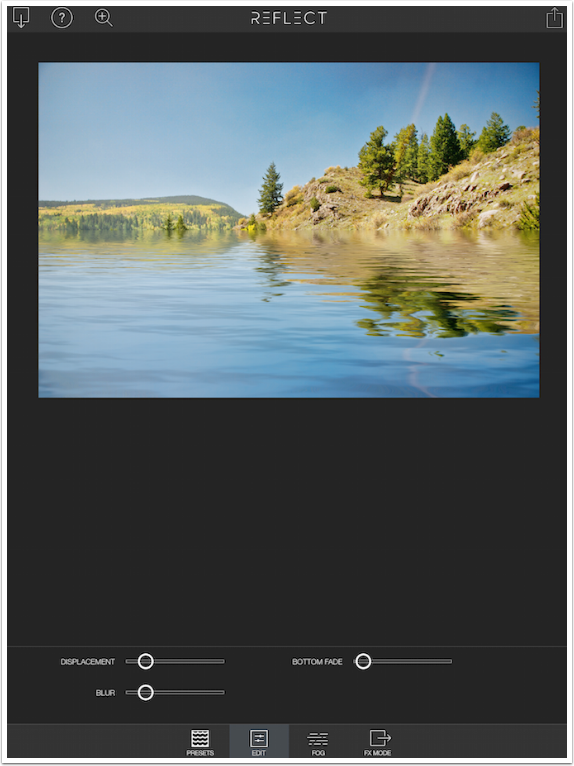
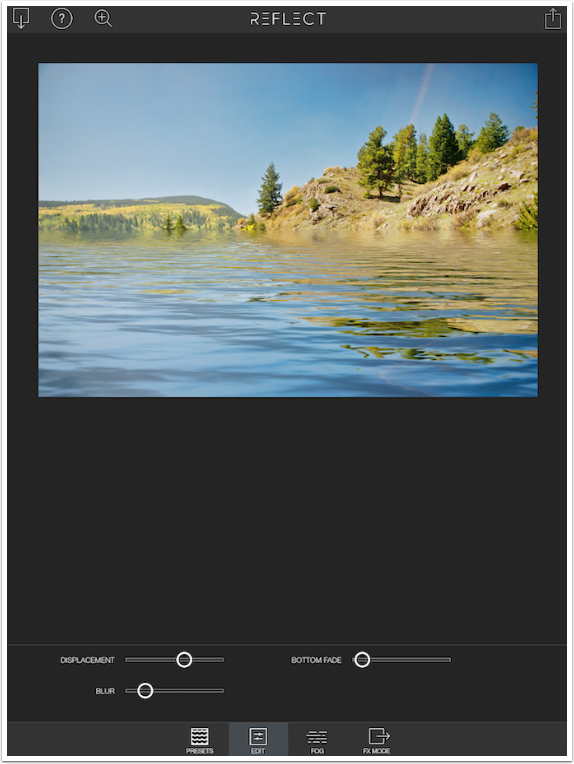
The Displacement slider affects how far the reflection is moved by the ripples; in effect, how strong the “waves” are. The farther the slider is to the left, the glassier the water is; moving it to the right makes the water “choppier”.
The Blur slider blurs the reflection “farther away” from the “observer”. This can aid in realism. Often, a breeze across the far end of a lake will give that blur effect in real life.
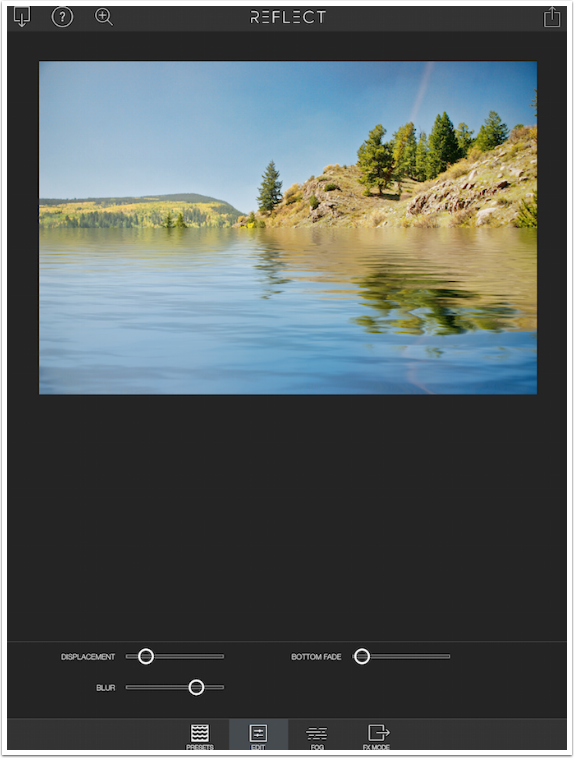
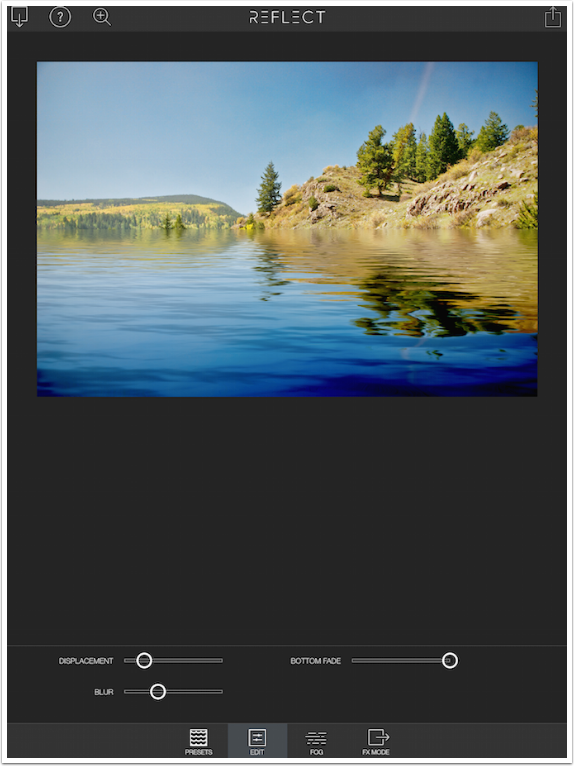
The final slider, Bottom Fade, will make the water that is closest to the observer darker. This gives the impression that the water is deeper. Obviously, this may not be useful when using one of the Beach Presets.
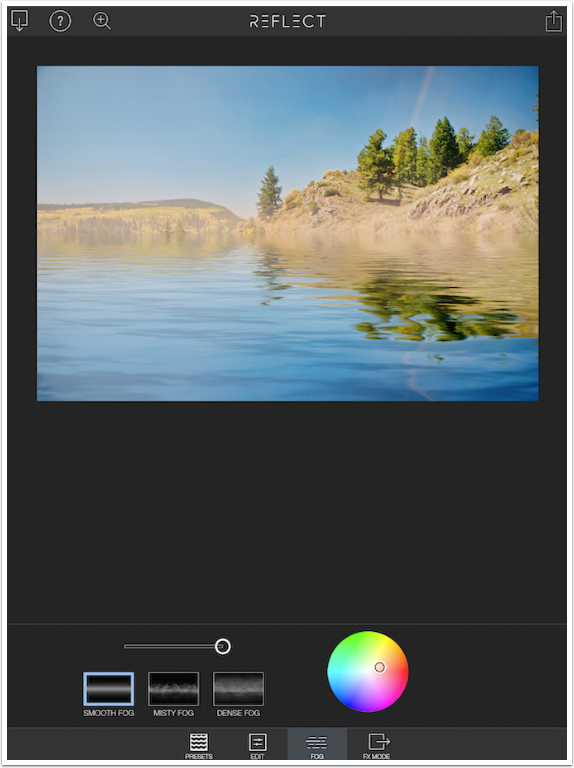
The next way to modify your image is through the use of Fog that lies along the waterline. You have three Fog Patterns: Smooth, Misty and Dense. You have a slider that controls the strength of the Fog, which by default is set completely off. You have to move the slider to see the Fog you are adding. You also have a color wheel to color the Fog (since in real life fog takes on the color of the light).
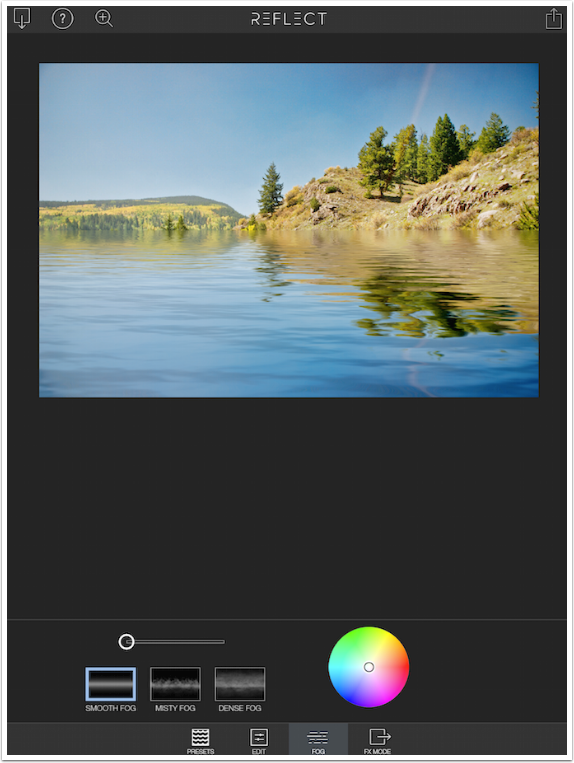
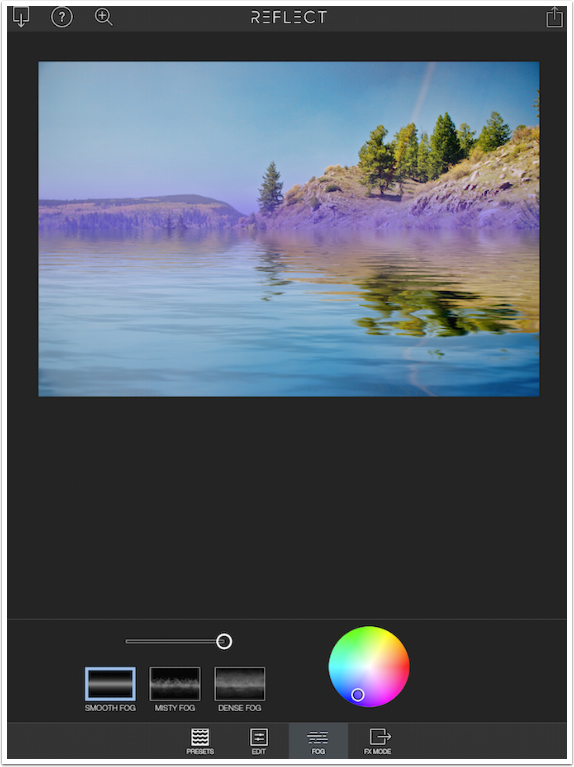
In the shot below I’ve made the Smooth Fog as intense as possible using the slider, then made it very blue. Unless you are going for a very special effect, you will want to choose a color nearer the center of the color wheel, rather than the edge.
Below I’ve changed the color to a light orange, more accurately reflecting the color we see in the mountains.
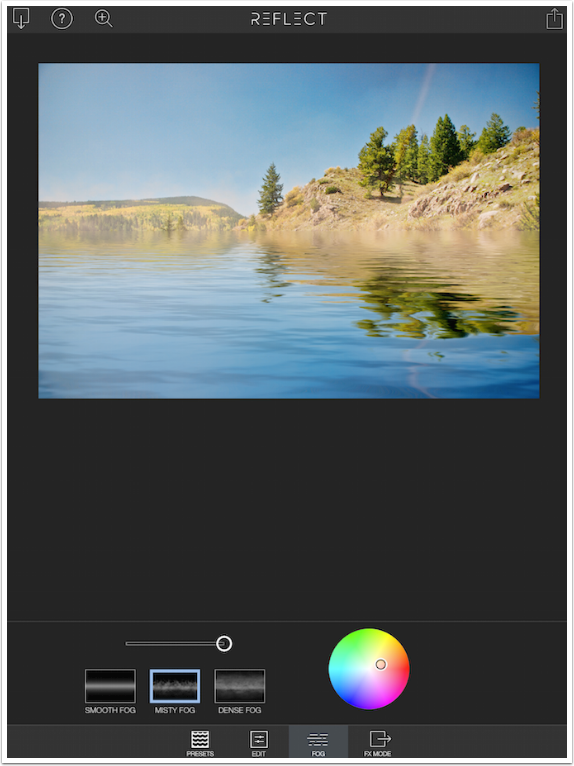
Below I changed the Fog from Smooth to Misty, which I like.
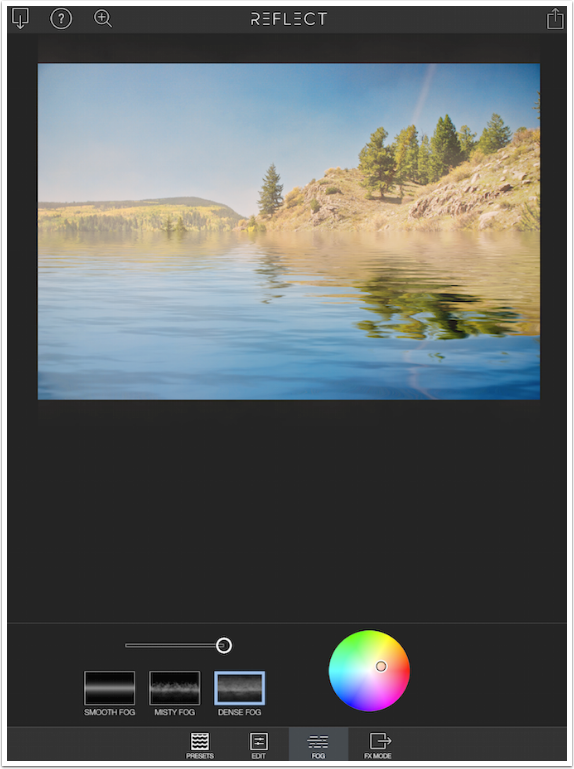
Just so you can see the effect, you’ll see Dense Fog below.
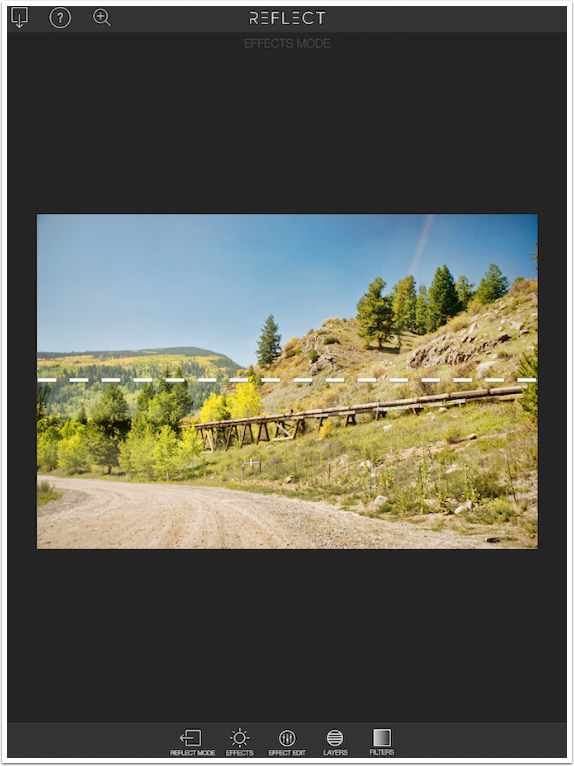
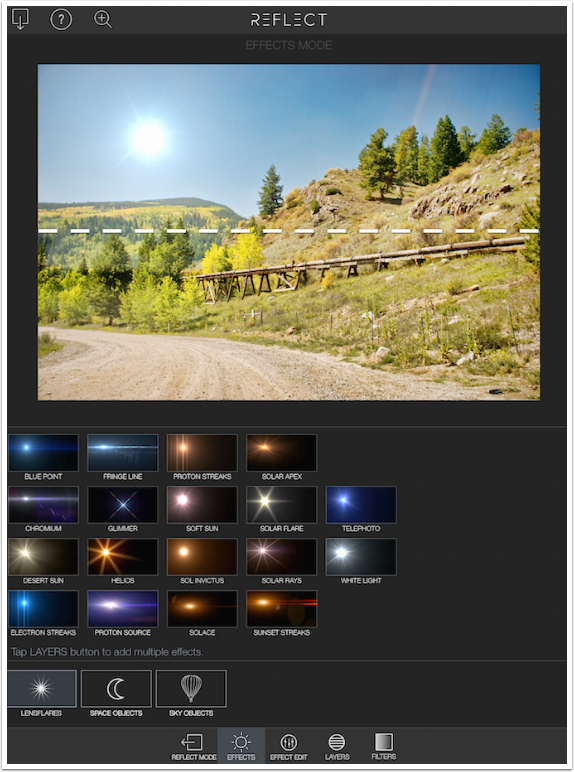
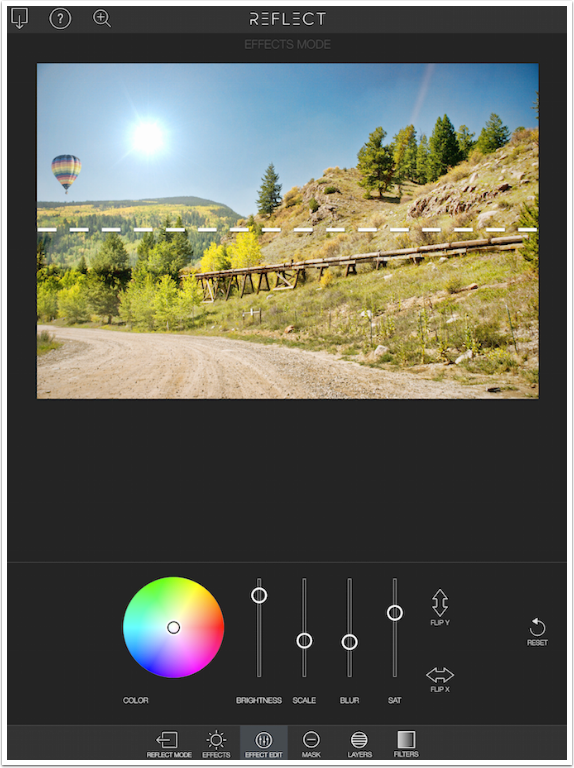
The final button at the bottom of the main workspace is FX mode, which opens up a whole new section of effects you can use. This section works just as it does in LensLight, LensFlare and Alien Sky; my guess is that it works the same in Lens FX. You have several objects that you can place in the image; you can apply multiple objects through the use of Layers; you can edit each Layer; you can Mask out objects so they fall behind trees or hills in the foreground; and you can add Filters to the entire image.
Notice how, in FX mode, the waterline is indicated by a white dashed line. This is to aid in processing time, so the app doesn’t have to render the reflection each time you move or add an object. To see the effects with the reflection added, tap the leftmost button at the bottom to return to Reflect mode.
Tapping the Effects button will allow you to choose from many objects to place into your image. I chose White Light and moved it to the left side of the image, since what shadows there are go to the right.
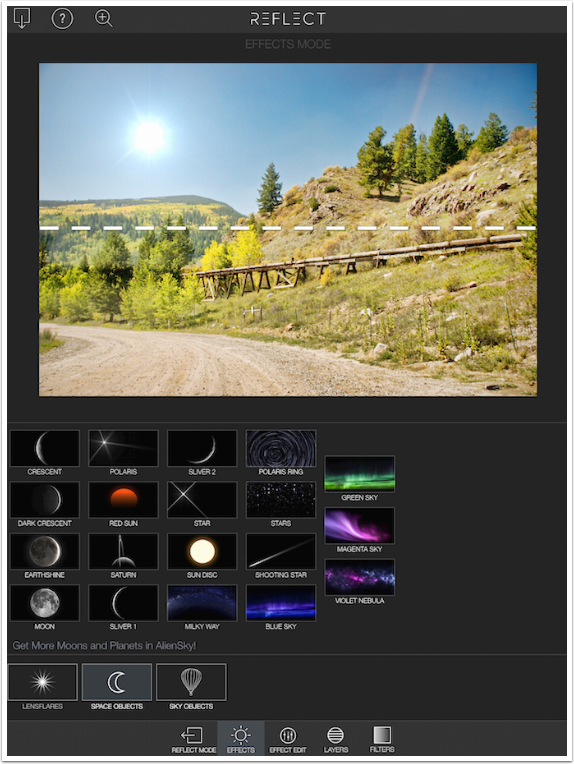
You can also choose from the other categories of objects, Space Objects and Sky Objects.
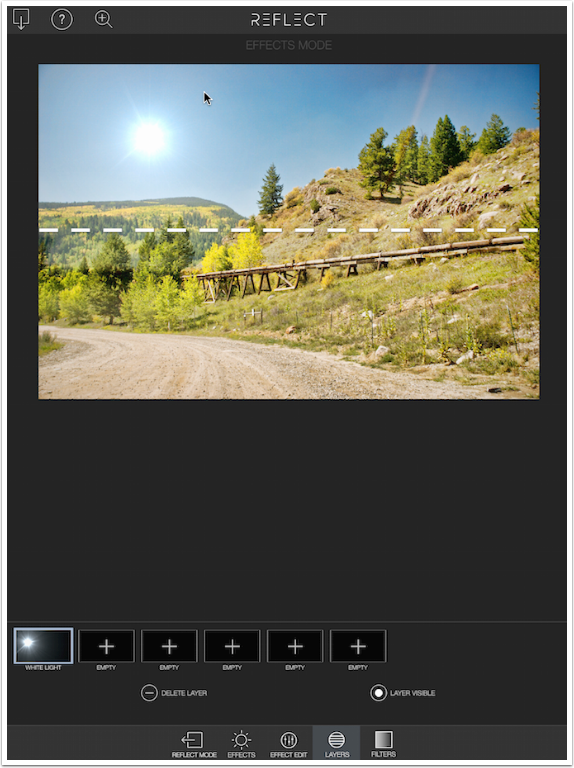
By tapping the Layers button, you’re taken to a space where you can add up to six laters/objects. The first layer is active; if I tapped on any object at this point it would replace the White Light object. By tapping the plus sign in any of the additional layers I can add additional objects.
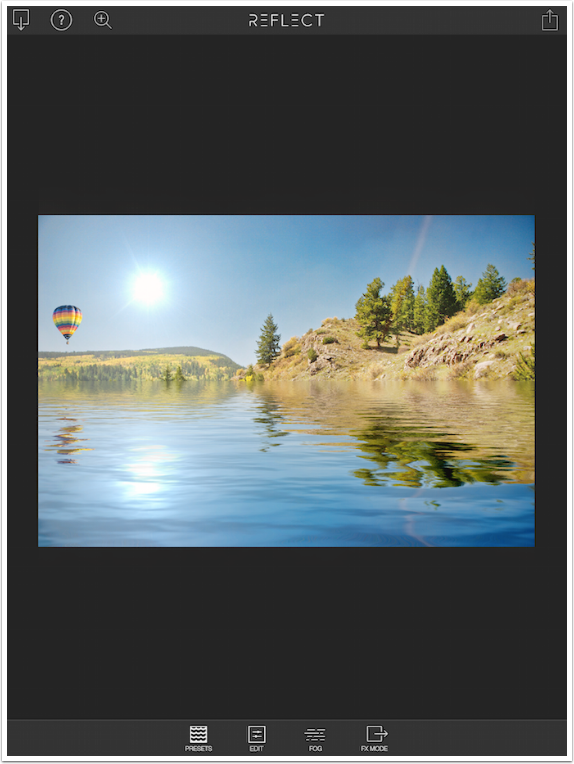
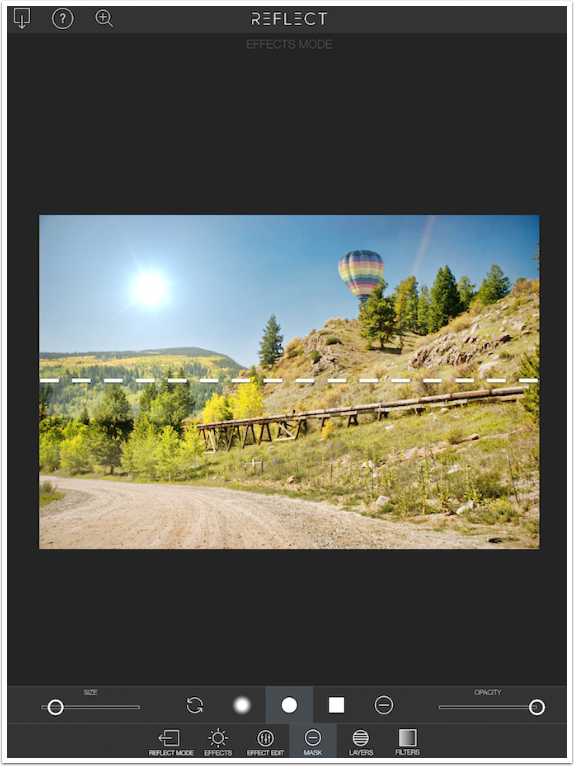
I added a balloon below and used a two-finger pinch to size it and a one-finger drag to place it.

Just to see my progress, I return to Reflect Mode.
I’m not entirely happy with the balloon, so I return to the FX Mode and select the Edit Effects button at the bottom. This allows you to tint your object; change the brightness, size, blur and saturation; and/or flip the object.

By adding some blur and lowering the saturation, I’m able to make the balloon seem more of a piece with the surroundings.
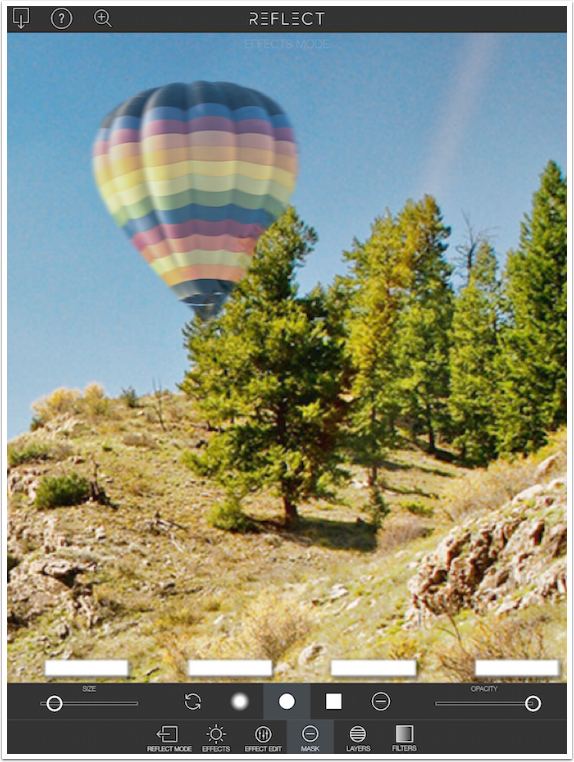
But I still have a problem with the placement. I’d rather have the balloon coming over the rightmost hill. Since the shadow is on the left of the balloon, I have to use the Flip X button to move the shadow to the right, as it would be with the placement of the sun. I’m also going to have to mask out some of the balloon so it falls “behind” the tree.
I used the Zoom button to zoom in, then deactivated it so I could Mask. Then I painted out the balloon where it overlaps the tree.
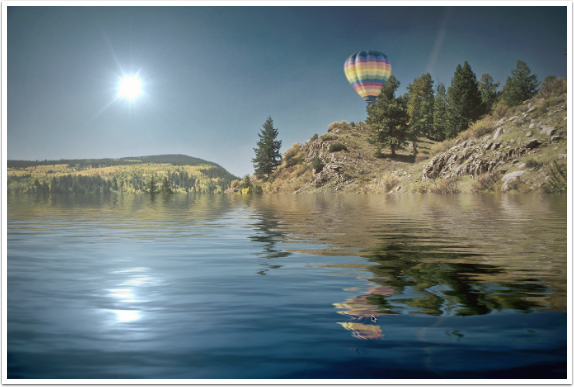
Finally I added a Filter to blend it all together. There are sixteen different filters, with sliders for Brightness, Saturation, Dark Sky and Vignette. Below I’ve added Futuristic.

Below is my finished image. I could improve on the realism of the scene by doing a better masking job on the balloon, and by cloning out the dark tree tops at the waterline about a third of the way from the left before bringing the image into Reflect. Still, it has a nice look.
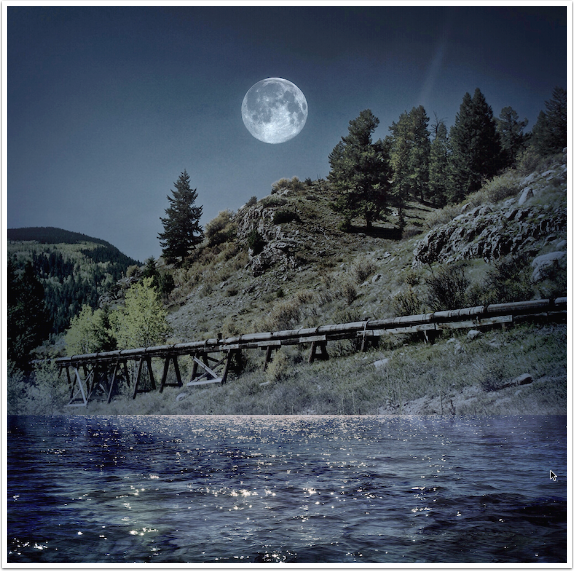
Overall I’m very pleased with Reflect. I think it outperforms ColorLake, and it improves over Flood as well (although I still like the ability to make non-horizontal waterlines in Flood; the “wall of water” is a nice effect). I’ll finish with a different treatment of our test image. It has a nice “day for night” effect with an Ocean preset, a Moon object and a Gothic filter. Enjoy!
Jerry Jobe
Never content with just scratching the surface of what an app can do, Jerry Jobe decided to pass on what he learned about imaging apps to others. He’s constantly trying to figure out just what tools other artists have used, and trying to incorporate them into his own work, in an attempt to find his style. He’s written tutorials on over 145 apps so far, which you can find (along with his Song of the Day entries) at http://enthusiasmnoted.wordpress.com/ He lives near Atlanta, Georgia, where he also finds a creative outlet in acting and directing in community theater.