Mobile Photography / Art Tutorial – Analog Film: Capturing Yesteryear?
We are delighted to publish Jerry Jobe’s latest mobile photography/art tutorial for our reading and viewing pleasure. This time Jobe takes a look at the app Analog Film. Read Jobe’s thoughts as he puts it through its paces (foreword by Joanne Carter). Take it away Jerry…
Analog Film retails for $2.99/£2.29 and you can download it here
“Last month Google stunned many of us with their announcement that they would be making their Nik photo plugins, acquired in late 2012, free to all. Nik Software deserved their reputation for great Photoshop plugins on the desktop. They were priced accordingly, so the markdown to zero was surprising. Some have speculated that Google wants to concentrate on mobile apps, and it would be fantastic to get some of the capabilities of Nik Software on mobile devices. Perhaps even incorporated into Snapseed?
One of the plugins in the Nik bundle is Analog Efex Pro. This software allows you to emulate different film stocks and types of cameras. The digital revolution has not supplanted the desire by photographers for their images to have the look of Velvia or Tri-X film, so there are many products which try to give them what they want. Today’s app, Analog Film by ordinaryFactory, is such an app”.
I’ve talked before about my dislike for “filter” apps. I’ve referred to it as “slapping” a filter onto an image and posting it. This dislike is for those apps that have a small number of filters and that do not allow for adjustment – Instagram used to work in that way. Analog Film has enough different filters (400!) and enough adjustment controls that I have no instant dislike for the app – I’m eager to learn what it can do for my images.
Analog Film sells for $2.99, and is a universal app. The screenshots presented below were taken from the iPhone version, but the iPad version works similarly.
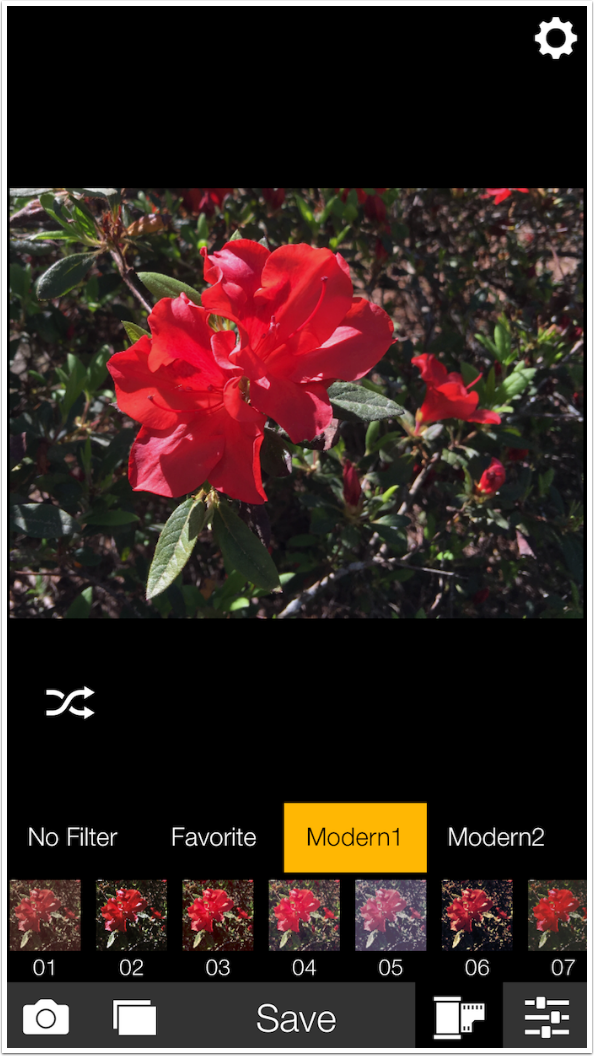
When you load the app, you have a blank workspace, as shown below. At the bottom left you can choose to capture an image using the camera or load an image from your library. At the bottom right are buttons for films and adjustments. There are thumbnails for the different “films” within the highlighted category (“Favorite” below).
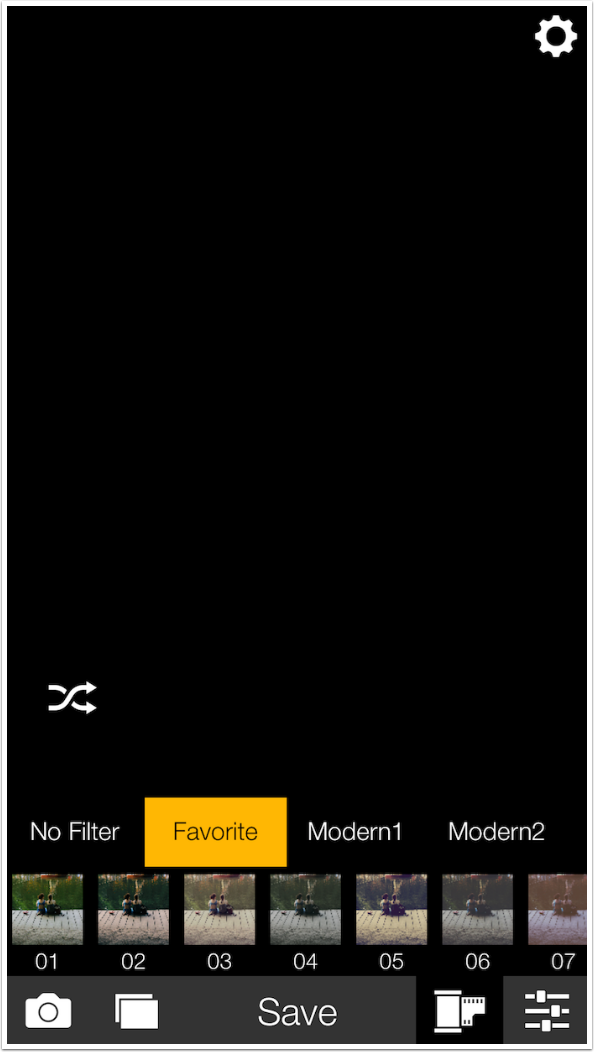
If you choose a filter without loading or capturing an image, a default image will be shown with that filter or “film” applied.
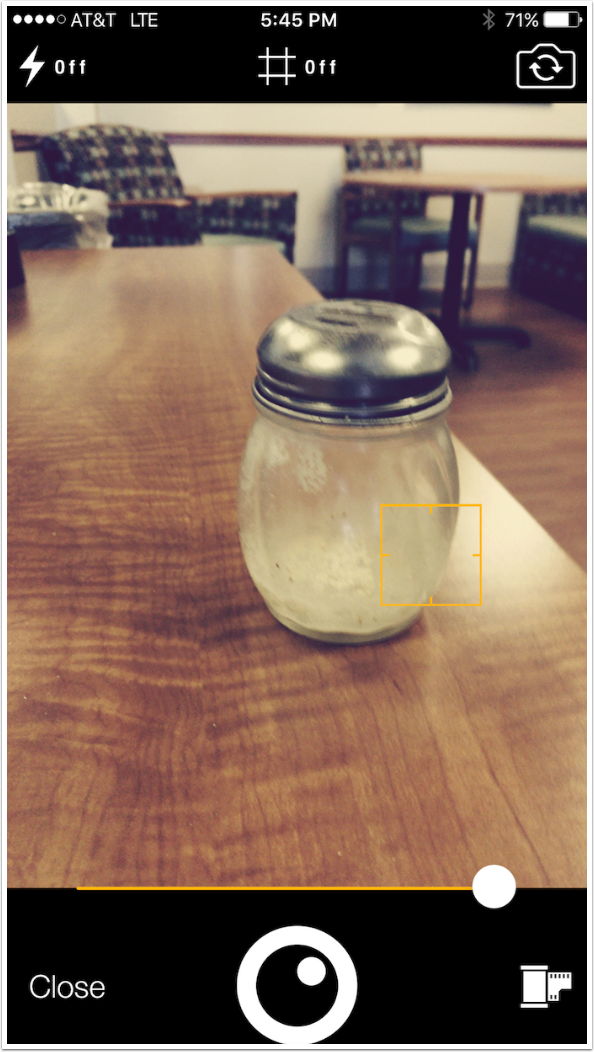
If you choose a filter before accessing the camera, you can see that filter applied in the viewfinder as you capture the image. You can choose a filter after accessing the camera by tapping the “film” button at the lower right.
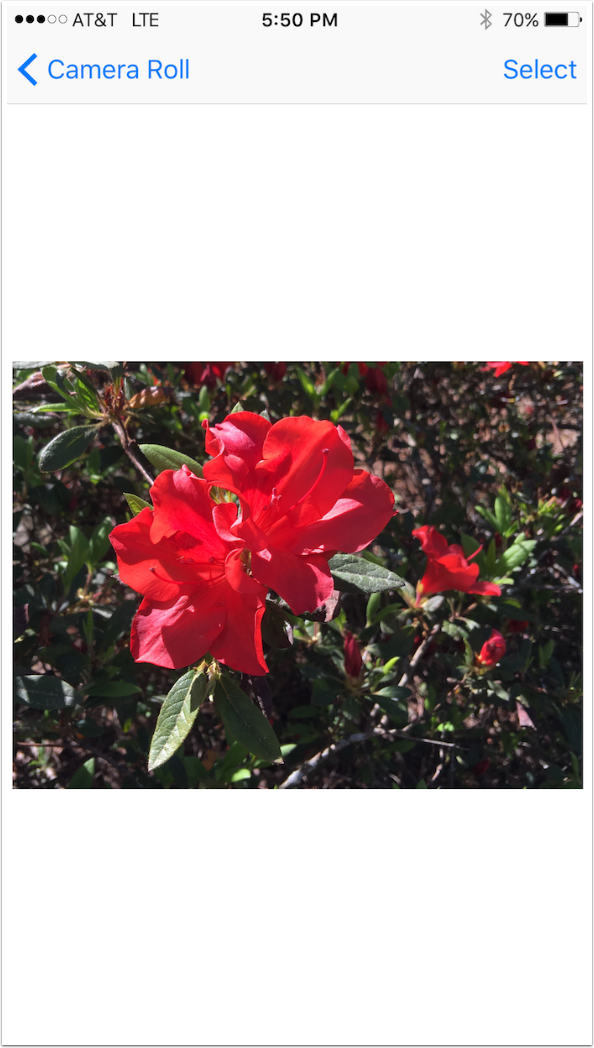
The image I’ll be working with today is an azalea bloom from my front yard.
If you read through the reviews on the App Store for Analog Film, one of the main complaints is the way the filters are grouped. People that are interested in specific analog looks need some indication of what film is being emulated. Is it Kodak? Which kind? Fuji? Ilford? Analog Film does not even name their filters similarly, like “Tritex” for Tri-X. Instead they are grouped into categories, and each filter is assigned a number within that category. As you can imagine, with 400 different filters across 38 different categories, it can be difficult to pick out the look you’d like.
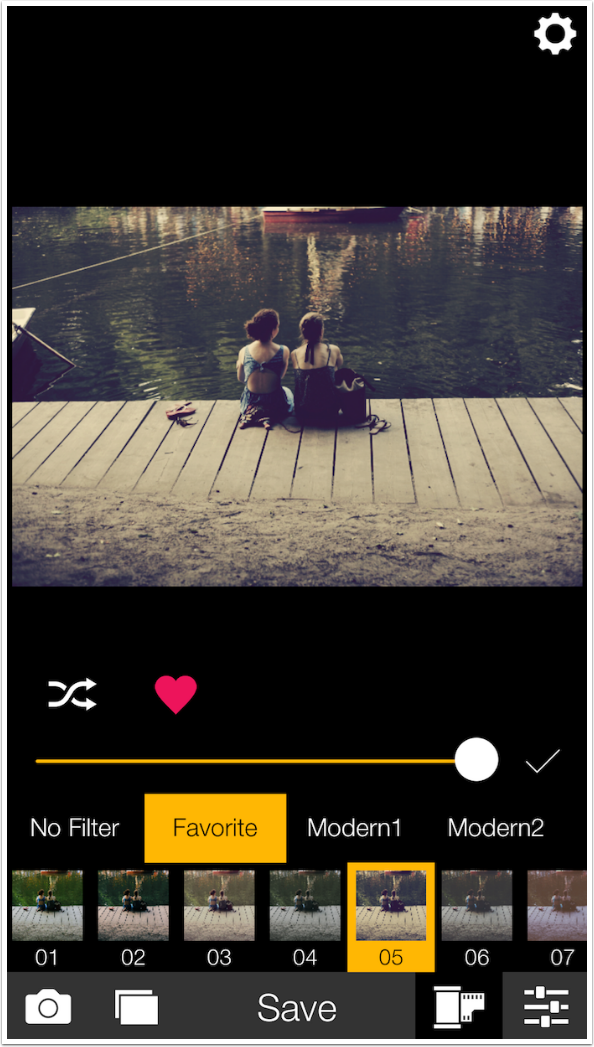
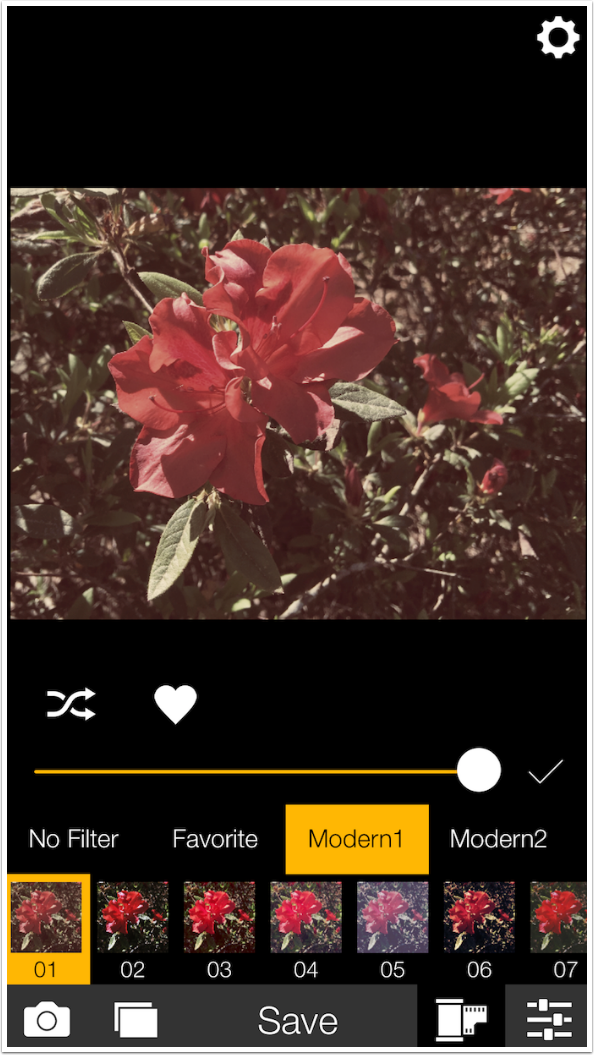
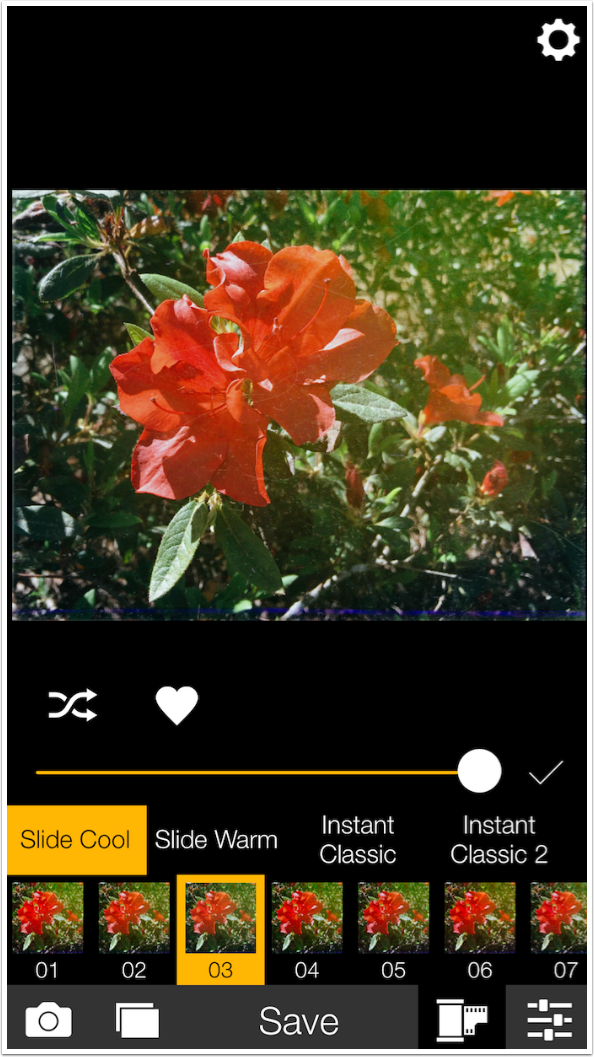
Once you choose a filter (Modern1 01 below), the filter is applied to the image and a strength slider appears above the film thumbnails. There is a “Shuffle” icon that allows you to randomise your choice of filter, and a “Heart” icon to add this particular filter to the Favorites category. Also, at any time you can see the original image by tapping and holding the image itself.
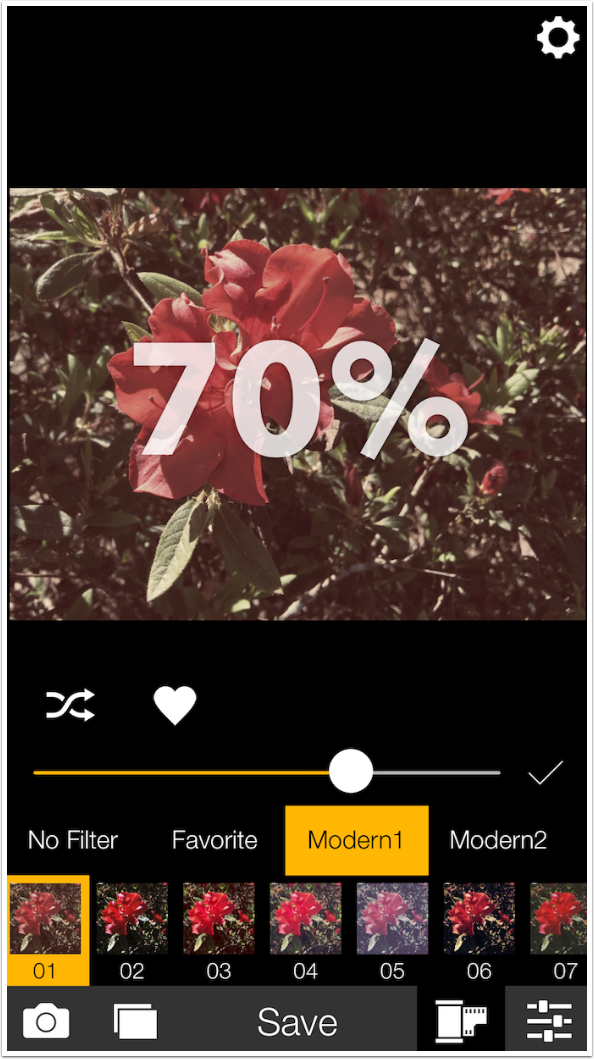
The strength slider is not continuous, but drops in 10% intervals. The response of the image to the moving slider is instantaneous, but the indicator is so large (70%!) that it covers a good portion of your image, and you may need to raise your finger from the slider to see the full effect of the change.
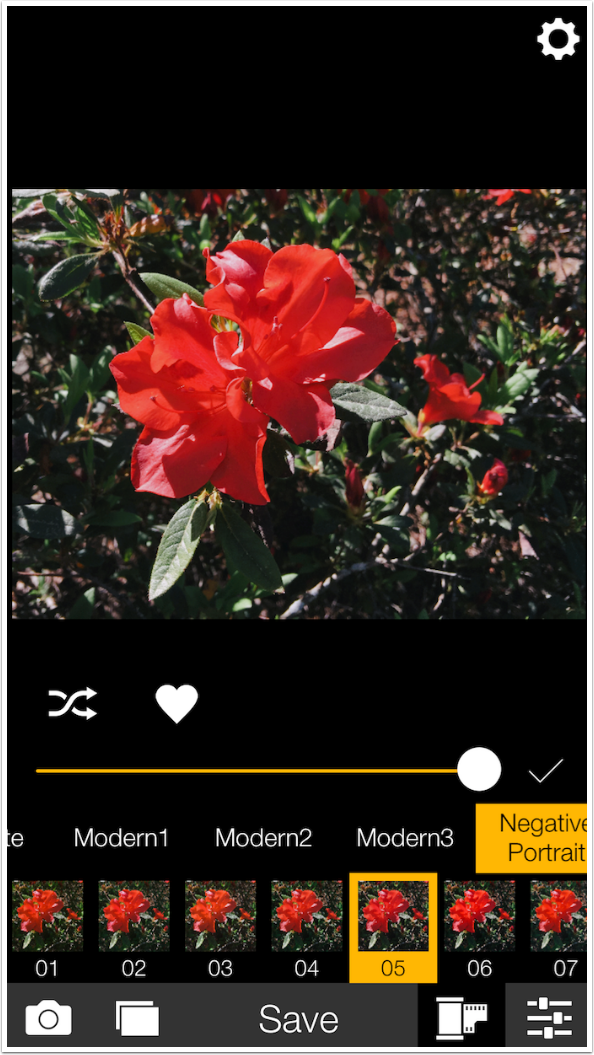
Differences in film stock can be subtle, and so can the differences in filters. Below is filter Negative Portrait 05.
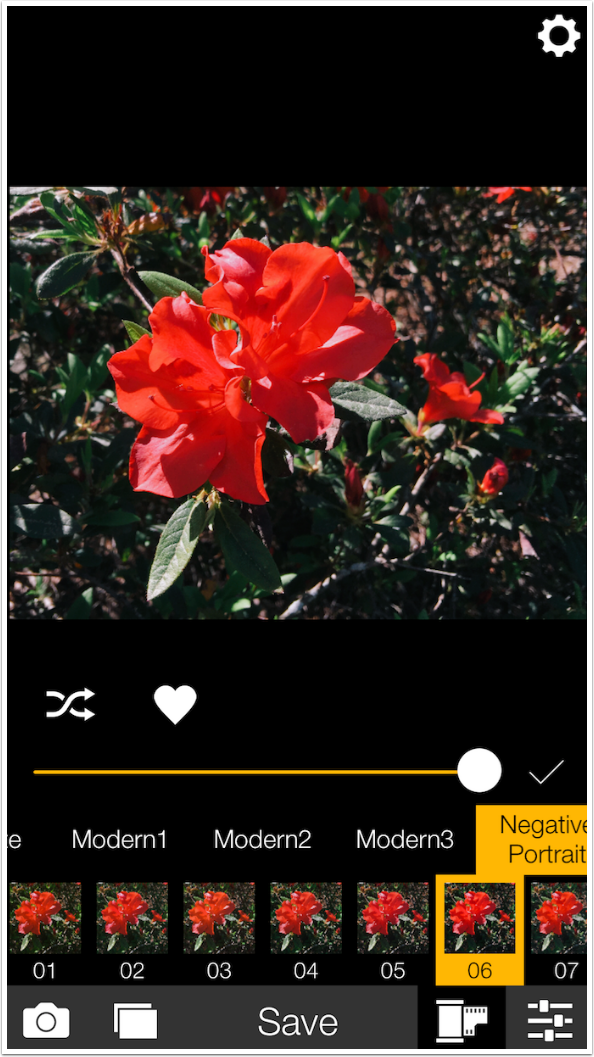
Compare that to Negative Portrait 06 below, and you’ll see that the change is a bit more saturated red and a bit deeper shadow.
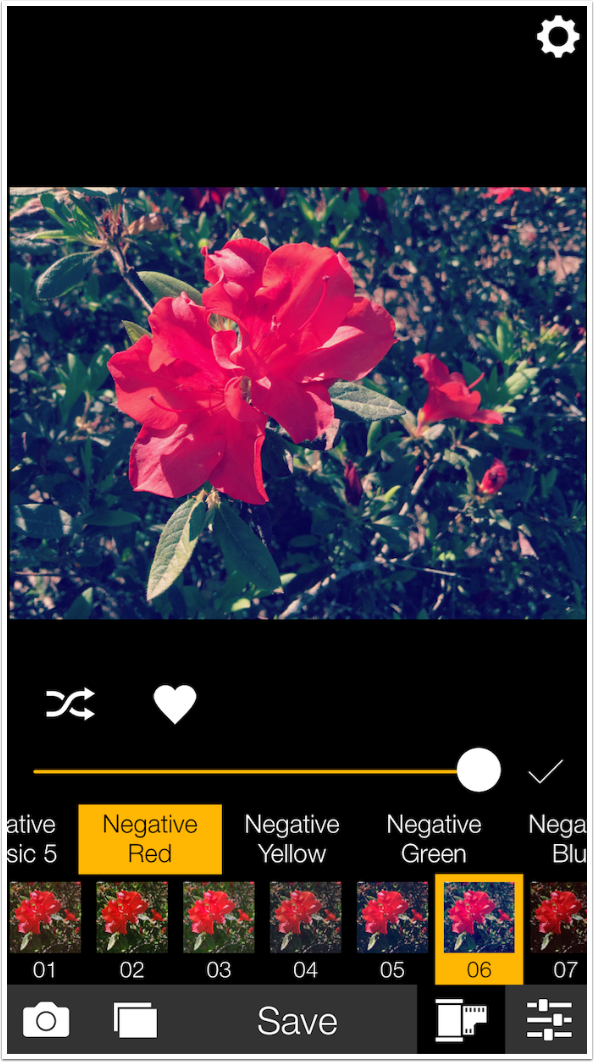
There are thirty color film categories, each with 5-15 filters. Below is Negative Red 06.
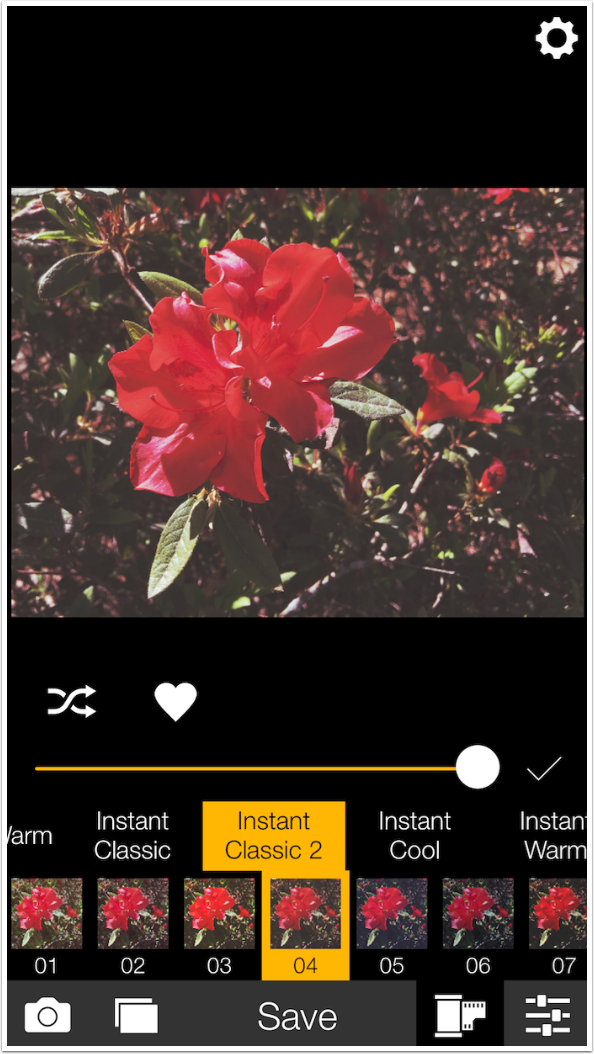
There are Negative films, Slide films and Instant films. Instant Classic 2 04 is shown below.
There are also four “miscellaneous” categories: Café, Retro, Fade and Mood. I like the Retro 03 look.

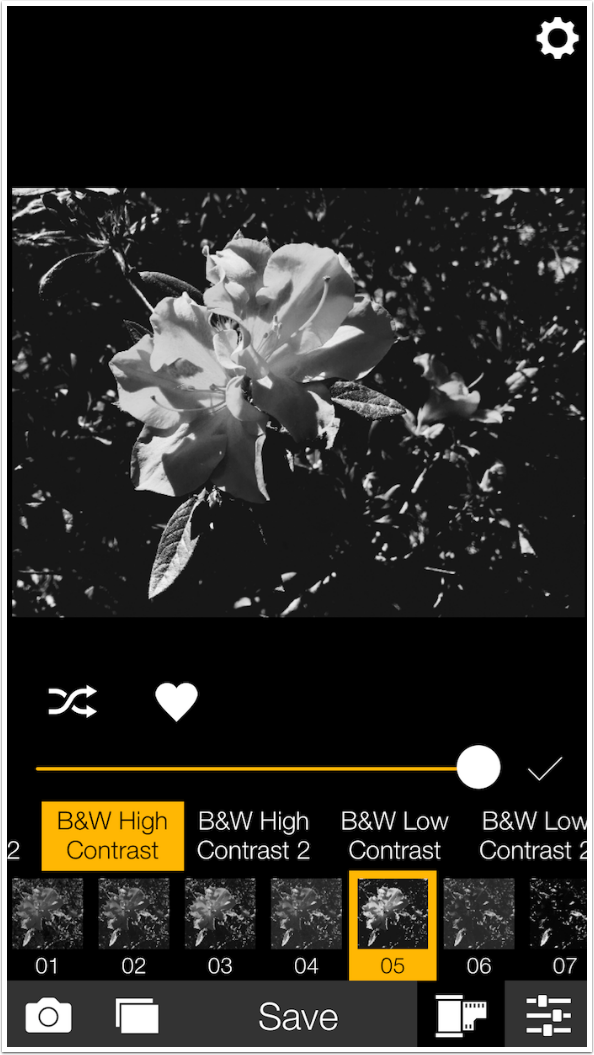
There are also eight B&W categories, including High Contrast like this one.
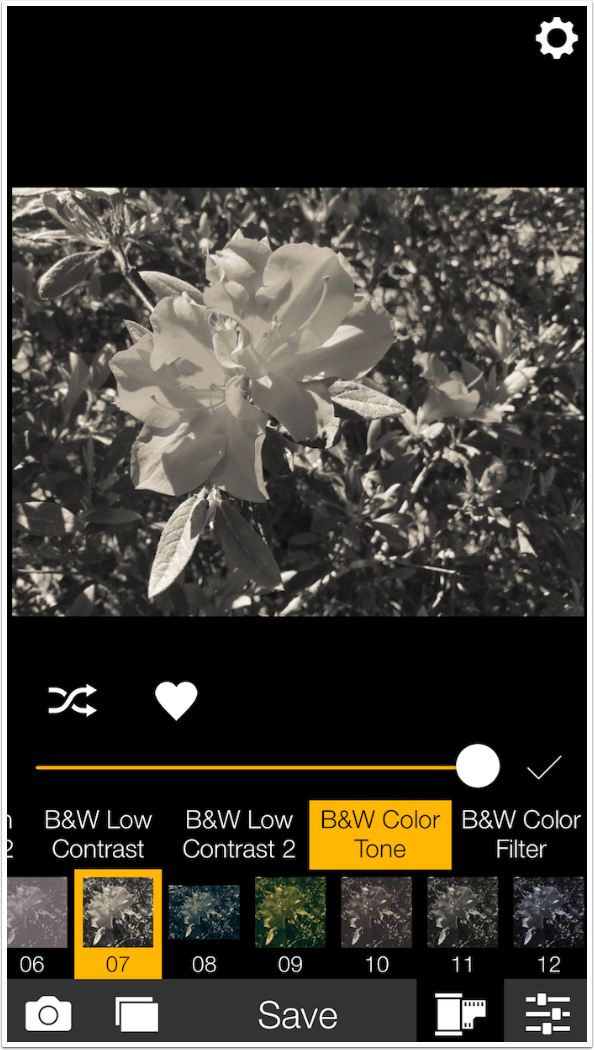
The B&W Color Tone category offers tinted monochromes.
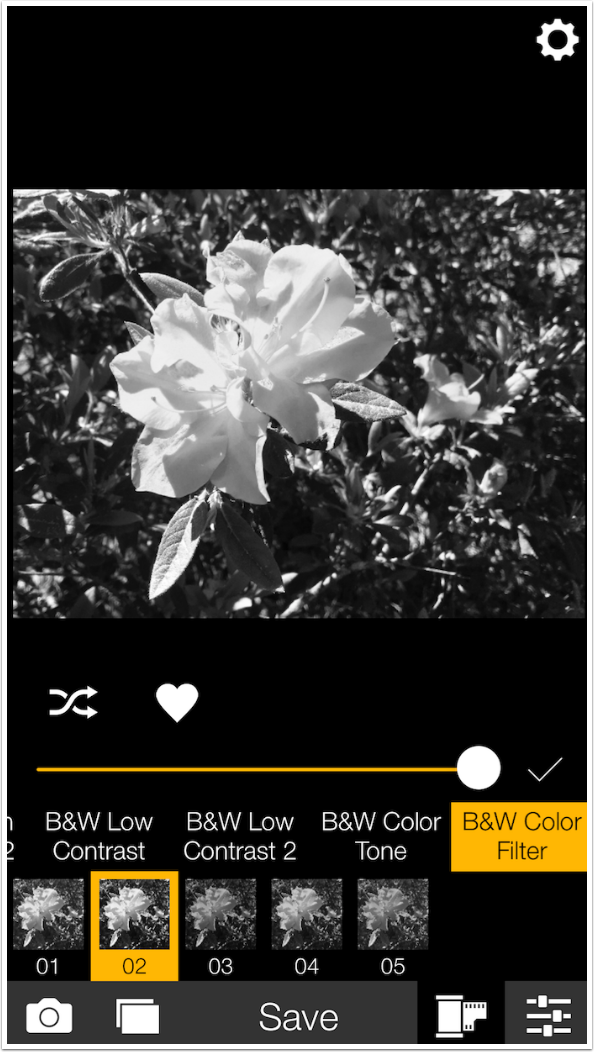
The B&W Color Filter category gives you the look you get from adding a color gel over the lens. But even these aren’t labelled to give you a sense of what color filter is applied. It’s pretty obvious from the bright bloom that this is a red filter, but I’d appreciate a bit more help than that.
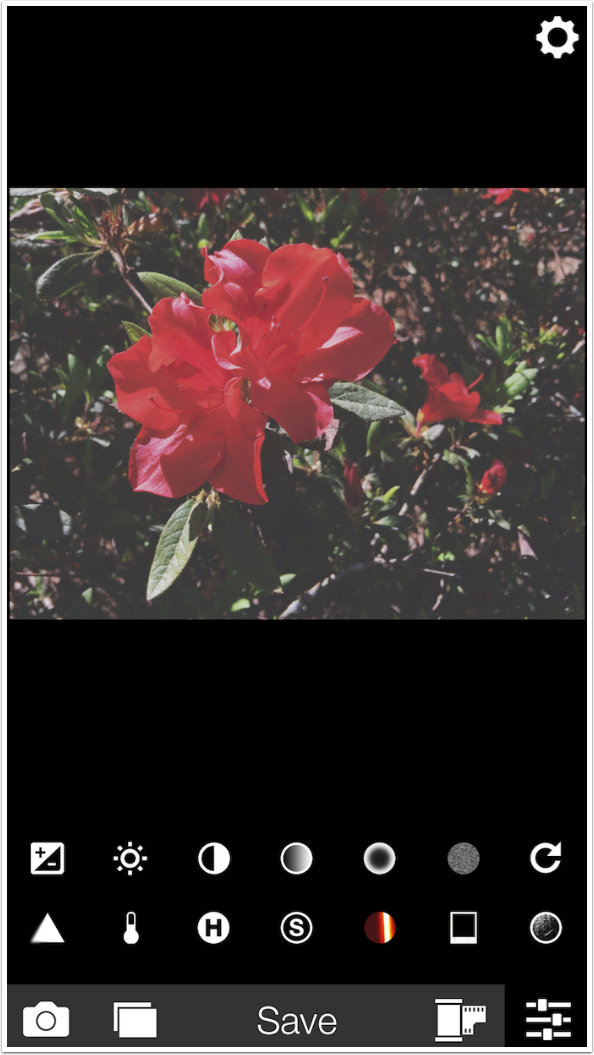
Once you’ve selected a filter, you can move on to adjusting your particular image. There are fourteen categories of adjustment. The top row is Exposure, Brightness, Contrast, Saturation, Vignette, Grain and Rotate. The bottom row is Sharpness, Temperature, Highlight, Shadow, Light Leaks, Frames and Dust and Scratches.
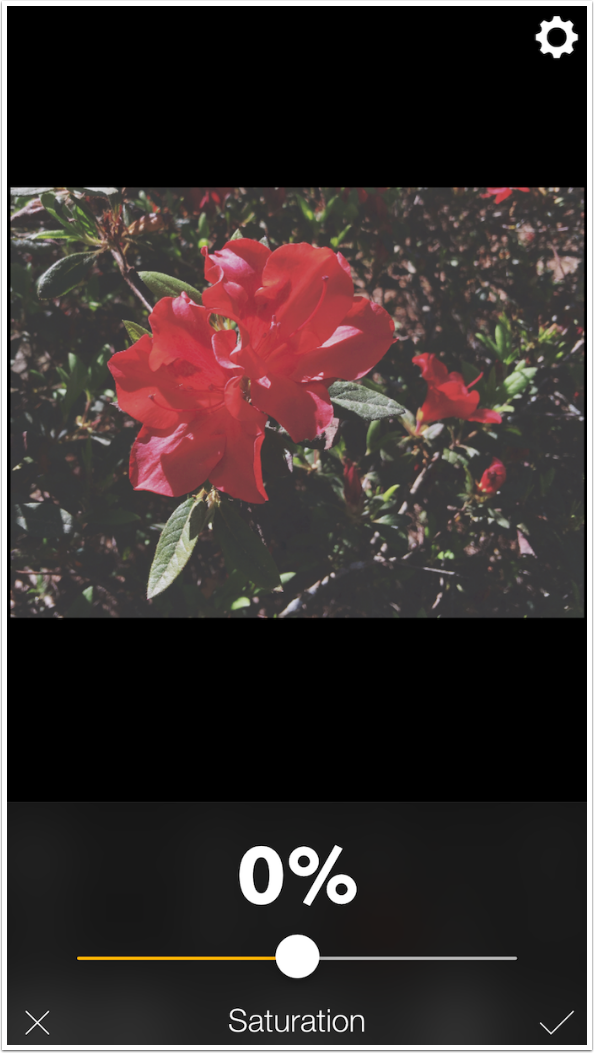
Any time you choose an adjustment, a slider appears. Some sliders, like Saturation, default to the center so you can both saturate and desaturate the colors in the image. Some, like Shadows, default to one end, since you can only brighten shadows, not make them darker.
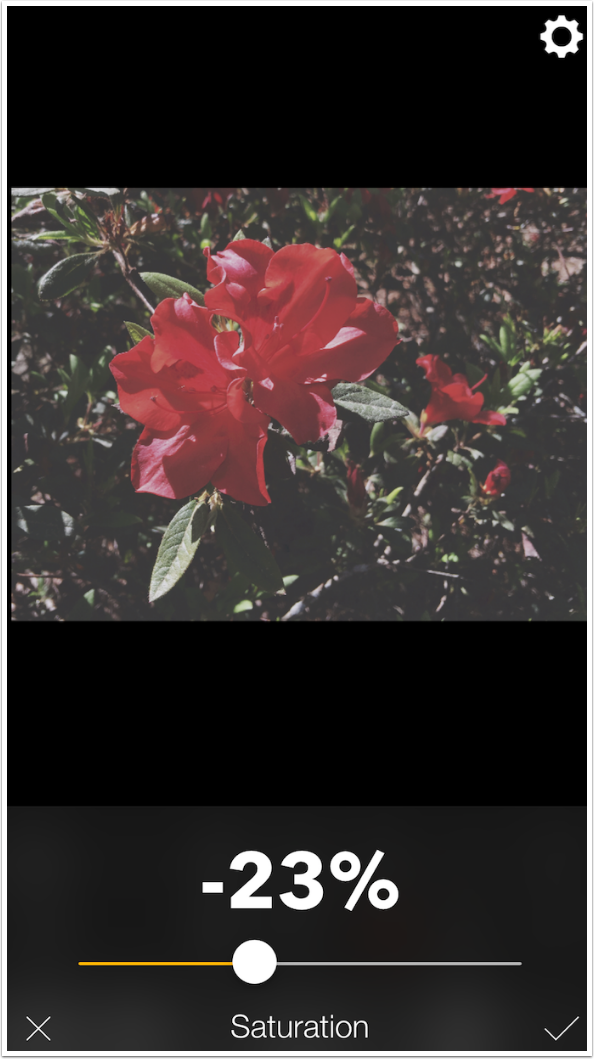
The change you make to the sliders is indicated very clearly with large numbers. When you are satisfied with your change, tap the check mark; if you want to discard the changes, tap the X. Warning: once you tap the check mark, the change is committed, and you cannot return and change the slider from -23% to -33%.
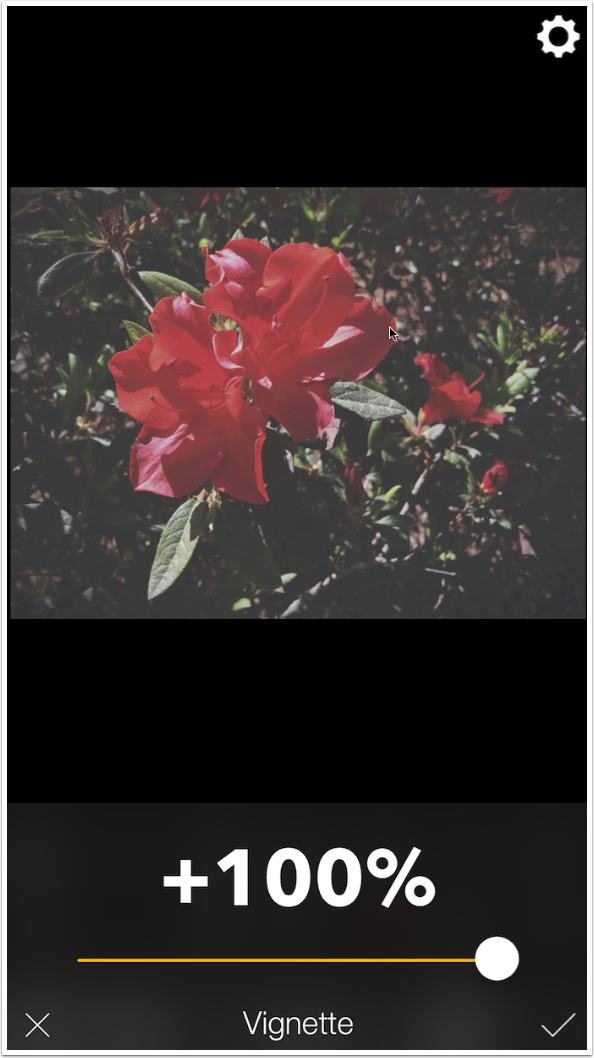
The Vignette does not have enough control for my taste. You have a single opacity slider, and the vignette only affects the corners. You can’t change the radius or fall-off of the vignette.
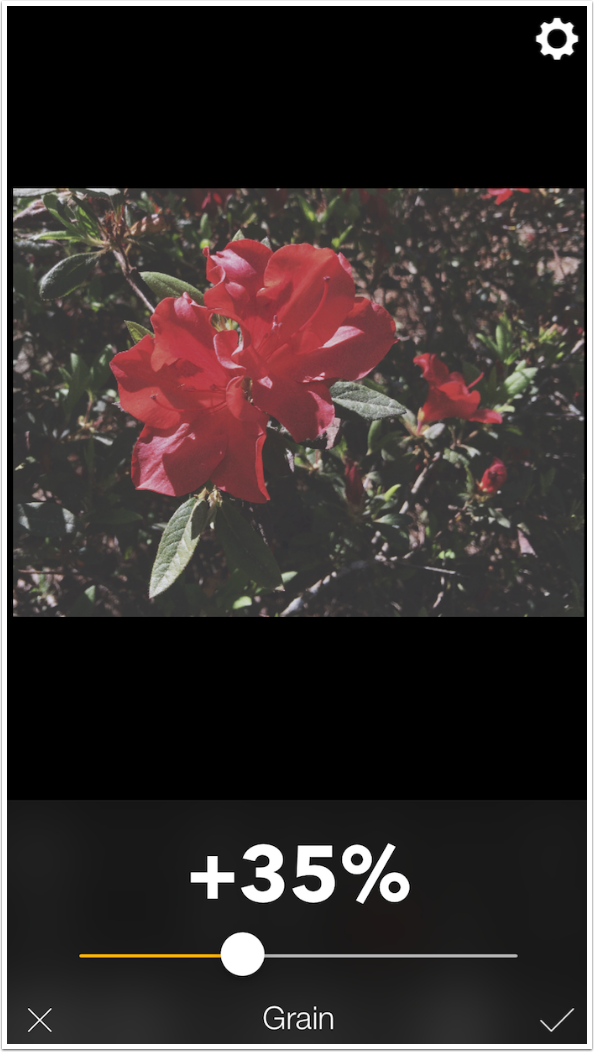
Grain is handled pretty well in Analog Film in my eyes. I don’t like a lot of grain, and this app doesn’t force it on me. One problem with the app was shown to me when using this adjustment – you can’t zoom in to check the grain, or any adjustment. On the iPhone, with a landscape image like this one, I can’t tell any difference between 35% or 50% until I save the image and zoom in using the Photos app.
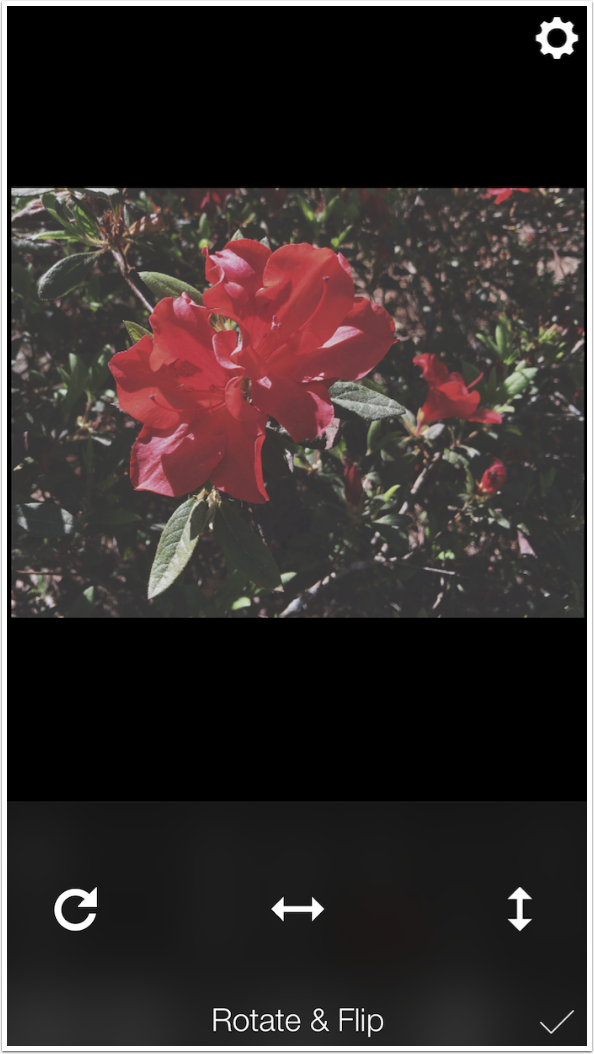
Rotate and Flip gives you controls to do just that. However, the lack of a Crop tool is a huge drawback in an app like this.
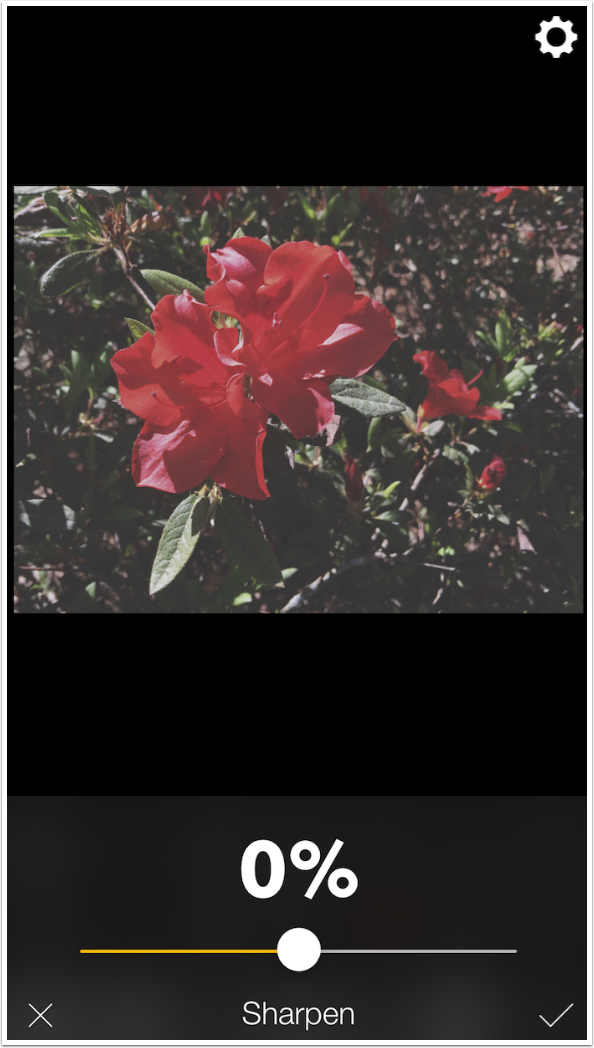
The Sharpen slider defaults to the center, which means you can blur as well as sharpen. I find that to be of limited use in an app that affects the entire image, though. If masking were available I would appreciate the ability to blur.
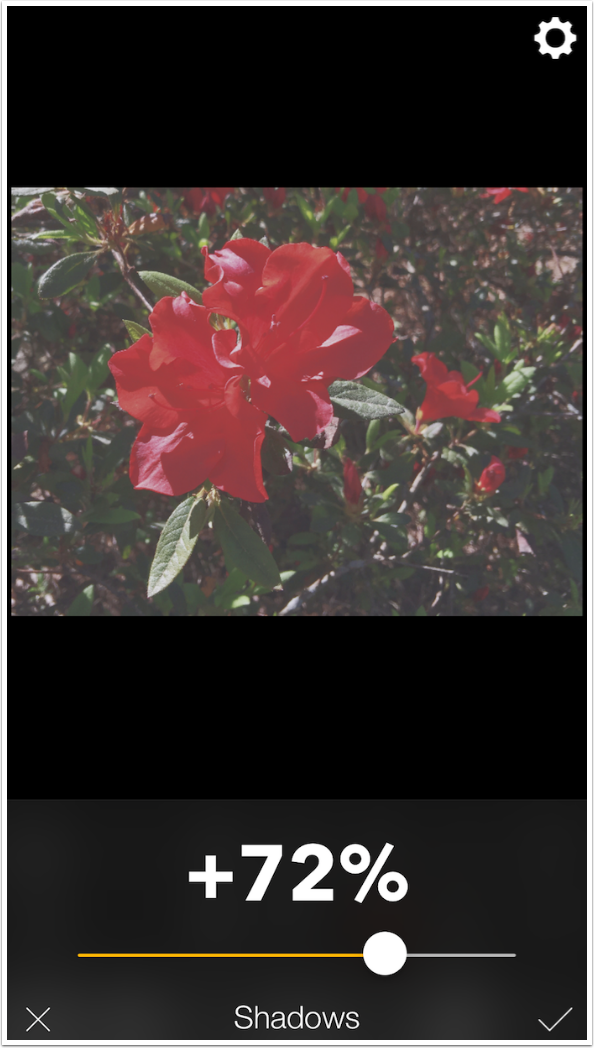
Shadows can be helpful to lighten the dark portions of your image. Adding it to a filter that does fading, as this one does, makes it too washed out for me.
Light Leaks are divided into two categories: 1 and 2. (I’m detecting a trend.)
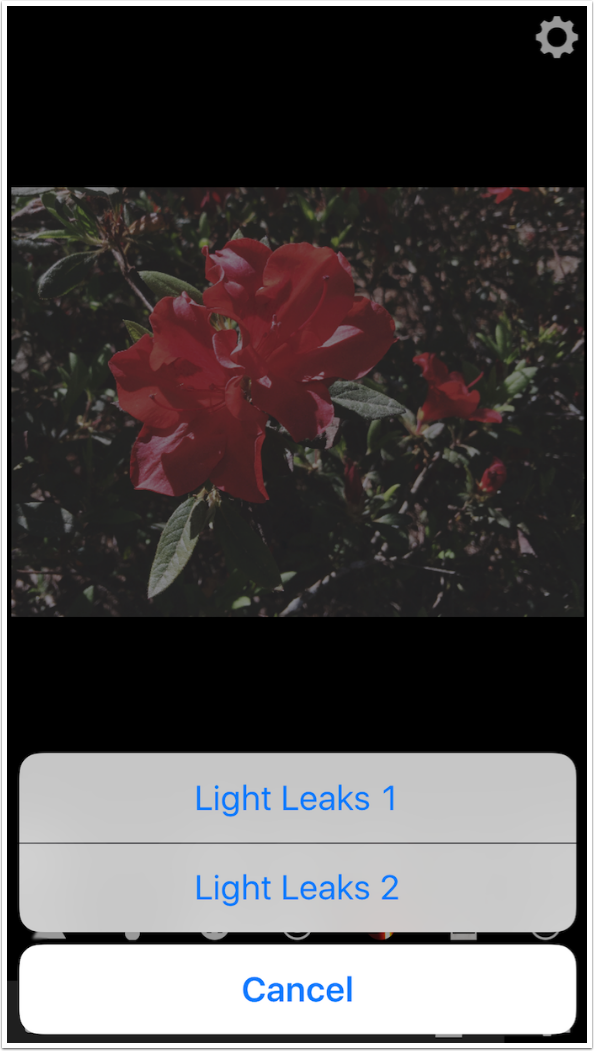
The Leak overlays are sized to fit your image, and you can rotate or flip them, as well as adjust the opacity. You cannot move them around or change the blend mode, however.

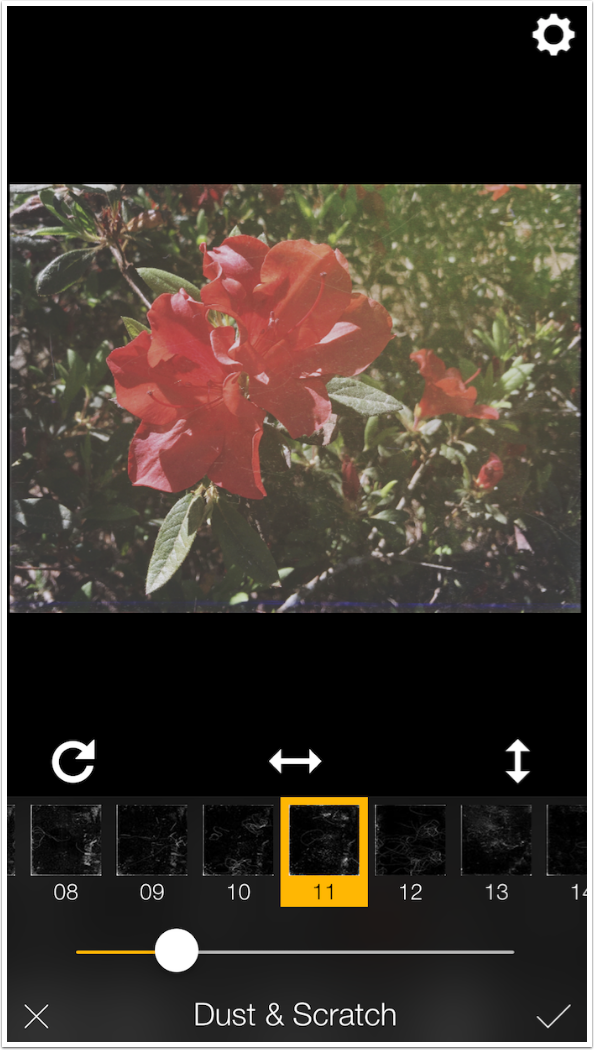
Dust & Scratch works the same way. You can rotate, flip or change opacity, but if a scratch obscures an important part of your image, you can’t move it.
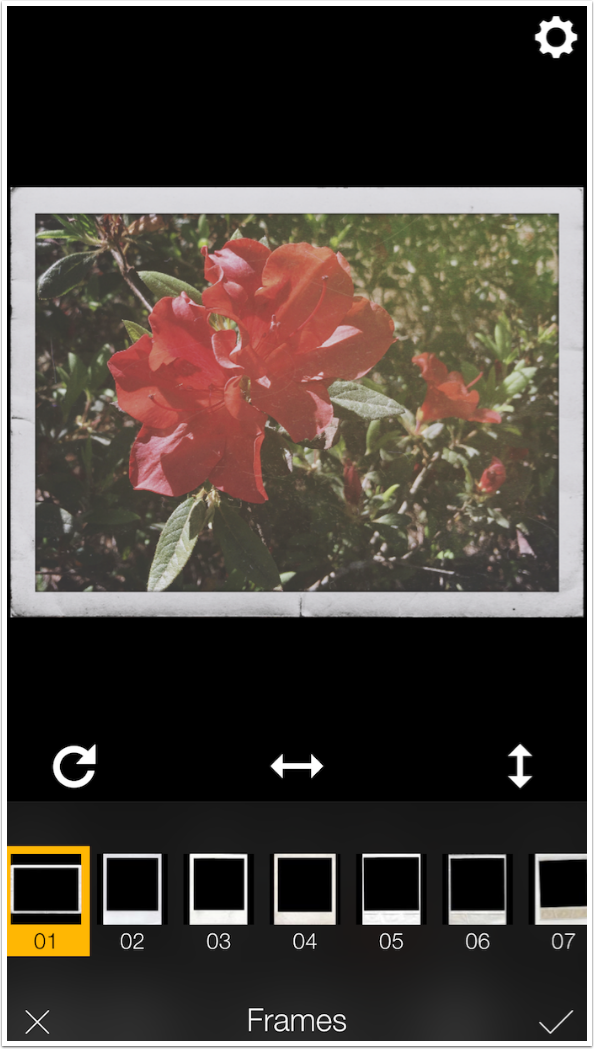
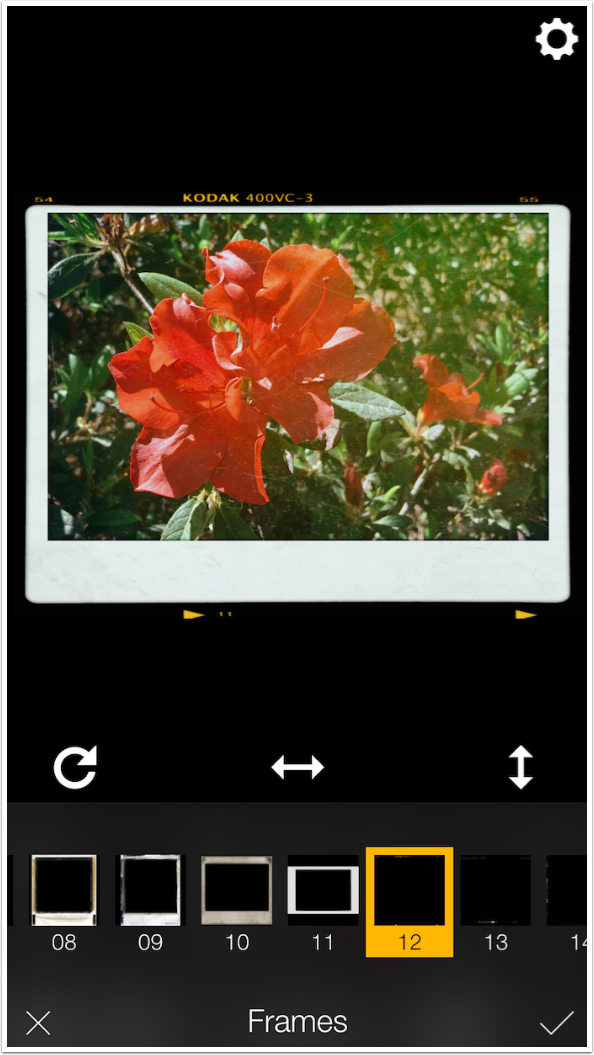
Frames in Analog Film are a problem for me. Not because they aren’t nice-looking, but because they are generally so large and encroach into your image. Frames can be rotated and flipped, but not resized. Frame 01 is the thinnest, and a nice, slightly damaged white border.
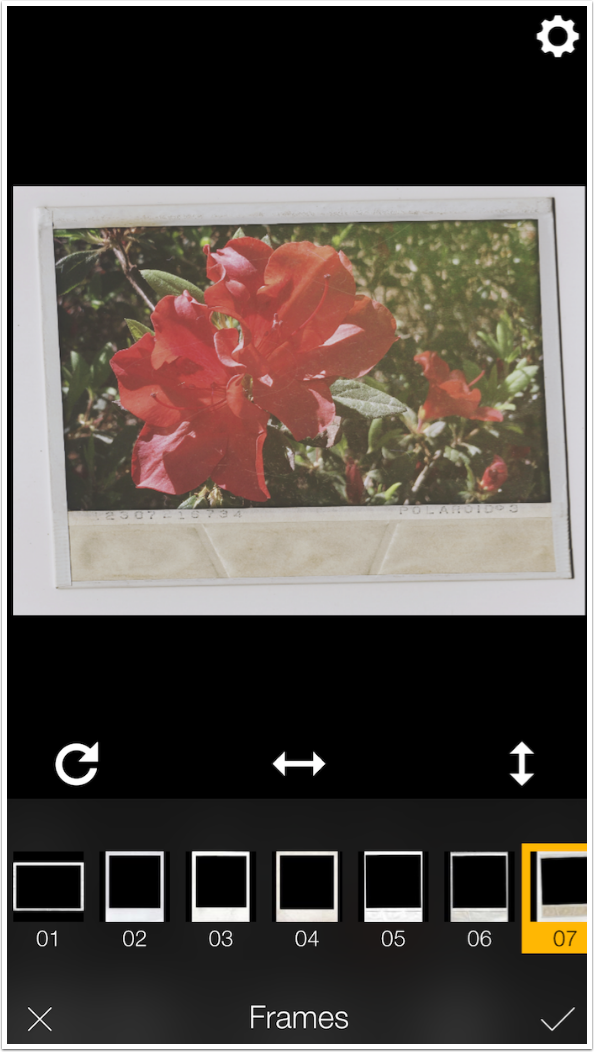
But Frame 07 takes out an enormous portion of the original image.
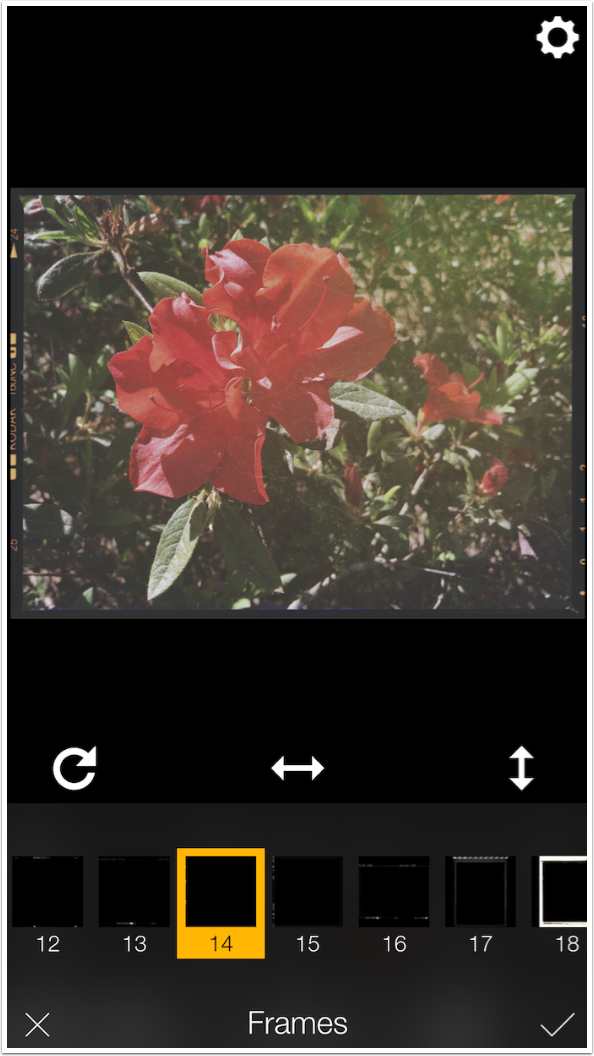
The black frames are not quite as large, but there are some chunky black frames as well. It’s hard to tell the thin from the thick black frames, because they are over a black thumbnail.
You may have noticed the big gear at the top right. That is for Settings, but the settings are minimal. The heart allows you to edit the order of filter categories; the star takes you to the App Store to rate the app. And the Facebook and Twitter icons allow you to sign in to those services.
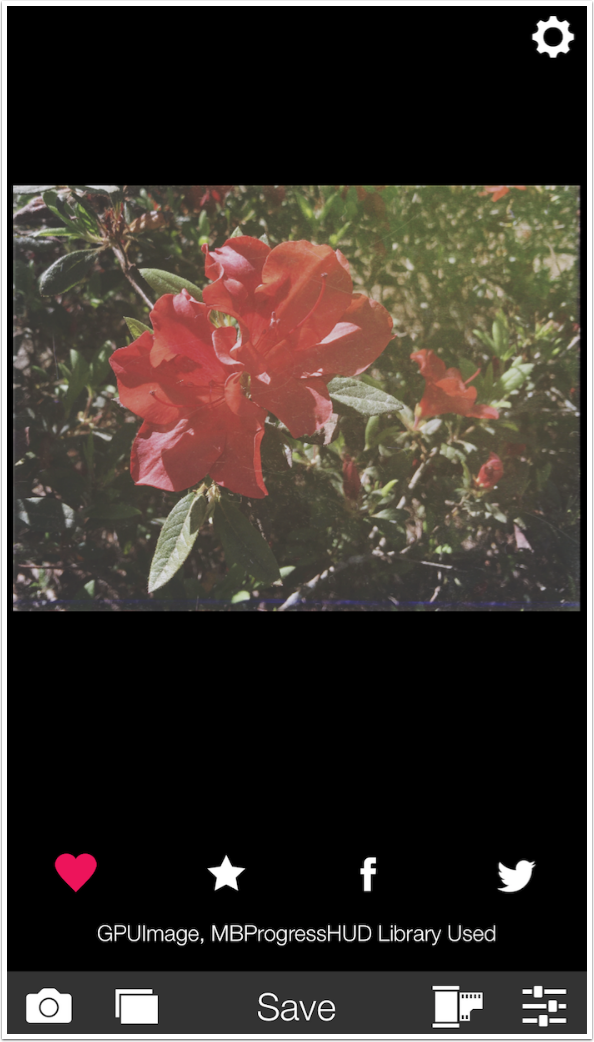
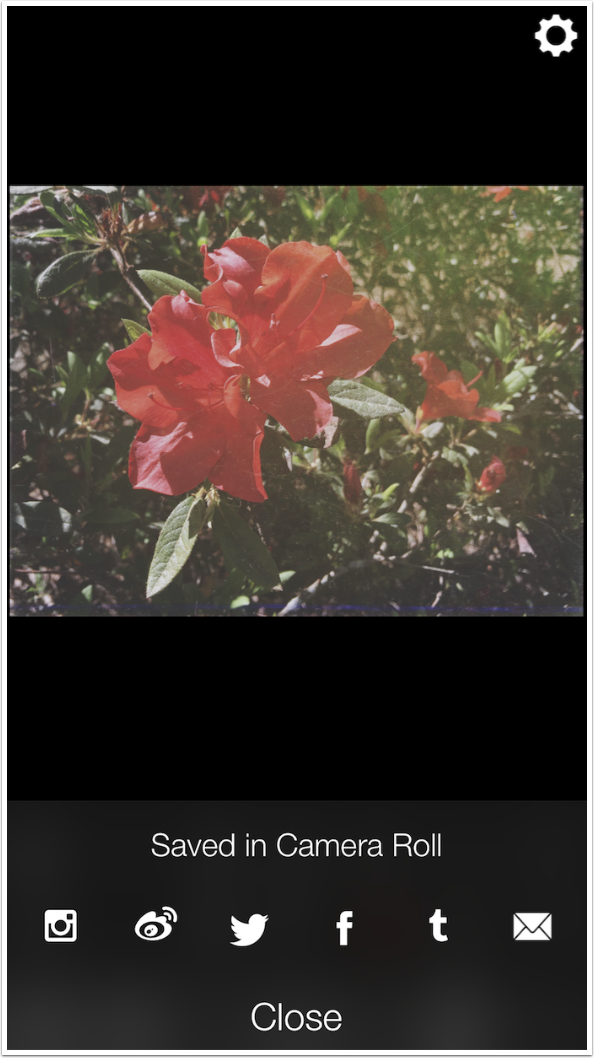
Tapping the word Save at the bottom automatically saves the image to the Camera Roll, and then you are given options to email the image or send it to different social media.
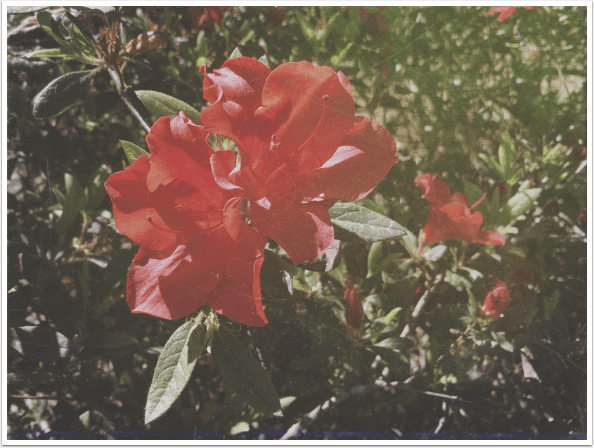
Here is my finished image.
I went back in and selected another filter to experiment with – but why is the light leak still there? Why are there still scratches? As I told you above, once you tap a check mark for an adjustment (filters themselves have no check mark) it is set in stone. I can change the filter, but the adjustments remain until you reload the original image.
Just to illustrate clearly what this means, I added a frame to the image and tapped the check mark. I immediately returned to the Frame adjustment, but I could not change it; I could only add another frame on top of it. In the same way, you can layer several Light Leaks of Dust & Scratch overlays to a single image.
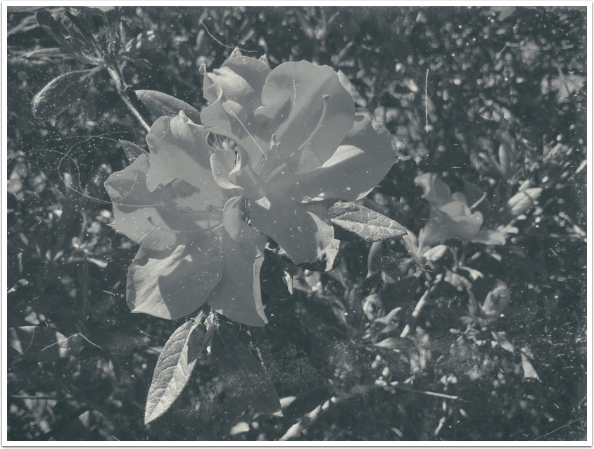
Here’s a b&w treatment of the same image.
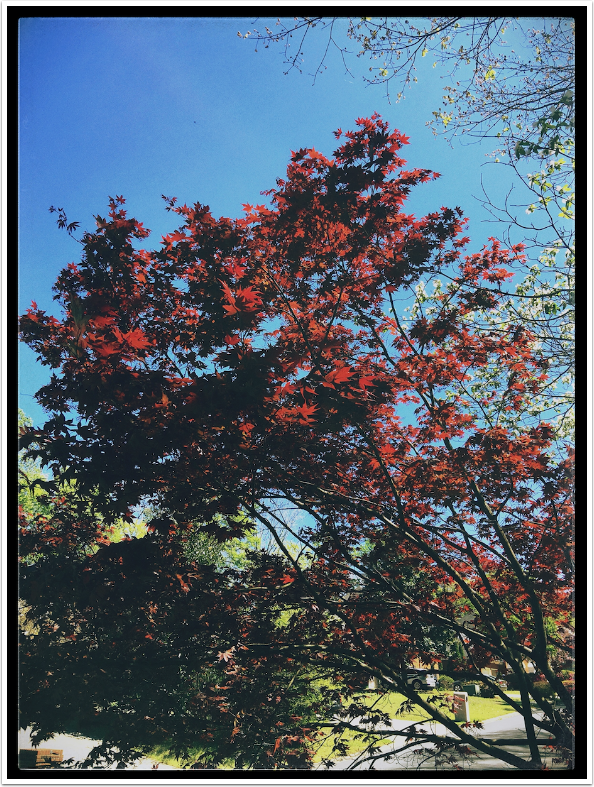
If you do want to add a frame that can be resized, you can always load the image into Snapseed at the end, as I did with the image below.
Surprisingly, despite its quirks and deficiencies, I like Analog Film. It could use some preset names, crop and zoom. It could also use a way to undo or reset adjustments. But much like the highly touted VSCO cam app, it can give your images the look of old film stocks, if you are willing to search for them. Until next time, enjoy!
Jerry Jobe
Never content with just scratching the surface of what an app can do, Jerry Jobe decided to pass on what he learned about imaging apps to others. He’s constantly trying to figure out just what tools other artists have used, and trying to incorporate them into his own work, in an attempt to find his style. He’s written tutorials on over 145 apps so far, which you can find (along with his Song of the Day entries) at http://enthusiasmnoted.wordpress.com/ He lives near Atlanta, Georgia, where he also finds a creative outlet in acting and directing in community theater.