Mobile Photography / Art Tutorial with Simply HDR by JixiPix Software
We are delighted to publish Jerry Jobe’s latest mobile photography/art tutorial for our reading and viewing pleasure. This time Jobe takes a look at the app Simply HDR by JixiPix Software. Read Jobe’s thoughts about this app as he puts it through its paces (foreword by Joanne Carter). Take it away Jerry…
“Everyone is disappointed, when they first start taking photos, with the results they get in tricky lighting situations. You’re in a lovely cottage with a spectacular view of the country out the window. You can see the details in the drapes and the fluffy clouds. When you look at the photo, after taking great care with the exposure, you see a washed-out sky in a black rectangle. The reason? Your eye is able to capture much more of the “dynamic range” of the scene – the shadows and highlights – than any camera sensor can.
HDR is a photographic technique that usually uses three or more exposures (images) to capture all of the dynamic range that your eye sees – sees without any effort on your part. These multiple images are then merged together so that you have properly-exposed highlights, midtones and shadows. I covered two camera apps that use this merger technique back in February 2013.
Other apps, rather than needing multiple exposures, will try to improve the overall exposure of a single image. Snapseed and iColorama have HDR components, and many other photo suites do as well. JixiPix has a stand-alone single-image HDR app called Simply HDR”.
Simply HDR retails for $1.99/£1.49 and you can download it here.
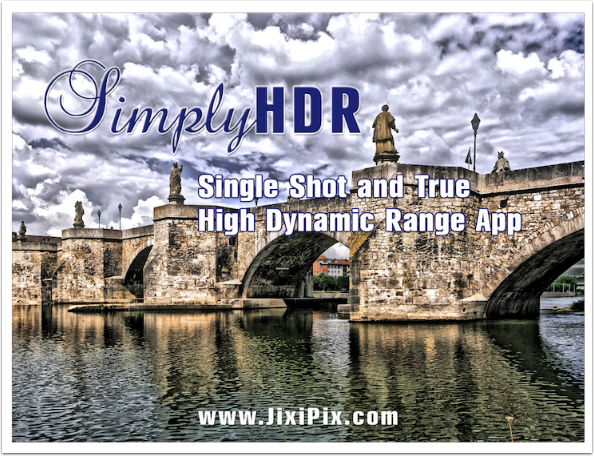
Before you get scared away by the crispy clouds in the splash screen image shown above, let me tell you that Simply HDR is capable of much subtler effects. Overdone HDR can be almost painful to the eye. I was guilty of using too much HDR, with the telltale halos and vibrant colors, until I learned better. (I still find myself slipping at times.) Luckily, the strongest effects can be muted to next to nothing in this particular app.
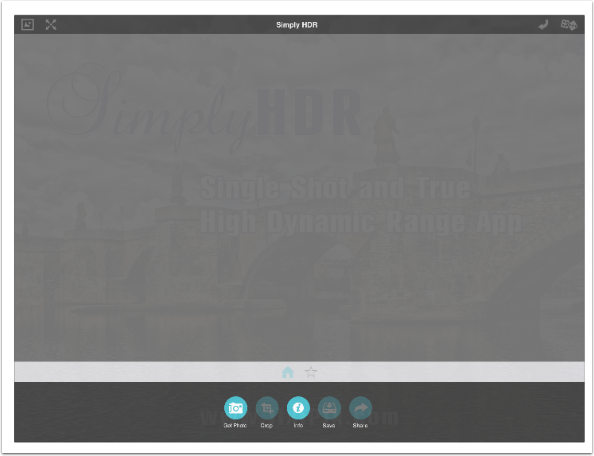
Simply HDR recently changed the user interface to correspond with other JixiPix apps. There is a top menu bar, which includes four buttons: Original, Zoom, Undo and Random. There is a white bar near the bottom which includes groups of commands/controls, and the bottom gray bar which includes the commands and controls currently active. In the screenshot below the workspace is empty, so the only active controls are Get Photo and Info. Info, as with all JixiPix apps, is a link to a web page.
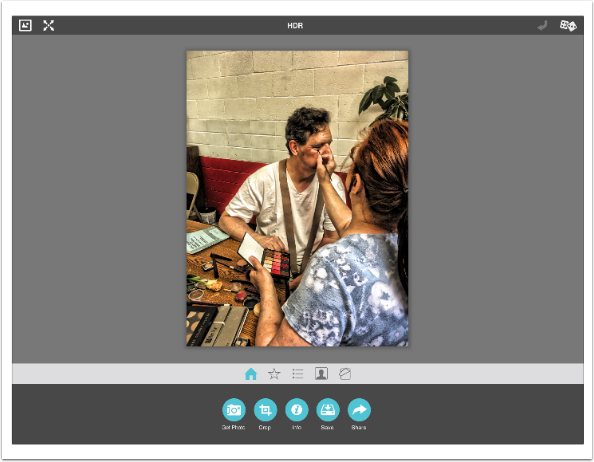
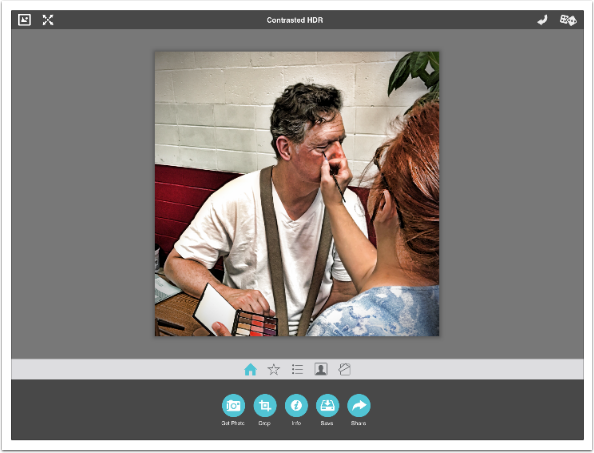
Once I’ve loaded the image, the number of options available expand. On the white bar, I have icons for Home, Preset, Adjust, Vignette and Color. Since Home is selected on the white bar, the gray bar below contains Get Photo, Crop, Info, Save and Share
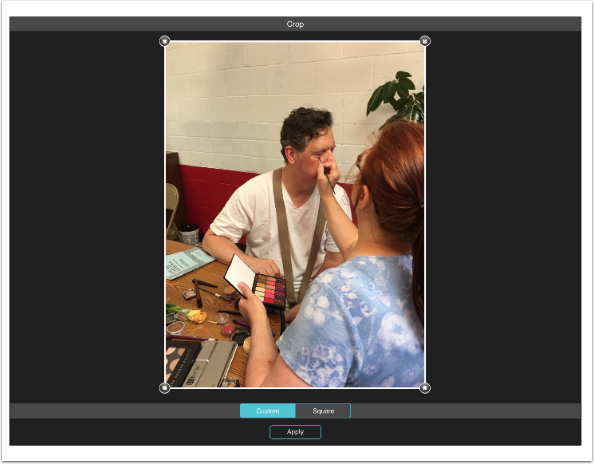
Let’s take a look at Crop. The Custom button allows you to move the corner handles of the Crop rectangle freely, while the Square button constrains the Crop to a square.
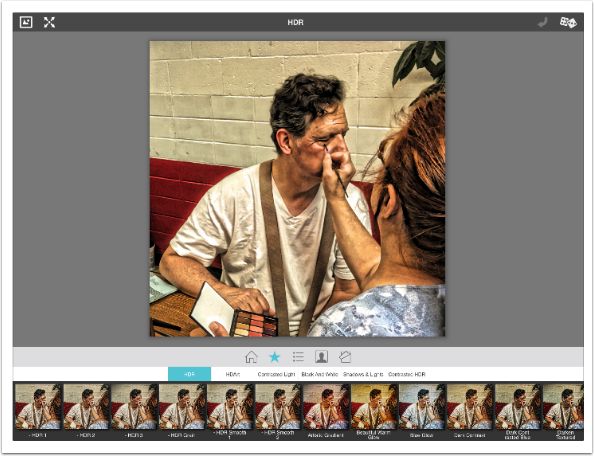
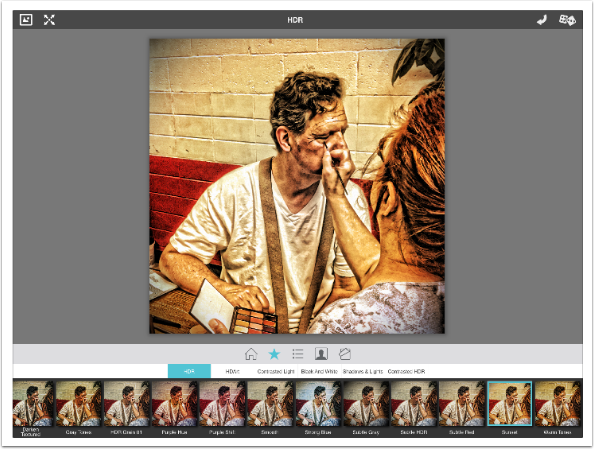
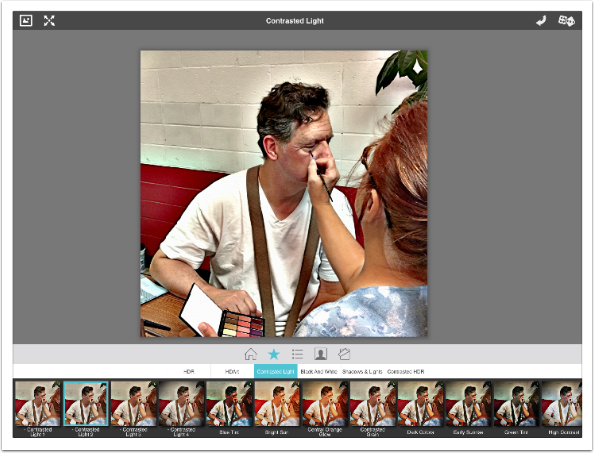
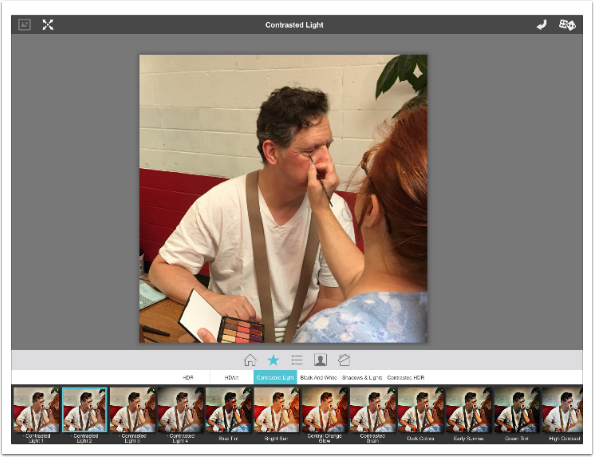
I choose a square and hit apply. Then I tap the Preset Star. Another grouping bar appears, giving me the categories of presets: HDR, HDArt, Contrasted Light, Black and White, Shadows & Lights, and Contrasted HDR. HDR is selected and a random preset from that category is applied
The sliders available under the Adjust icon change based on the Preset group. The HDR group includes HDR Area and HDR Strength sliders.
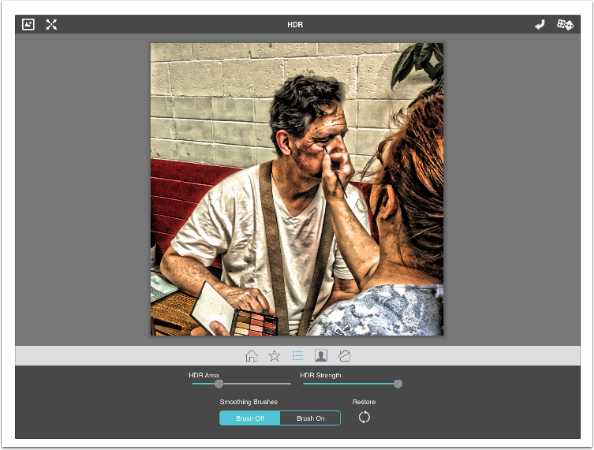
HDR Area controls the size of the area that receives the HDR contrast boost. A smaller area emphasises smaller areas of contrast, giving the image the look that is described as crispy or crunchy. A larger area, as shown below, allows for a smoother look since the smaller areas of contrast are not emphasised. Only the areas where there are already big contrast jumps, like the edges of the suspenders, are given a contrast boost.

The Vignette icon includes Vignette and Grain controls. These include Vignette Fade, Vignette Strength, Grain Strength and a Grain Type thumbnail.
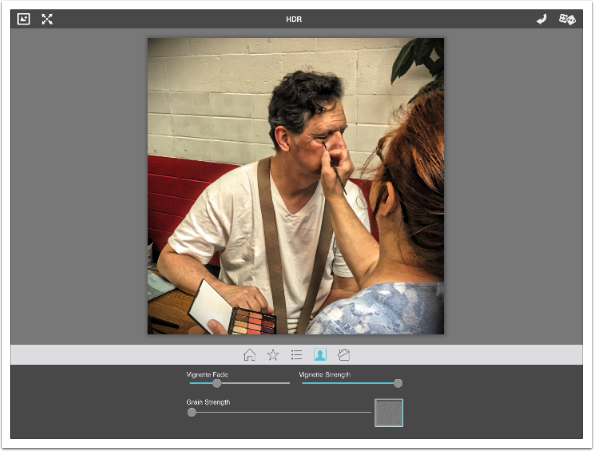
Vignette Fade controls how far into the image the darkening vignette comes, and the Vignette Strength is self-explanatory.
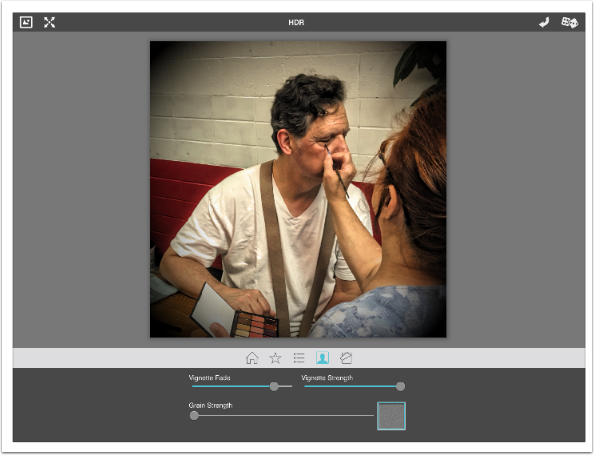
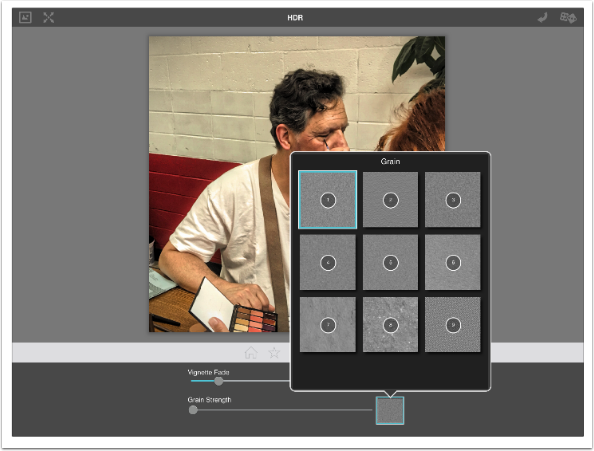
There are nine different Grain types to choose from, accessed by tapping the Grain thumbnail.
Here I’ve added quite a bit of Grain 1, and it gives the image a gritty look. Once again, grain is not normally my style

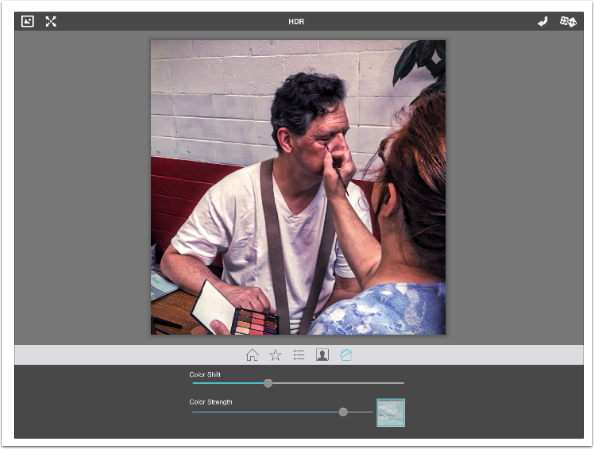
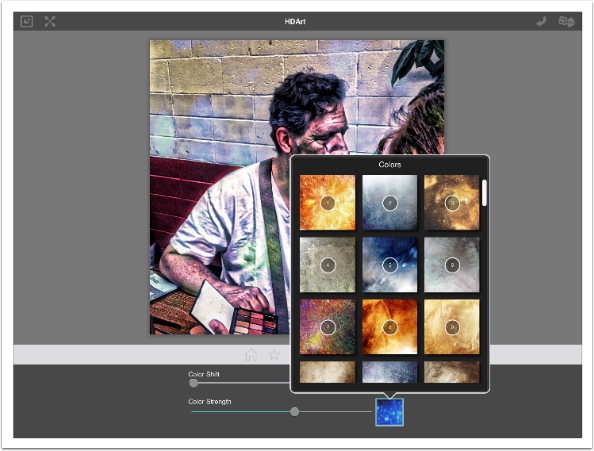
The Color icon contains three controls: the Color Shift and Color Strength sliders, as well as a Color Thumbnail. In the image below I’ve added some blue color to counteract the overall yellow of the original image.
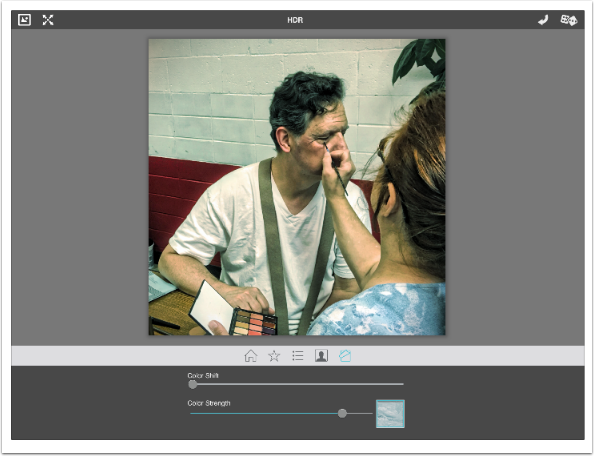
Color Shift changes whatever color you’ve added. By moving the Color Shift slider below, I’ve changed the added blue to purple
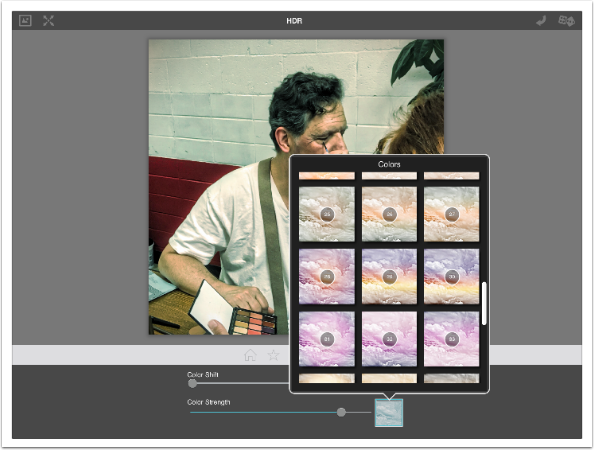
The reason you might want to use the Color Shift slider is to change multiple colors at once. There are several of the 45 different colors offered that are gradients of multiple colors. Number 29 shown below has yellow near the bottom of the image. If you want the yellow at the top, you can move the Color Shift slider to change the top purple to yellow. It will change the other colors at the same time.
Changing the preset changes all the sliders, vignette, grain and colors. Below is HDR Smooth 2. I guess it’s called smooth because there’s no added Grain.

There are 25 HDR presets. Below you’ll see the Sunset HDR preset.
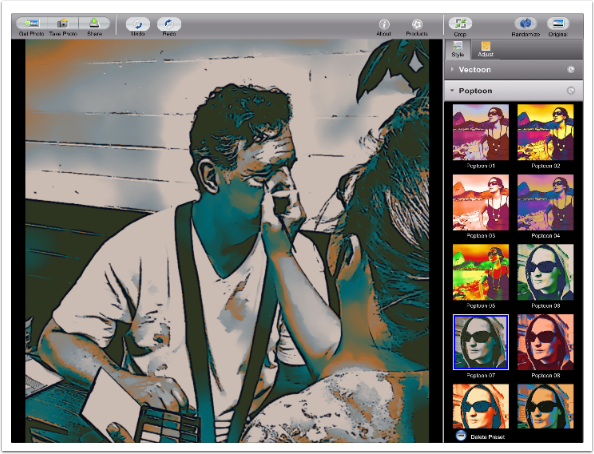
The next category of presets is HDArt, which contains 18 presets.
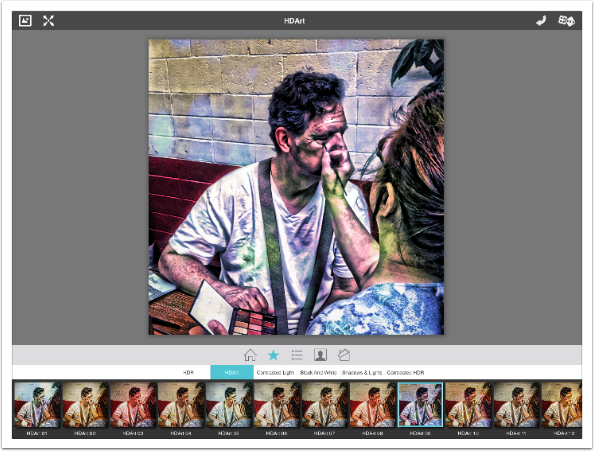
HDArt presets are different because they have an entirely different set of Color overlays. There are seventy different overlays that range from Bokeh to pastels.
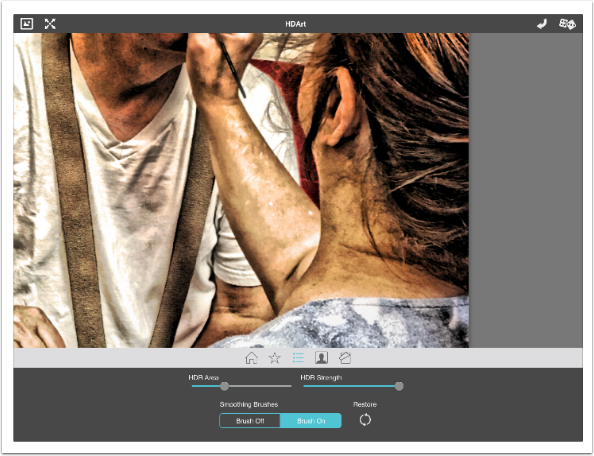
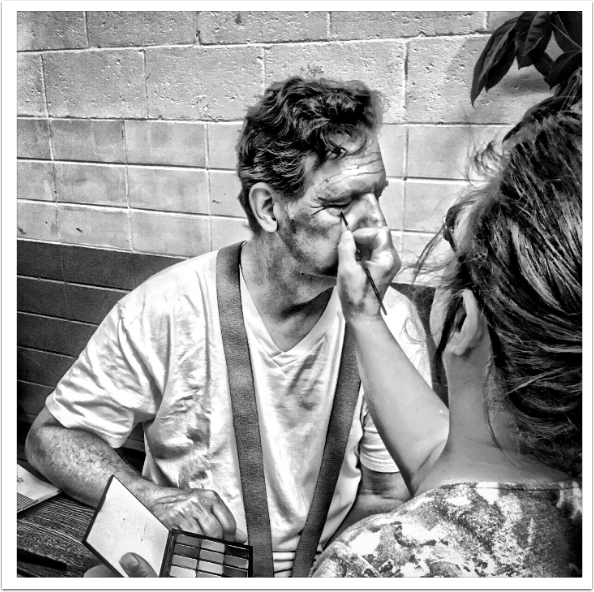
There is one set of controls I have not mentioned yet – the smoothing brush under the Adjust tab. If you find you want to reduce the HDR on just a portion of your image, you can use the smoothing brush. I decide to use it on the makeup artist’s arm and neck. “Brush Off” is the smoothing effect – I suppose it’s meant to “brush off” the harsh HDR.

You can take away the smoothing effect with Brush On, as seen below.

Restore clears away all smoothing.
I added back the smoothing on her neck and arm and zoomed out so you can see the effect in context.
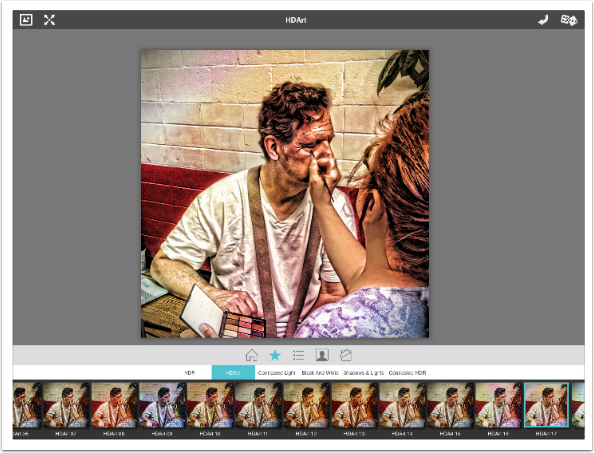
Smoothing stays in place until you remove it using Restore or a brush. It even stays when you change presets. Throughout the remainder of the tutorial, the smoothing stays in place over the arm and neck. Below I’ve changed to a Contrasted Light preset.
Remember, at any time you can tap the Original button at the top left of the screen to see your original image.
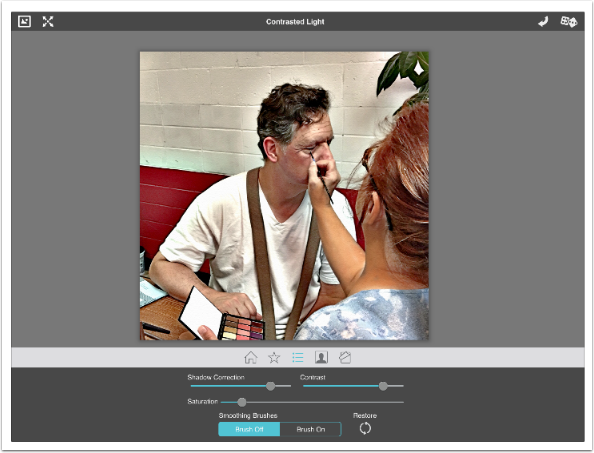
The Contrasted Light presets (19 in all) have different Adjust controls. Rather than HDR Area and Strength, there are sliders for Shadow Correction, Contrast and Saturation.
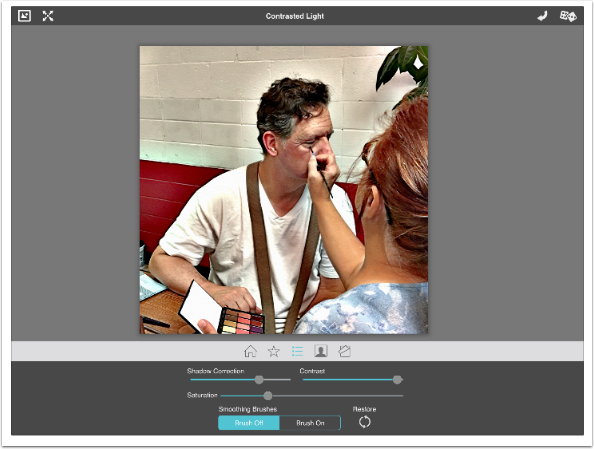
Changes made with these sliders are more subtle. Below I increased the Shadow Correction while decreasing the Contrast and Saturation from their original settings. It is an improvement in my eyes.
The nineteen Black and White presets are, for the most part, very strong as delivered. This can give portraits the hyper-stylised look that has been popular (on and off) in recent years.
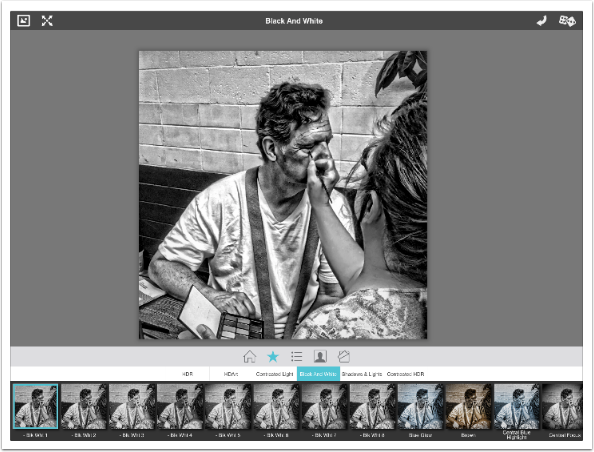
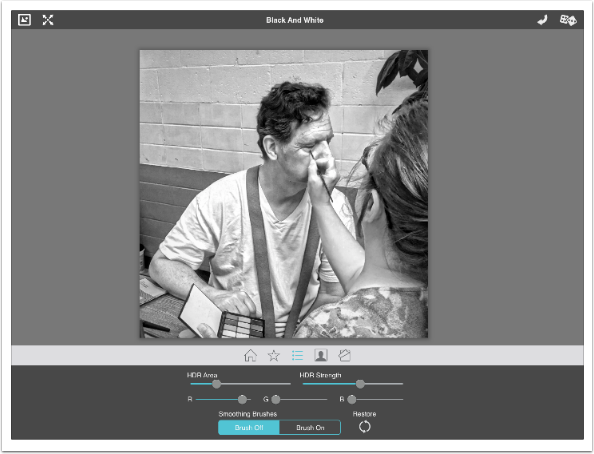
In addition to HDR Area and Strength, the Adjust controls add sliders for Red, Green and Blue, allowing you to change the emphasis of the three channels in the creation of the monochrome image.

If you emphasise one channel, as I did with the Red channel below, it’s at the expense of the other two channels – Green and Blue are reduced to no influence.
Adding Color to a Black and White preset can give you a cyanotype monochrome, as seen below.

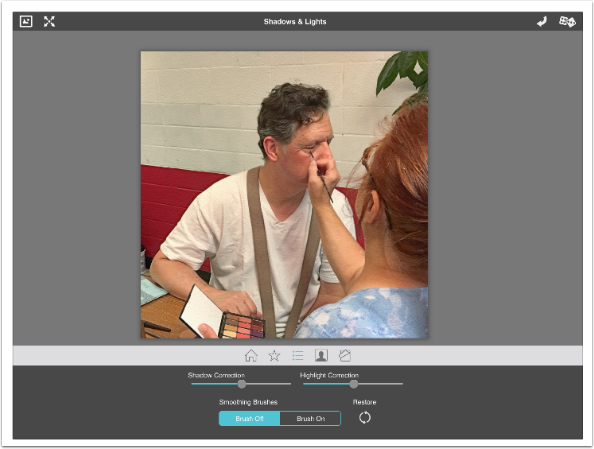
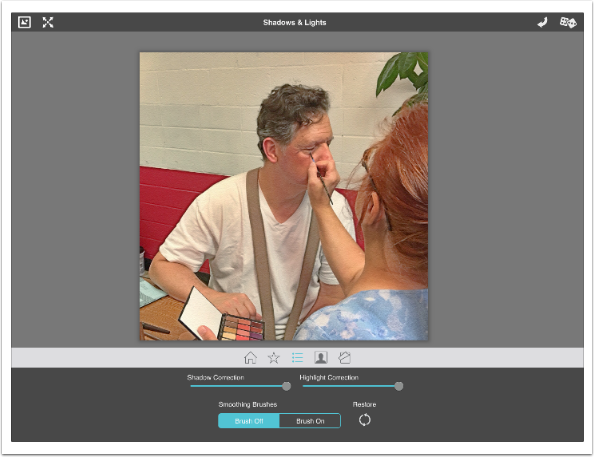
Adjustments for the thirteen Shadows & Lights presets include Shadow Correction and Highlight correction
A large amount of Highlight correction makes the brightest areas darker.
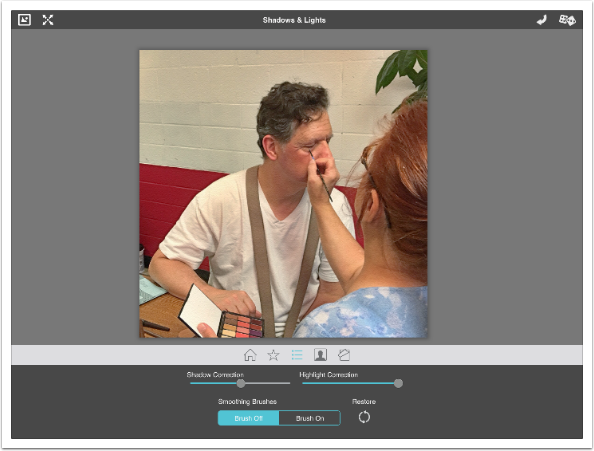
The same way, Shadow correction makes the darker areas lighter. This results in a loss of contrast across the entire image.
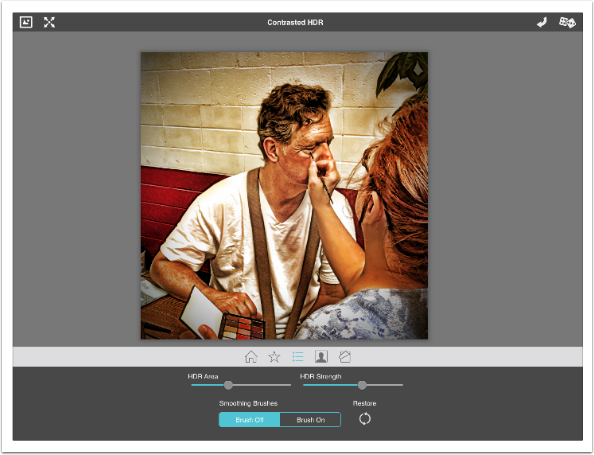
There are fourteen Contrasted HDR presets – all of which are pretty harsh.
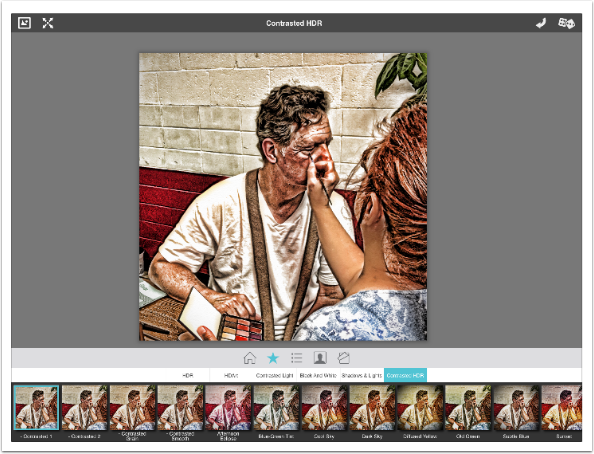
The harshness can be lessened considerably with the use of the HDR Area and Strength sliders.
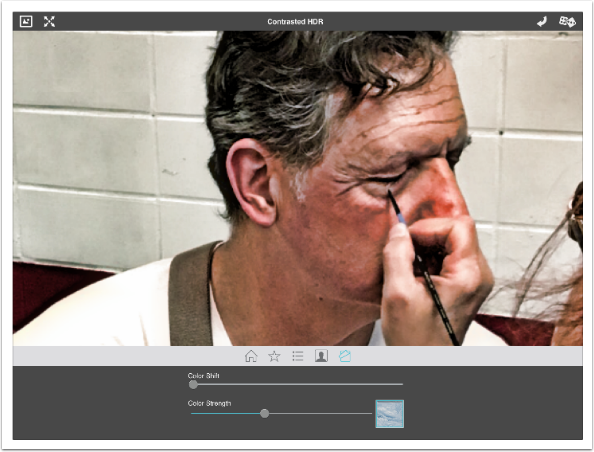
After reducing the strength of the HDR effect, I can add a bit of blue to offset the yellow of the lighting. It brings the skin tones more into line.
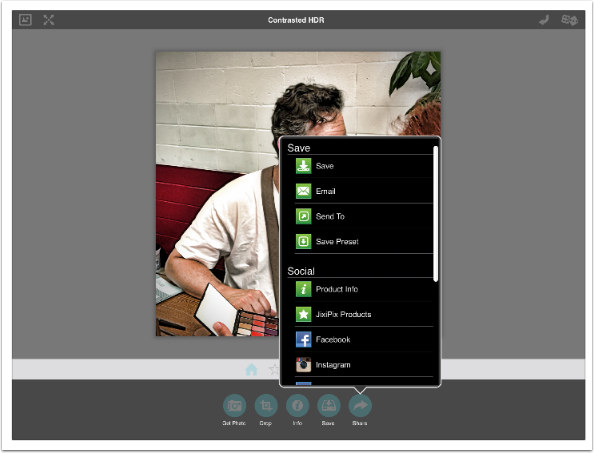
When you have your image toned as you would like it, tap the Home button to return to the input/output options. The Save button saves the resulting image to your Camera Roll.
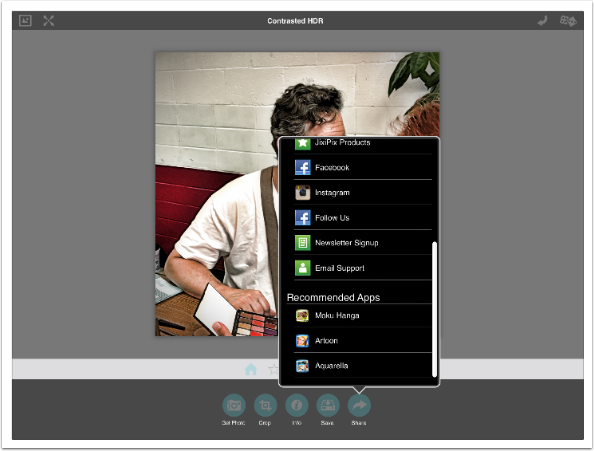
You can also tap the Share button, then Save to do the same thing. There are other options for sharing, including the ability to save the current setting as a new preset. (To delete a saved preset, press and hold on the preset. An X will appear on the preset. Tap the X to delete it.)
The Recommended Apps are other JixiPix apps. Tapping here will not transfer your image to that app when it is installed – it takes you to the App Store to buy it.
That doesn’t mean that you can’t import it into those other apps later. Here’s the saved image taken into Artoon (covered November 2015).
Here’s my saved image using an adjusted Black and White preset.
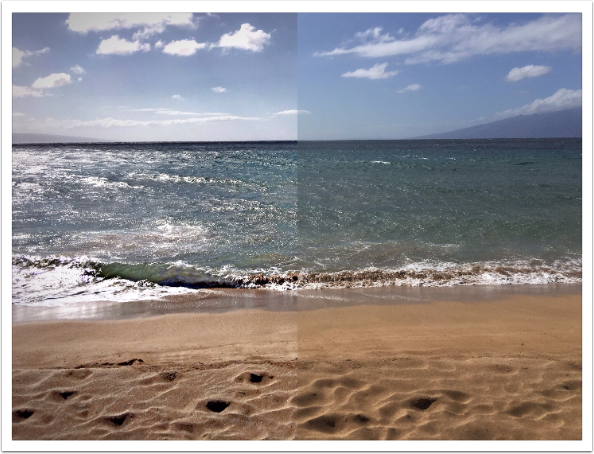
Many mobile photographers consider JixiPix’s apps to be too heavy-handed. I would agree, to a certain extent. But Simply HDR can be adjusted to simply give your images a bit of pop. Below is a seashore image with the Simply HDR version on the left and the original on the right. The little bit of extra crispness given with a judicious use of the HDR treatment might be just what you need
All in all, I find Simply HDR to be a very useful app.

Until next time, enjoy!
Jerry Jobe
Never content with just scratching the surface of what an app can do, Jerry Jobe decided to pass on what he learned about imaging apps to others. He’s constantly trying to figure out just what tools other artists have used, and trying to incorporate them into his own work, in an attempt to find his style. He’s written tutorials on over 145 apps so far, which you can find (along with his Song of the Day entries) at http://enthusiasmnoted.wordpress.com/ He lives near Atlanta, Georgia, where he also finds a creative outlet in acting and directing in community theater.