Mobile Photography / Art Tutorial – Glitché Part 1: Mangled Beauty
We are delighted to publish Jerry Jobe’s latest mobile photography/art video tutorial for our viewing pleasure. This time Jobe takes a look at the app Glitche – this is part 1 of 2 parts. Take it away Jerry…
Glitche retails for $.99/£0.79 and you can download it here
“Sometimes I start putting together a tutorial and think it will be a simple matter of throwing up a few screenshots and cruising to some neat images. When I stopped getting screenshots for Glitché, I found I had 90 images and videos. It is a much deeper app than I gave it credit for being.
Glitché sells for 99 cents on the App Store, and there is an Android version. It works on both the iPhone and iPad in portrait mode. I will be showing screens from the iPad version. I’ll show you how to bring images into Glitché and many of the effects here in part one; output , the remaining effects, and video will be shown in part two”.
Glitché is an app that makes various changes to your image. These changes are rarely subtle, and range from glitch effects to color effects to wireframe effects. It works on both still images and video. You can use the Camera to capture an image or video, or import either from your Camera Ro
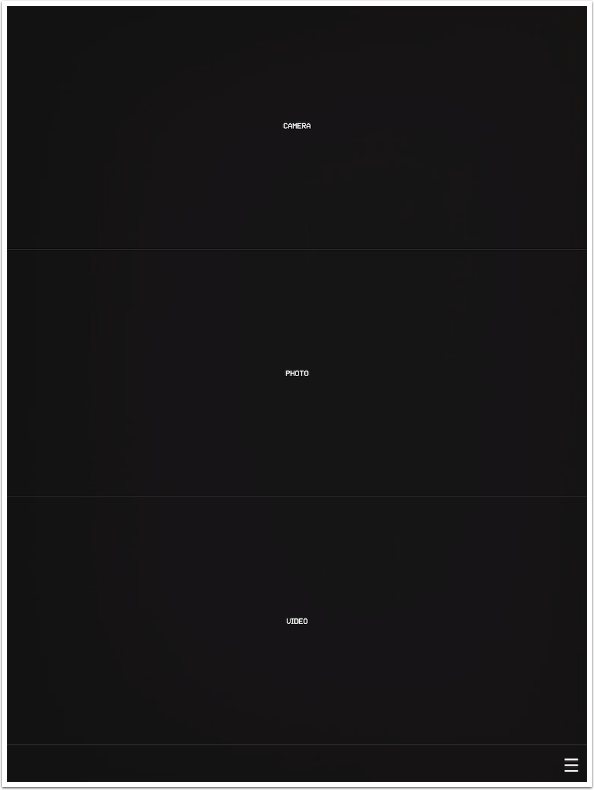
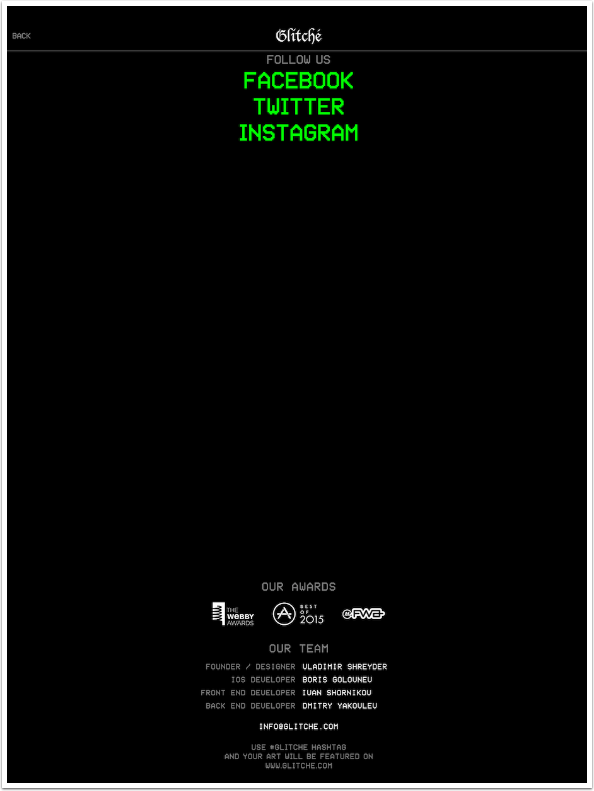
Tapping the three lines at the bottom right of the screen brings up a minimal info screen. One of the drawbacks of the app, in my old eyes, is the small type used throughout.
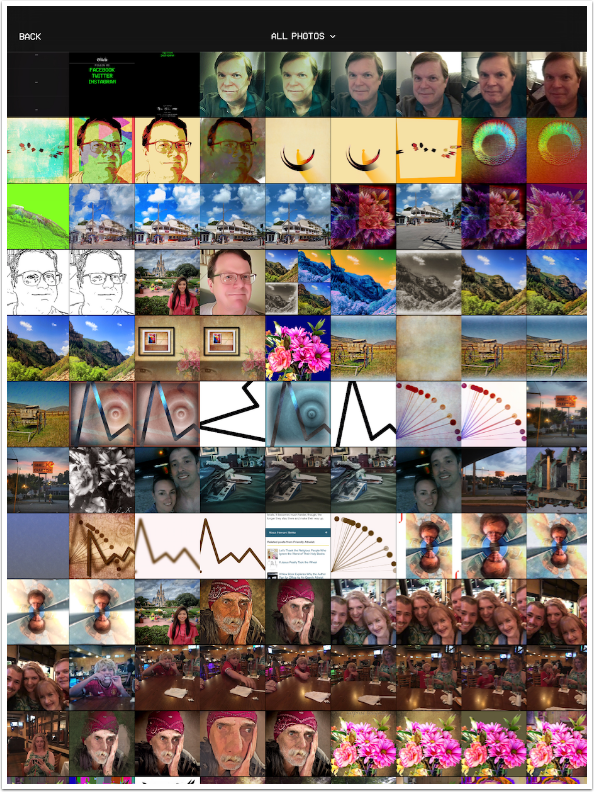
Tapping on Photo brings up all the images in your library. Tapping All Photos at the top allows you to change albums within the library.
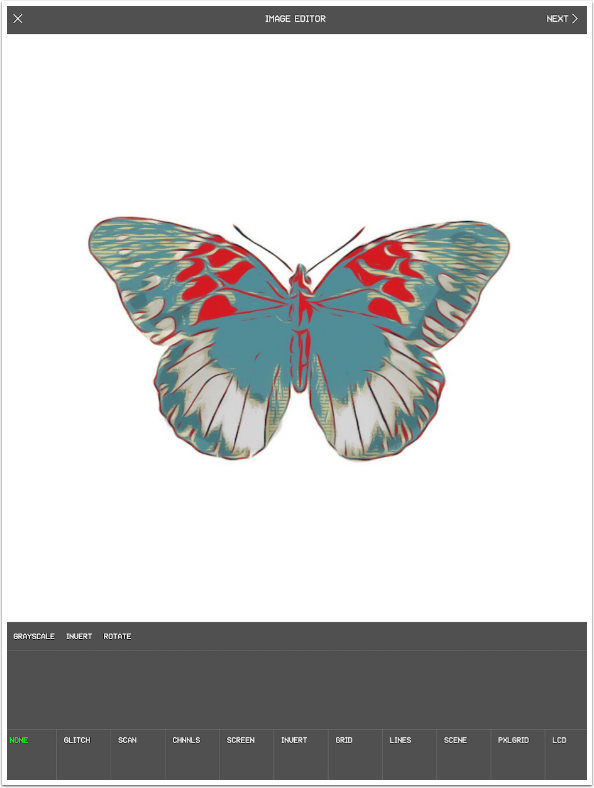
When you select an image, you are taken into the Image Editor. Along the bottom are buttons for the particular effects. Modification of those effects can be done with various sliders and buttons that appear above the effects buttons. The default effect is None; however, there are options available even under None.
I chose a very simple image, which you may recognise from my iColorama procedural a few weeks ago. I am using a simple image because it makes it clearer how each effect works if you have all that lovely white space.
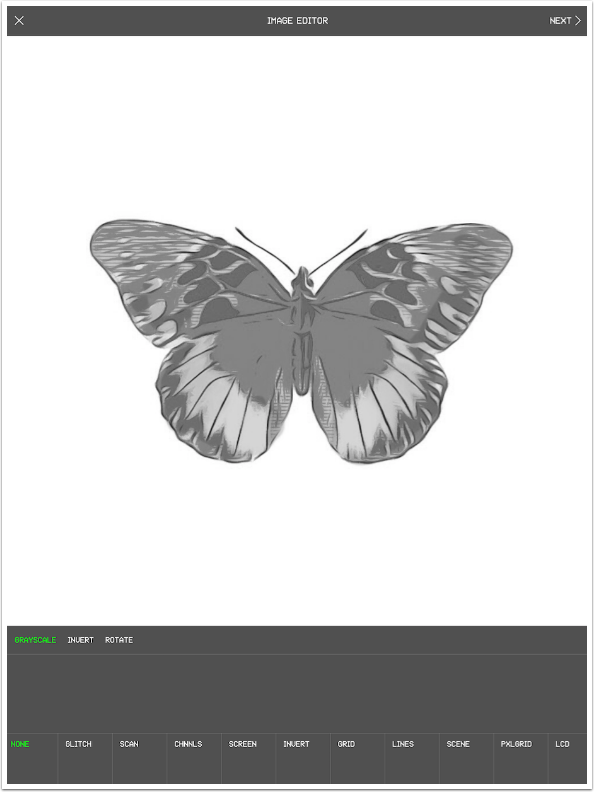
The first option under the None effect is Grayscale, shown below. Unlike other effects, the options under None can be used in combination. Grayscale, Invert and Rotate can all be used at the same time.
Below you will see Grayscale and Invert used together.
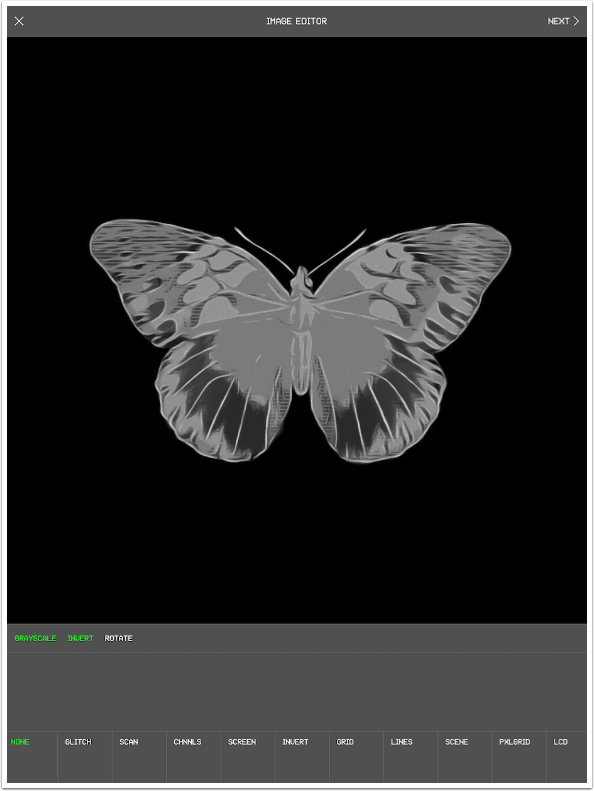
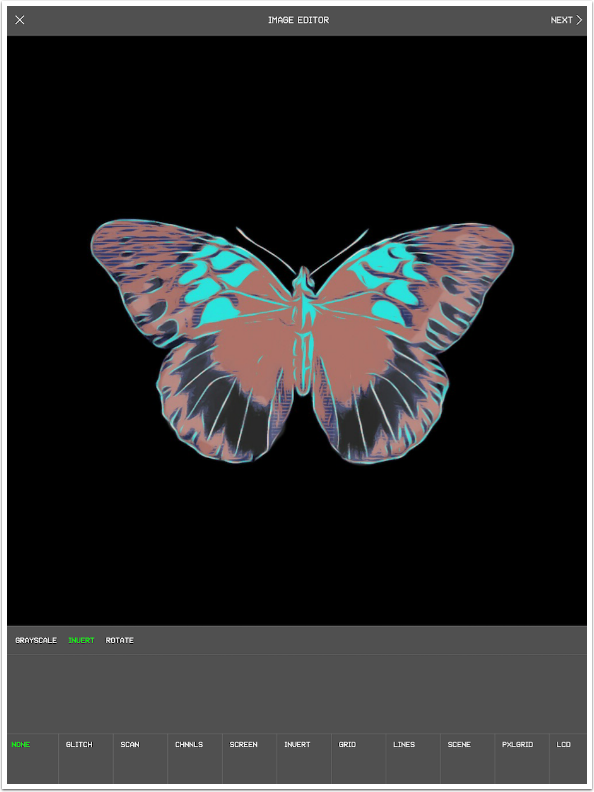
The Invert function alone is shown below. Rotate (not shown) rotates the entire image ninety degrees to the left. All of these options remain in effect when choosing another effect, which is also unlike the way the other effects work.
The next effect is Glitch, and there are no options. The amount of Glitch applied is changed by moving your finger around on the image. It will continue to change after you lift your finger, but will freeze if you tap it. In this way, after some experimentation, you can get a result you like.
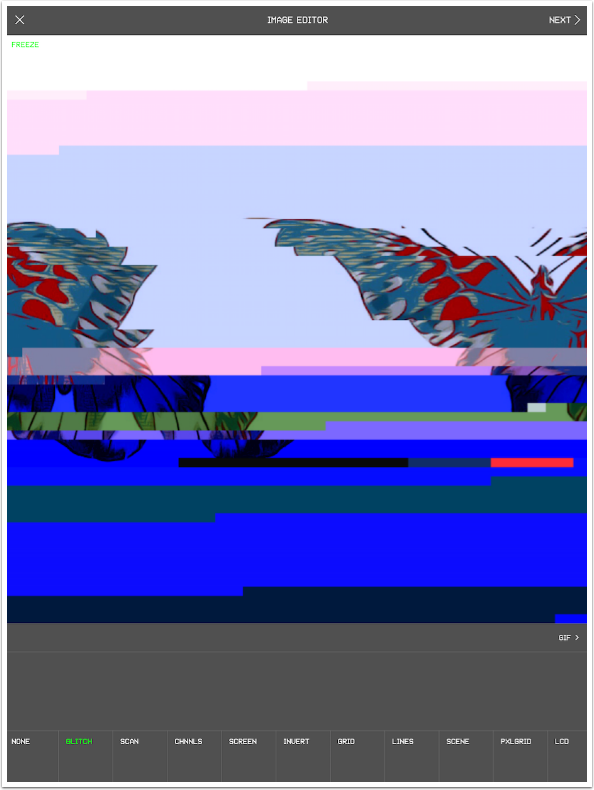
You will see on the right edge of the screen an indicator for GIF. This means that you can create an animated GIF from up to ten different images you create in the editor.
While on the GIF creation screen, you can only work with the current effect. Here I tapped square 2, then changed the glitch by tapping the screen. I moved on to 3 and created another image. I repeated until I had ten different images in my animated GIF. You can tap the Play button to see what the completed animation will look like.
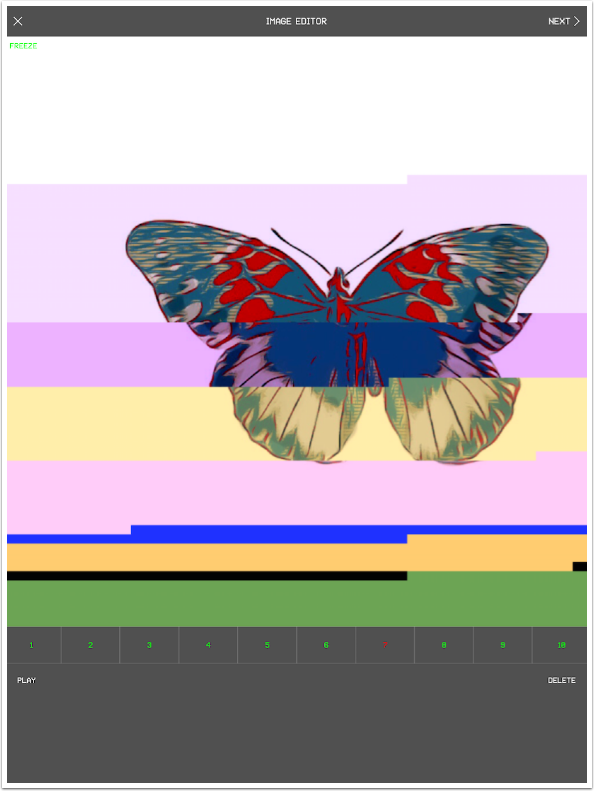
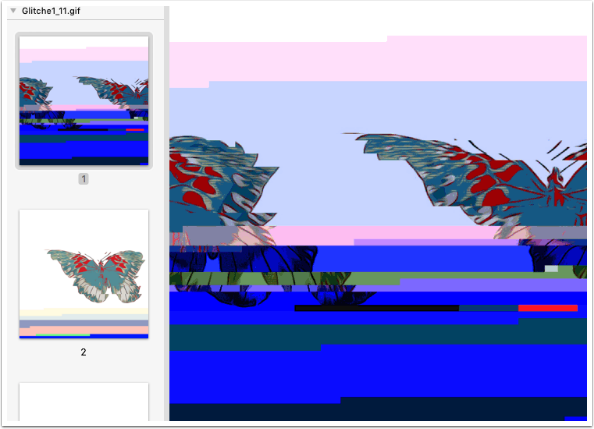
Here’s my completed GIF. You can not adjust the duration of the frames within the animation.
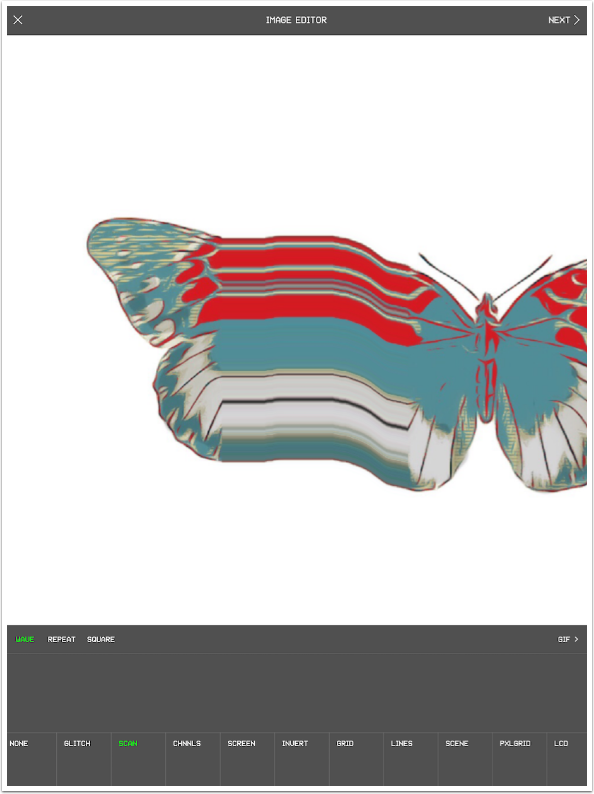
The next effect is Scan. The image below was created by swiping downwards without choosing an option. Swiping to the right would create a repeat of a vertical line of pixels to the right edge of the screen, and so on.
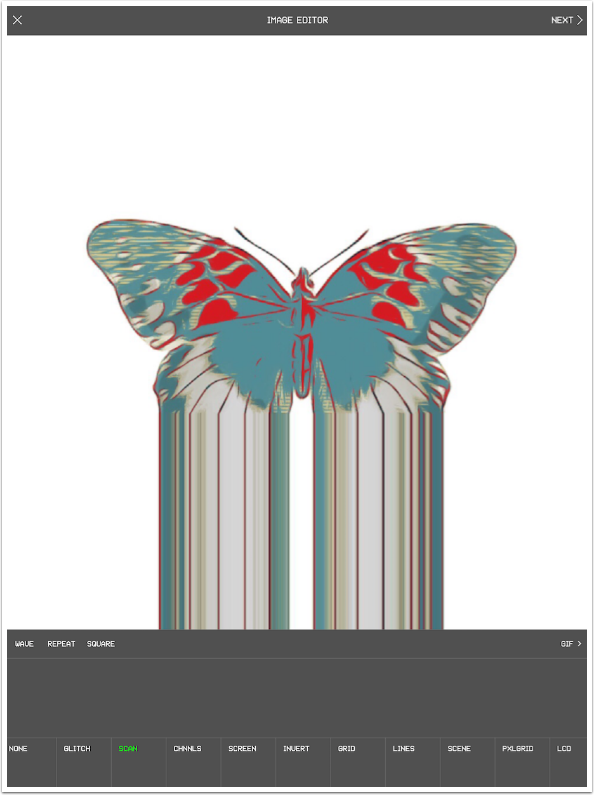
The Wave option repeats a single line of pixels in the direction your finger moves until you raise your finger.
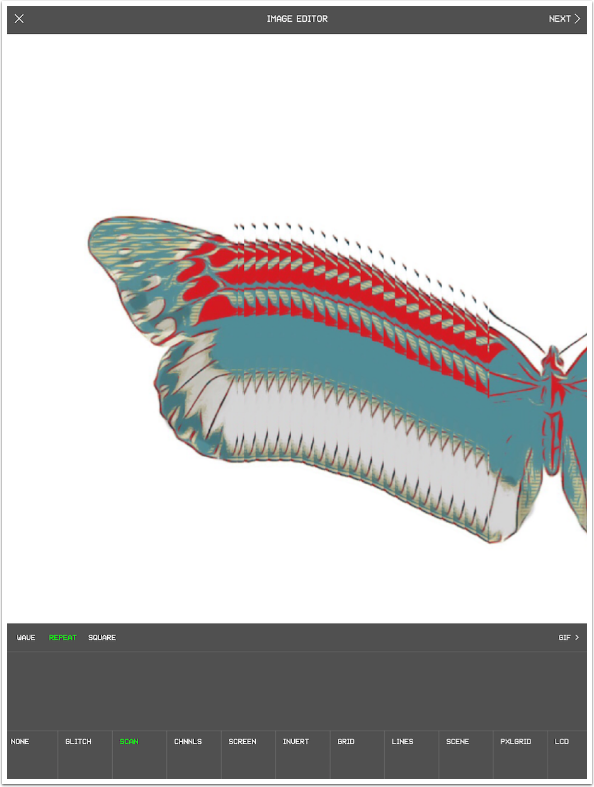
Repeat uses a column of about ten pixels over and over.
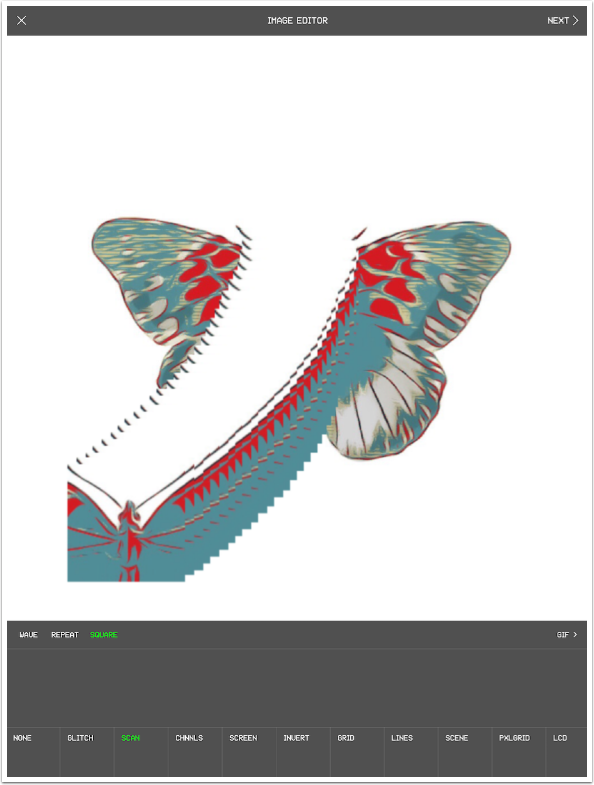
Square repeats a square block of pixels. The size of the square cannot be adjusted.
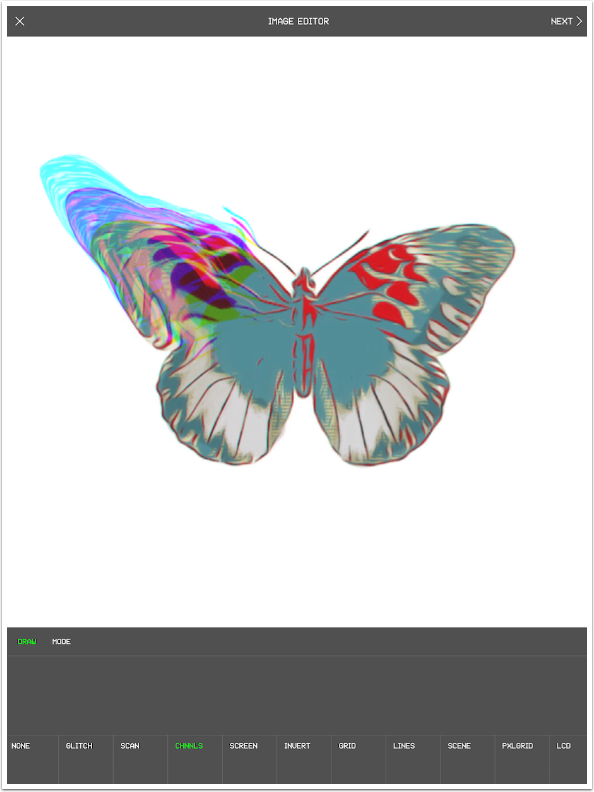
The next effect, Chnnls (Channels), breaks the image into color channels. Without any option chosen, thee movement of your finger on the image creates a wave effect that slowly reverts to normal if you don’t tap to freeze the image.
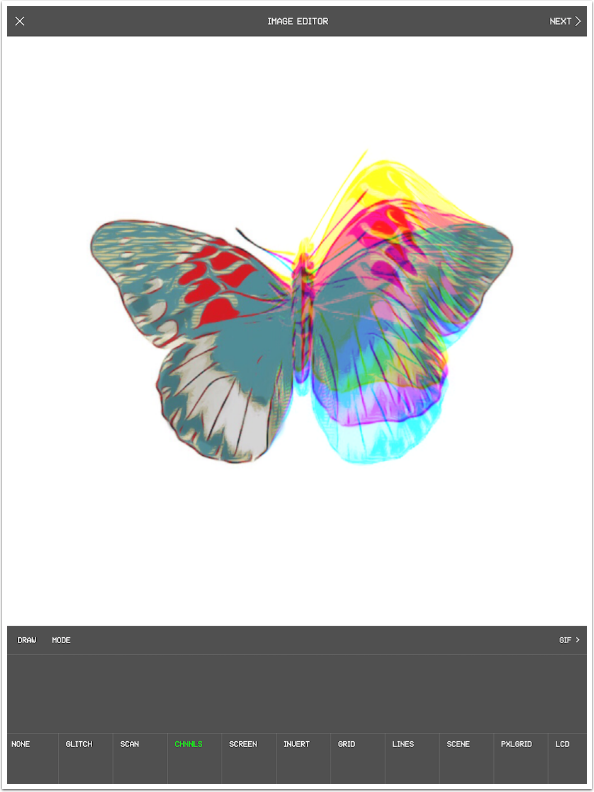
If you use the Draw option, you pull out the color channels with your finger.
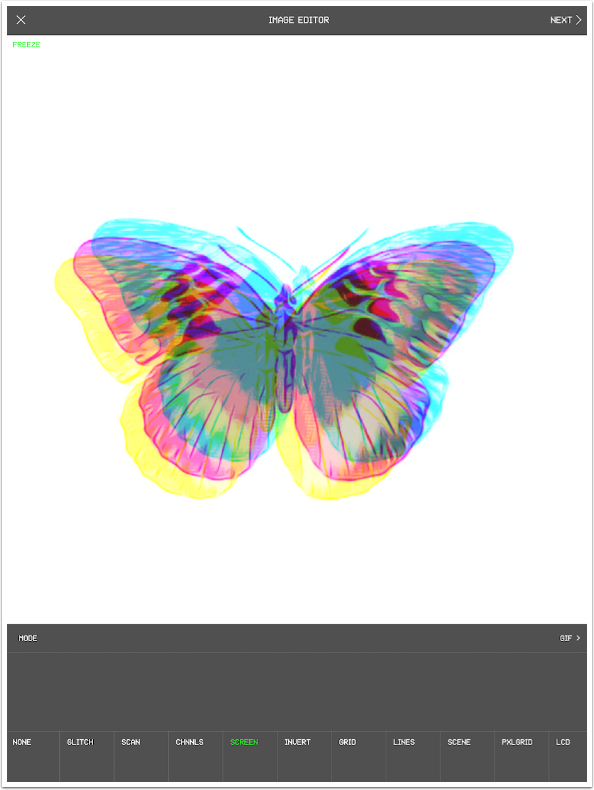
The Screen effect does the same thing, except to the entire image.
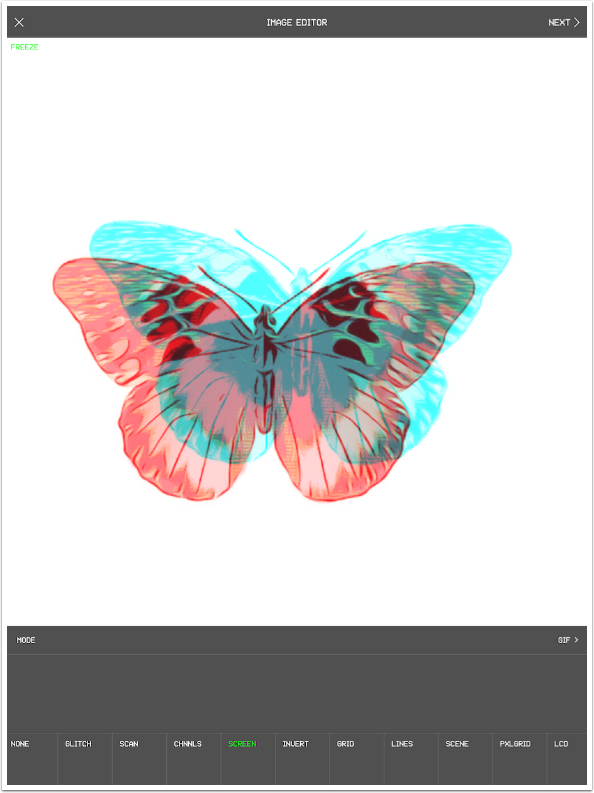
Tapping Mode changes the color channels from Red, Blue, Yellow to other channels, like Cyan/Red.
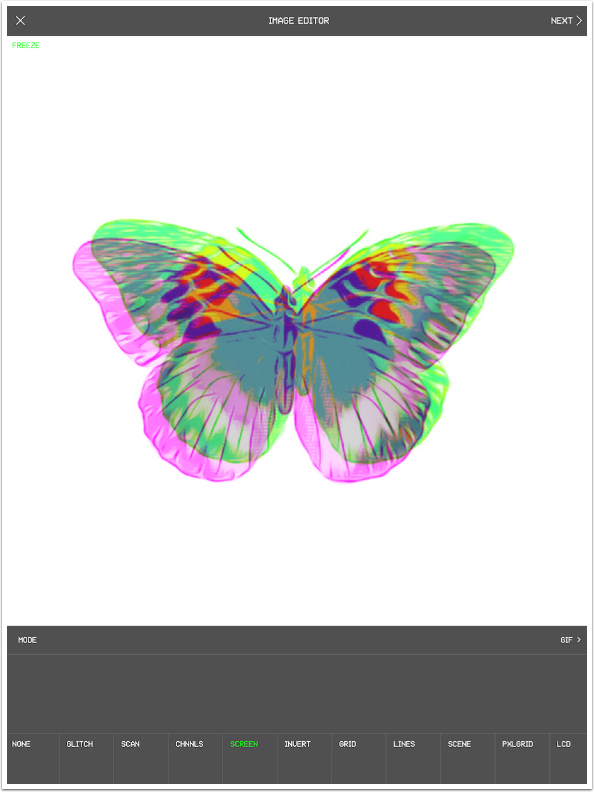
Another mode is Green/Magenta.
The next effect is Invert, and it’s one of my favorites. With no options selected, it creates a bar of negative when you draw with your finger.
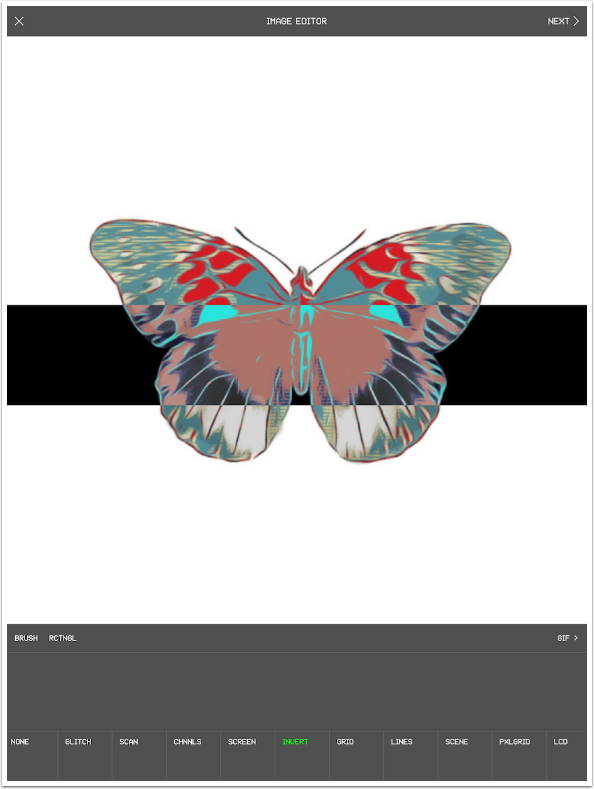
If you cross the bars by using a vertical swipe followed by a horizontal one (as I did below), then the overlapping space turns back to normal.
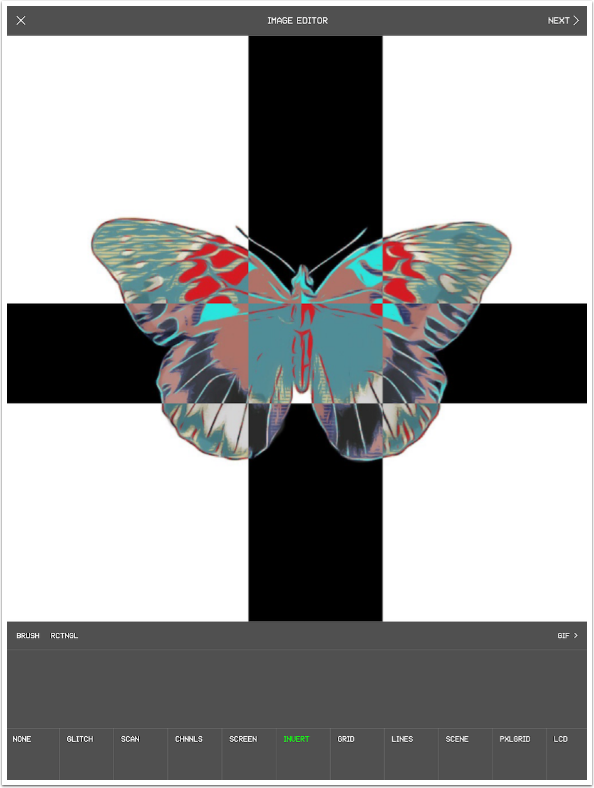
Using Draw mode allows you to paint in the area of negative values. Crossing strokes does not change the area of overlap.

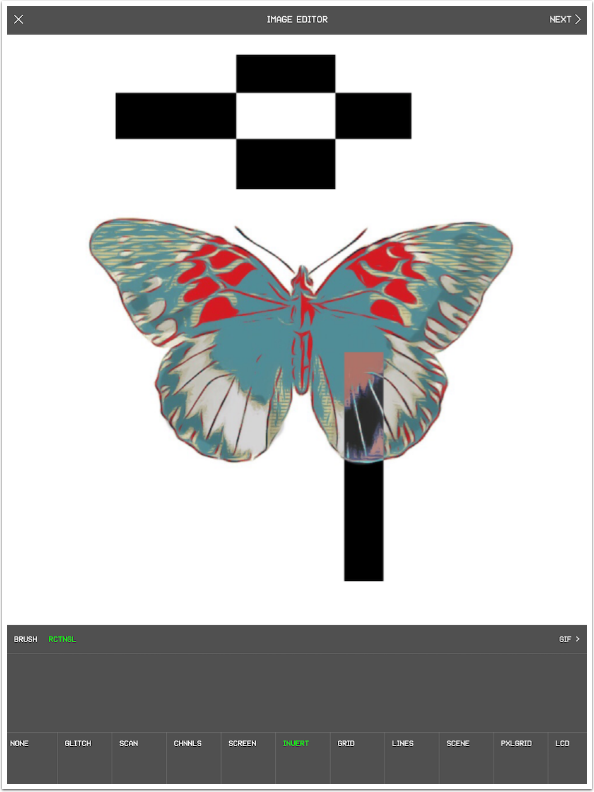
Crossing rectangles in Rctngl mode does affect the overlapping areas, as seen below.
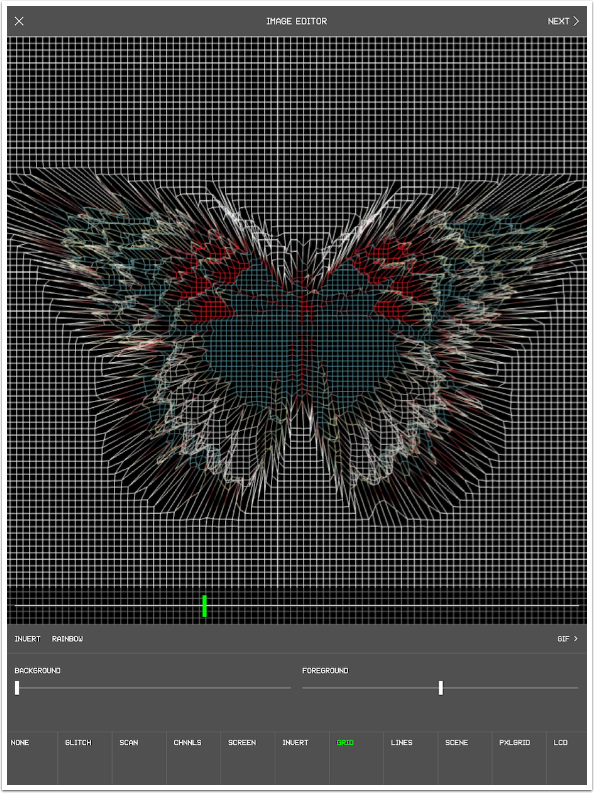
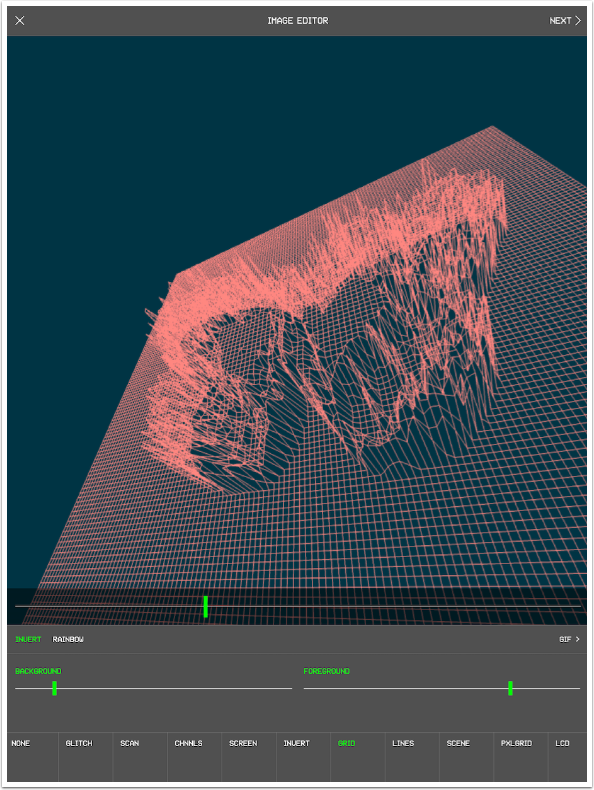
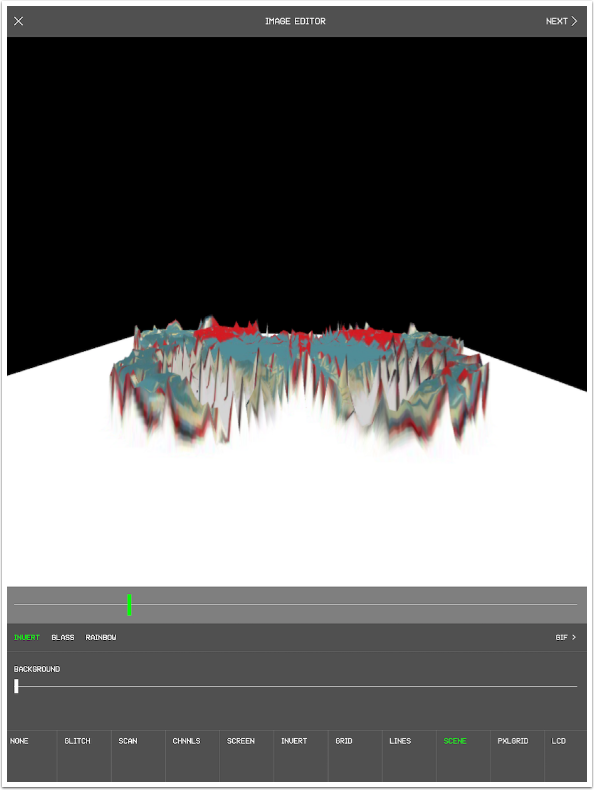
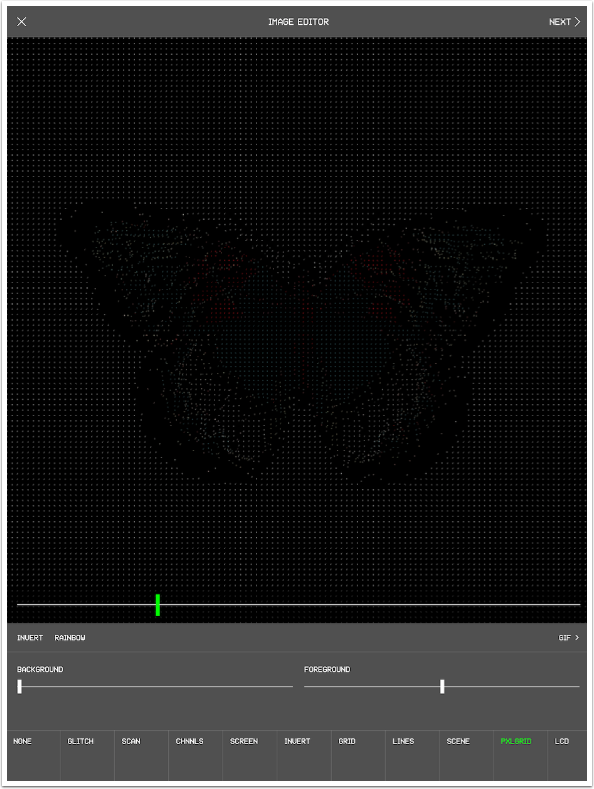
We are going to wrap up Part 1 of this series by discussing the next four effects: Grid, Lines, Scene and Pxlgrid. They are similar effects because they create “3-D” effects based on the luminance of the pixels in the image. In the image below, the brightest parts of the image, the white background, are “closest” to the viewer, and the grid “moves away” on the darker areas of the butterfly.
The “depth” of the effect is changed using the top slider with the green indicator. I made the effect “shallower” by moving the slider to the left.
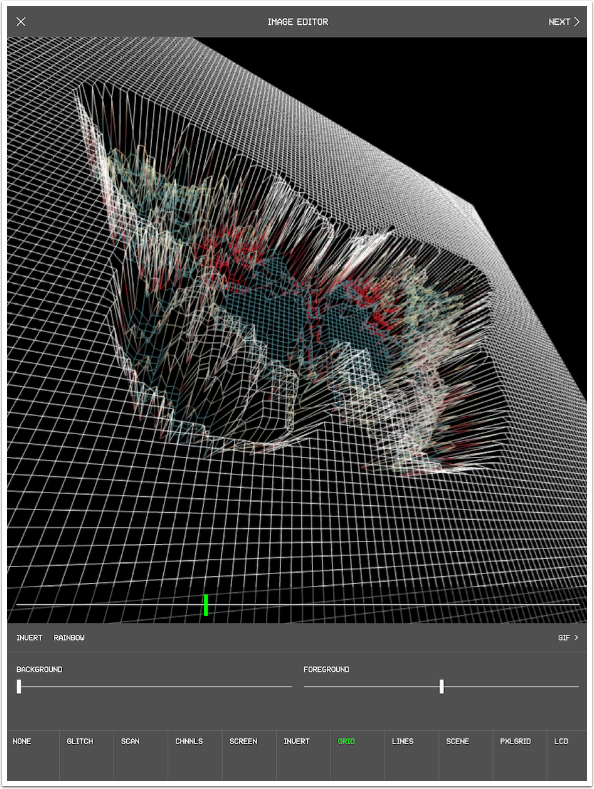
Moving your finger on the screen rotates the image in 3-D space. This helps you see that the white areas are “highest” and the darkest areas are “lowest”.
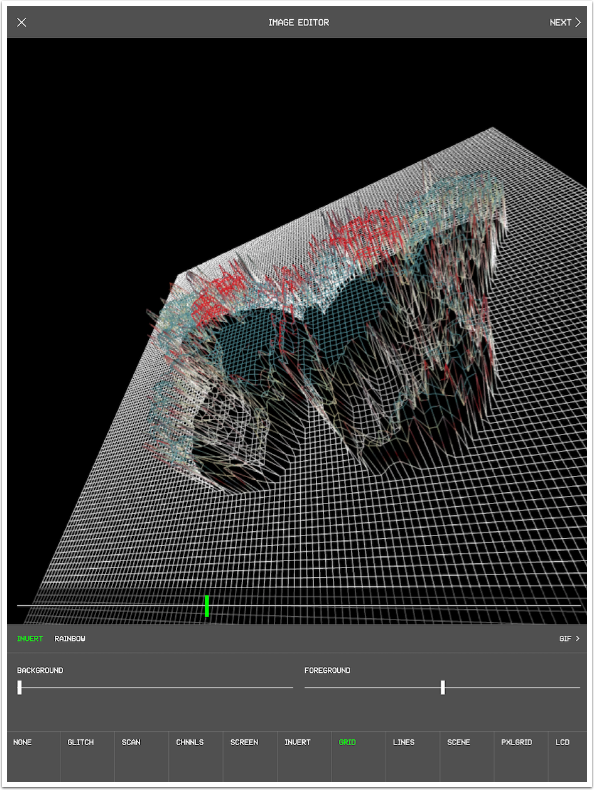
The Invert option swaps high and low. The butterfly now is raised from the flat background.
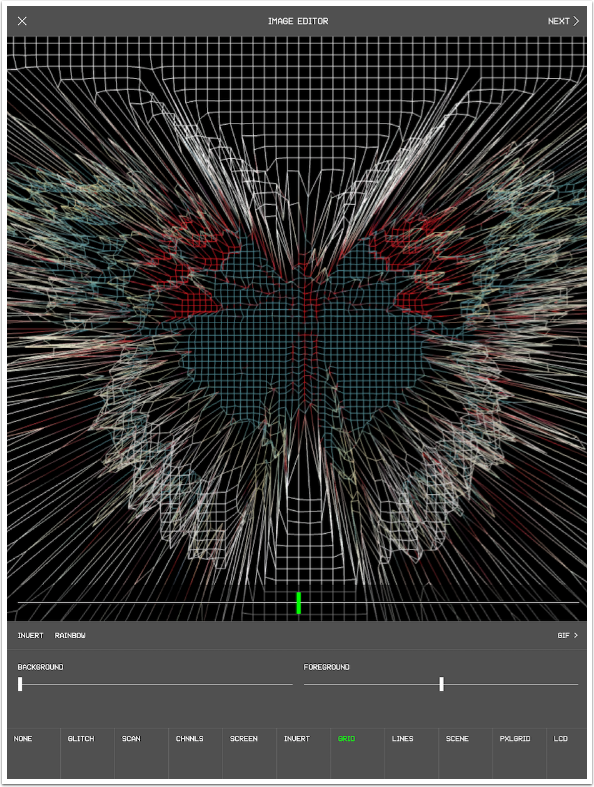
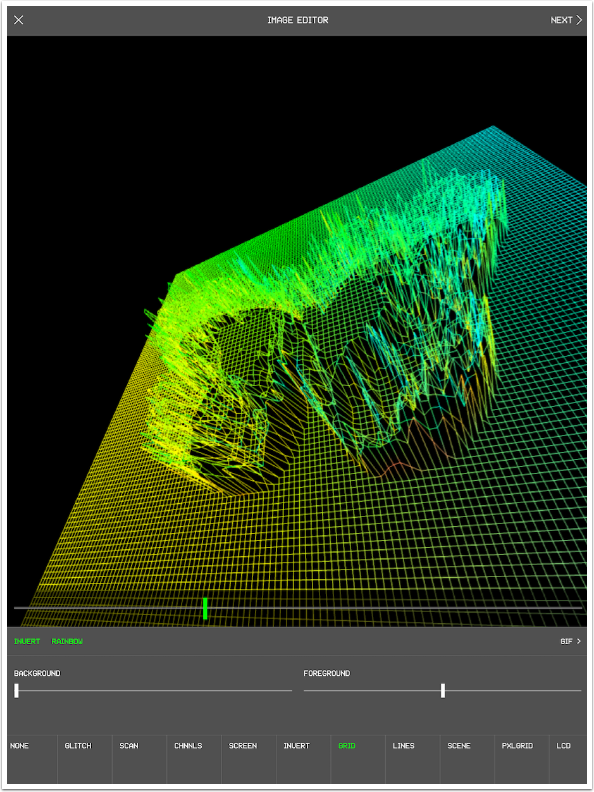
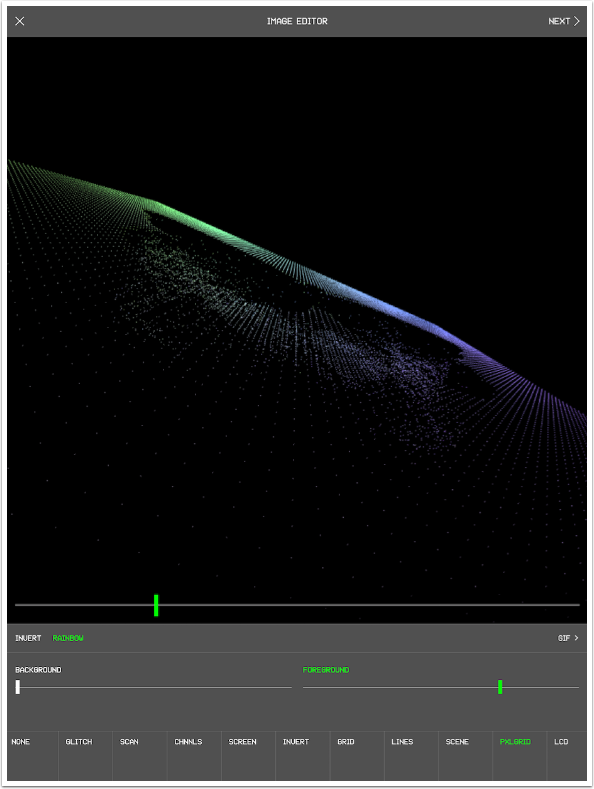
The Rainbow option adds a multicoloured overlay to the image.
The background slider changes the color of the background from black as you move the slider to the right.

Foreground changes the color of the grid, making it all the same color. If you want a multicoloured effect (grid, lines, scene or pixelgrid), then do not touch the Foreground slider.
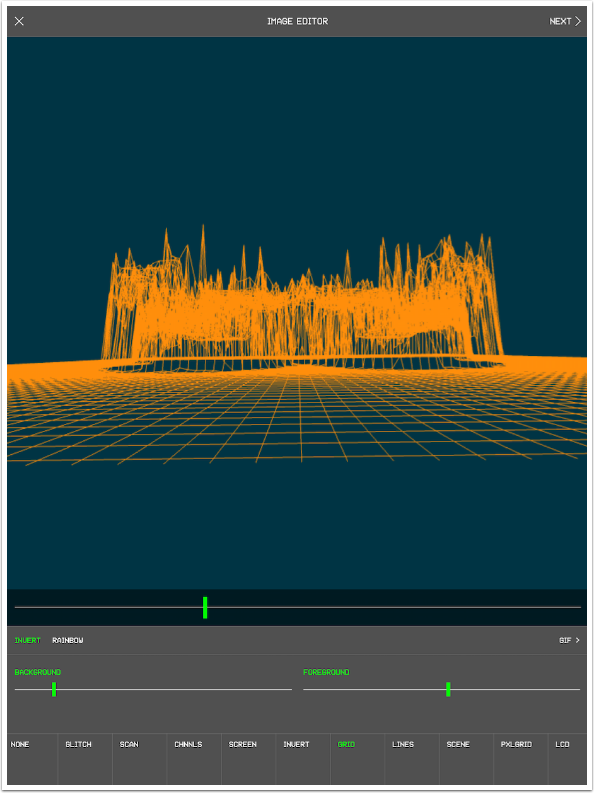
You can get some really trippy looks with these 3-D effects.
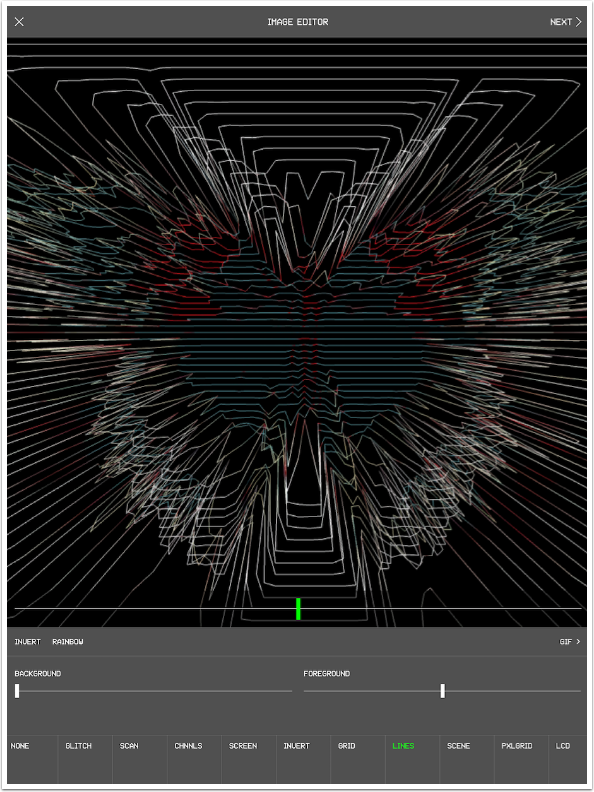
The Lines effect uses horizontal lines instead of a grid.
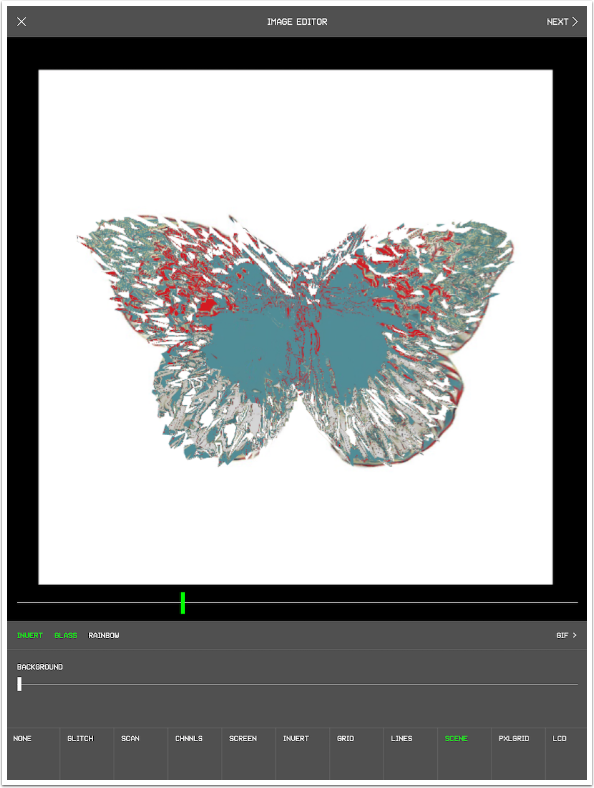
The Scene effect “extrudes’ the image and gives it depth. The effect is not obvious unless you rotate the image in the 3-D space.
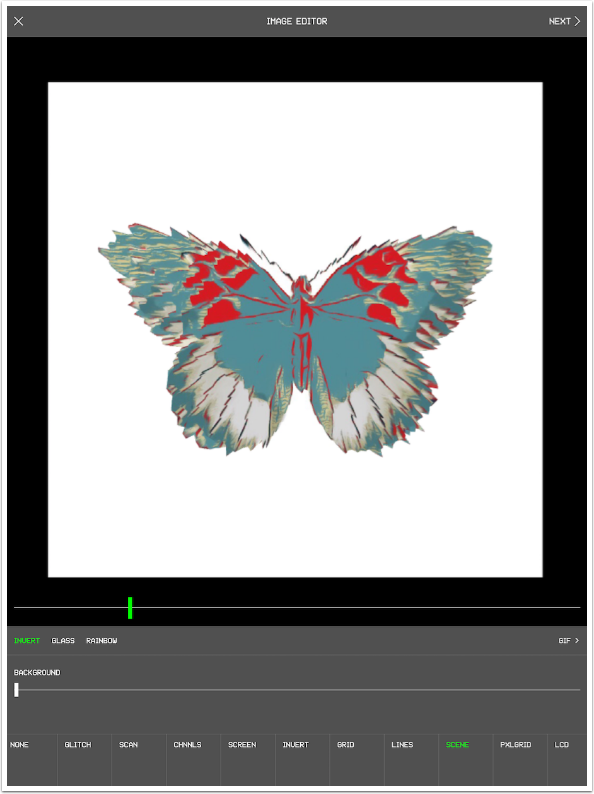
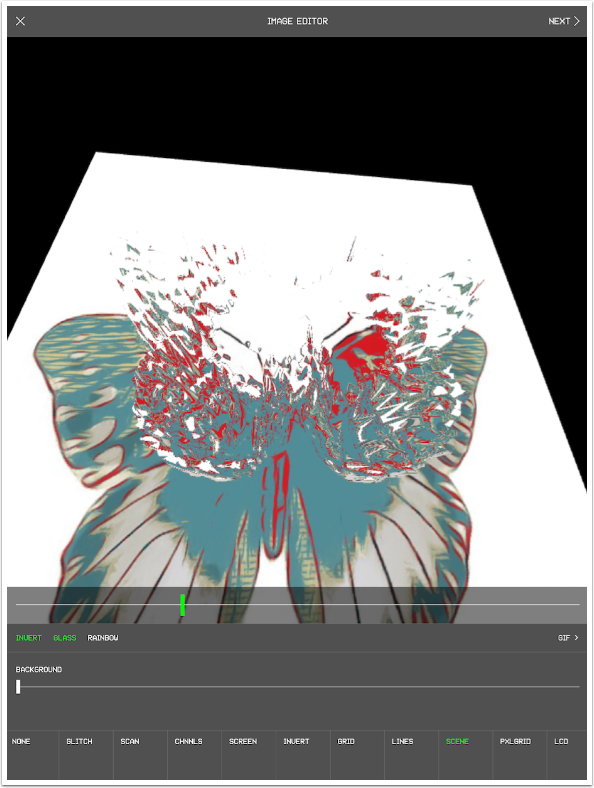
Here I’ve inverted and rotated the image so that the butterfly rises from the white background.
The Glass option creates a clear “extrusion” over your flat image.
You can see the effect more clearly if you rotate the image.
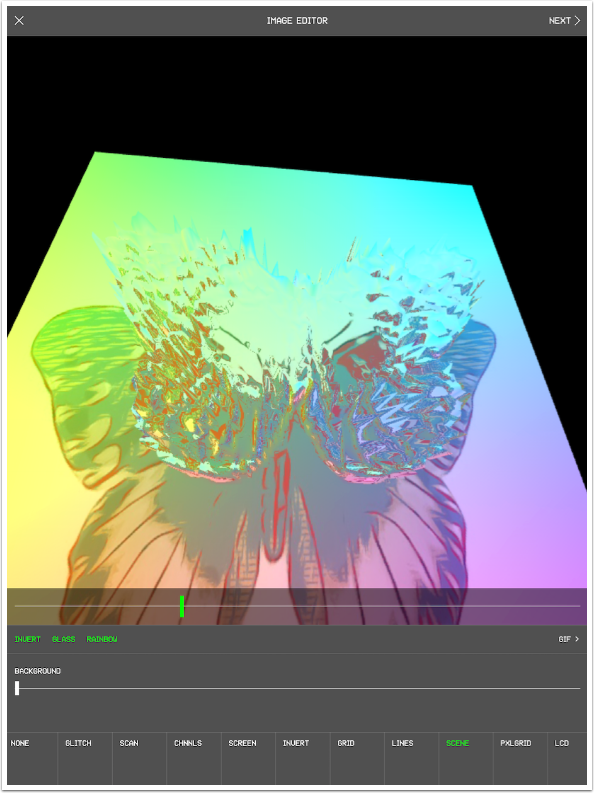
Below I added the Rainbow option. There is no Foreground color slider for the Scene effect, since making the entire image one color with no gaps between the grid or lines or pixels for the background to show through would be useless and unreadable.
Below – if you look closely – you can see the dots that make up the Pxlgrid (Pixel Grid) effect.
These dots are much easier to see if rotated. A Rainbow option adds to the sci-fi effect.
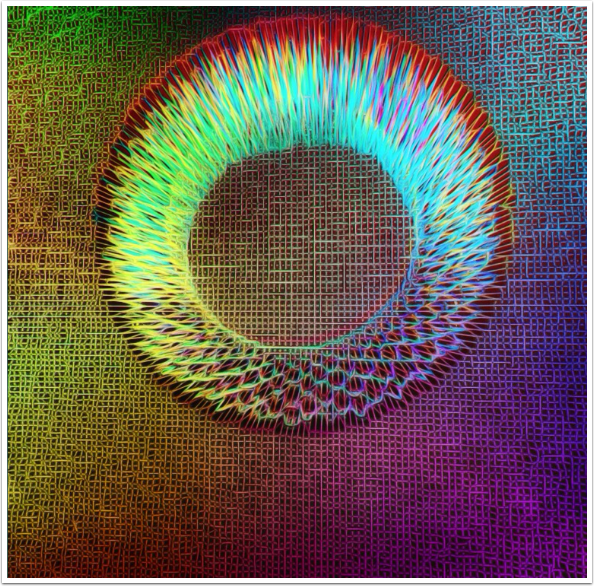
That brings us to the end of part one of our look at Glitché. Let’s look at a couple of examples using the Grid effect. This first example was created from a simple “Spirograph” style figure created in Überdoodle. The lightly textured background in the original figure gives a ripple to the grid.
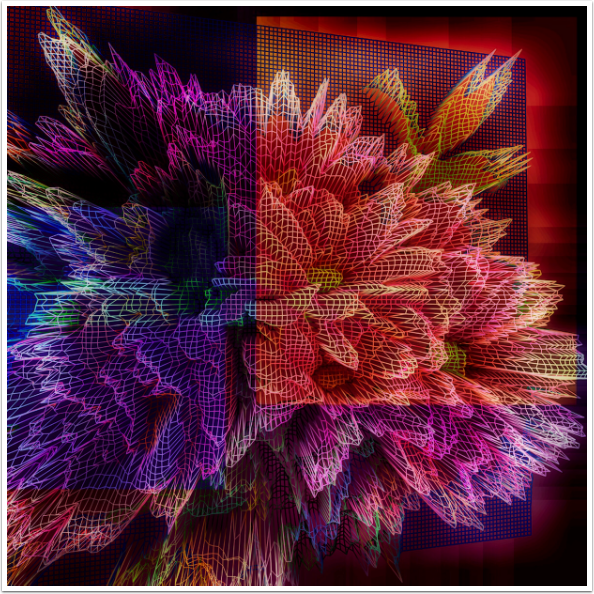
The last example also uses the Grid effect, this time on some flowers, with some Glow and a color overlay added in iColorama.
Glitché is an app with a lot of possibilities. It is not always the easiest app to work with, as many times the lift-and-tap required to freeze the image doesn’t work. There are a couple of in-app purchases that bug me as well, and they will be covered in part two. Until next time, enjoy!
TheAppWhisperer has always had a dual mission: to promote the most talented mobile artists of the day and to support ambitious, inquisitive viewers the world over. As the years passTheAppWhisperer has gained readers and viewers and found new venues for that exchange.
All this work thrives with the support of our community.
Please consider making a donation to TheAppWhisperer as this New Year commences because your support helps protect our independence and it means we can keep delivering the promotion of mobile artists that’s open for everyone around the world. Every contribution, however big or small, is so valuable for our future.
Jerry Jobe
Never content with just scratching the surface of what an app can do, Jerry Jobe decided to pass on what he learned about imaging apps to others. He’s constantly trying to figure out just what tools other artists have used, and trying to incorporate them into his own work, in an attempt to find his style. He’s written tutorials on over 145 apps so far, which you can find (along with his Song of the Day entries) at http://enthusiasmnoted.wordpress.com/ He lives near Atlanta, Georgia, where he also finds a creative outlet in acting and directing in community theater.
One Comment
Pingback: