Mobile Photography & Art – The Recipe I Can’t Live Without with Amy Ecenbarger from the United States
We have a new section at TheAppWhisperer.com and it’s called ‘The Recipe I Can’t Live Without’, within that we are asking highly successful mobile artists to give us their one recipe (tutorial) they can’t live without in relation to editing their images. Kicking us off today, is Amy Ecenbarger from the United States. She has created an brilliant street life family recipe . To read the others in this new series, please go here. (foreword by Joanne Carter)
Description
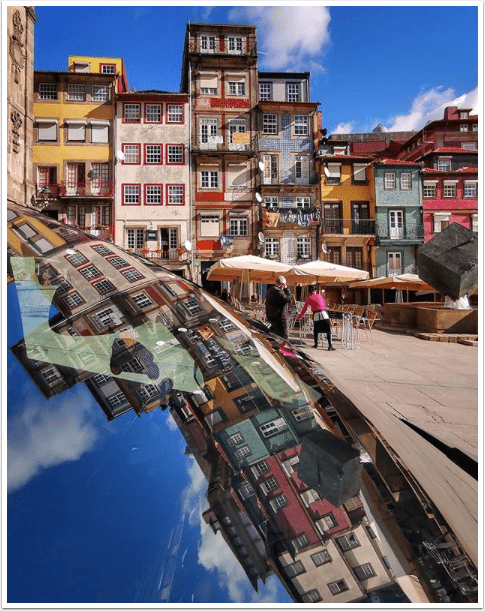
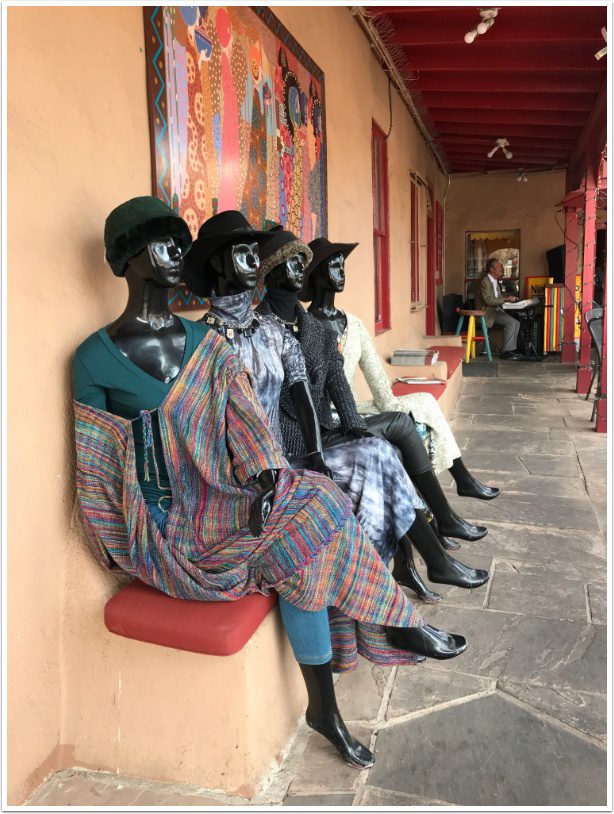
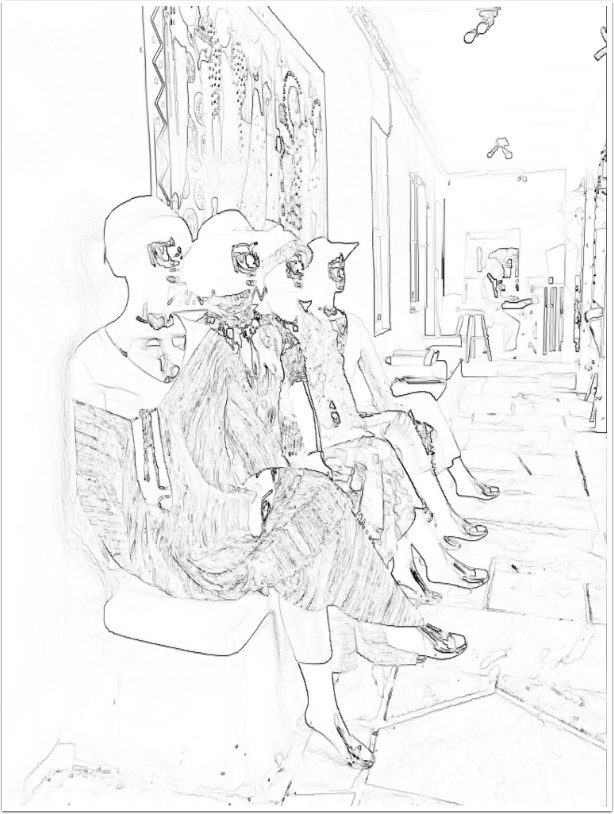
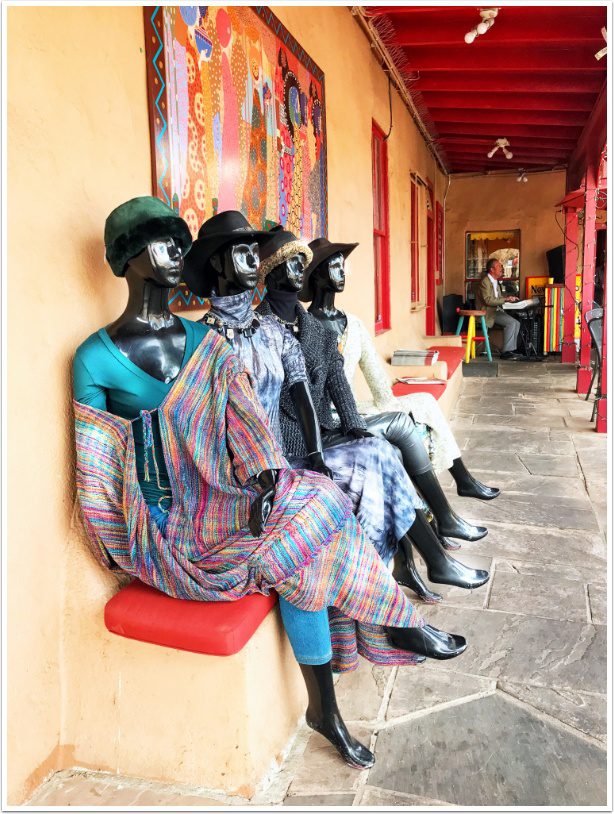
I shot this image last year while in New Mexico. I loved the contrast between the smooth, dark color of the mannequins and the bright, deeply textured fabrics of their clothing. I felt the leading lines, the repeated pattern of the mannequins, as well as the figure in the background, created an interesting and pleasing composition.
Original image
Method
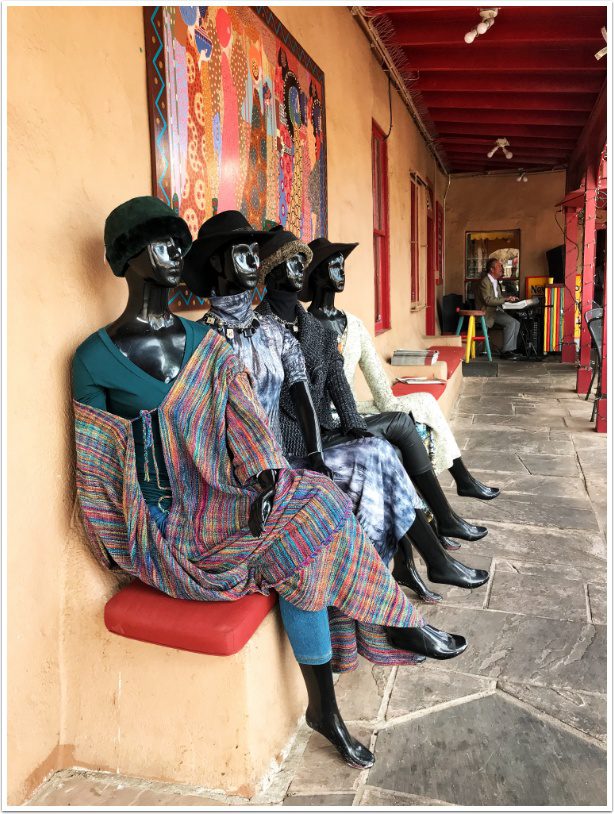
My default first move is to bring the image into Snapseed. Here I’ll tune the image, adjust detail and sharpening, and add a contrast/brightness curve. Then export.
Image after Snapseed tuning
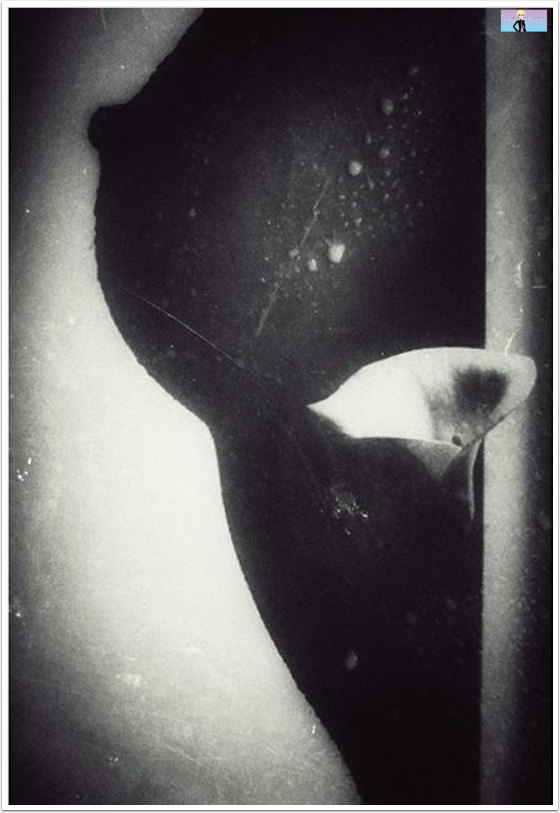
Then, I bring the saved image into IColorama. I want to have a line sketch to use later if I need it, so I’ll go to Style>Edges, create a line drawing, and save.
Line Drawing
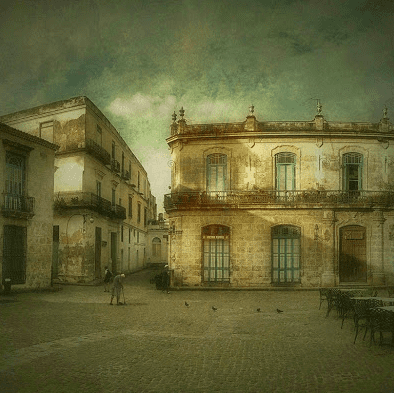
Then, still in iColorama, go back to the tuned image for some tone lab and levels adjustments. I tend to add brightness with a levels adjustment, but then use the “invert mask” feature to “paint” the adjustment selectively. Then save.
Image after tonal adjustments.
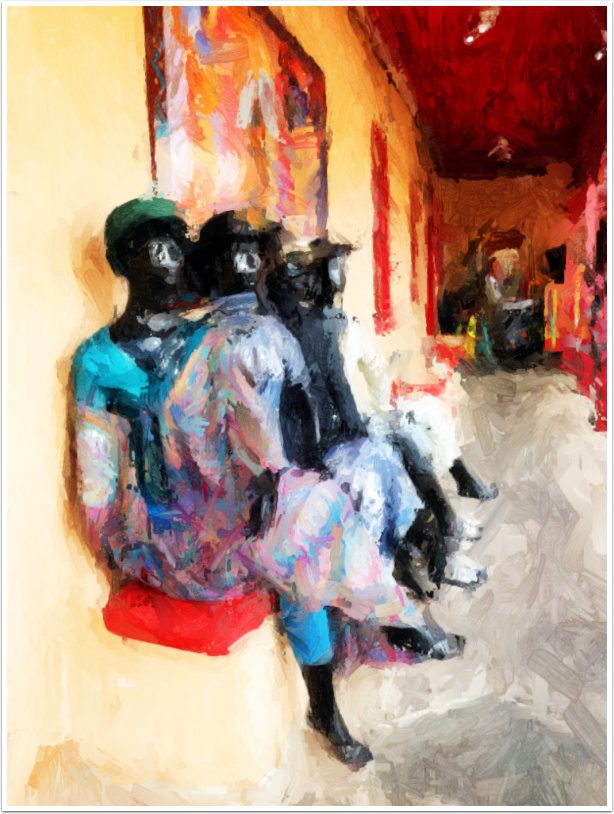
In order to quickly get some painterly brush strokes, I’ll then take this new image into IC Painter. Here, I’ll play with the settings to get what I’m looking for, and then save this as a new image.
Image after IC Painter
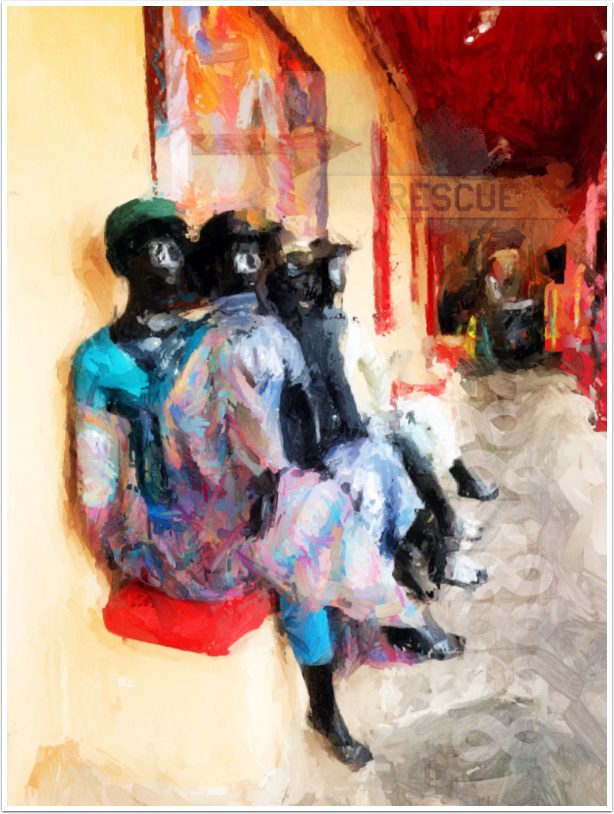
Now, I want to add some additional elements (in the case, the word “rescue”, an arrow and a line of numbers). Take the painterly image back into IColorama and use Effects>Blend. I like to add the element, adjust opacity and/or blending mode, and then use the “invert mask” feature to paint the element in. Generally, for this step, I’ll use a grunge brush at a reduced opacity. Save this new image.
Image after adding elements.
Now, still in iColorama, go to Photo>Image from Library and bring in the image created just before using IC Painter. Then, using Effects>Blend, bring in the the last image created (the one with the brush strokes and additional elements added). Here, I’ll adjust opacity and use masking to bring back some of the details from the underlying image. Apply. Then, again using Effects>Blend, bring in the line drawing and, using the presets, change the blend mode to Multiply. Then, using invert mask, paint in the lines just where you like them. Adjust opacity if necessary. Apply. At this point, I’ll do some final tonal adjustments. In this case, I used Tone>Luts (#1), and reduced saturation and opacity. Apply.
Almost done
Now, for the last step, go to Brush>Rebound. For this image I used the brush WColor #41 and the “rebound” preset. On a white background, tap and brush the image onto the background. Add a bit of texture if you like.
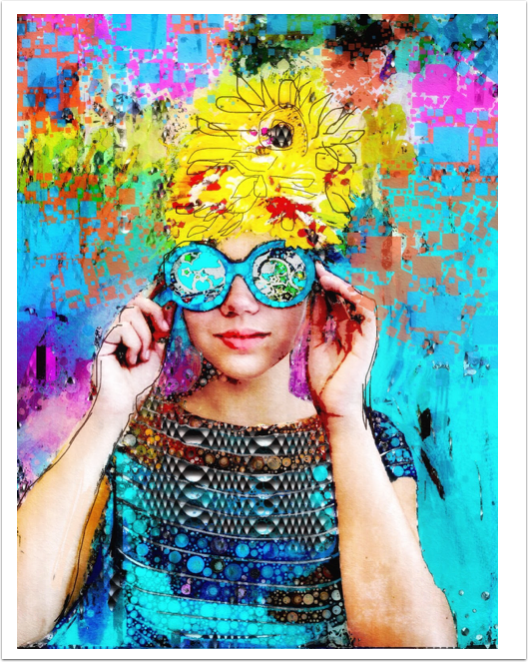
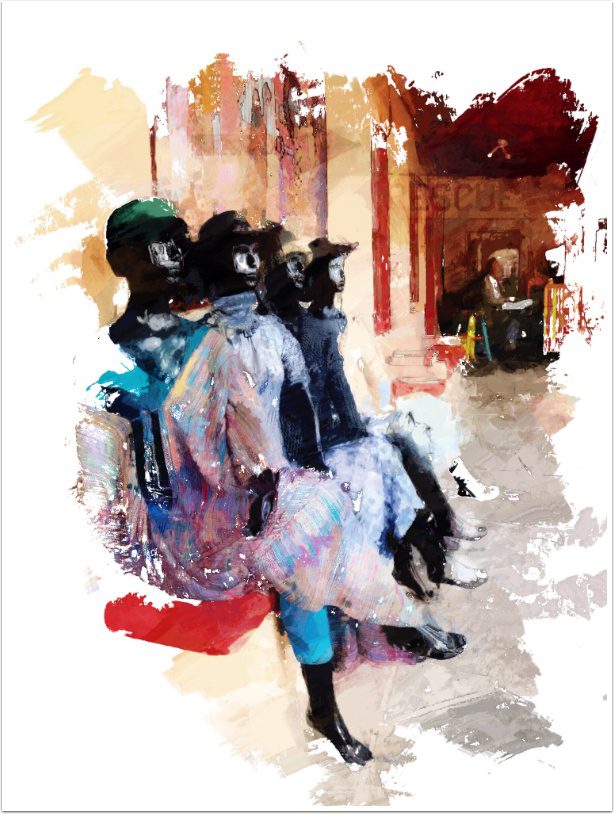
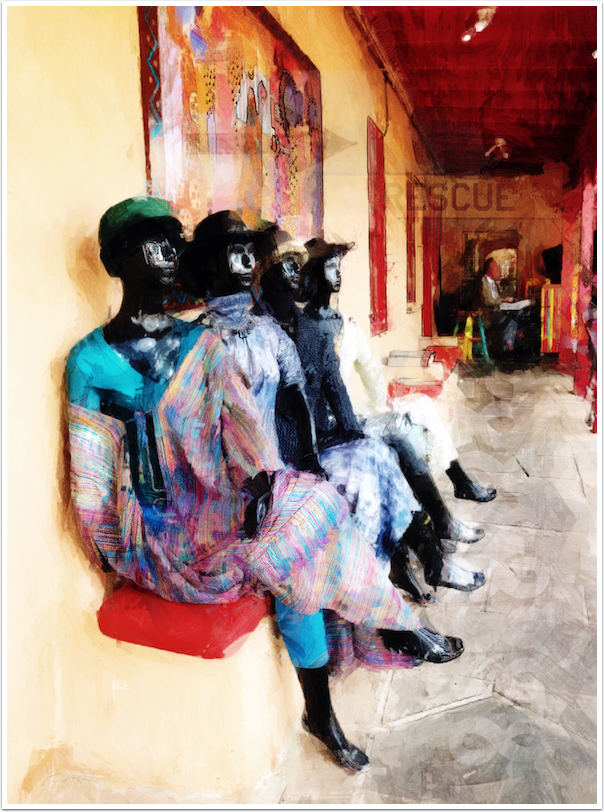
Final Image
Hello again…please donate
TheAppWhisperer has always had a dual mission: to promote the most talented mobile artists of the day and to support ambitious, inquisitive viewers the world over. As the years passTheAppWhisperer has gained readers and viewers and found new venues for that exchange.
All this work thrives with the support of our community.
Please consider making a donation to TheAppWhisperer as this New Year commences because your support helps protect our independence and it means we can keep delivering the promotion of mobile artists that’s open for everyone around the world. Every contribution, however big or small, is so valuable for our future.