iPhone Photography Tutorial – ‘How To Create A Stunning Cherry Blossom Tree Complete With Artificial Lake’
Our new mobile photography tutorial section is in full swing and we’ve received much acclaim from the mobile photography community, thanks to all. If you’ve missed our previous tutorials you can catch them here.
We recently interviewed the creator of this tutorial, Jeanette Serrat for our A Day In the Life of … series, if you missed that you can read it here. Jeanette’s images are simply stunning, she is so talented. In this tutorial Jeanette goes through the steps necessary to enable you to capture the stunning image below.
Read this easy to follow tutorial and see if you too can create a similarly stunning shot. (We have put links to the iTunes app store of every app that was used at the end of this article, just in case you feel inspired enough to download them and try to recreate this image).
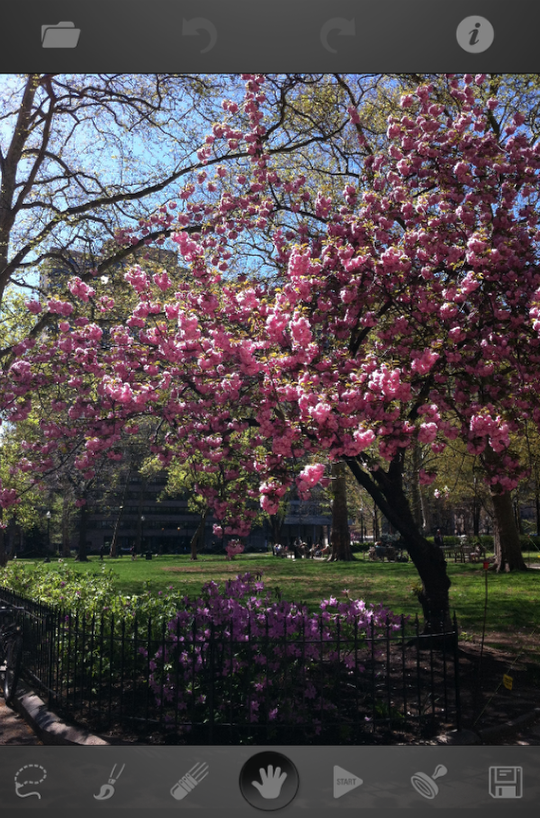
Final Image
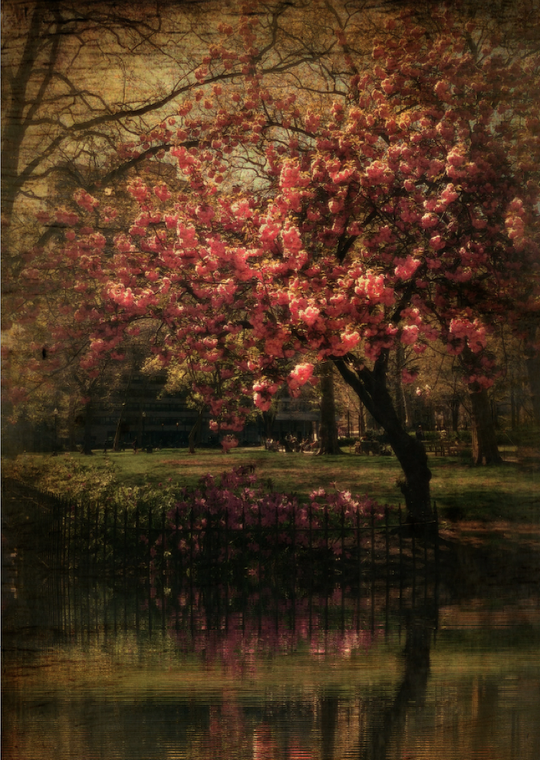
The image above is the final image, the one that we are going to show you how to recreate.
Original Image
This is the original unedited photograph, Jeanette believes, like many of us, that sometimes photos have objects that we wish weren’t there.
Touch Retouch
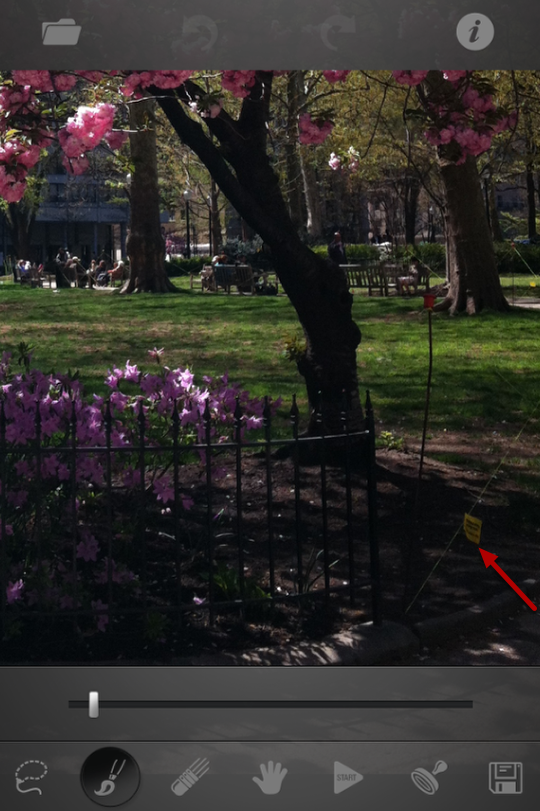
Firstly, Jeanette opened the image in Touch Retouch, it is great for removing unwanted objects. Open up the file and use the hand tool to move the image and pinch with your fingers to zoom in on the area you want to fix. In this case, it’s the markers in the ground next to the tree.
Brush Tool
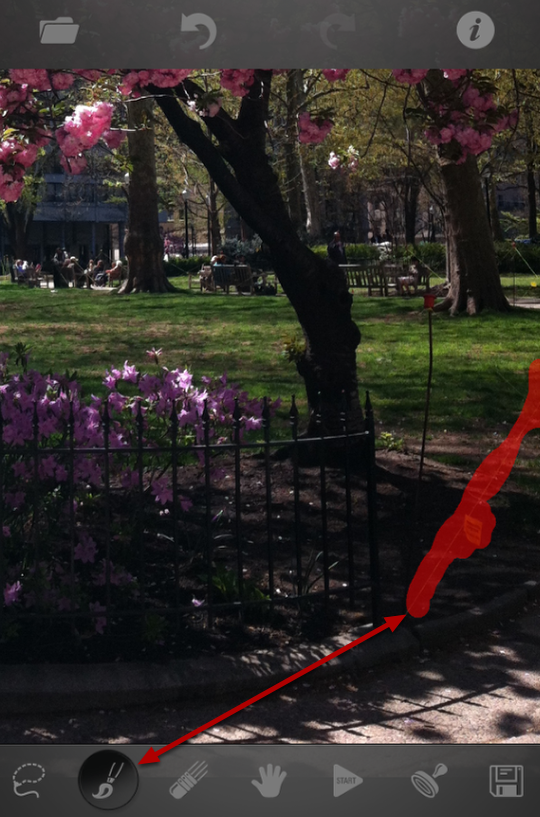
Secondly, select the brush tool and scale it to a small size.
Thirdly, paint over the area and hit the arrow-shaped Start button. Repeat this for other objects that need removing. Gone! Finally, Save the new picture (the symbol at the bottom right corner, from the above screen grab).
Anti-Crop
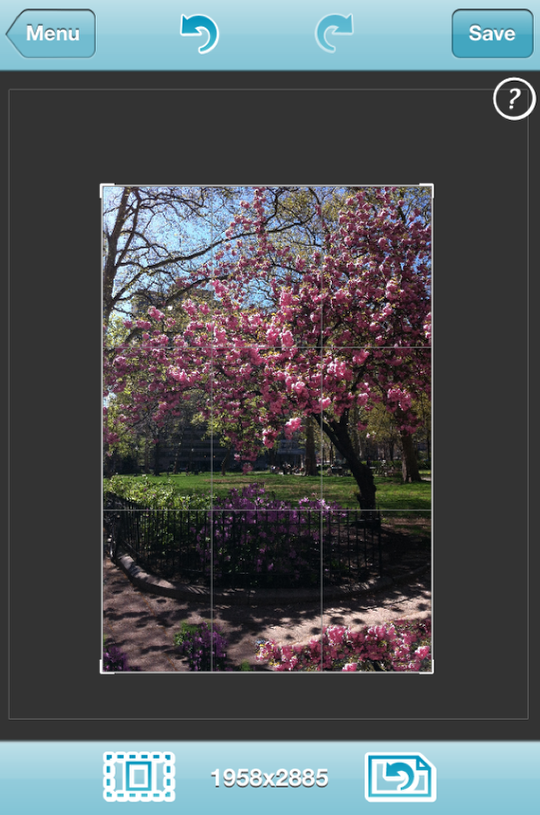
Jeanette wanted a little more of the ground showing. To fix that, she opened the picture in Anti-Crop. Jeanette dragged the bottom of the image to make it longer. In order to keep a nicer proportion, Jeanette also dragged the image slightly to the right to make it wider. Next she saved the new edit.
Photowizard
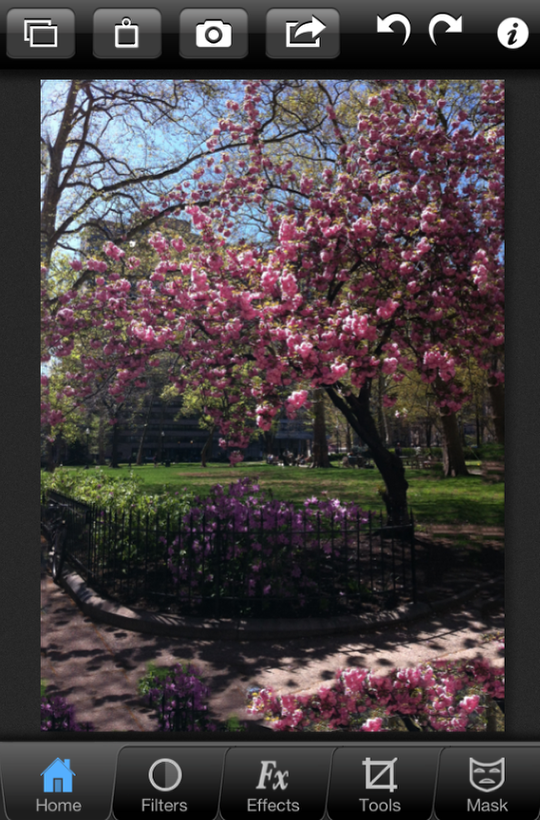
The next step is to apply some tonal adjustments and textures in Photowizard. Open the image by tapping the button at the top left corner.
Exposure/Contrast
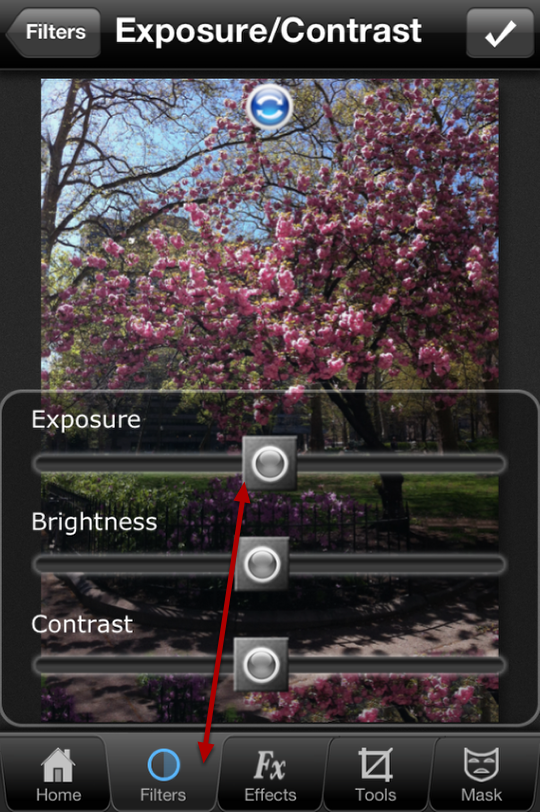
Choose Filters from the menu and then Exposure/Contrast from the list. This photo was taken mid-day and is showing a bit too much brightness and contrast, so turn that down a tad. Tap the check mark in the upper right corner to apply the change you just made.
Hue/Saturation
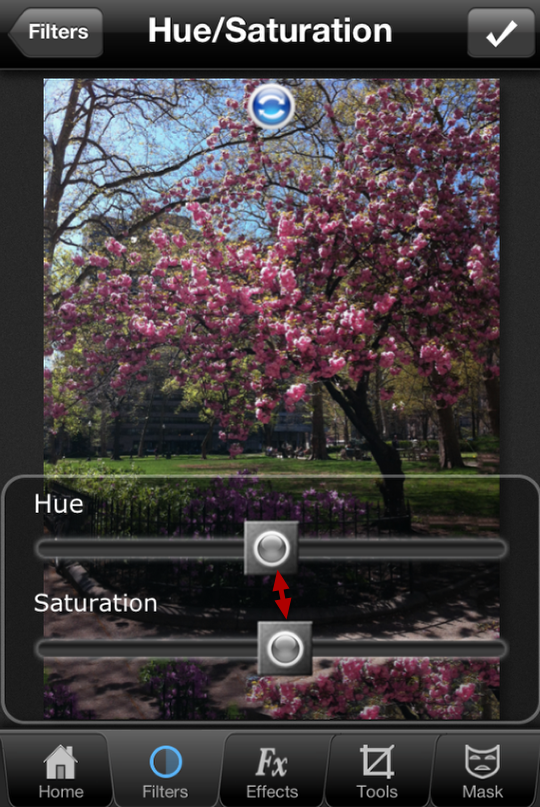
Next, select Hue/Saturation from the filters menu. Increase the saturation to make the colors pop some more.
Temperature
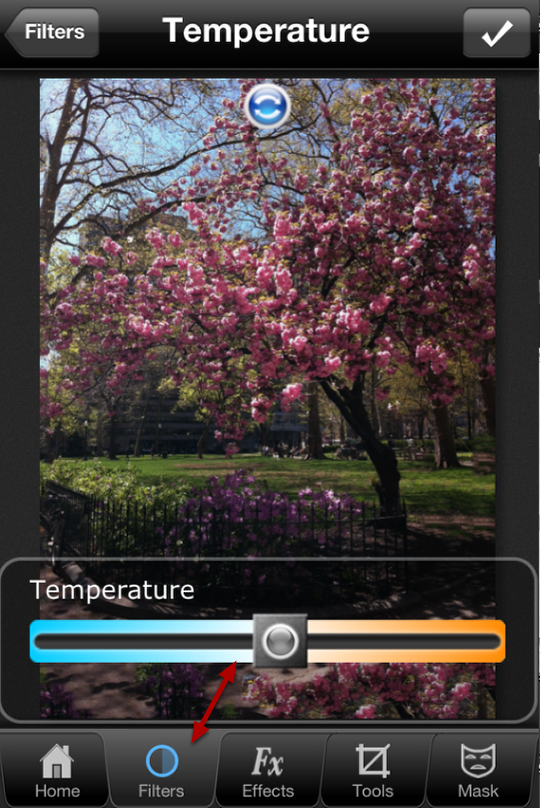
To give the photo a warmer tone, go to Filters – Temperature.
Fx
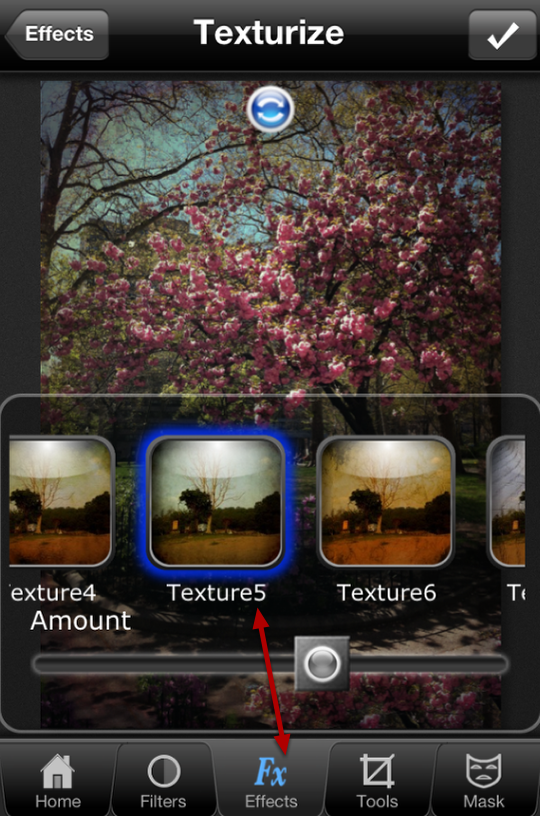
Now it’s time for some interesting effects. Tap on FX and select Texturize from the list. Jeanette selected texture number 5. Adjust the strength with the slider.
Hot Wax
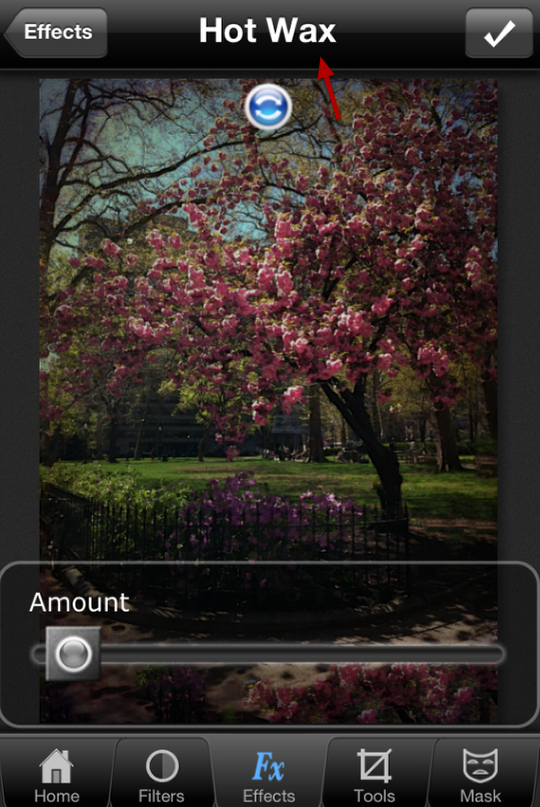
Then apply Hot Wax, found in the Fx menu. Jeanette used a little, just enough to bring out some detail and texture.
Light Bloom
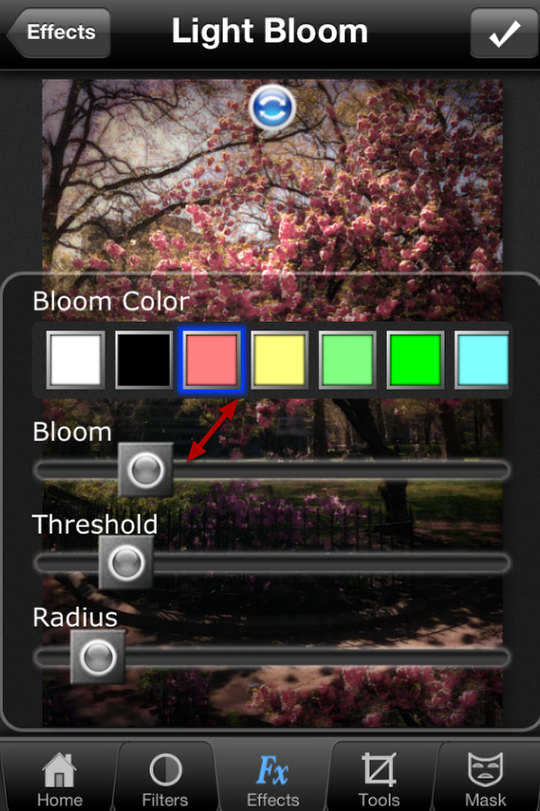
The image may seem a little dull at this point, so next Jeanette added some Light Bloom from the FX menu. There are a great selection of colors to choose from but Jeanette went with pink, since it matches the flowering tree. Play around with the sliders, but a subtle effect looks more natural.
Texturize
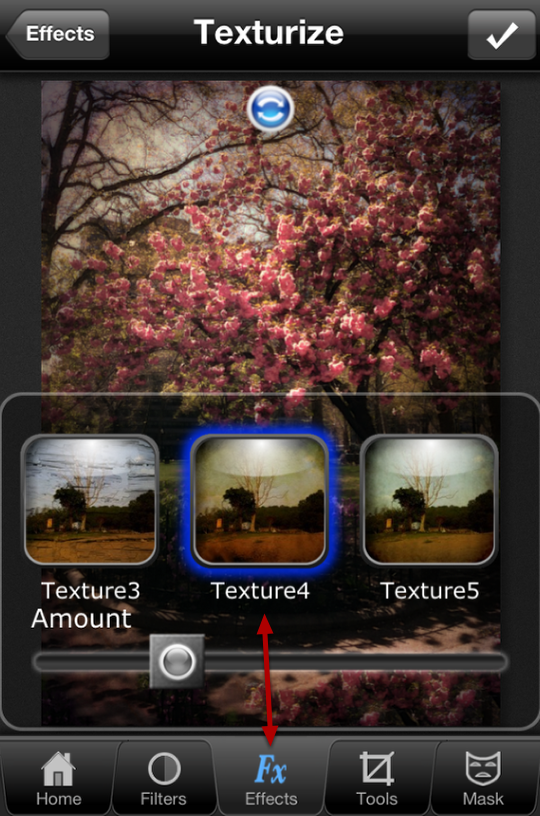
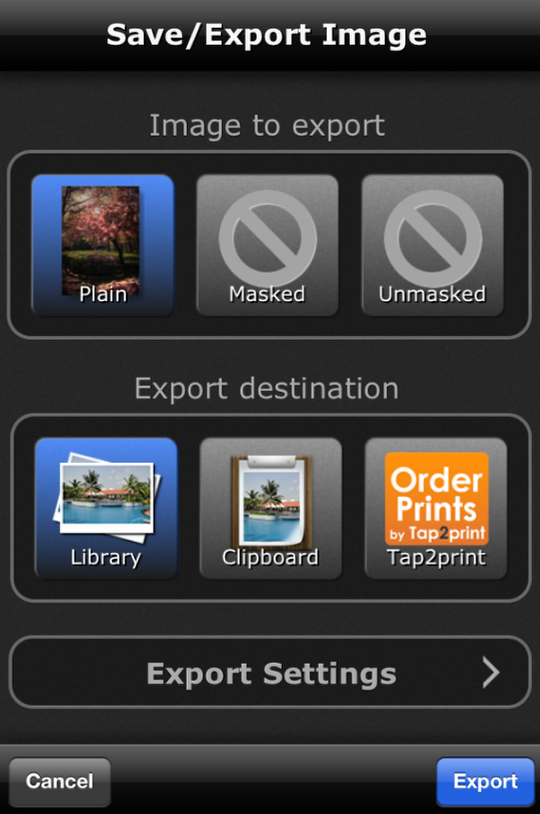
In the next step Jeanette chose to apply another texture to emphasize the painterly look. Here she picked texture number 4. Now, tap the Home button and then the arrow in the top menu to save the photo. Check the export settings before saving if you so wish and set it to max resolution. There’s the new image – almost…
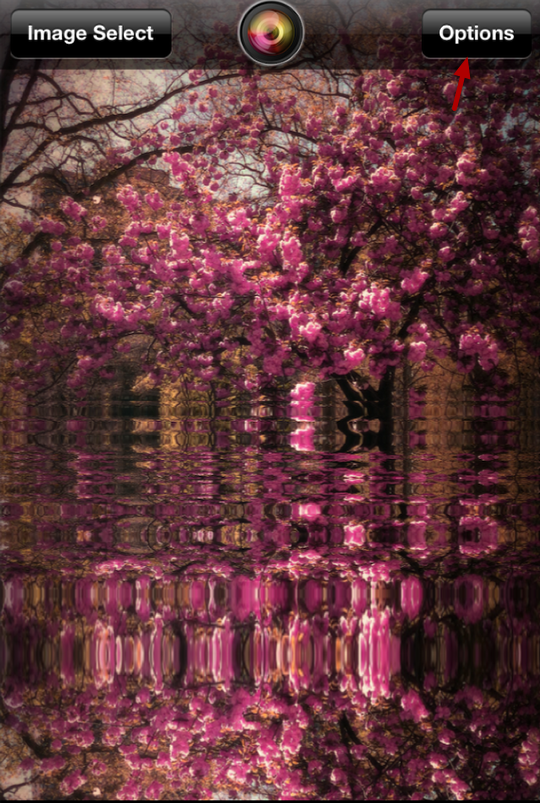
Color Lake
Hold on, we’re not done yet! Open the photo in this very cool app called Color Lake.
Options
By default, it will change the color of your photo, so go to Options and select Normal.
Wave Size
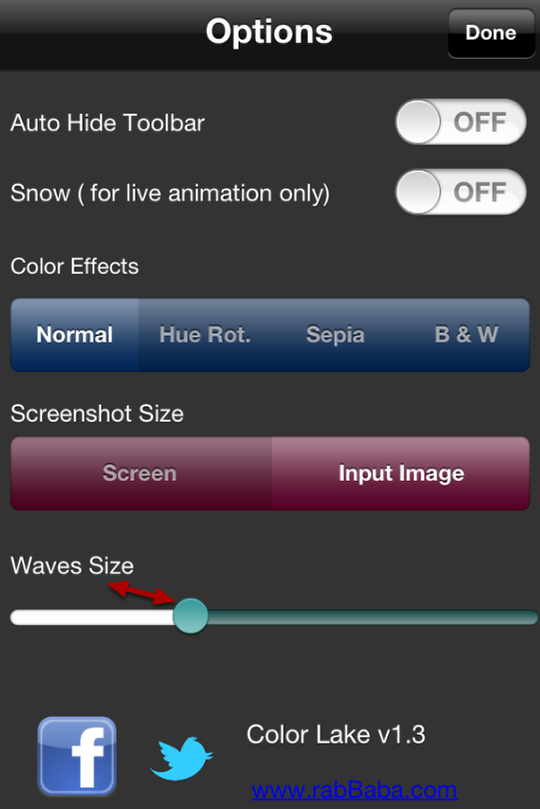
Here you can also adjust the amount of wave and their size.
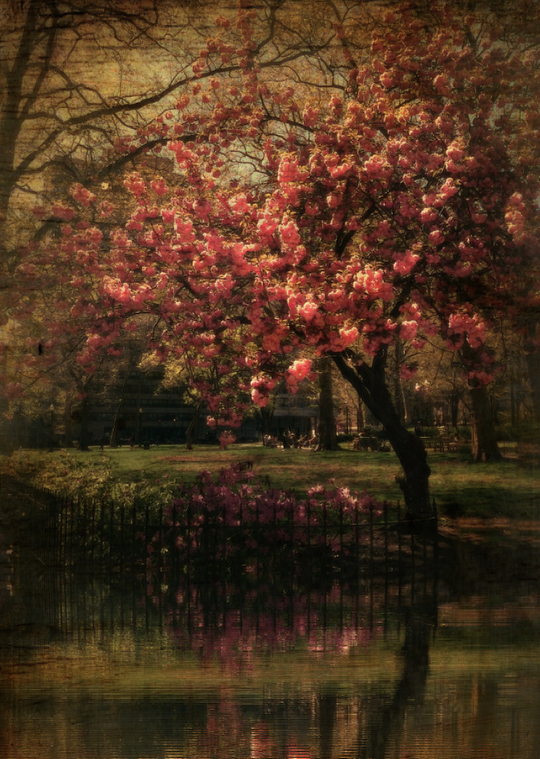
Image Complete With Artificial Lake

Now drag the water level down so that it covers the ground, but not the fence and the flowers. Tap the lens symbol to save the photo. Now, it looks like the above.
Pic Grunger
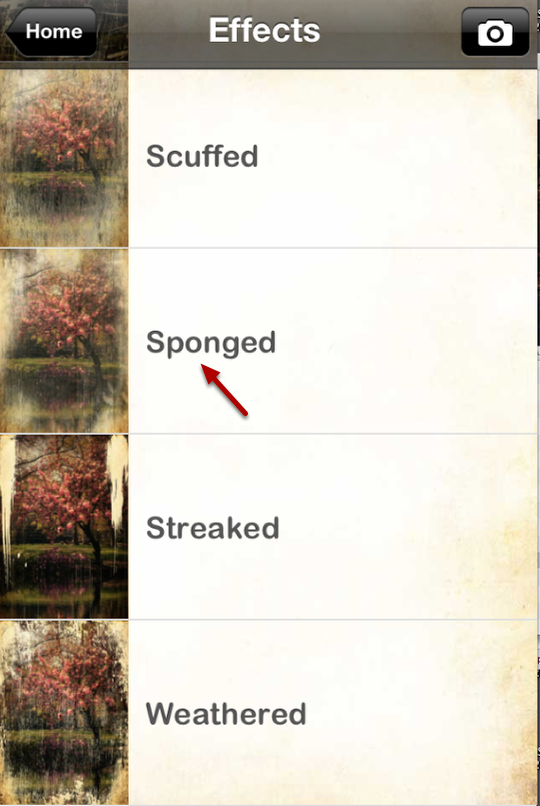
Still not quite done…Open the new picture in Pic Grunger. Under Effects, select Sponged.
Style
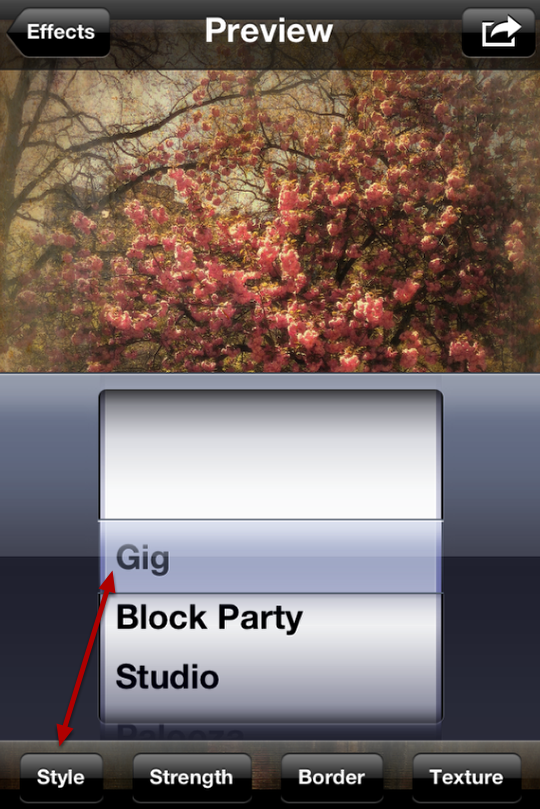
Tap on the Style button in the lower left corner. These are the ambience options and Jeanette then selected Gig for this one.
Textures
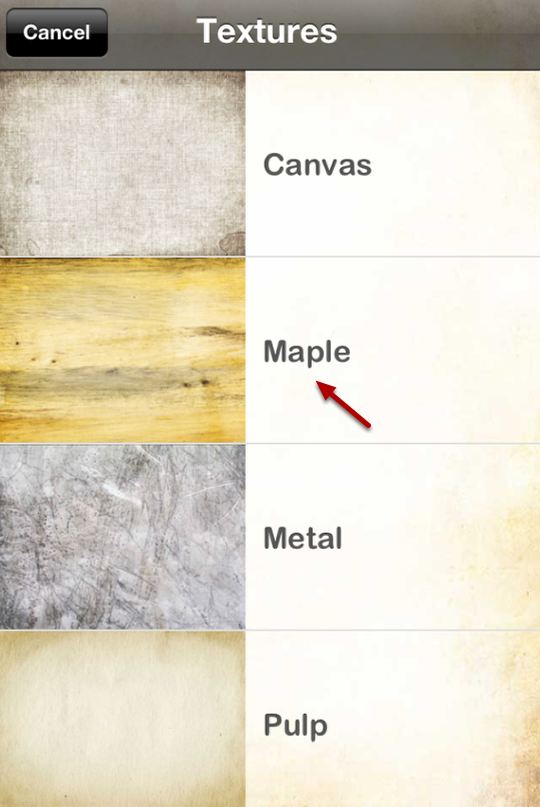
Then, go to Textures and pick Maple.
Strength
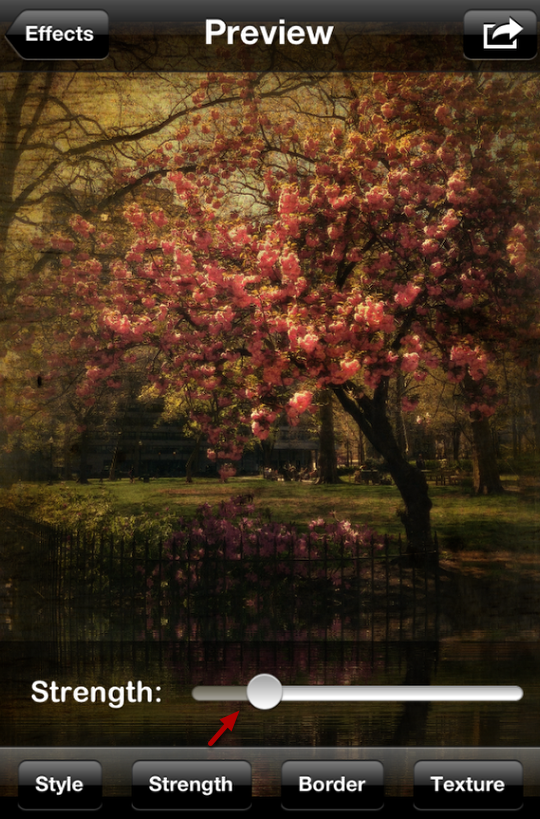
Now, adjust the strength of the effect (sponged). Jeanette chose a rather low setting as she didn’t want it to look too worn.
Final Result
Finally, tap the arrow at the top and save. Here’s the finished awesome piece of art again. We hope you successfully managed to follow that tutorial, please send us your similar examples, we’d love to take a look.
Apps With Links Used In This Tutorial
Joanne Carter
Joanne Carter, creator of the world’s most popular mobile photography and art website— TheAppWhisperer.com— TheAppWhisperer platform has been a pivotal cyberspace for mobile artists of all abilities to learn about, to explore, to celebrate and to share mobile artworks. Joanne’s compassion, inclusivity, and humility are hallmarks in all that she does, and is particularly evident in the platform she has built. In her words, “We all have the potential to remove ourselves from the centre of any circle and to expand a sphere of compassion outward; to include everyone interested in mobile art, ensuring every artist is within reach”, she has said. Promotion of mobile artists and the art form as a primary medium in today’s art world, has become her life’s focus. She has presented lectures bolstering mobile artists and their art from as far away as the Museum of Art in Seoul, South Korea to closer to her home in the UK at Focus on Imaging. Her experience as a jurist for mobile art competitions includes: Portugal, Canada, US, S Korea, UK and Italy. And her travels pioneering the breadth of mobile art includes key events in: Frankfurt, Naples, Amalfi Coast, Paris, Brazil, London. Pioneering the world’s first mobile art online gallery - TheAppWhispererPrintSales.com has extended her reach even further, shipping from London, UK to clients in the US, Europe and The Far East to a global group of collectors looking for exclusive art to hang in their homes and offices. The online gallery specialises in prints for discerning collectors of unique, previously unseen signed limited edition art. Her journey towards becoming The App Whisperer, includes (but is not limited to) working for a paparazzi photo agency for several years and as a deputy editor for a photo print magazine. Her own freelance photographic journalistic work is also widely acclaimed. She has been published extensively both within the UK and the US in national and international titles. These include The Times, The Sunday Times, The Guardian, Popular Photography & Imaging, dpreview, NikonPro, Which? and more recently with the BBC as a Contributor, Columnist at Vogue Italia and Contributing Editor at LensCulture. Her professional photography has also been widely exhibited throughout Europe, including Italy, Portugal and the UK. She is currently writing several books, all related to mobile art and is always open to requests for new commissions for either writing or photography projects or a combination of both. Please contact her at: [email protected]