iOS Photography Tutorial – Mobile Monet by Jerry Jobe
We are delighted to publish our latest iOS Photography Tutorial by Jerry Jobe. This week Jerry puts Mobile Monet through it’s paces, with some amazing results. Don’t miss this, (over to you Jerry).
Mobile Monet retails for $0.99/£0.69 and you can download it here
“Before we get started on this week’s tutorial, I thought I’d mention that we reached a milestone of sorts with the article last week on Pencil FX (see here). It was the 75th app I’ve covered! Not only am I in no danger of running out of apps, I have many very robust apps requiring multiple articles to cover them thoroughly. No Filterstorm, Leonardo, Photoshop Touch, Handy Photo… yet.
Number 76 is Mobile Monet by East Coast Pixels, creators of Title FX and the wonderful Photo Toaster. It is a nice follow-up to Pencil FX, since it is of the “sketch and color” school of apps. (Pencil FX does just the sketch, and I blended with colored images in other apps.)
There is an HD version for the iPad, and a separate paid version for the iPhone – no universal app here. There’s also a free, ad-driven iPhone app. The version shown here is the HD version.
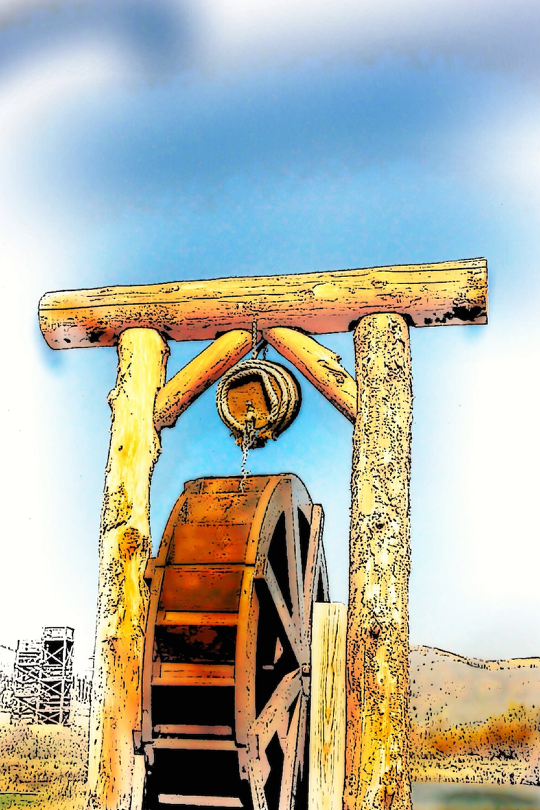
You may be familiar with the image below – I’ve used the water wheel image on multiple occasions. Mobile Monet created the line drawing, and then I finger-painted in the color. More accurately, I airbrushed the color, as you’ll see later on.
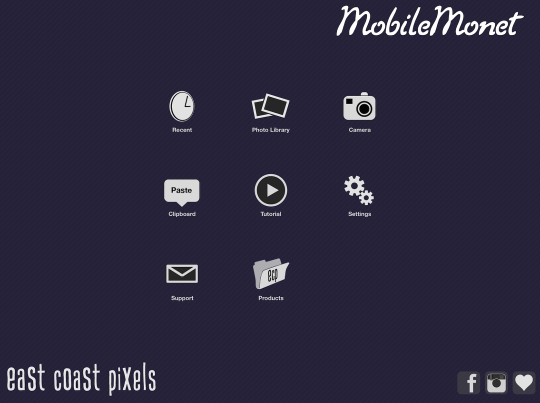
The opening screen of Mobile Monet allows you to load an image, or take one using the camera. It also links to a tutorial on YouTube, which I am conveniently including below the screenshot. There are various other tasks that can be performed on the initial screen, including adjusting the Settings.
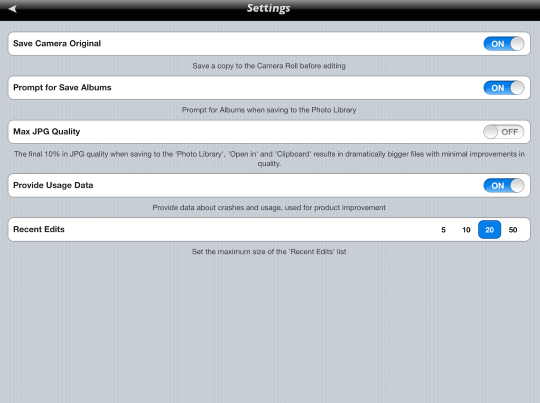
The Settings, shown below, are a series of switches. The first asks if you wish to save the original capture when you use the camera in-app. On, off – doesn’t matter, since you’re not using the in-app camera anyway, right? The second switch controls a pop-up dialog that will allow you to save your finished images in another album in addition to the Camera Roll. Max JPG quality is normally not necessary, as explained in the text below the switch, and I leave it off. It does not impact resolution, since Mobile Monet saves at the original size. Provide Usage Data seems to be as advertised – used only in case of a crash. And you can change the number of “undos” available.
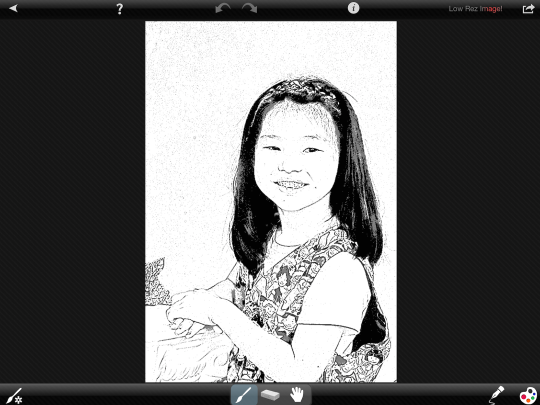
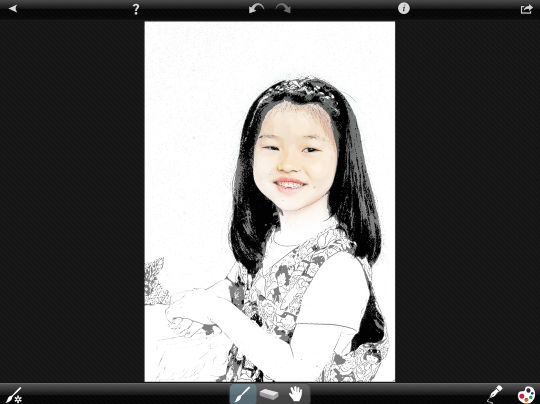
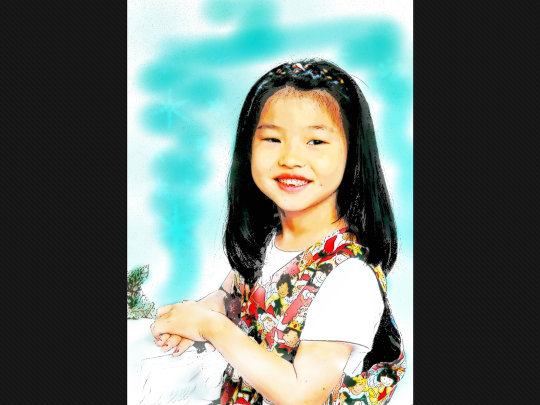
I imported an old photo of my daughter from the library. The original image flashes onto the screen, then is turned into a “sketch” with edge detection. Notice the message in the upper right: “Low Rez Image!” Mobile Monet knows you want the best possible output, and that you won’t get it if your image is too small. For the purpose of creating screen shots, I raised the size of the image before I added color. For these initial shots that work with the sketch, the image is at low resolution.
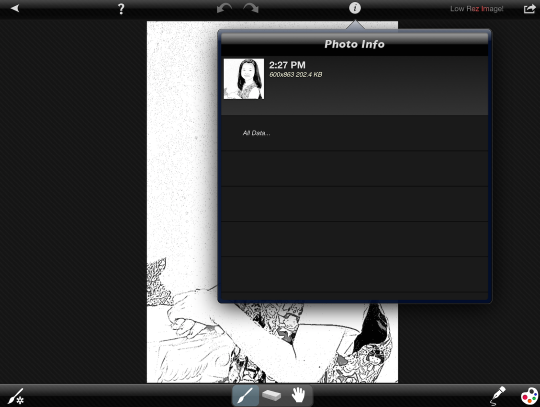
The “i” button is not the help feature. Instead, it gives you information about the shot, including the pixel dimensions.
The help feature is accessed through the question mark, and is a single screen’s worth of descriptions of the various tools.

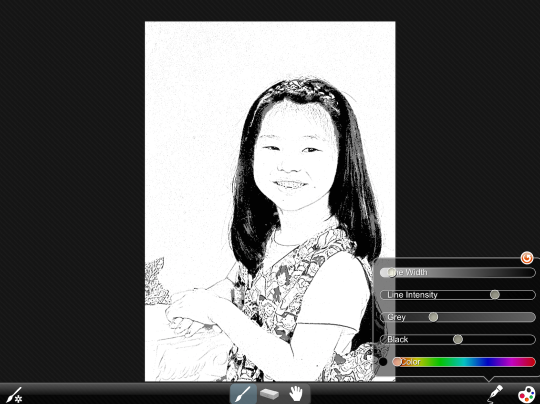
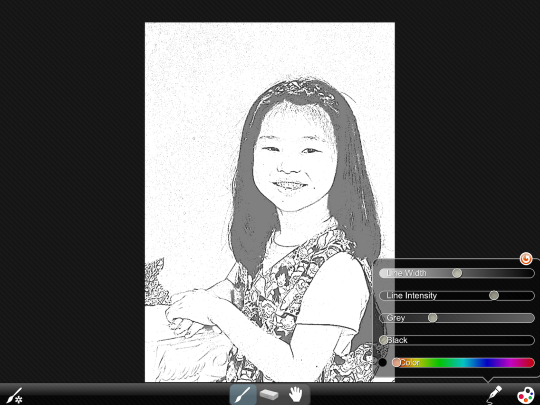
The quality of the sketch is adjusted with the pen tool at the lower right. Five sliders come up when you tap the pen.
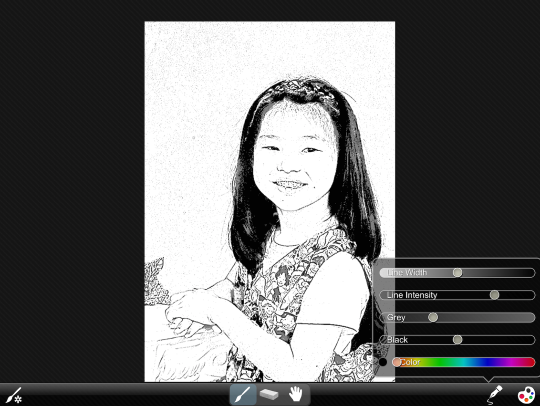
The first slider is Line Width. As with all the sliders, this slider is for fine tuning. Even moving it all the way down, as it is below, does not make an enormous change in the sketch.
Notice how, as soon as I moved the slider, a “reset” arrow appeared above the slider. Tapping that will reset all sliders to their original positions.
Below you’ll see the Line Width turned almost all the way up, and the lines are still not very thick.
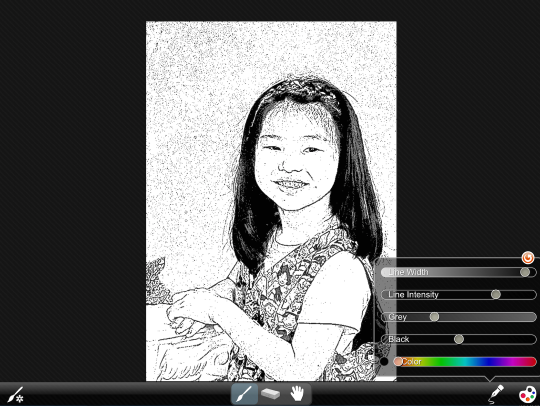
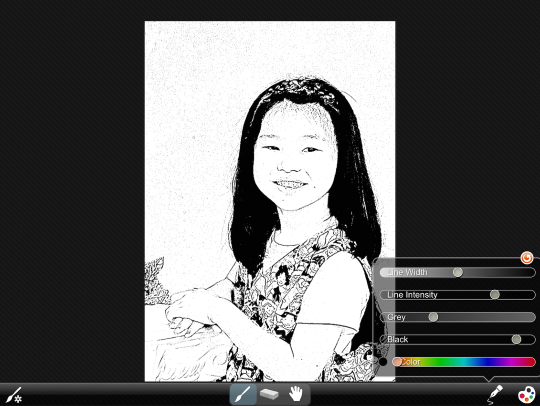
Line Intensity, the next slider, controls the blackness of the lines. Below you’ll see it turned almost all the way down.

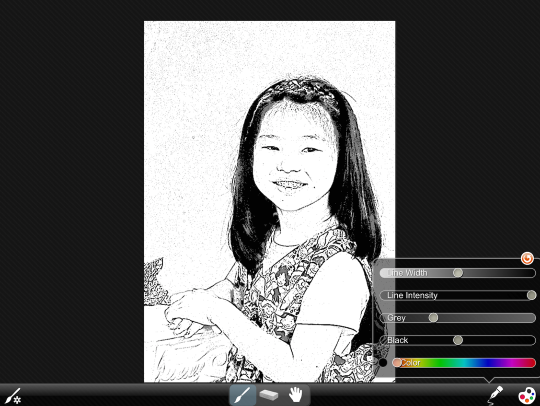
Turning Line Intensity all the way up makes all the lines black instead of gray.
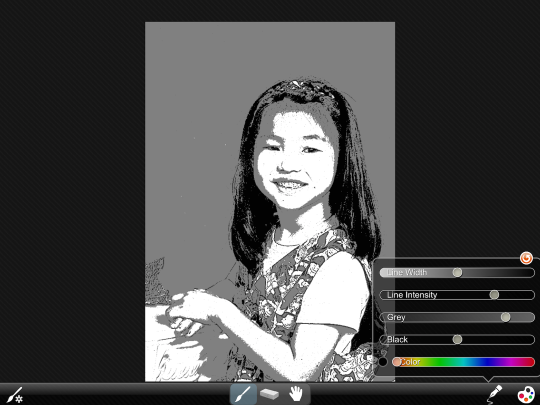
The next two sliders control shading between the lines. Below I’ve turned the Gray slider up.
I returned Gray to the original setting and turned the Black slider down.
I could choose to eliminate the Gray entirely by raising the Black slider as I’ve done below.
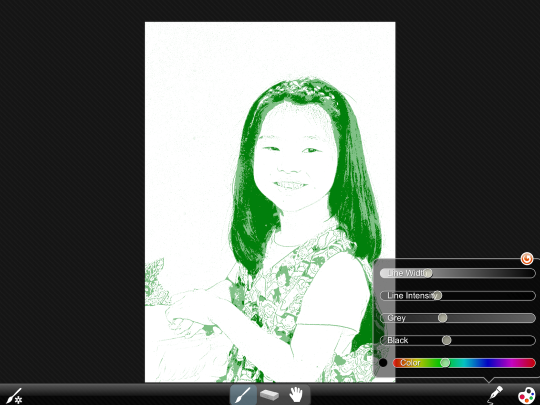
The final slider controls the color of the lines and shading – if you don’t want them black and gray. The green used here is an obvious difference, but not a look I want for this image. To return the color to black (and gray), just move the slider back all the way to the left.
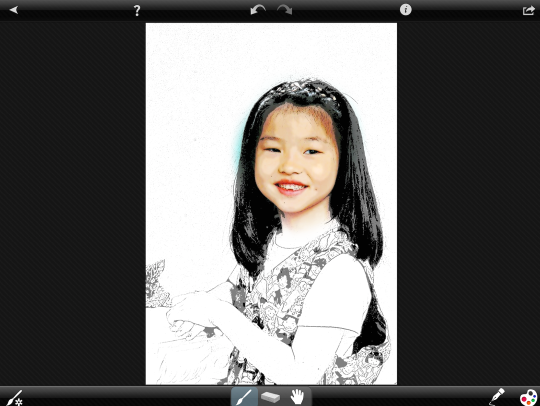
Below I’ve decided to start coloring the image. Remember, the brush works like an airbrush. I’ve done just a slight tap below; if I had dragged my finger to make a stroke, the colors would be more pronounced.
Next, I go ahead and make that stroke over the entire face. You can see the difference in the intensity of the color.
The Brush Settings icon (Brush and Gear on lower left) brings up a slider to control the size of the brush/eraser. You can see a circle over the image that reflects the brush size. Tap the icon again to make the slider disappear before resuming your painting.

Zooming can be done with a double-tap or a two-fingered pinch. Another double-tap will return you to “fit to screen”. Moving around the image can be done with a two-fingered drag or by using the Hand tool.

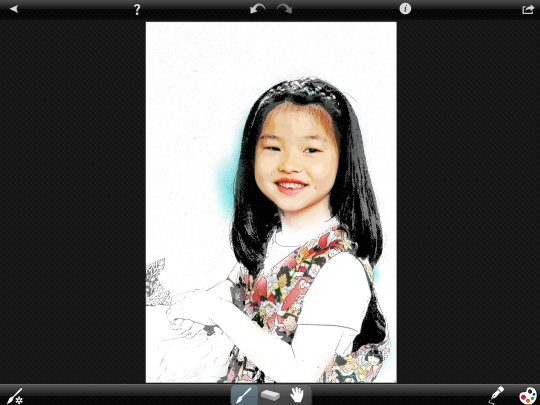
Below I’ve continued painting, but I’ve gotten into the background some and added some blue I didn’t want.
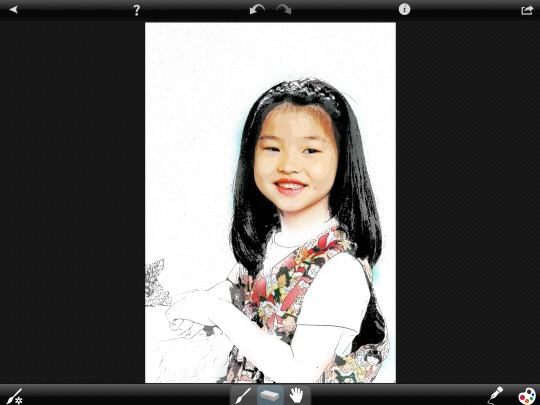
Using the Eraser tool, I was able to erase that blue color. The Eraser only affects color; it is not possible to erase any of the lines.
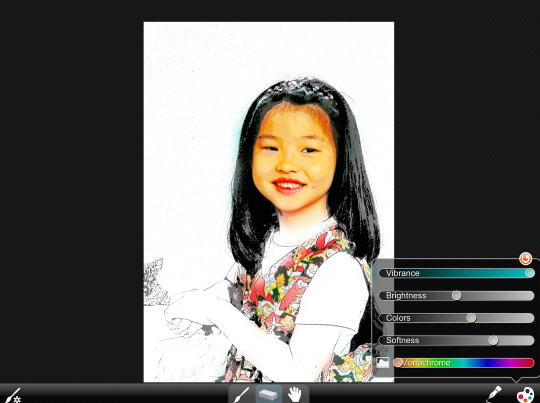
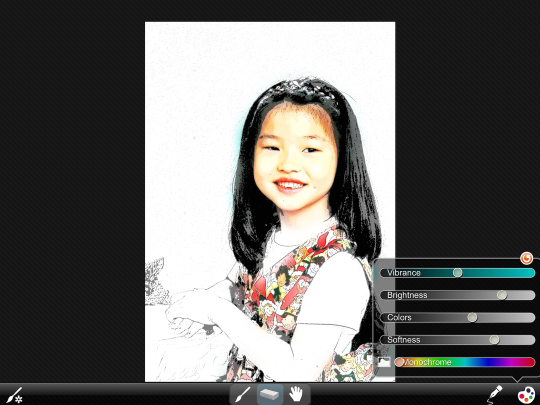
After painting, you can control the colors just as you did the sketch. Just tap on the color palette down at the lower right and you’ll be presented with another set of sliders. The first one is labeled Vibrance, but is more truthfully Saturation. Below I’ve moved the slider to the right and increased the saturation, but I could just as easily desaturated it by moving the slider to the left.
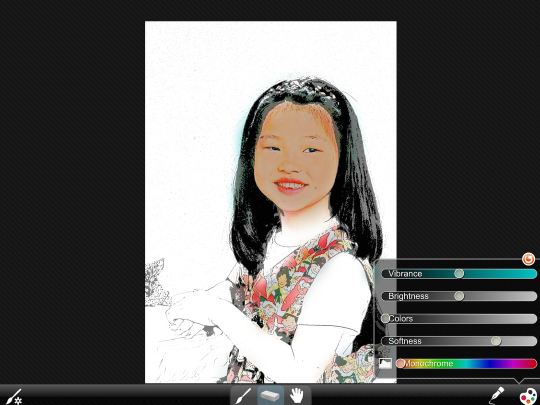
The next slider is Brightness, which can really was your color out.
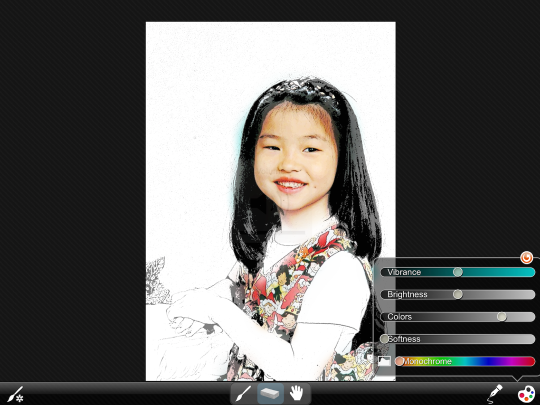
The Colors slider controls the number of colors. In other words, it controls the amount of posterization done. If you ask for fewer colors by moving the slider to the left, then the transition between different colors will be more abrupt.
The Softness slider also controls the transition between colors. It’s equivalent to the softness of the edge on an airbrush.
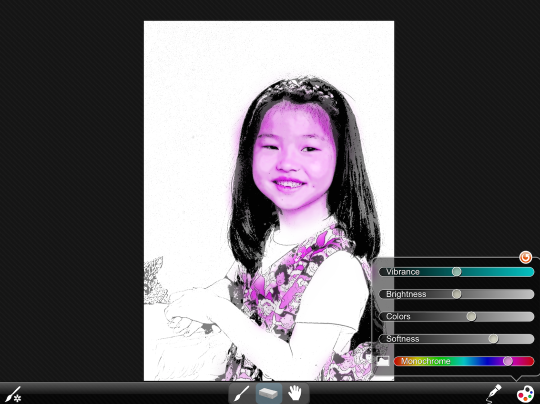
You can change all the colors to shades of a single color by using the Monochrome slider. You can restore the original colors of the image by returning the Monochrome slider to the far left.
Tapping outside the image will hide the toolbars at top and bottom. Another tap will restore them.
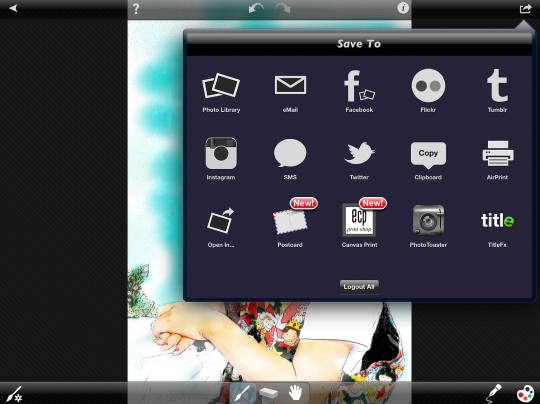
There are many save options available in Mobile Monet, including sending the image to the other East Coast Pixels apps you have installed.
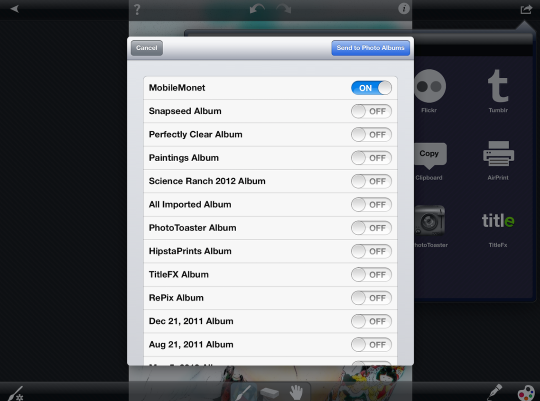
When you request a save to the Photo Library, and have the “Prompt for Save Albums” switch turned on, you will be shown a list of your folders. You can save copies of the image to those folders by turning on the switch for that folder.
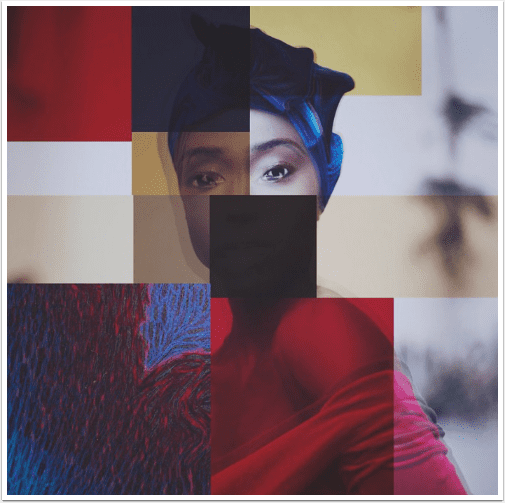
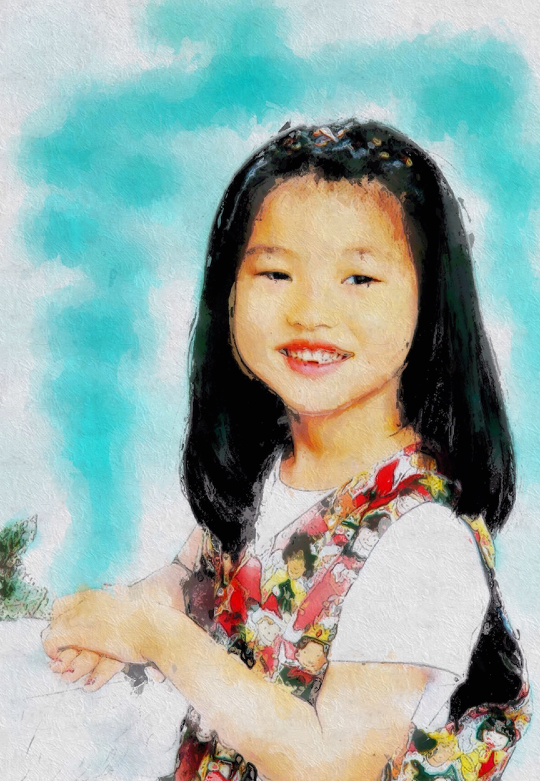
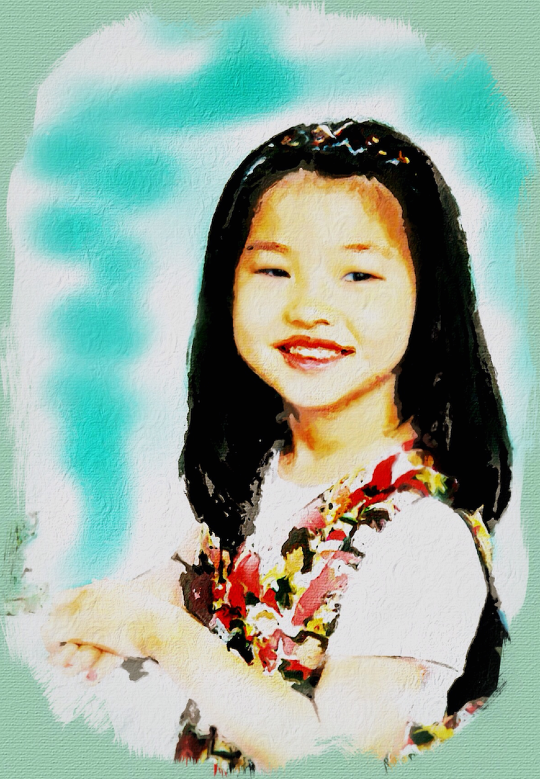
Here’s my finished image. It’s very nice, but as usual, you can always decide to continue apping until you are pleased.

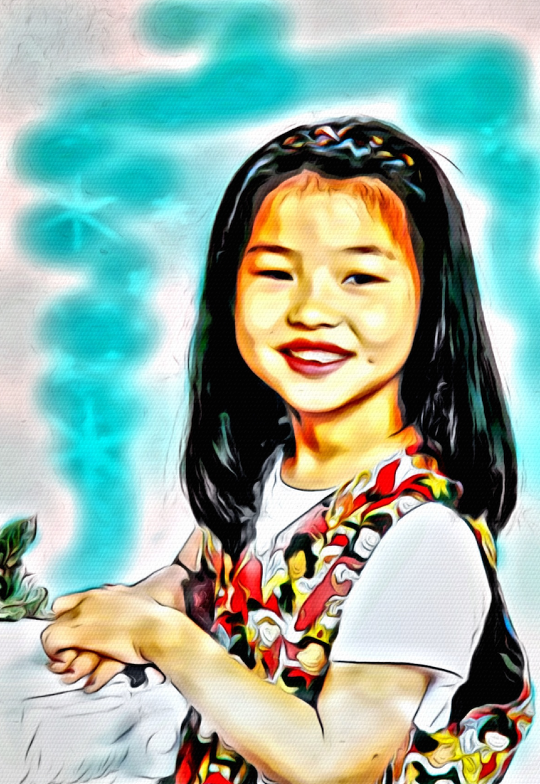
For example, I took that image through Glaze and blended it back with the Mobile Monet version in iColorama.
In the next, I took it through JixiPix’s Artista Oil. That reduced the definition around the eyes, so I blended the Mobile Monet eyes back in.
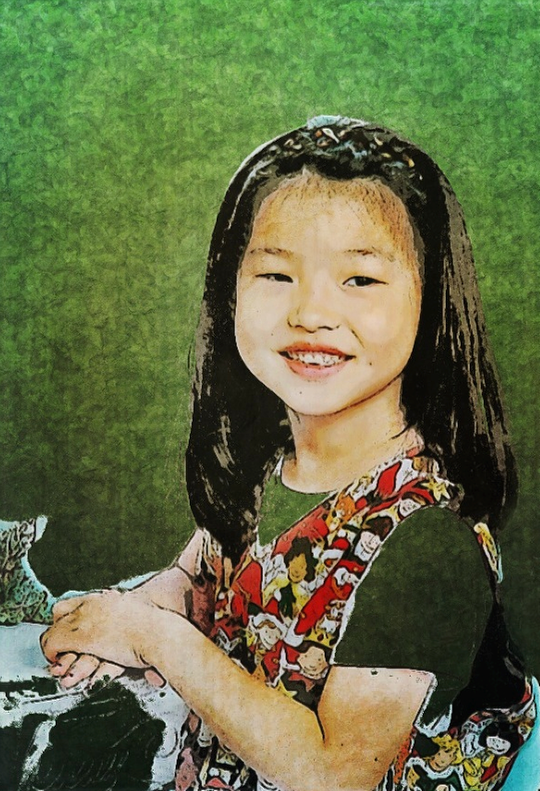
I took the Mobile Monet version through JixiPix’s Portrait Painter. Here it is with no further modification.
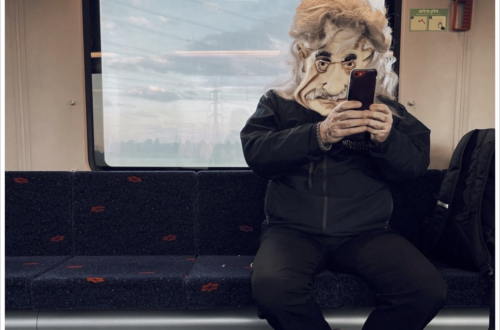
Finally, I took a different Mobile Monet version (one where I did not color in the background) through iColorama, placing it over a background with a blend that dropped out the white. Then I finished it in iColorama and Mextures.
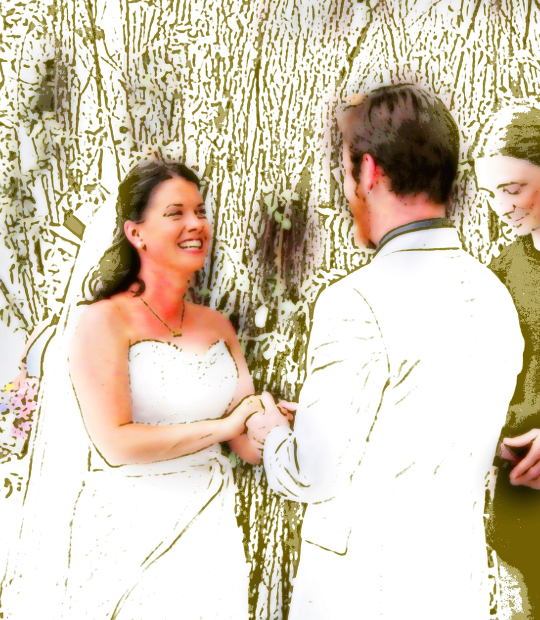
Just so you’ll see how it works with other photos, here’s an image from a wedding I attended a couple of years ago. Notice how I used a green-colored sketch as the basis.
If Mobile Monet upgraded the smoothing and smudging of the lines like Pencil FX, it would be a gangbusters program. As it is, it’s merely very nice. I recommend it – it’s regularly on sale. Enjoy!
Jerry Jobe
Never content with just scratching the surface of what an app can do, Jerry Jobe decided to pass on what he learned about imaging apps to others. He’s constantly trying to figure out just what tools other artists have used, and trying to incorporate them into his own work, in an attempt to find his style. He’s written tutorials on over 145 apps so far, which you can find (along with his Song of the Day entries) at http://enthusiasmnoted.wordpress.com/ He lives near Atlanta, Georgia, where he also finds a creative outlet in acting and directing in community theater.