Mobile Photography / Art Tutorial – TouchRetouch: Now You See It, Now You Don’t
We are delighted to publish Jerry Jobe’s latest mobile photography/art tutorial for our viewing pleasure. This time Jobe takes a look at the newly updated TouchRetouch app. Take it away Jerry…(foreword by Joanne Carter).
“Back in January 2013 I covered TouchRetouch by AdvaSoft. It was an invaluable app then, with its ability to replace areas of your image with a fill based on the surrounding pixels. Recently they released an update that added new tools and changed the user interface, so I thought I’d show it to you all over again”.
TouchRetouch is a separate app for iPad and iPhone. The iPhone version works only in portrait mode; I will show some screens from it at the end. The iPad version works in both portrait and landscape modes, and I will show the bulk of the tutorial using landscape mode.
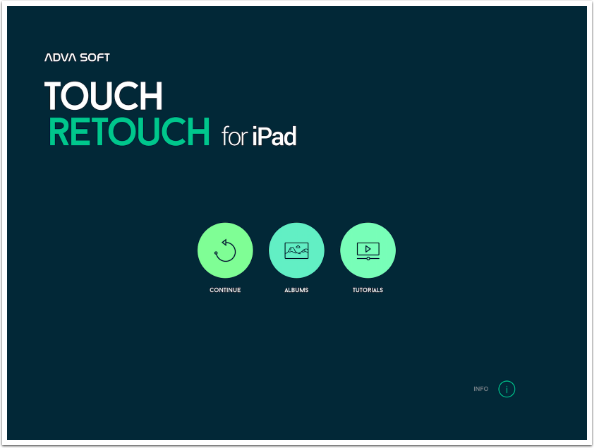
The initial screen, shown above, allows you to continue work on your most recently edited image or choose an image from the Photo Library,
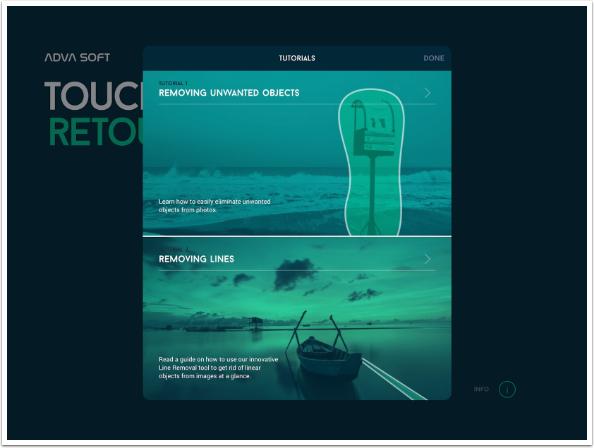
You can also watch some nice tutorials. There are five of them, and each consists of a short, looped video and some text.
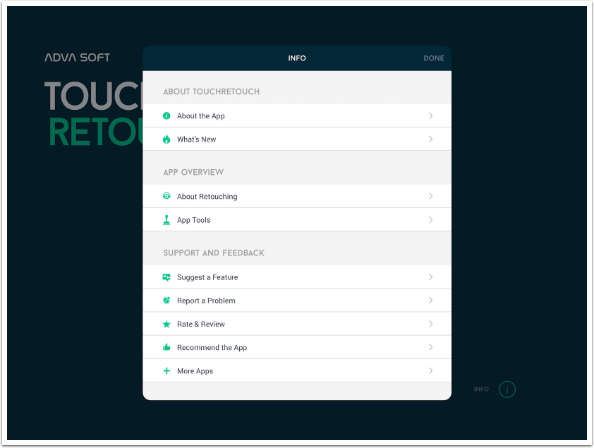
The Info button, also on the initial (Home) screen, has some further information and feedback options.
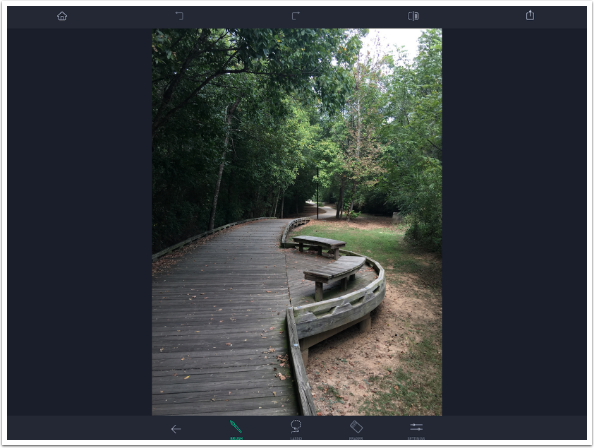
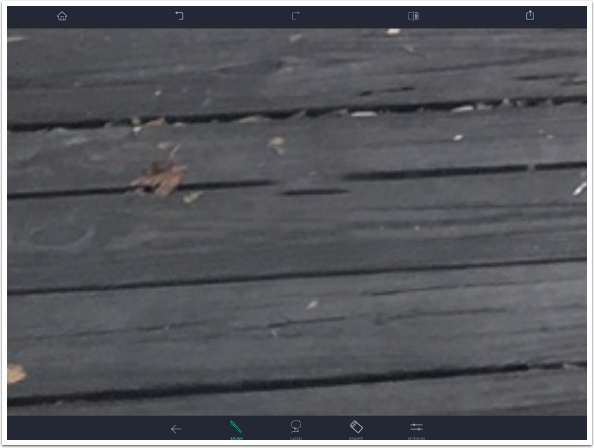
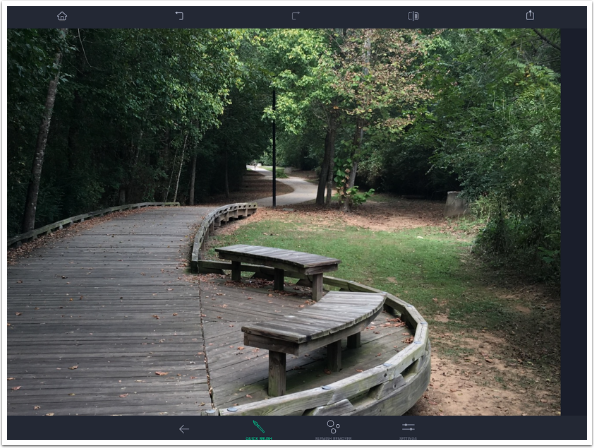
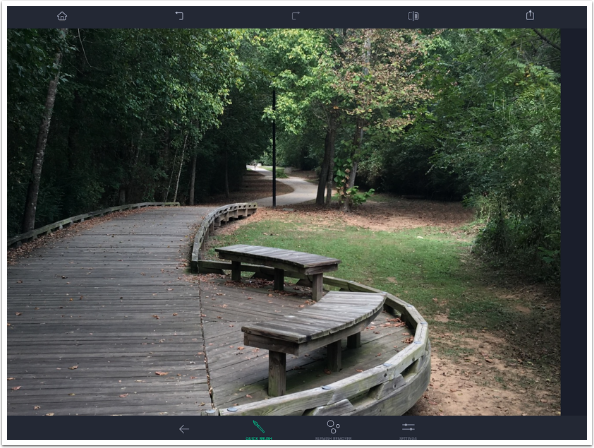
I loaded an image I captured on a local nature trail. Along the bottom are the tools used to retouch the image. Object Removal and Clone Stamp are features held over from the previous version, while Quick Repair and Line Removal are new.

Let’s start with Object Removal. Along the bottom are buttons for Brush, Lasso, Erase and Settings. Object removal works by brushing over an object or objects, then letting the app replace the pixels in the brushed area. Instead of brushing, you can outline the area with the lasso, and remove part of the brushed area with the eraser.
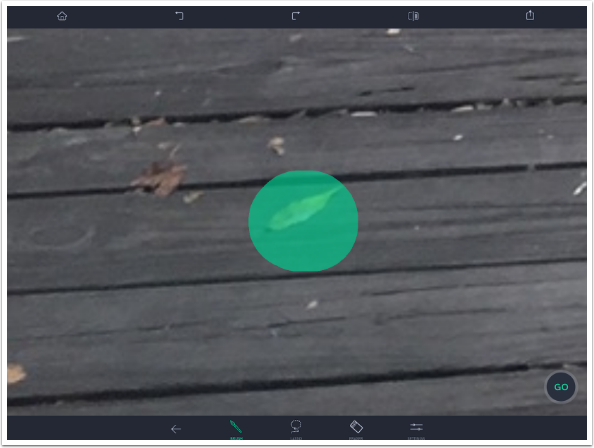
The Settings button allows you to change the size of the brush. The inner white circle is the brush size, and the green area is the area which will be used to construct the replacement pixels.

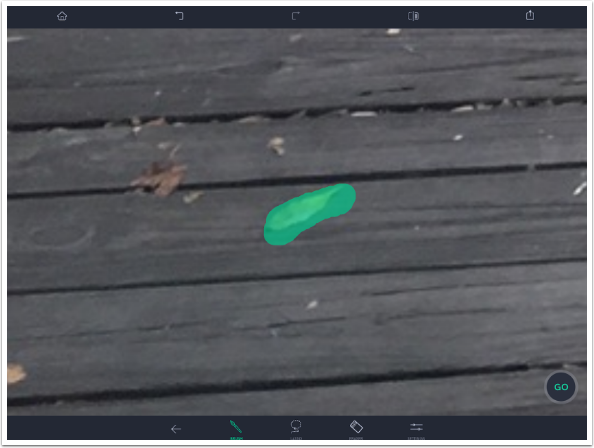
Let’s remove a few leaves. I zoom in and brush over multiple leaves. As soon as I start brushing, a Go button appears at the lower right. In order to make the replacement, you have to touch the Go button. You can brush in as many areas as you like before pressing the Go button.

Once I touch the Go button, it disappears along with the three leaves.

Sometimes the change made is too obvious. In the case of this leaf, the retouch forced the space between the boards out of alignment. This can easily be remedied. I first touch the Undo button at the top.
This restores the brushed area. I can see that the area overlays the space between the boards, even though the leaf doesn’t.
I use the eraser to make the brushed area conform to the leaf.
Now when I press the Go button, the retouched area is much cleaner.

I press the Back Arrow at the bottom to exit from Object Removal, and choose Quick Repair. Quick Repair works just like Object Removal. The difference is that the Go command is executed as soon as you lift your finger after brushing a single area.
I brushed over the concrete standpipe at the middle right. Compare the image with the standpipe above to the image without the standpipe below.
The other form of Quick Repair is Blemish Removal. Quick Repair can be a large area that is painted in, while Blemish Removal is a single tap to the blemish. I chose a badly lit selfie to show that Blemish Removal is quick and easy.

Tapping on the bump on my nose quickly fixed the blemish.

I also tapped on a couple of spots on my forehead and on a dark circle under right eye. Within five seconds I had fixed the blemishes on my face. Actually fixing my face is a different problem.

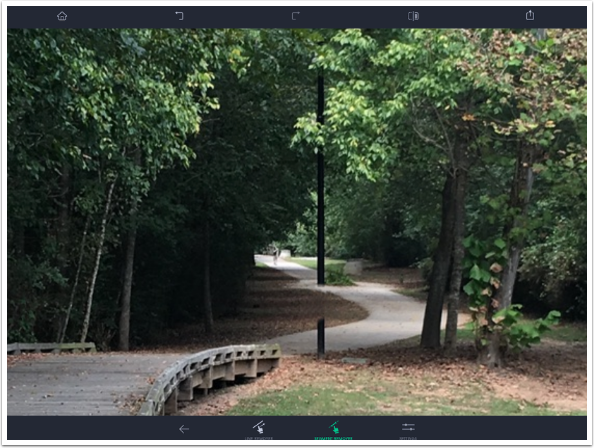
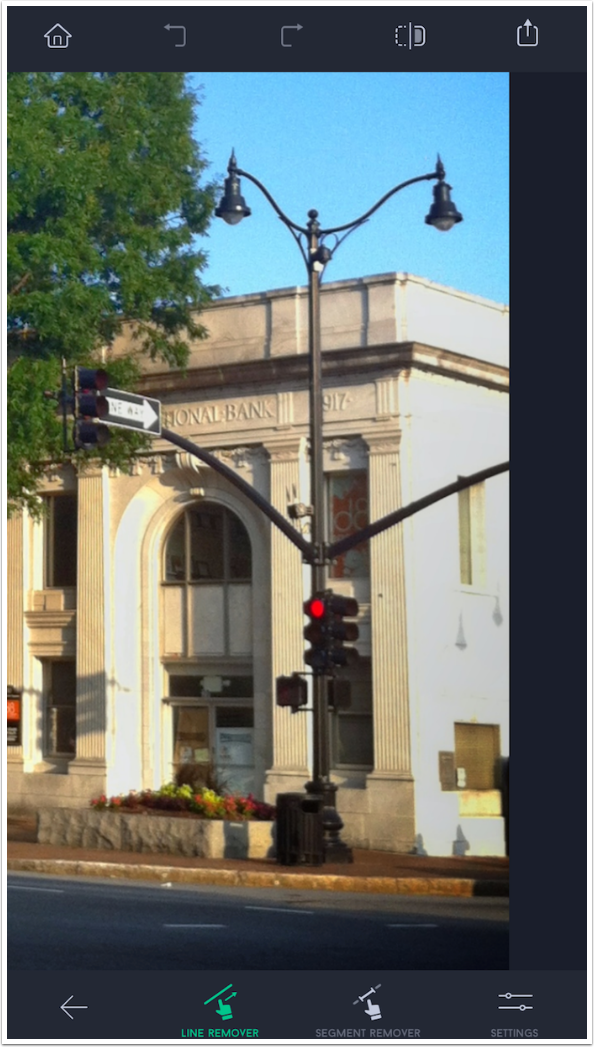
I return to the trail scene to show you the next new feature, Line Removal. You have the Line Remover, the Segment Remover and the Settings button. The Line Remover is very nice. You draw over just a portion of the line, and the app finds the entire line and replaces it. I am working on the light post in the center, and draw over part of the lower portion of the post.

TouchRetouch finds the entire post, even the part that goes above the tree branch, and replaces it all.

The Segment Remover also finds the line, but only replaces the portion that you cover with your stroke.
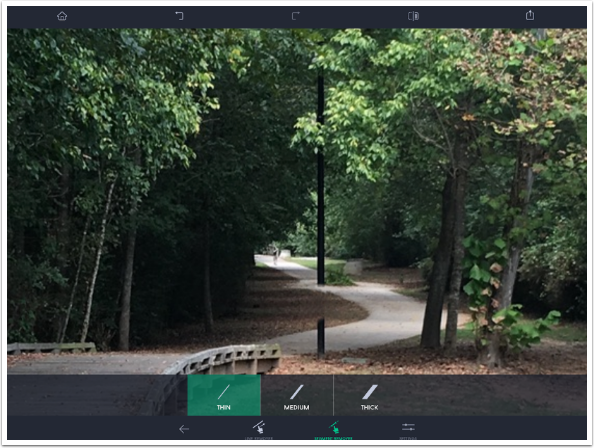
The Settings for Line Removal do not reflect the brush size, but the size of the line that will be recognised. Using a Thin stroke on a thick post or tree will result in only half of the post or tree being eliminated. Thin was fine for this post, however.
There are some occasions where you want to manually control the pixels that you are replacing. Perhaps you want to add a window where there isn’t one or cover a relative’s face with a stop sign. Not that I’d want to do that, you understand.
This is where the Clone tool comes in. You specify the source of the clone and brush it over the destination. This can also help fix a retouch you’ve done with Object Removal, Quick Repair or Line Removal.
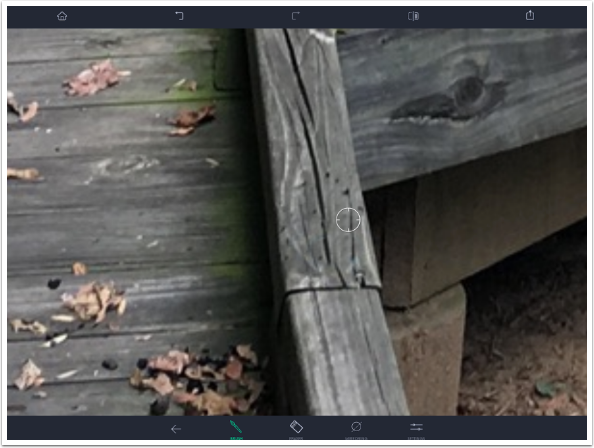
When you access the Clone Tool, there is a circle with a crosshair in the center. Drag the circle to the source area for the clone (the area you want to copy).
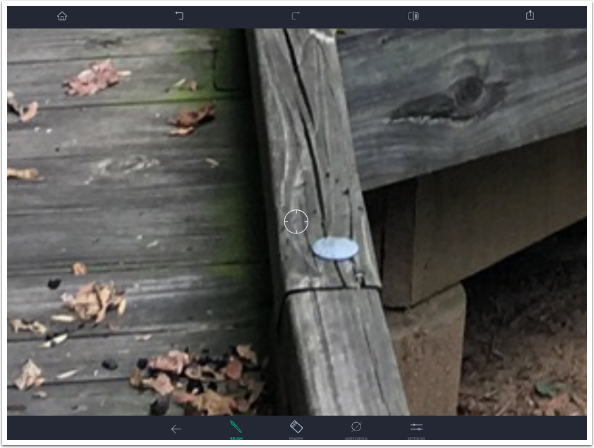
Then you start painting in. If you look at the image below you’ll see that when I painted the crack in the wood (source) over the metal bolt head (destination), the crack remained vertical and did not curve to meet the lower end of the crack. Only you can decide if that mismatch will draw the eye of the viewer. In this case, the mismatch is so small and minor that I am not worried about it.
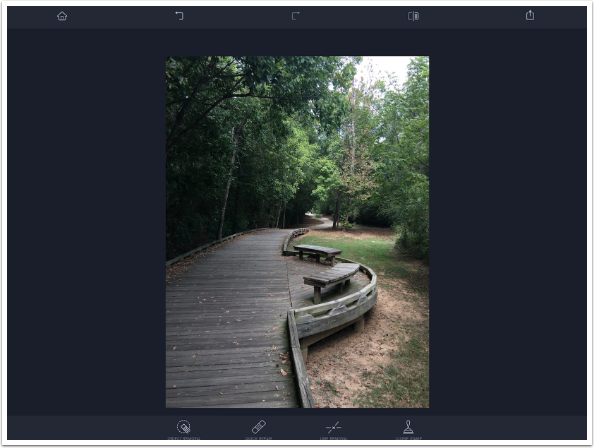
At any time you can see the original by tapping and holding the divided box at the upper right. Below is the original.

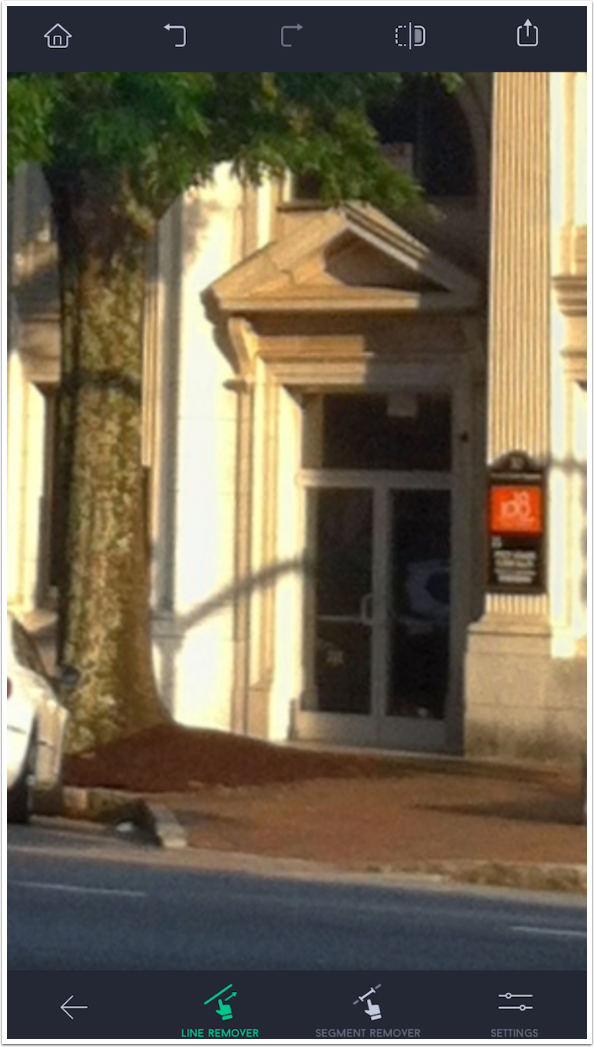
And the next shot is the finished image. I removed the leaf on the wooden path, the standpipe, the light pole, and the metal bolt head. Comparing the before and after is like those picture games everyone played as a kid. Can you spot the difference?
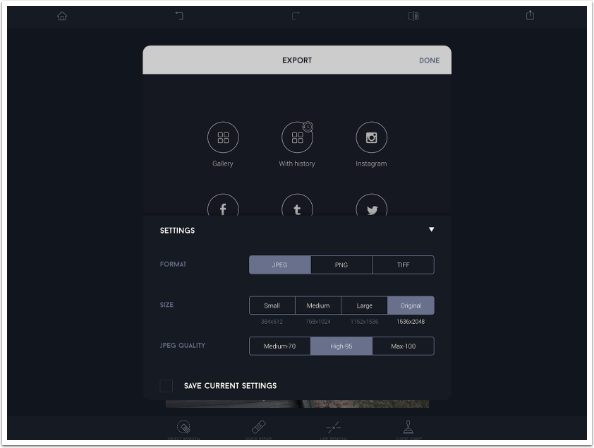
The Save button at the upper right takes you to the Export dialog. At the bottom are Settings for the export, which now supports PNG and TIFF exports.
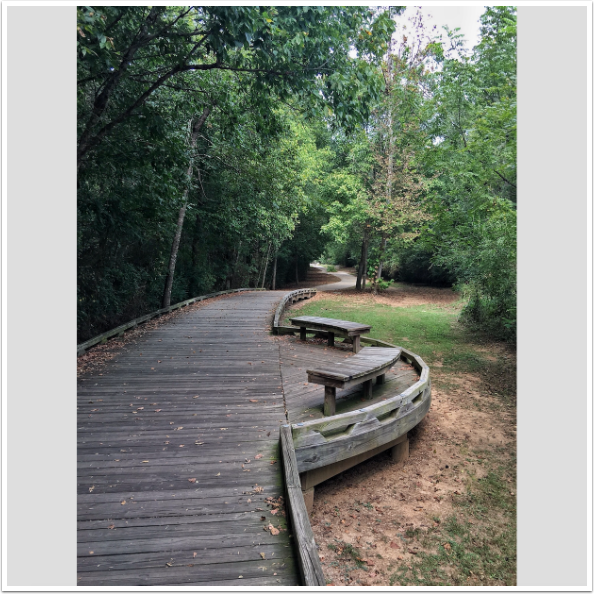
And here’s the saved version.
As I said, the iPhone version is a separate purchase. I find it worth the extra two dollars. It has the same controls throughout.

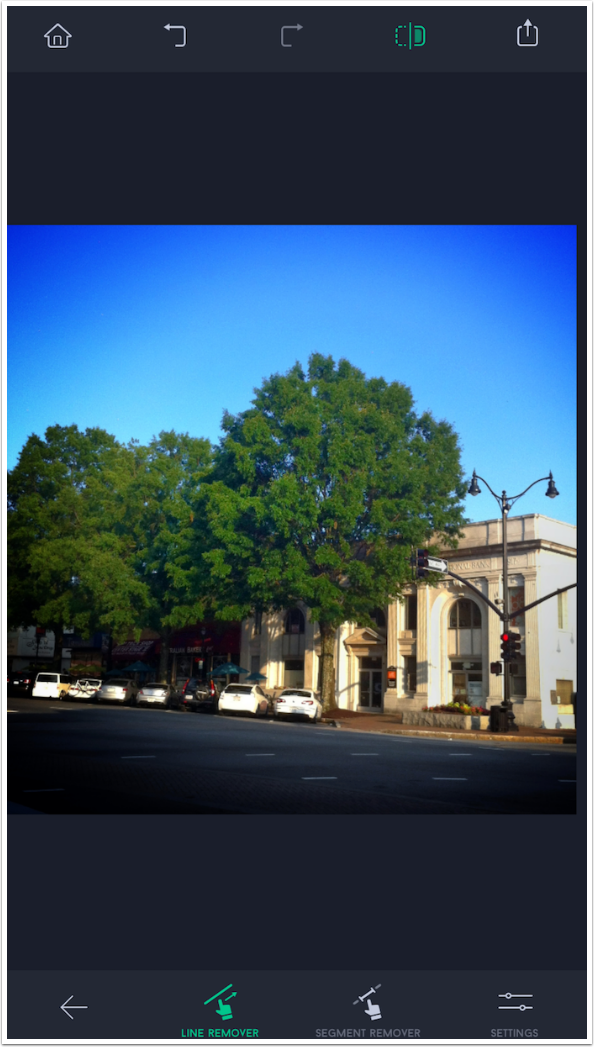
I wanted to show you that the lines you remove with the Line Removal tool do not have to be straight. There’s a definite curve to the traffic light holder that extends outside the right edge of the image.
Yet a single stroke eliminates it.
You might want to make sure you get rid of the shadow of the object also.
And voila! It’s gone.

Below is the before image.
And now the after image. In addition to the traffic light holder, I eliminated several small white painted lines on the roadway.

TouchRetouch is a quick and easy way to get rid of unwanted objects in your images (while doing nothing to get rid of those pesky relatives in real life). The Quick Repair, Blemish Remover and Line Removal tools have made a great app even better.
Until next time, enjoy!
TheAppWhisperer has always had a dual mission: to promote the most talented mobile artists of the day and to support ambitious, inquisitive viewers the world over. As the years passTheAppWhisperer has gained readers and viewers and found new venues for that exchange.
All this work thrives with the support of our community.
Please consider making a donation to TheAppWhisperer as this New Year commences because your support helps protect our independence and it means we can keep delivering the promotion of mobile artists that’s open for everyone around the world. Every contribution, however big or small, is so valuable for our future.
Jerry Jobe
Never content with just scratching the surface of what an app can do, Jerry Jobe decided to pass on what he learned about imaging apps to others. He’s constantly trying to figure out just what tools other artists have used, and trying to incorporate them into his own work, in an attempt to find his style. He’s written tutorials on over 145 apps so far, which you can find (along with his Song of the Day entries) at http://enthusiasmnoted.wordpress.com/ He lives near Atlanta, Georgia, where he also finds a creative outlet in acting and directing in community theater.


2 Comments
Sara mccracken
Nice review of the changes
Teresa Lunt
Great explanation of the app. I’m buying it!