
iOS Photography Tutorial – ‘PhotoToaster Part 1: Introduction To A Basic Editor’ by Jerry Jobe
We’re delighted to publish the first of three PhotoToaster tutorials by Jerry Jobe. This is an introduction to PhotoToaster – it’s an app that I personally enjoy and I am sure many of you will also, don’t miss this…Over to you Jerry (foreword by Joanne Carter).
PhotoToaster retails for $2.99/£1.99 and you can download it here.
“The majority of apps out there are specialized: they do one thing to make themselves stand out from the rest. Those are the apps I normally cover. The only app I’ve covered that attempts to be a basic editor is Snapseed. It’s free, and does a number of things wonderfully.
But it’s not the only one. Other mobile photographers swear by other basic editors, from the now-discontinued Iris to Photoshop Express to Aviary to Afterlight. Another in fairly wide use is PhotoToaster by East Coast Pixels, the app I’ll be covering in the next few columns.
One criterion I have for basic editors is that they must be able to work on both the iPhone and iPad. There are several apps that include basic photo editing capabilities that only run on the iPad, from Leonardo to Photoshop Touch to Handy Photo. Most mobile photographers want the immediacy of doing basic touchups on their phones, so I used my phone for this series of articles.
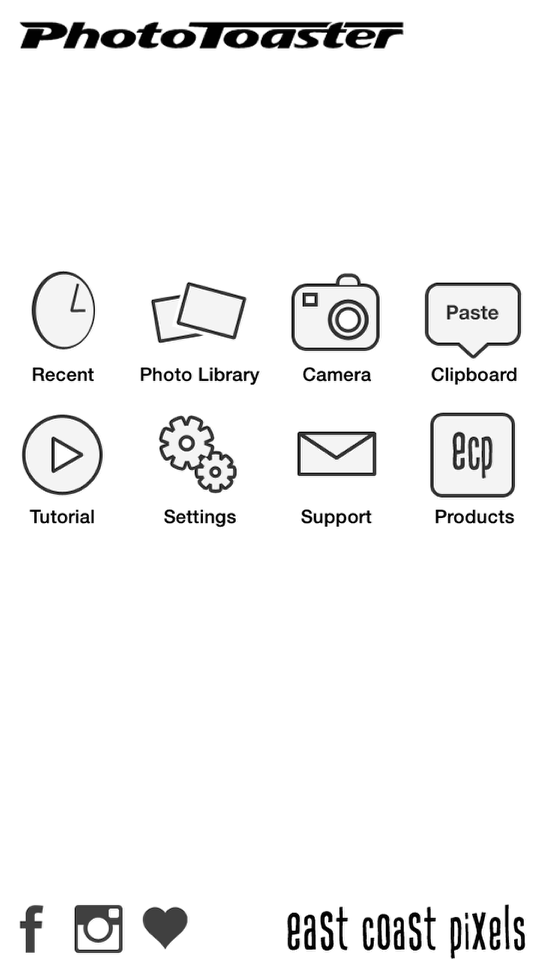
The opening screen of PhotoToaster allows you to pull your image from recent edits, the Photo Library, the Camera or the Clipboard. In addition, you can watch a tutorial, adjust settings, email PhotoToaster support, and see other East Coast Pixels apps”.
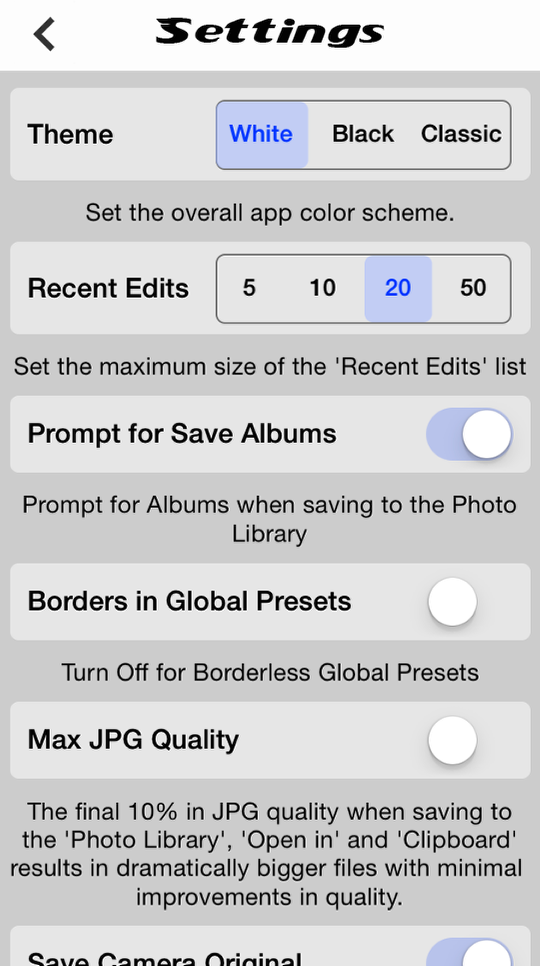
Let’s take a look at the settings for PhotoToaster. The first option allows you to change the theme from white to black to classic gray. I leave mine white so that I can tell at a glance that I am using PhotoToaster; most other apps use a black or gray interface. The next setting allows you to determine how many “undos” will be available during an editing session. “Prompt for Save Albums” gives you the opportunity to save your results to another album or albums in addition to the Camera Roll. “Borders in Global Presets” affects the Preset thumbnails and whether the border will be shown or not. I recommend having it on, but you can see examples of both on and off later in this article. “Max JPG Quality” is explained very well right there on the screen; I usually keep that switch off to save space.
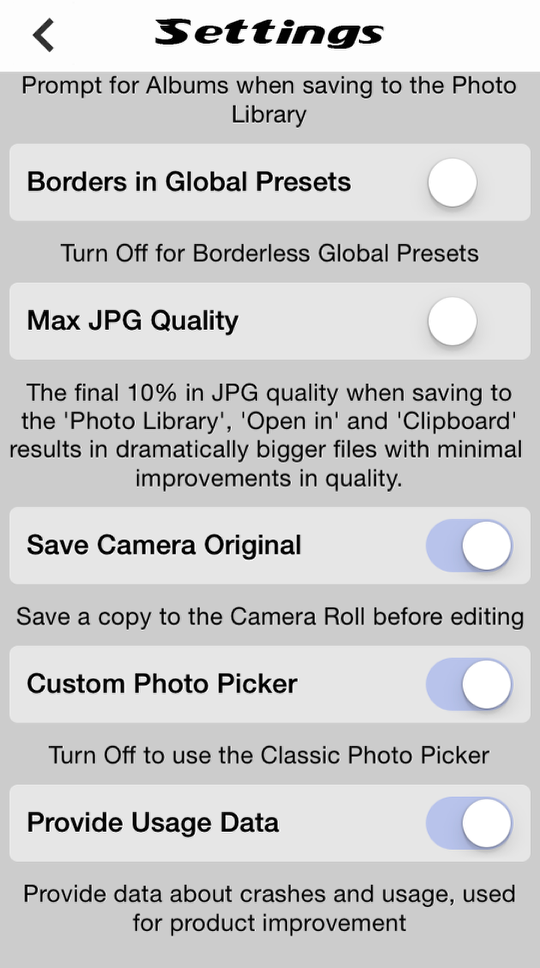
The three remaining settings are found by scrolling down. “Save Camera Original” only pertains to when you are using PhotoToaster to shoot your images. Why would you want to do that? “Custom Photo Picker” merely sorts your imported image so that your most recent images are at the top of the screen rather than the bottom. “Provide Usage Data”? Well, I think that’s not necessary and have turned it off.
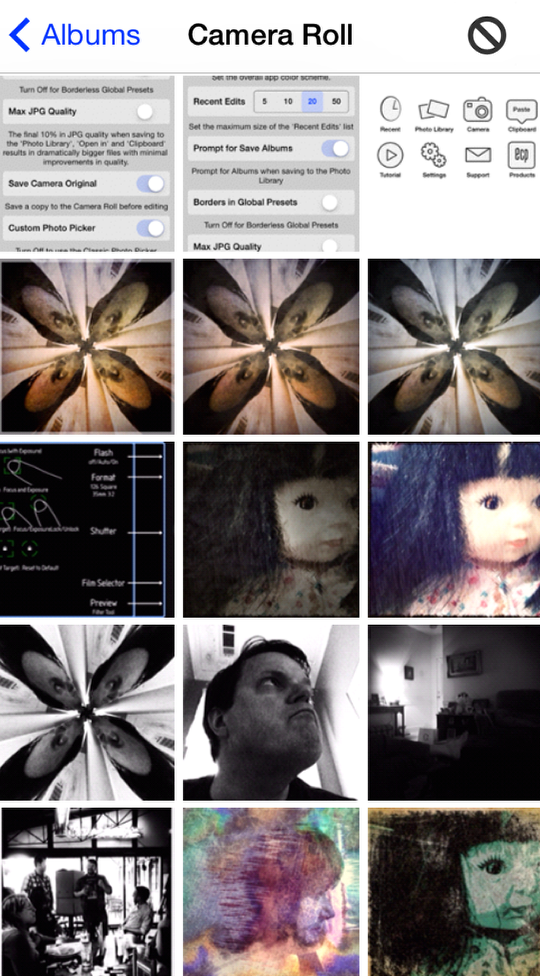
I move on from settings by selecting an image from the Photo Library. As I said, the image below shows the “custom” photo picker, which sorts the most recent images to the top.
The “classic” photo picker puts the most recent images at the bottom and you have to scroll up to find the earlier photos.

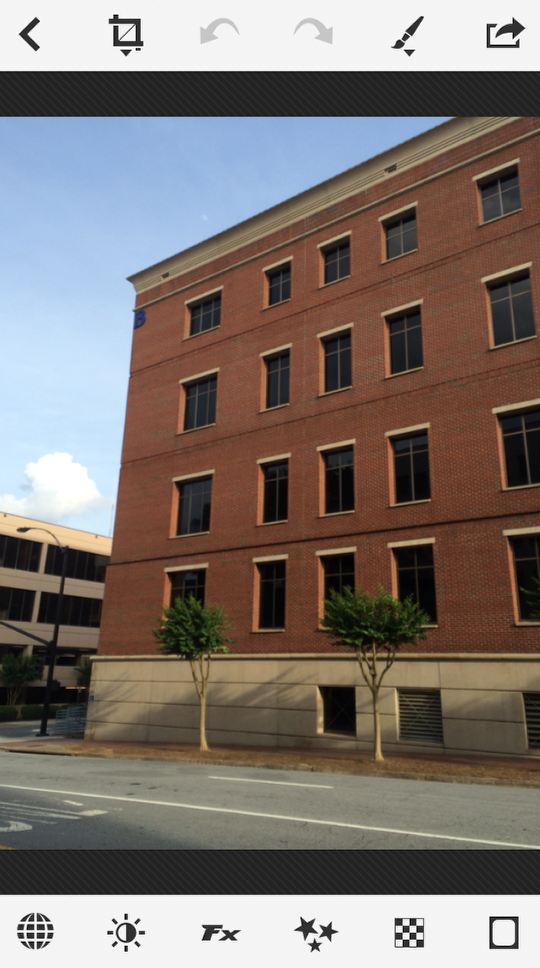
Once you’ve selected a photo, you’re brought to the editing screen. The arrow at the top left takes you back to the main screen, where you can select another image.
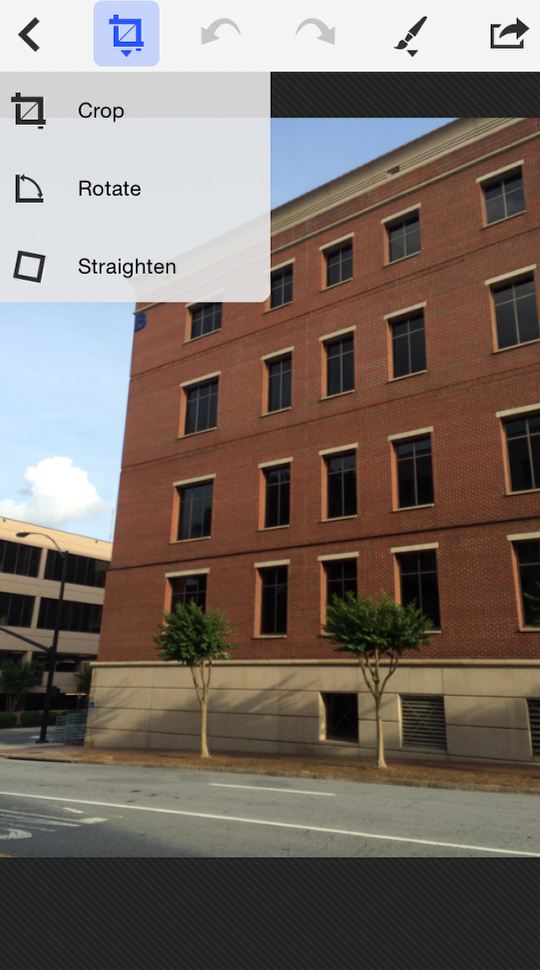
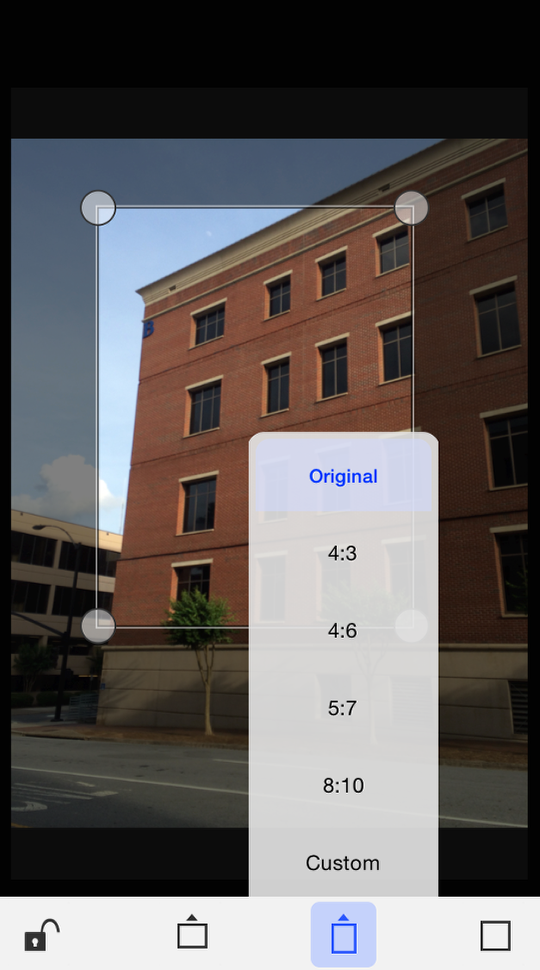
The next icon at the top is the crop/straighten tool. Tapping it activates a drop-down menu, as seen below.
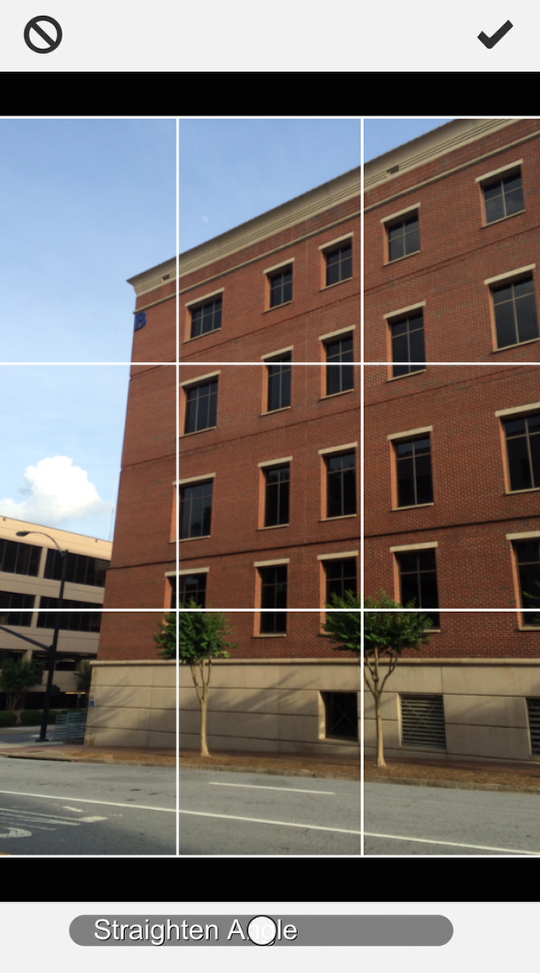
Controlling the Straighten tool is a matter of using the slider at the bottom.
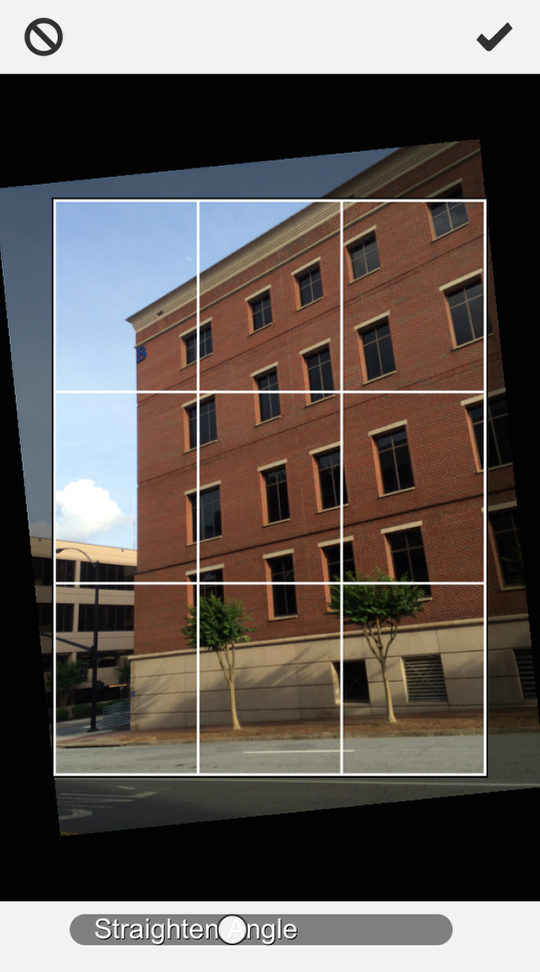
In the image below, I’ve straightened the curb, the parking deck in the background, and the left edge of the brick building, but that puts the rest of the image way off. I tap the “No” icon at the upper left to discard the changes.
The crop function gives you several standard sizes to choose from, both portrait and landscape. It also allows for square crops and custom ratios.
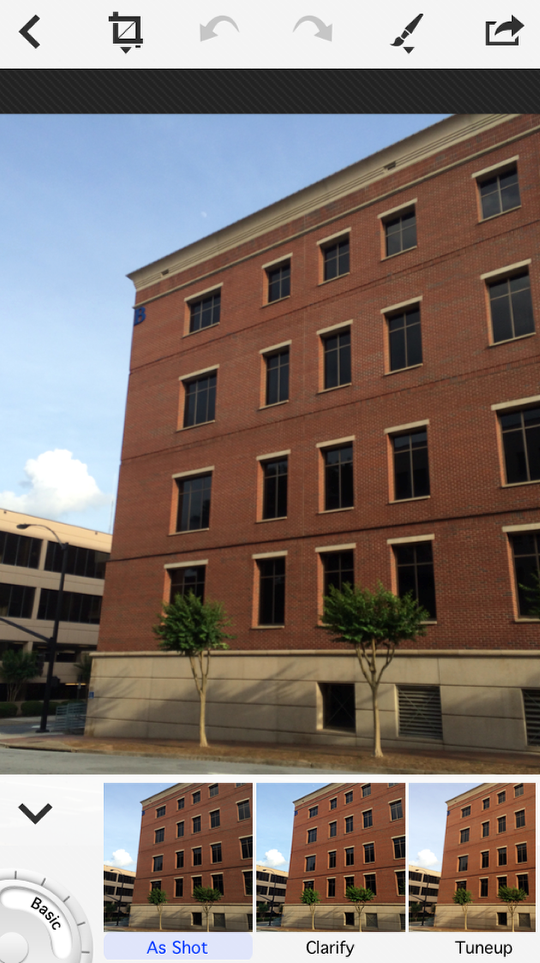
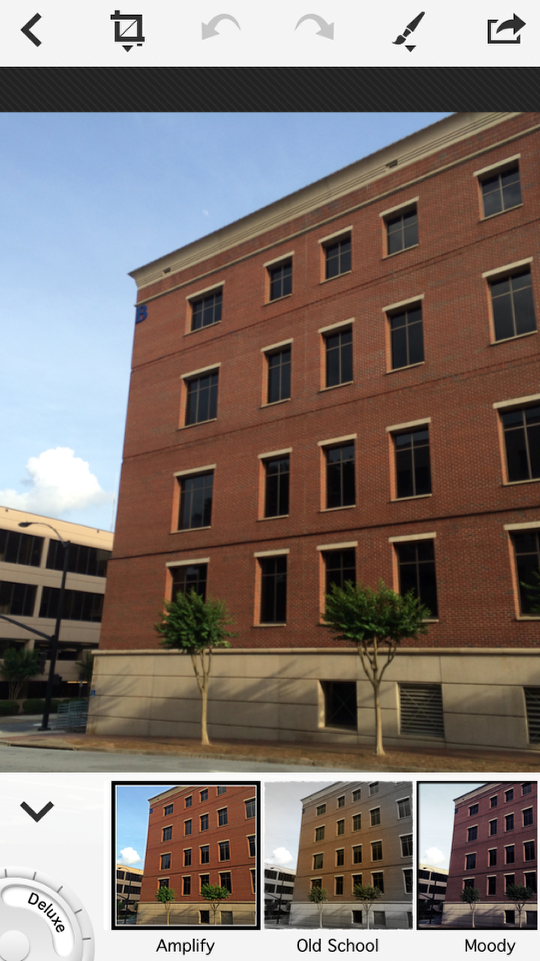
I discard the crop changes as well. Below you’ll see how the edit screen looks when I tap the first icon at the lower left, the one that looks like a world. These are the global presets, which can be scrolled through horizontally. Global presets are combinations of all the various effects that can be accomplished in PhotoToaster, from brightness to saturation to vignettes to borders. There are several sets of presets available, and you toggle between the sets by tapping the circle at the lower left. Those presets shown below are Basic presets.
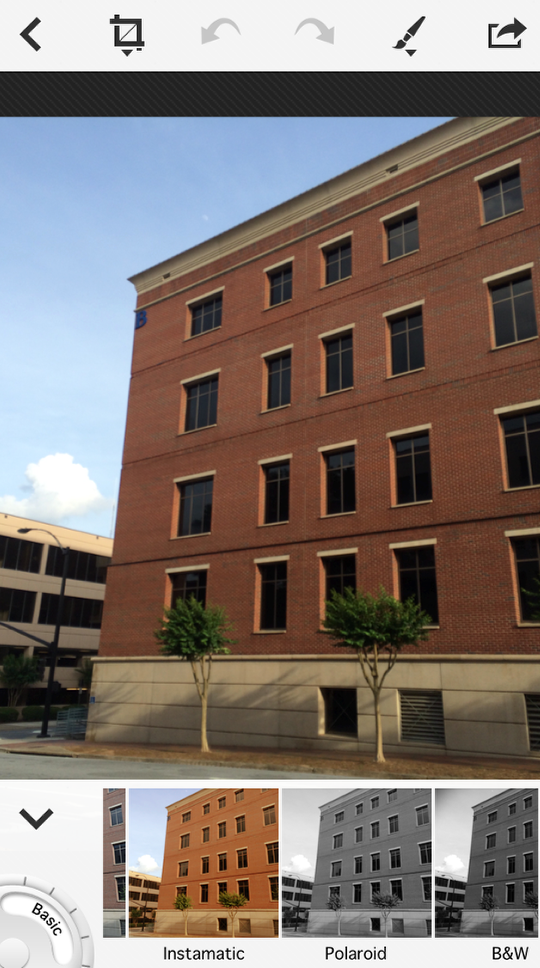
As you scroll left and right, other presets are shown with their thumbnails.
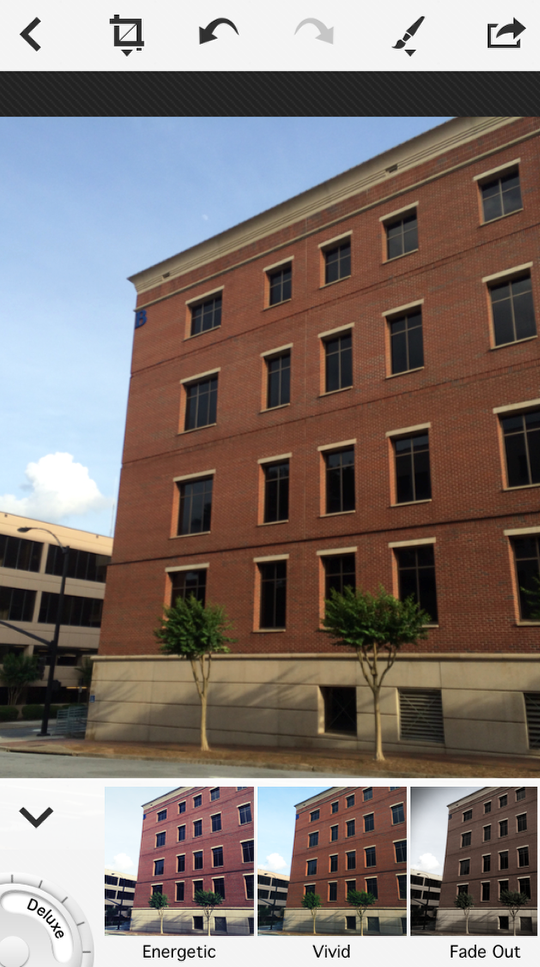
Now I’ve tapped the category picker, and we are looking at the Deluxe presets. You’ll notice that the thumbnails up to now, including the ones below, are not showing their associated borders. That’s because the switch for “Borders in Global Presets” is turned off in the settings. To change the settings you have to back up to the main screen, change the setting, then reload the image. That’s not a good way of doing things.
Below you’ll see that the thumbnails are finally showing the borders.
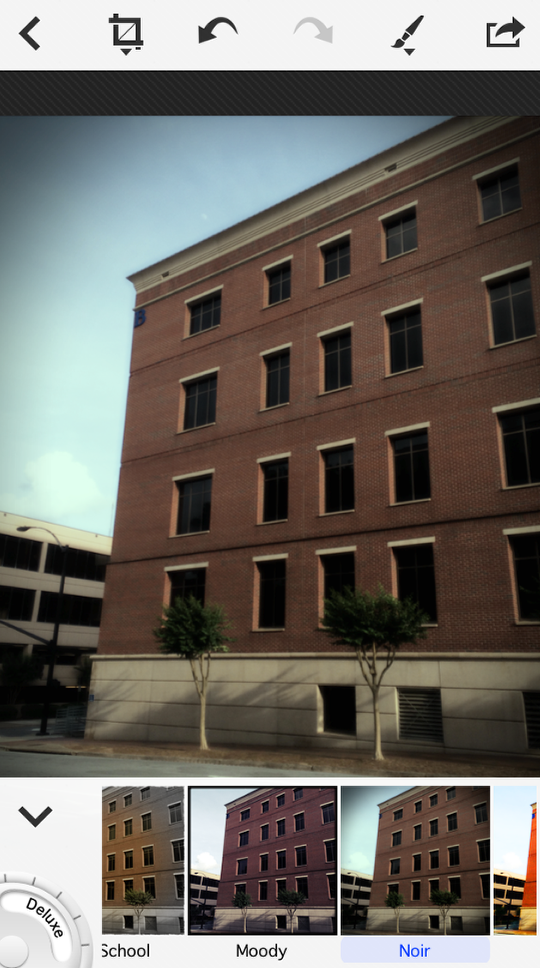
At any time you can choose a global preset by tapping it, like I selected Noir below. Behind the scenes, this adjusts all the sliders that we will be covering later. Those sliders can be moved so that you can tailor the look for your particular image.
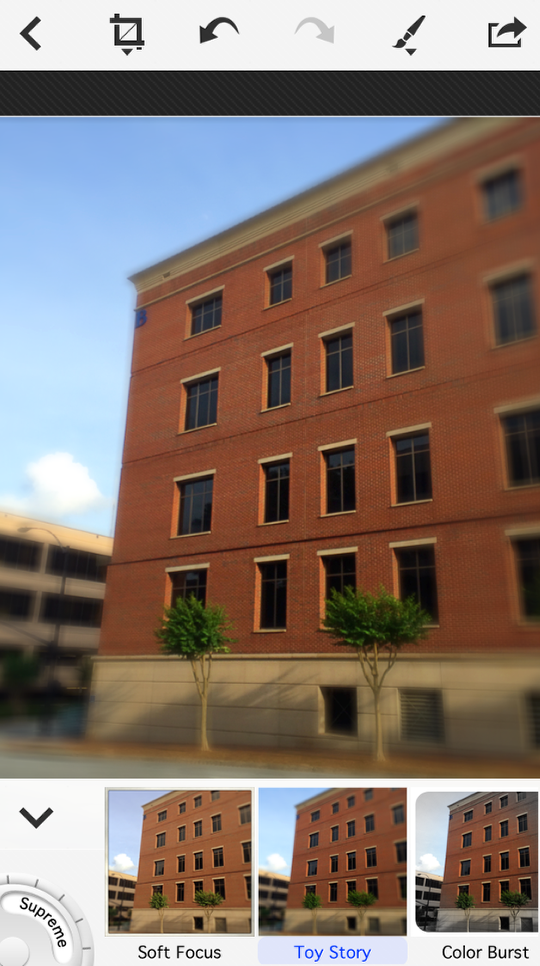
Tapping the category picker brings you to a third set of presets, Supreme. I then selected Toy Story. This new look replaces the Noir selected earlier; it is not layered on top of it. PhotoToaster is not a layering application.
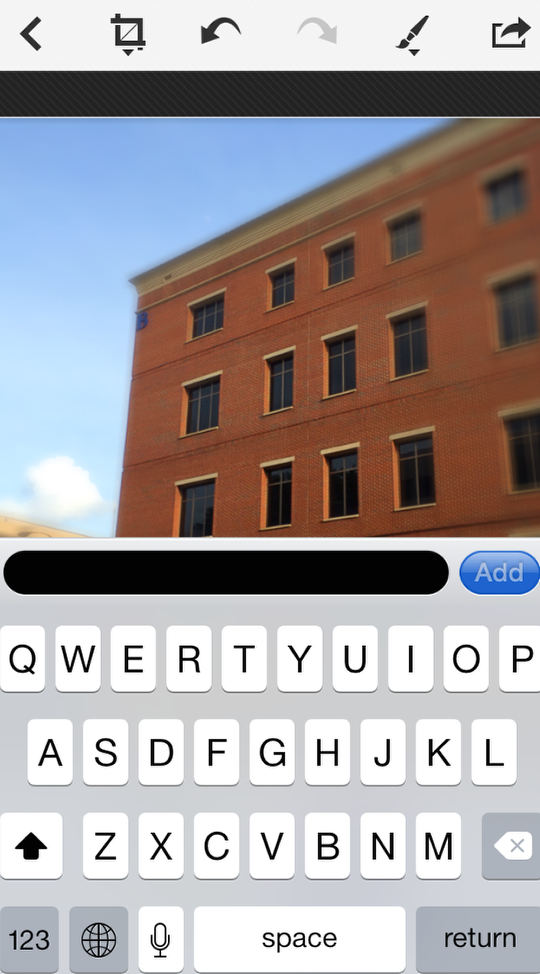
Tapping the category picker once more brings you to My Presets. PhotoToaster automatically saves the most recent settings you used, and gives you the option to permanently save other “looks” you create.

Tapping “Add New…” will bring up a keyboard so you can name your current preset. Since I have not adjusted the settings after selecting Toy Story, there is no reason to save them at the moment, and I just tap outside the keyboard to cancel the add preset function.
Before we wrap up this initial look at PhotoToaster, let’s take a look at the first set of adjustable parameters, housed under the Sun icon at the bottom. When you first tap the icon, you’ll see even more presets. These are not global presets; rather they are presets which only change the parameters under the Sun icon. In other words, they will not change any Color, Vignette, Texture or Border changes you may have made.
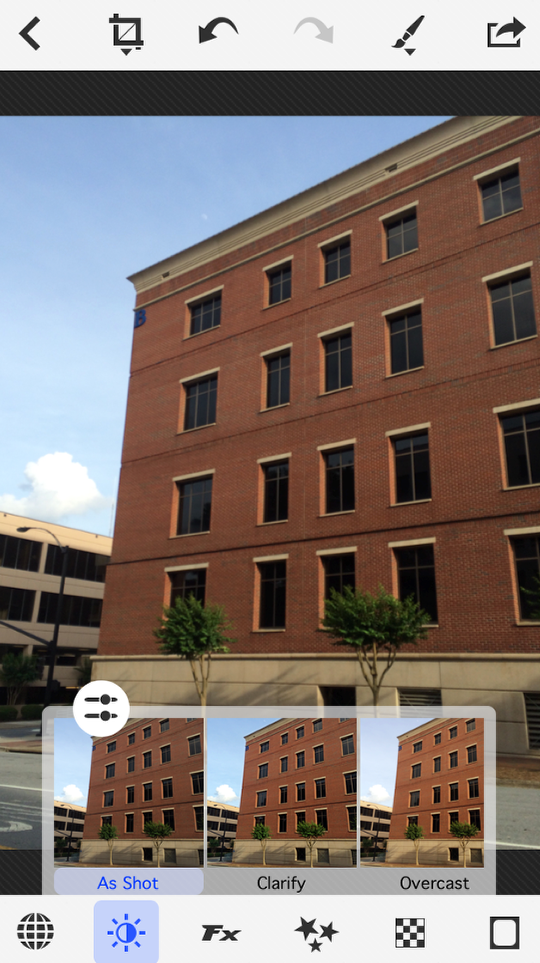
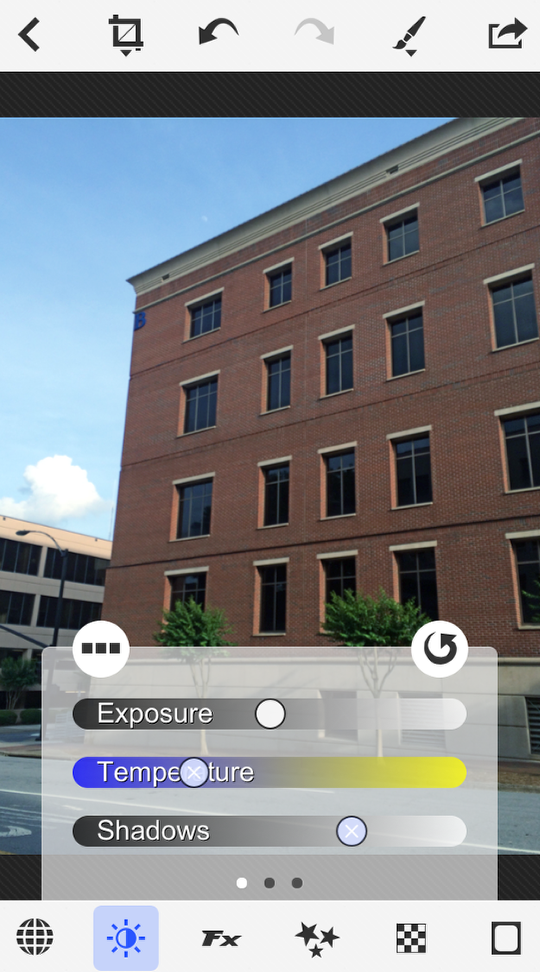
There’s a button at the top left of the preset picker that looks like sliders. Tapping it will bring up the individual sliders for this section. Below you see three sliders – Exposure, Temperature and Shadows – as well as three dots that tell you there are three sets of sliders, accessed by scrolling horizontally.
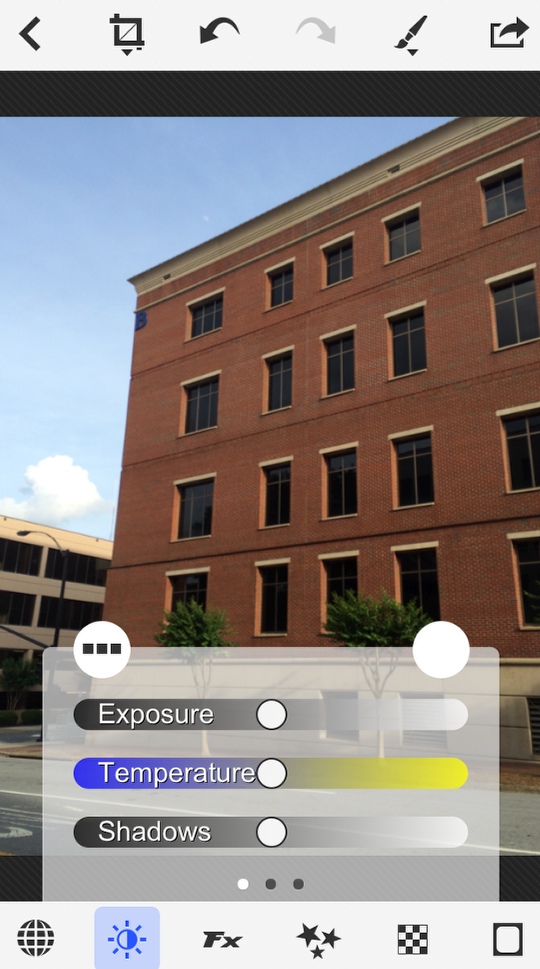
I first raised the Shadows slider to lighten the darkest portions of the photo. I moved the slider about halfway to its maximum effect, but it only made a slight difference. Most of PhotoToaster’s effects are subtle, in keeping with its purpose as a basic photo editor. They improve your photo, not change it into something it’s not.
When I move the slider, the plain white button to the pop-up’s upper right corner changes to a circular arrow. It becomes a reset icon, which will set the sliders back to their original positions.
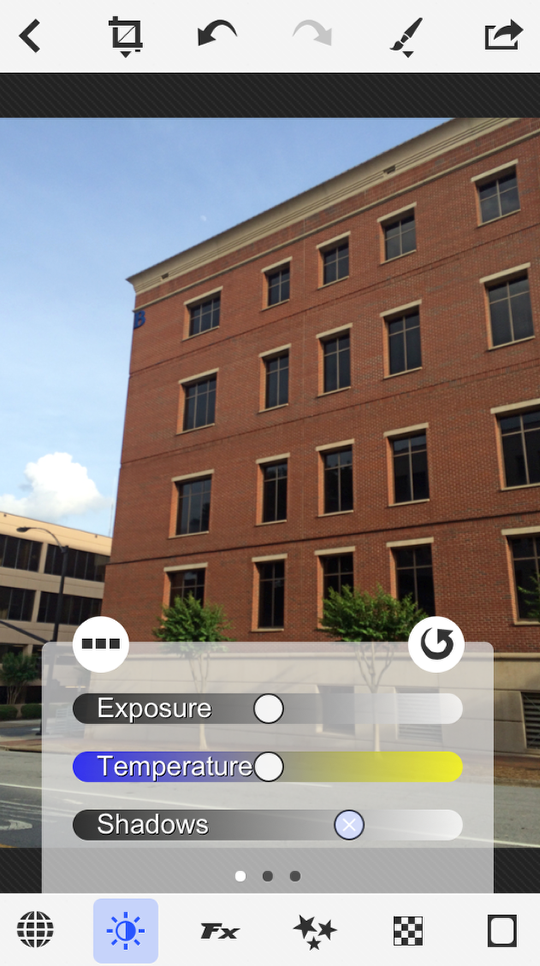
With the Temperature slider, I can warm the image up (make it more yellow)…
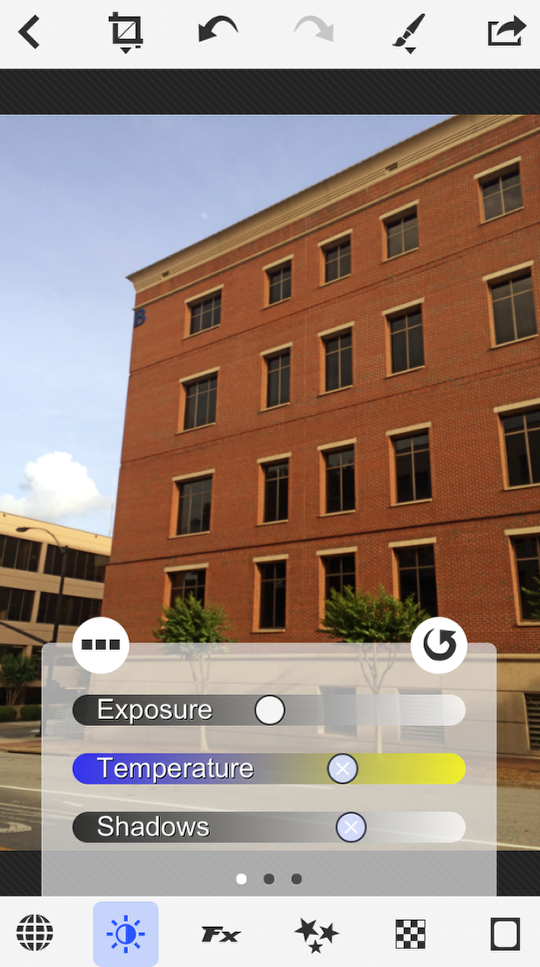
Or I can cool it down (make it more blue).
I decide that warming it and lowering the exposure is what I like.

The second of the three groups of sliders under the Sun icon contains Contrast, Tint and Highlights. I decide to raise the Highlights slider, which darkens the light sky.

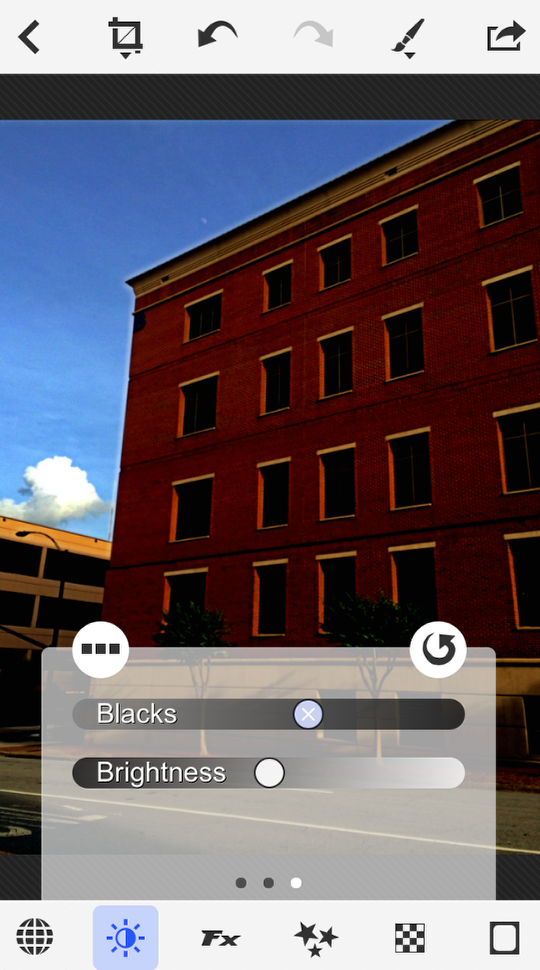
The final group of sliders contains Blacks and Brightness. I’ve brought the Blacks slider way up to show that it is possible to ruin a picture with extreme movements of the sliders.
You might be tempted to use the Reset icon at this point to return the Blacks slider to its original position. Don’t do it! It will return all the sliders (Exposure, Temperature, Shadows, Contrast, Tint, Highlights, Blacks and Brightness) to their original positions.
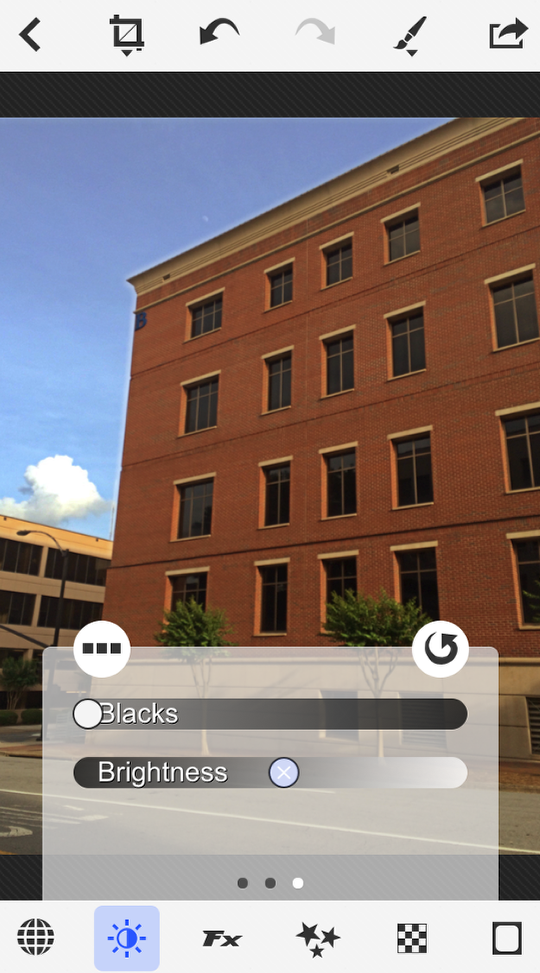
Just move the individual slider back, as I did below with the Blacks slider.
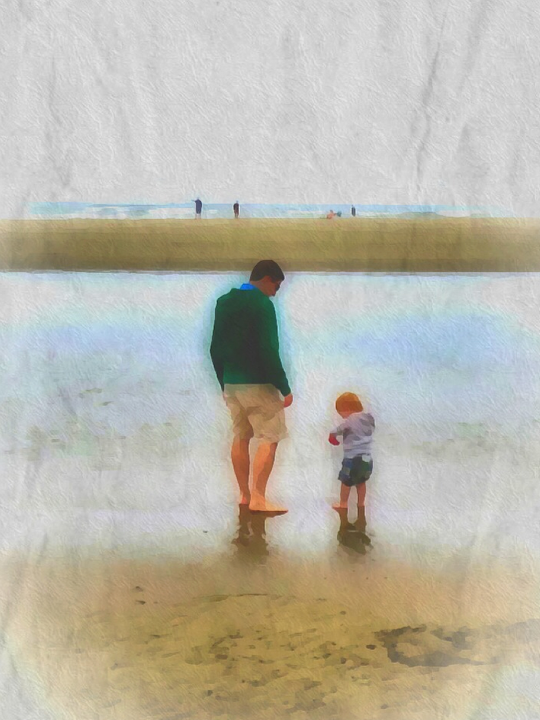
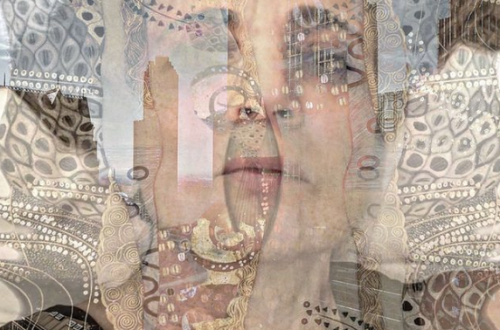
In the next two articles I’ll explore the other capabilities of PhotoToaster. Until then, I’ll leave you with this image that was touched up in PhotoToaster before “painting” in iColorama. Enjoy!
Jerry Jobe
Never content with just scratching the surface of what an app can do, Jerry Jobe decided to pass on what he learned about imaging apps to others. He’s constantly trying to figure out just what tools other artists have used, and trying to incorporate them into his own work, in an attempt to find his style. He’s written tutorials on over 145 apps so far, which you can find (along with his Song of the Day entries) at http://enthusiasmnoted.wordpress.com/ He lives near Atlanta, Georgia, where he also finds a creative outlet in acting and directing in community theater.
One Comment
Teresa
This was so helpful. Thank you!