
iPhone Photography Tutorial – RollWorld: Let’s Take It For A Spin
We are delighted to publish our latest iOS Photography Tutorial by Jerry Jobe. This week Jerry writes about the app RollWorld, one that you may find useful in your toolbox. (Foreword by Joanne Carter).
RollWorld is free and you can download it here.
A popular type of photo manipulation is “little planets”, where the horizon line is used to create the outer “crust” of a little world. Tiny Planet and Circular are two apps that do this type of manipulation.
“I haven’t covered any of these because they haven’t lit a creative fire within me. They’re nice enough, but rather limited in my eyes. But there’s a brand new app that adds a nice twist to the little planets theme, and it’s called RollWorld. (And it’s free!)
RollWorld, in addition to its planet and tunnel building feature, adds a recursive spiraling effect called droste. This can do wonderful things to “abstractify” your image.
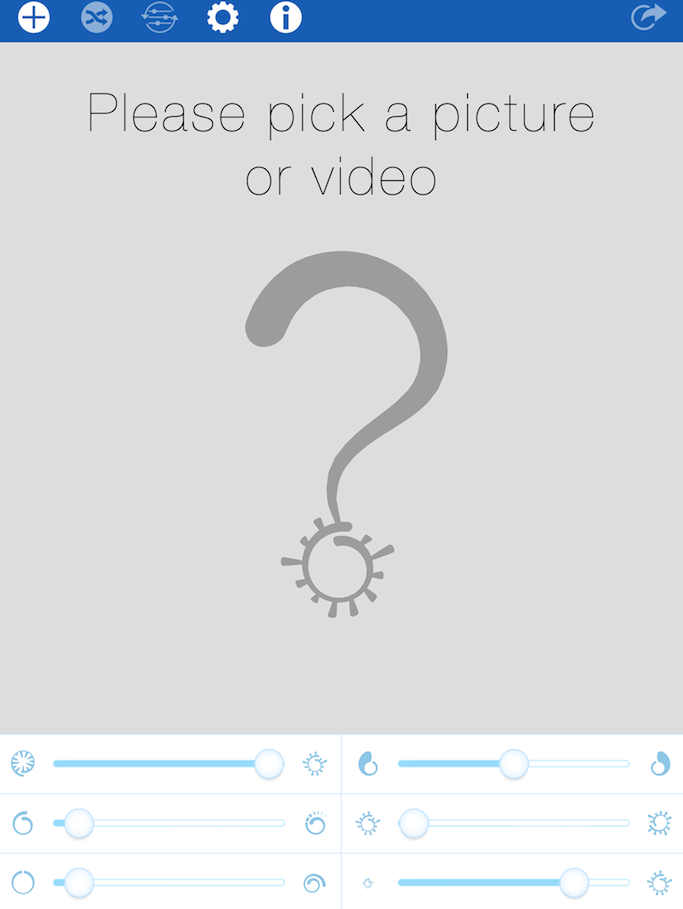
As shown in the workspace (shown below) RollWorld works on both images and video. We’ll look at how to manipulate images, and an example of a video produced with RollWorld.
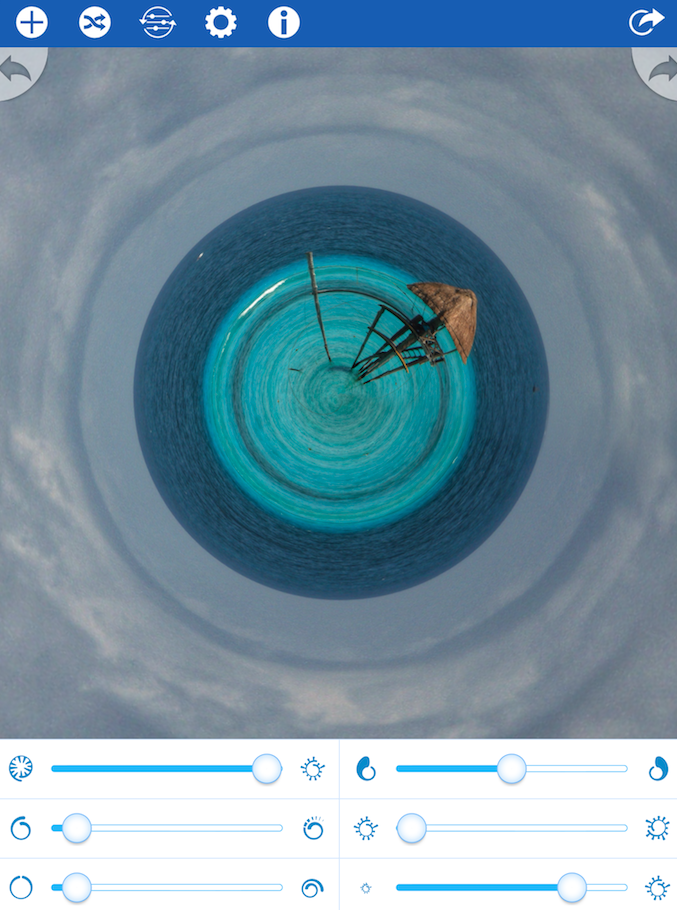
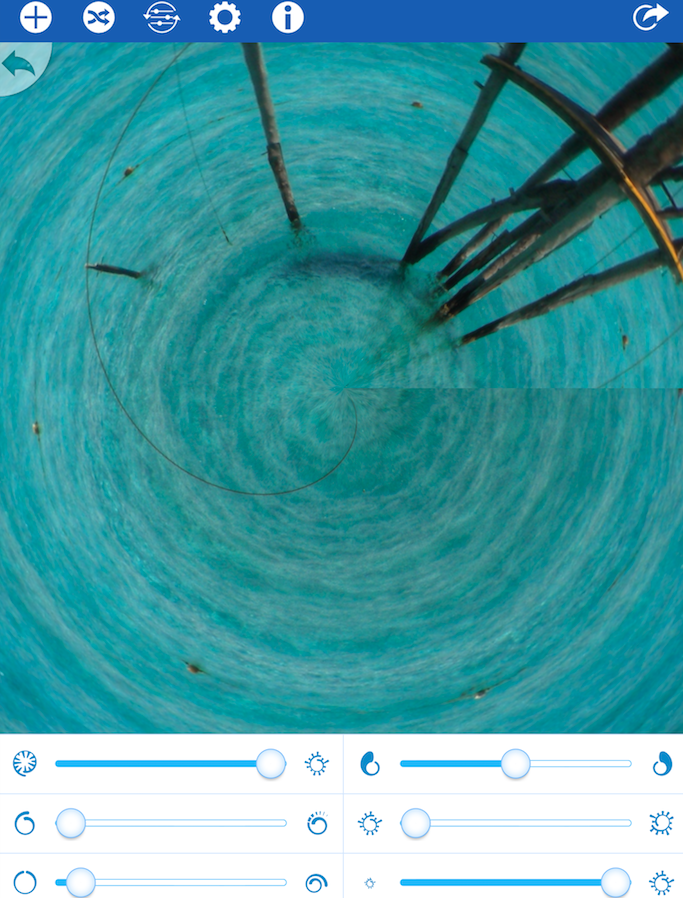
The workspace has buttons across the top and sliders at the bottom. The space for the image is square, because all images are forced into a square format for planet creation. (They can be cropped afterwards.)
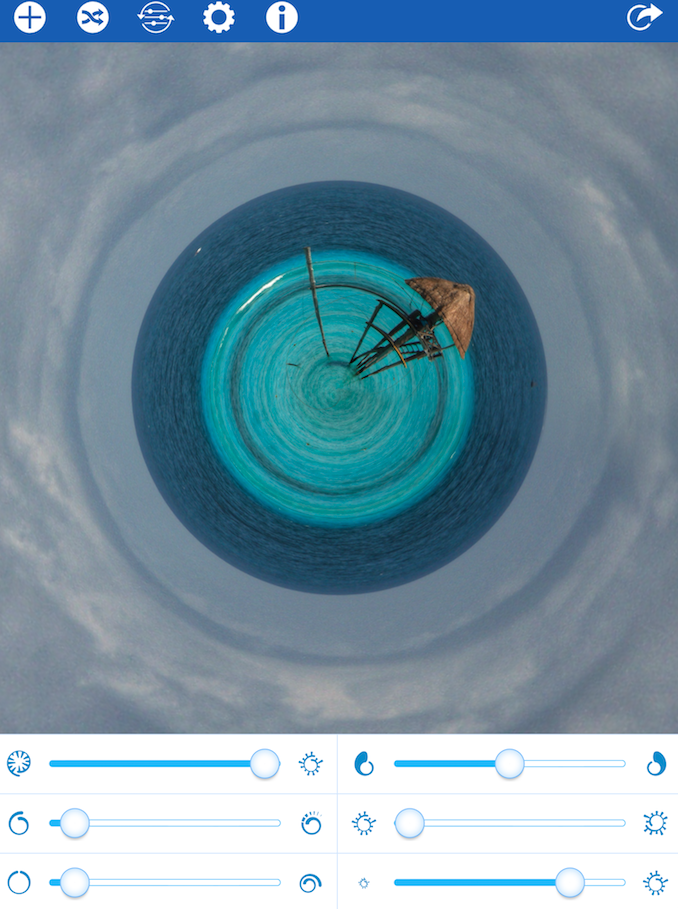
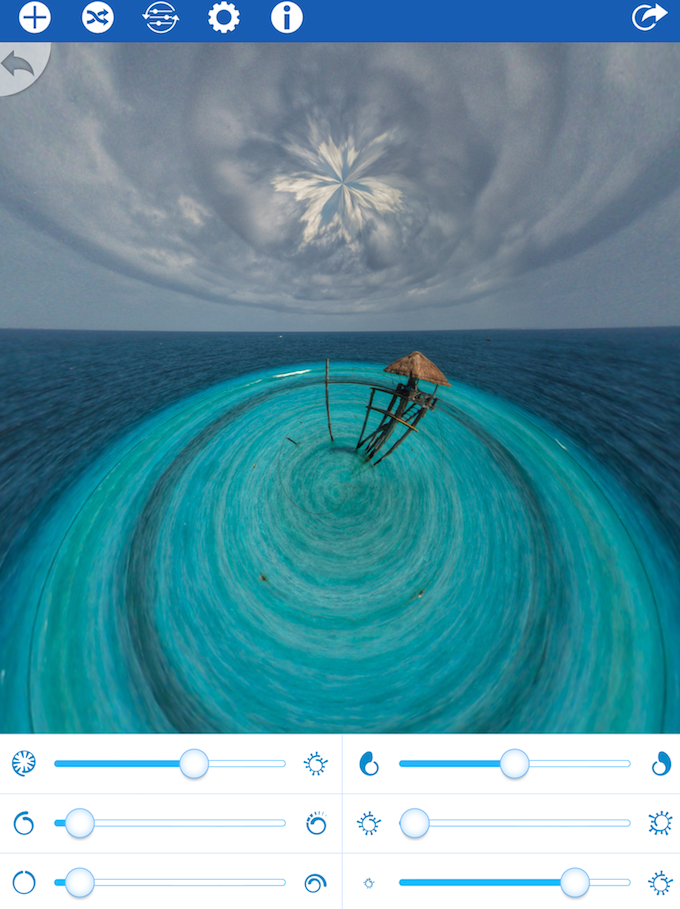
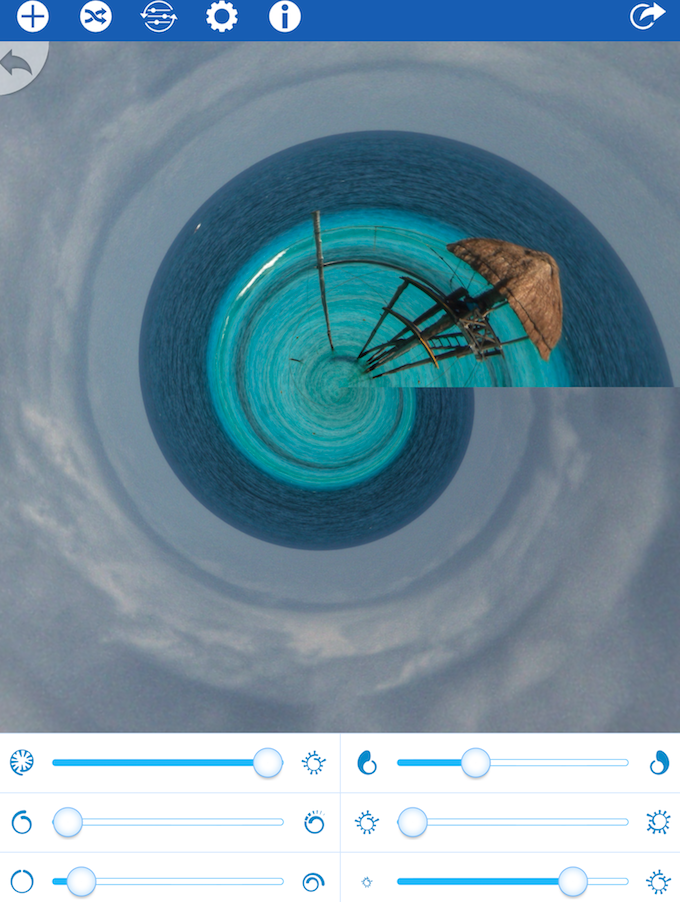
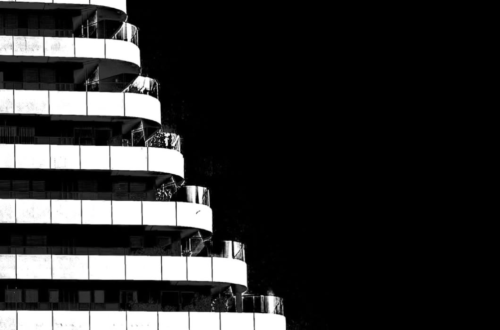
Below I’ve loaded an image by tapping on the plus sign button at the upper left. I did make an initial edit in Snapseed before bringing it into RollWorld: I straightened the horizon. Doing that guarantees that RollWorld’s default settings will result in a nice clean “planet”, since the edges will meet correctly.
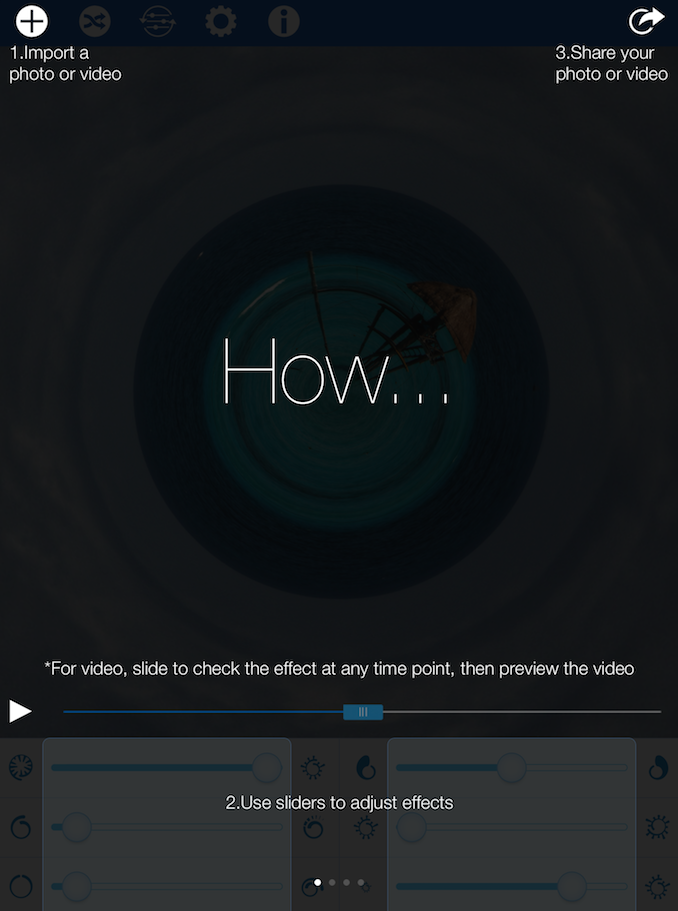
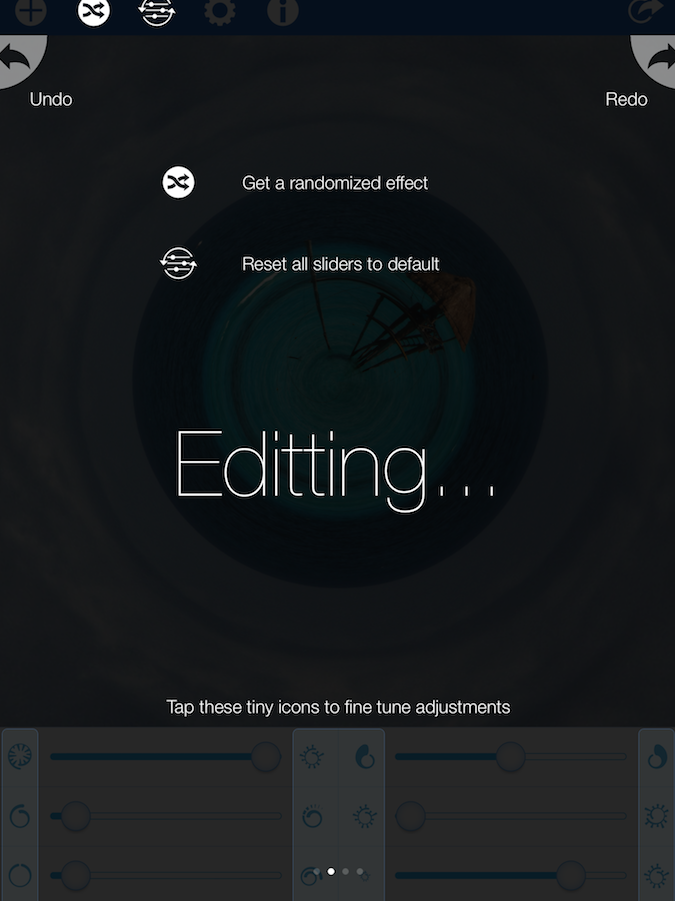
The “i” button loads a series of explanatory overlays to the workspace, as help for the app. These overlays automatically appear the first time you use the app after installation. Below you’ll see the first of those screens; the remaining screens are accessed by swiping the screen.

Below is the second help screen. (Please ignore the grinding of my teeth as I see how Editing is misspelled).

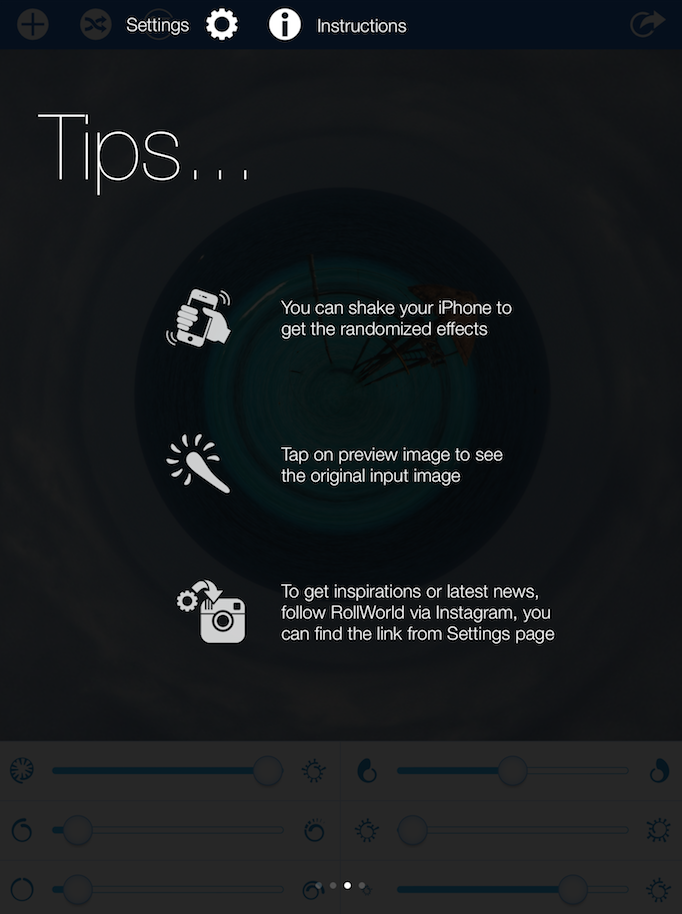
The third help screen gives you a few tips on some not-so-obvious features of the app.
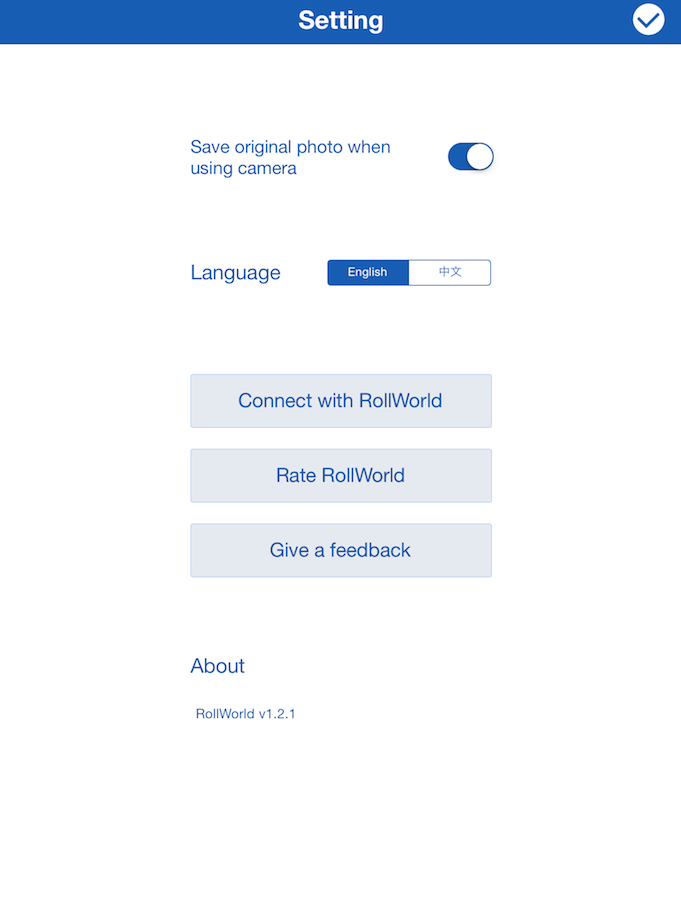
Settings are very rudimentary.
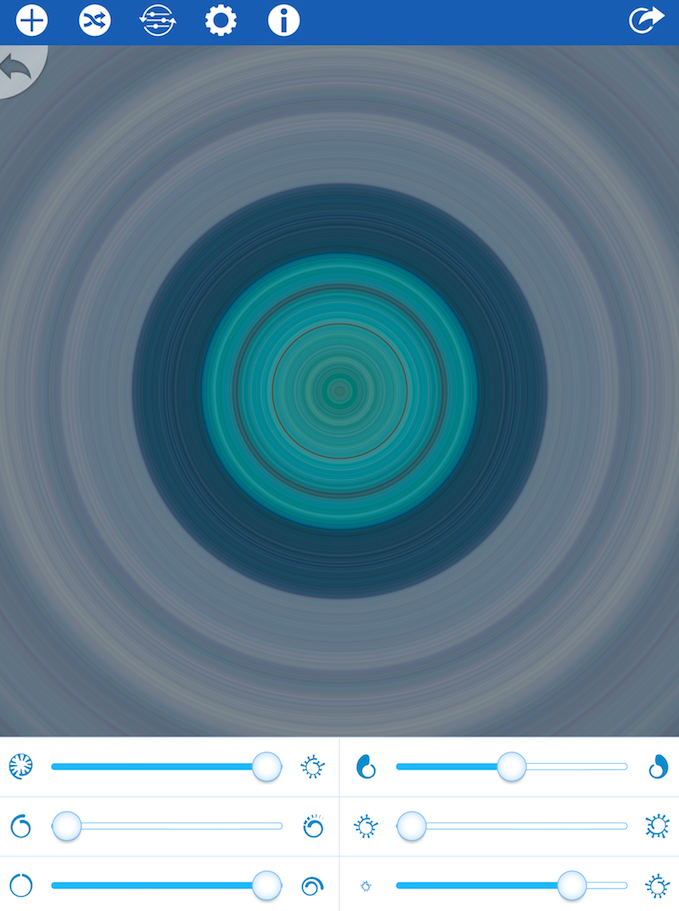
The second button on the top, the twisted arrows, is a randomize function that moves the six sliders at the bottom in a random way. In the next image, I’ve touched the Randomize button. You’ll see that an arrow has appeared in the upper left of the actual image. That’s an Undo button. Pressing it at this point would return the settings to the defaults, as they were before the randomisation.
At any time you can return settings to the defaults by pressing the third button at the top. Another arrow will appear at the upper right of the image – the Redo button.
After hitting the Random button, all the sliders are still fully adjustable. I will be showing the functions of the sliders as they affect the default settings, in order to make the differences clearer.
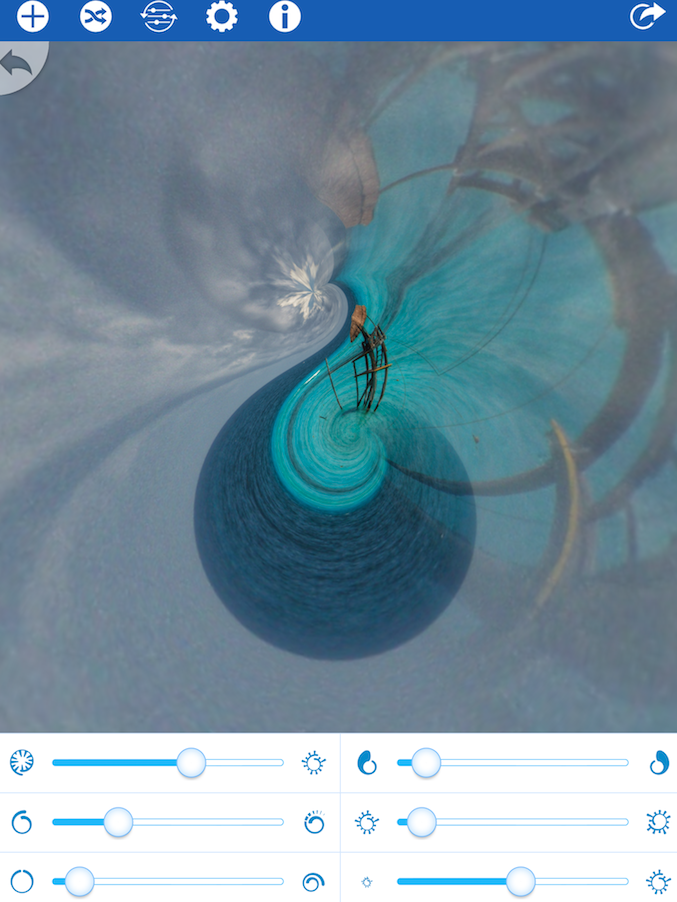
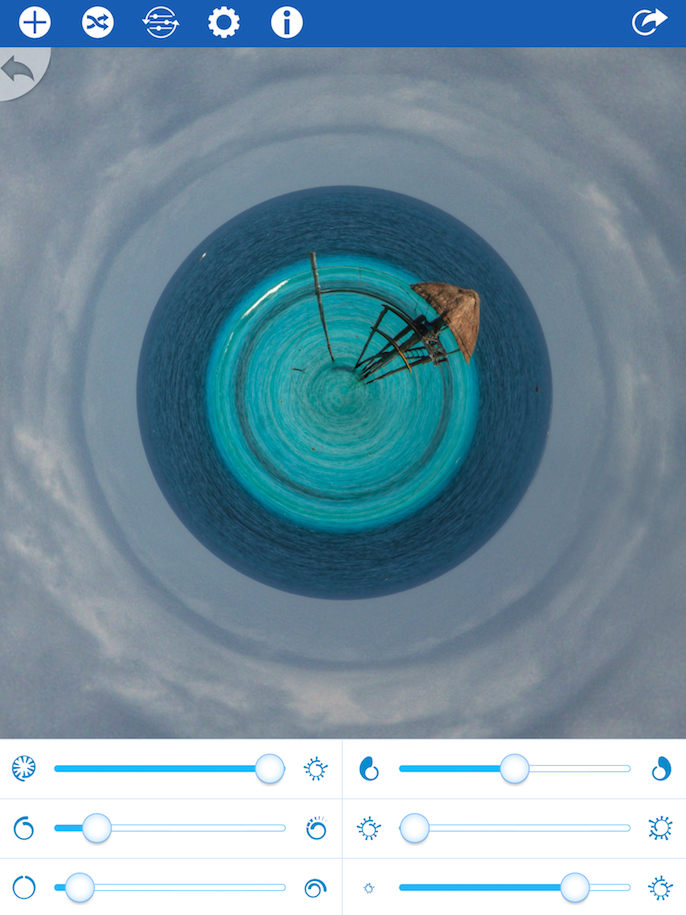
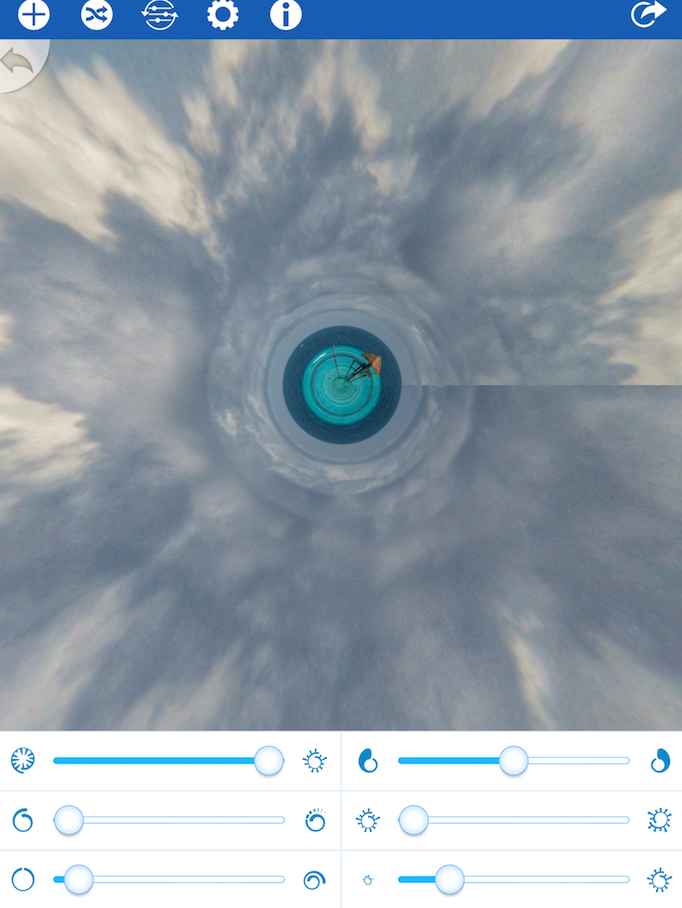
The first slider is the adjustment between “little planet” and “little tunnel” modes. In “little planet” mode, the top of the image, or the sky, wraps around the lower part. In “little tunnel” mode, the bottom wraps around the top. Below I’ve moved that first slider all the way to the left, to show the tunnel mode.
While other apps allow you to switch between planet and tunnel mode, RollWorld is the first I’ve seen that allows for intermediary settings. Below I’ve moved the first slider to the middle, so that the horizon remains straight. See how the top and bottom each wrap around themselves – cool!
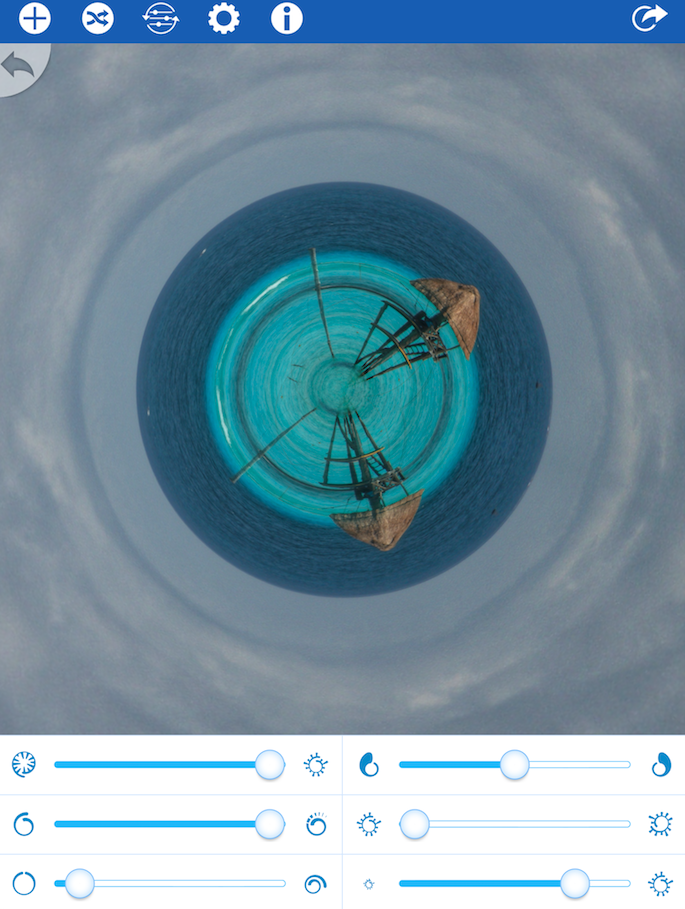
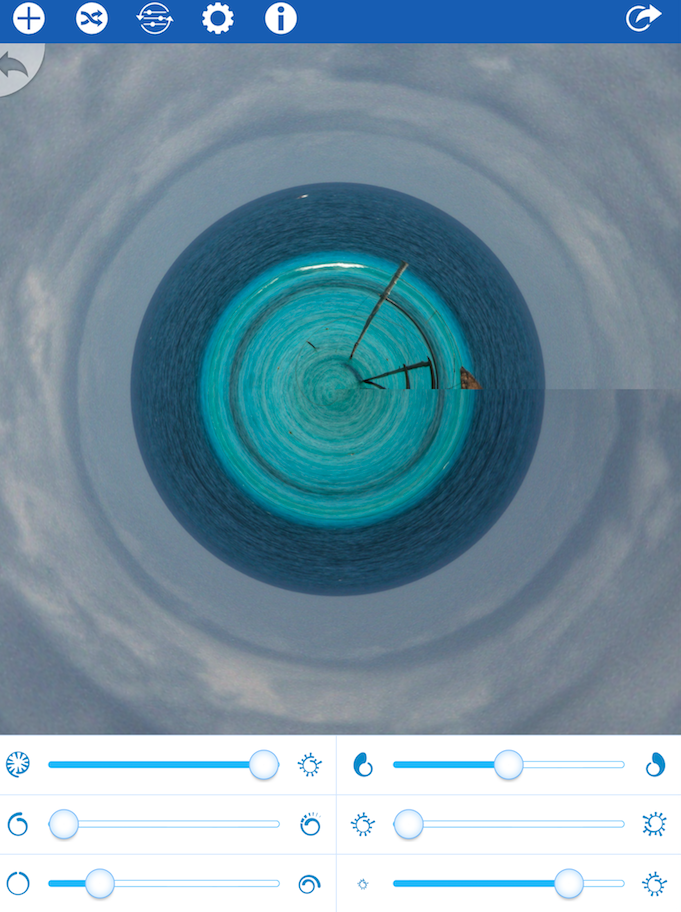
The next slider controls the width of the blended area when wrapping the right half of the original image to the left half. Moving the slider all the way to the left will create a sharp edge that’s readily apparent; that’s why the default setting introduces a bit of blend.
Moving the Blend Width slider all the way to the right introduces so much blend that you will see repeated elements, like the little thatched tower.
The third slider affects the “tightness” of the wrap. All the way to the left, the image is wrapped once, end-to-end. As you move the slider to the right, RollWorld stretches the middle of the image, so that the edges are no longer seen.
Move the “Tightness” slider all the way to the right, and you get what is essentially a single column of pixels stretched around to create the planet.
The fourth slider (top of second column) is the spiral effect. As you move the slider to the left, the bottom spirals in, and the top spirals out.
Below you’ll see the Spiral slider all the way to the right, and the top is in while the bottom is out. It’s also the difference between a clockwise (above) and a counterclockwise (below) spiral.
By default, the blend area is at 3 o’clock. Below I’ve made the division obvious, and moved the slider so that the blend point to 12.

The final slider is the Zoom slider, which makes the planet small or large. Below I’ve created a really small planet.
Moving the Zoom slider all the way to the right makes the planet so large you can’t see the edges.
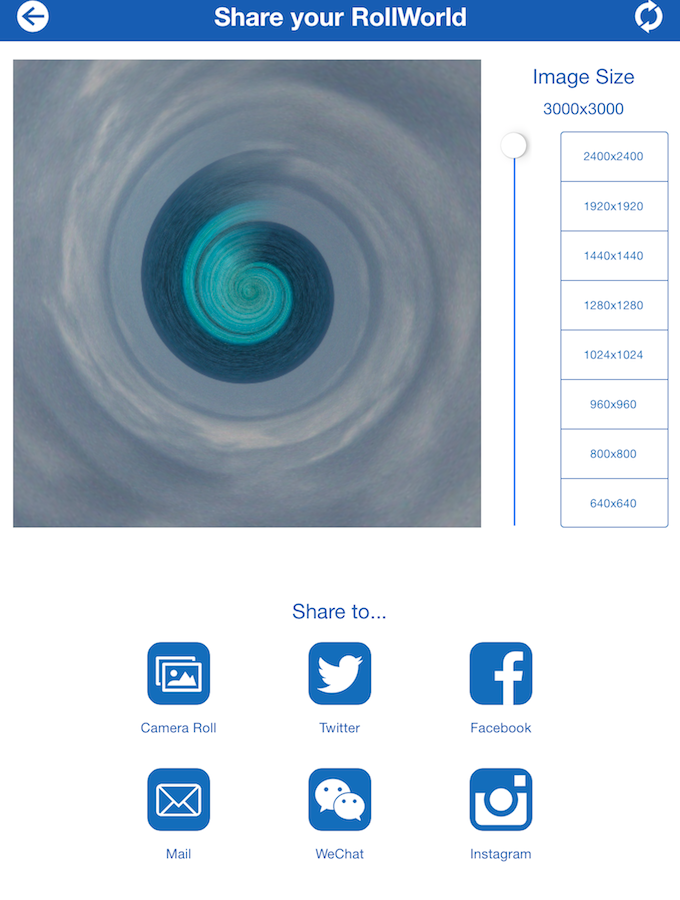
Now the only thing left to do is to save your creation. Tapping the button at the upper right takes you to the save workspace, where you can adjust the output size. The output resolution can be controlled using either the boxes or the slider next to the boxes. The default setting is 1024 square, as you can see below.
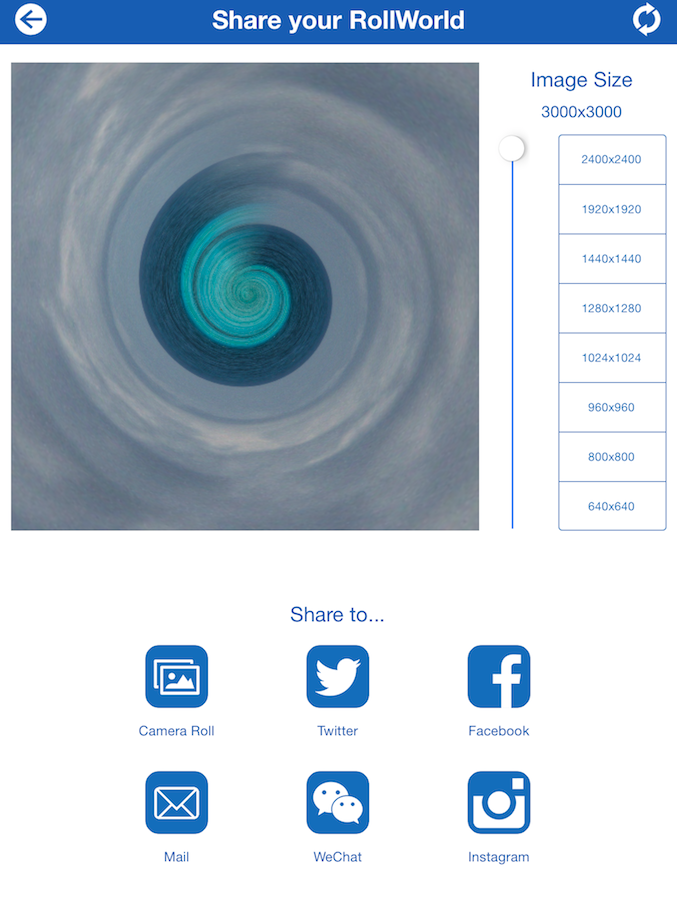
Even though the largest setting according to the boxes is 2048 square, by moving the slider all the way to the top you can save your world at a whopping 3000 pixels square.
My resulting image is below, after taking it through iColorama for cropping and adjustments, then through DistressedFX for texture.
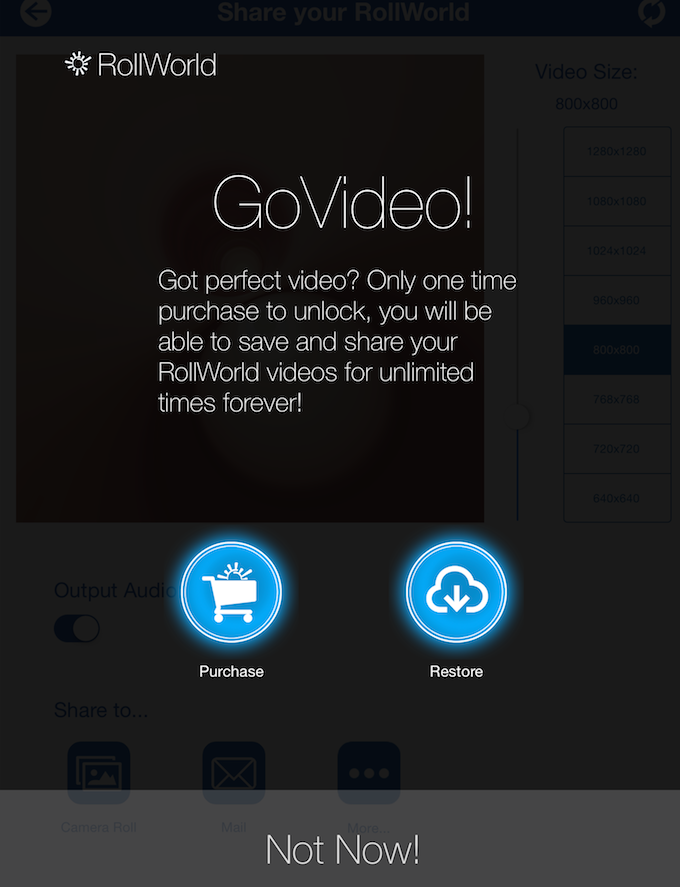
As I’ve said above, RollWorld also works on video. In order to save the video, you have to make a one-time in-app purchase.
Here’s a sample video, created from a video that was a pan across the items on the fireplace mantel in my den.
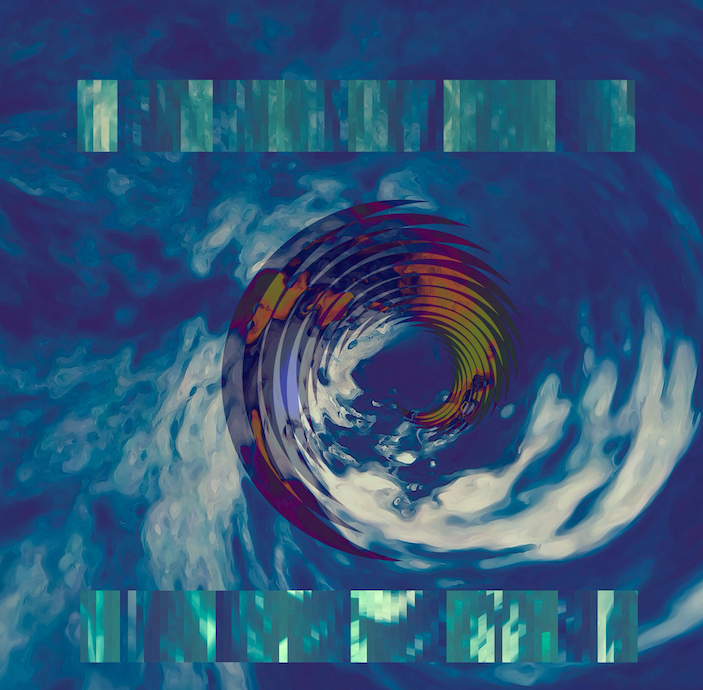
My final two examples are post-processed through a number of apps, giving you an idea of some of the possibilities. The first was an image of the nighttime sky with the moon and clouds, taken through RollWorld and then iColorama, Fragment and Tangent.
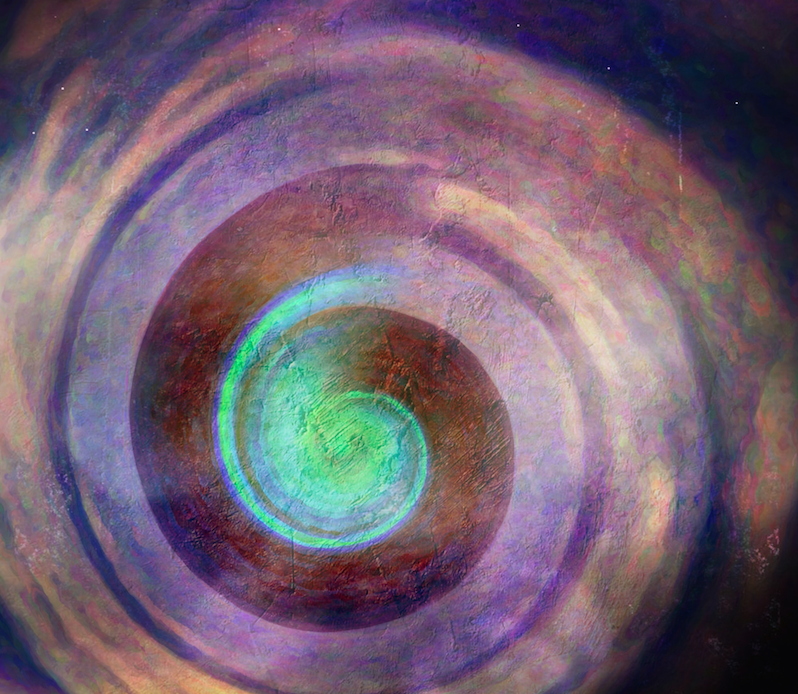
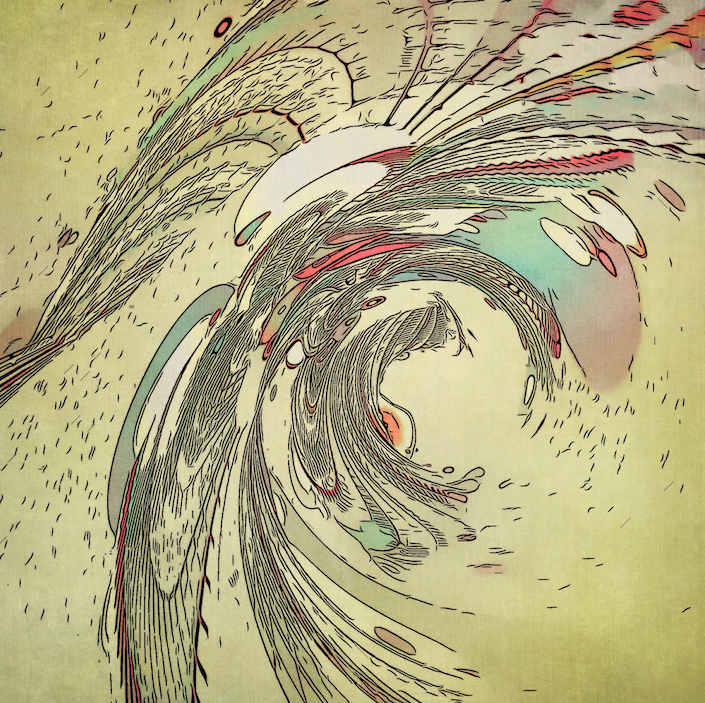
The following image was created in Code::Brush, passed through RollWorld, then through iColorama and Stackables.
When an app is free, and gives you new capabilities to create a world, what have you got to lose? Get RollWorld and give it a spin! Enjoy!
Jerry Jobe
Never content with just scratching the surface of what an app can do, Jerry Jobe decided to pass on what he learned about imaging apps to others. He’s constantly trying to figure out just what tools other artists have used, and trying to incorporate them into his own work, in an attempt to find his style. He’s written tutorials on over 145 apps so far, which you can find (along with his Song of the Day entries) at http://enthusiasmnoted.wordpress.com/ He lives near Atlanta, Georgia, where he also finds a creative outlet in acting and directing in community theater.

2 Comments
Carlos
Thanks as usual Jerry J for your time and the excellent tutorial!
Kristen@Creative iPhoneography
Thanks for this tutorial. I downloaded RollWorld immediately and have been having such fun making abstract flower portraits! This app has many more possibilities than your typical tiny planets app. And it’s great that it’s free too!