iOS Mobile Photography App Tutorial – Fragment – by Jerry Jobe
We are delighted to publish this very interesting tutorial of the new app update to the app Fragment developed by Pixite. Over to you Jerry. (Foreword by Joanne Carter).
Fragment retails for $2.99/£1.99 and you can pick it up here
“Christmas Day of 2013 I published a tutorial on a brand new app by Pixite called Fragment. Of all the Pixite apps, Fragment may well be my favorite, with its ability to shatter the image into shapes, giving a new perspective to ordinary objects.
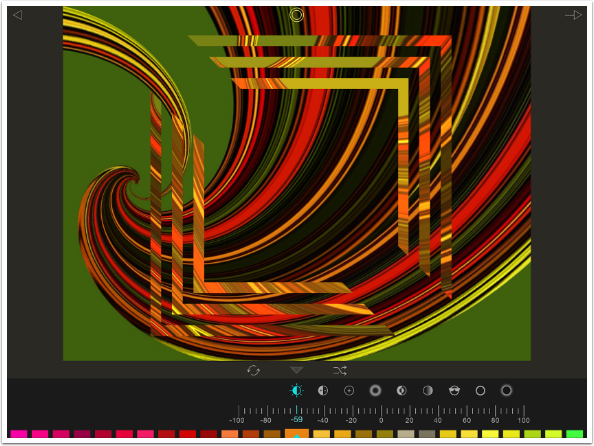
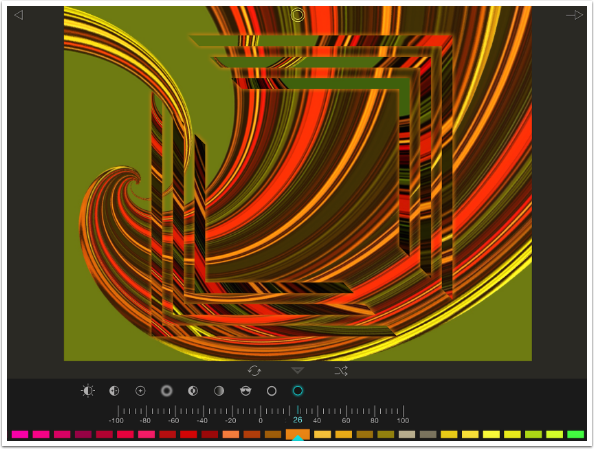
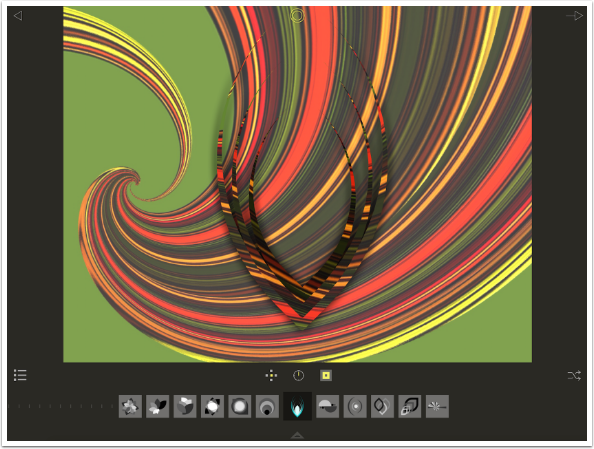
Pixite is not content to let their apps remain an excellent first try, and are looking to improve. The newest release of Fragment (1.6), hitting the App Store last week, gives us three new effects, 36 new shapes and the ability to add your own shapes. Let’s take a look at the new features, starting with this broken squares shape over a swirl created in iColorama“.
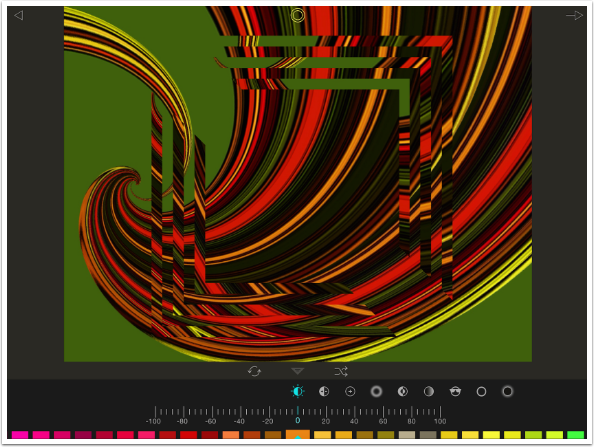
The new effects are added to the six that were already present: Brightness, Contrast, Additive, Blur, Invert and Desaturate. The three new effects respond in different ways to the slider (which runs from -100 to 100), so let’s see how the old effects use the slider first.
When I move the slider for Brightness to the negative side, as seen below, it makes the interior of the shape brighter, using the color chosen in the color picker.
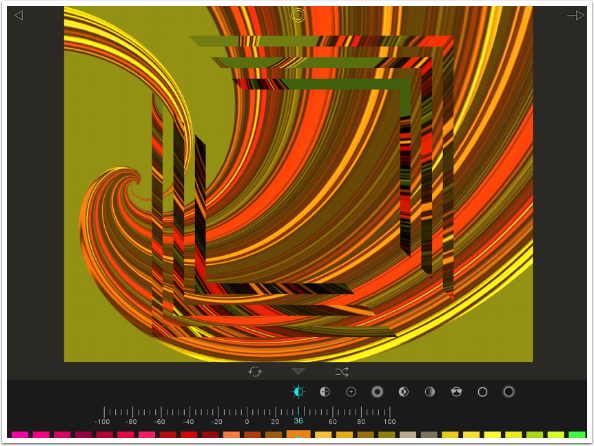
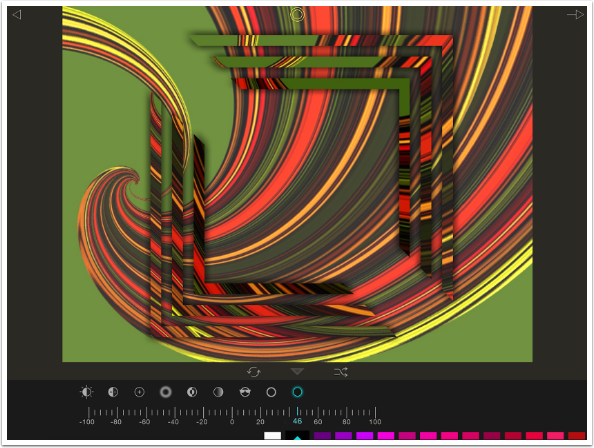
Moving the slider to the positive side affects the exterior of the shape instead. This use of the positive and negative sliders is the same for all the original effects: negative affects the interior, positive affects the exterior.
The first new effect is 3D Glasses. This effect is designed to work on the entire image. After all, what would be the point of having the interior of the shape in 3D and the exterior be in 2D? Also, the color in the color picker does not have any impact on the 3D Glasses effect.
Let me admit first of all that this effect, which requires red/blue 3D glasses to see the effect, does not do much for me. I have trouble seeing 3D effects, and it has to be really strong for my poor eyesight. Nonetheless, I pulled out a pair of the glasses and the effect became obvious for me while I was moving the slider; movement helps me to detect the visual clues for seeing 3D.
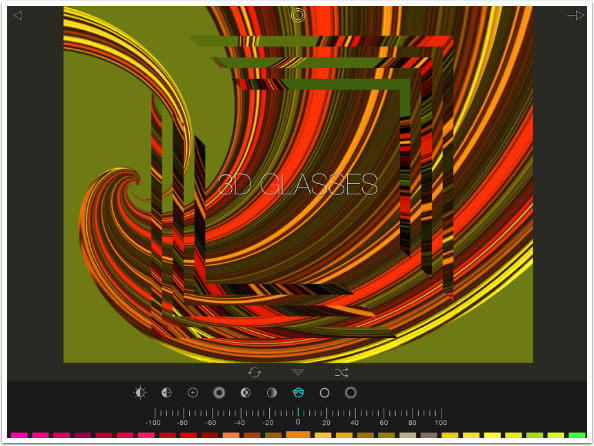
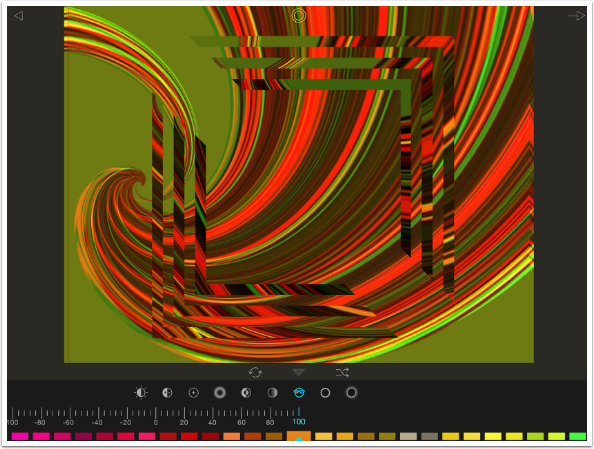
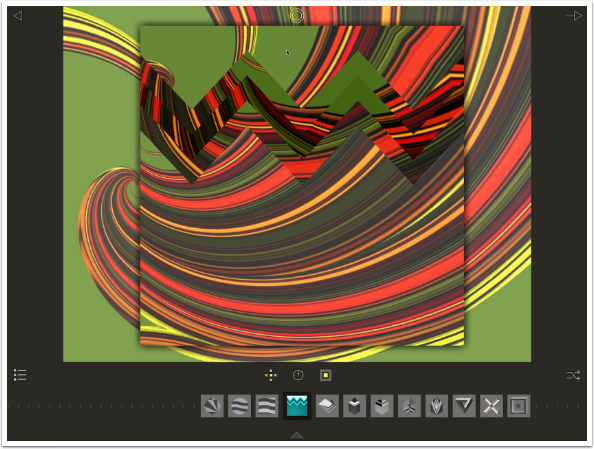
You’ll see what happens when the slider is moved to -100 below. Look closely at the innermost portion of the swirl. The yellows and oranges move to the right, while the greens and browns move to the left.
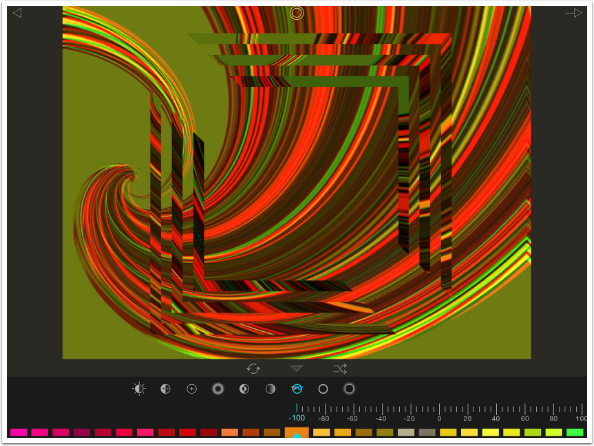
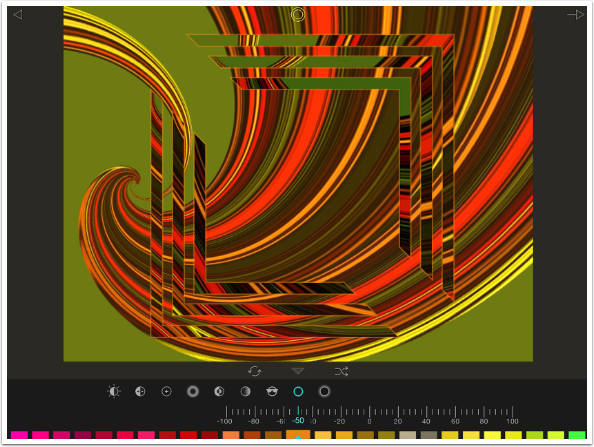
Moving the slider to 100 moves the colors in the opposite direction. It makes for a very “trippy” effect when you’re wearing the glasses.
The next effect is Outline, which can really make your shapes stand out. It outlines the shape with the color chosen in the color picker.
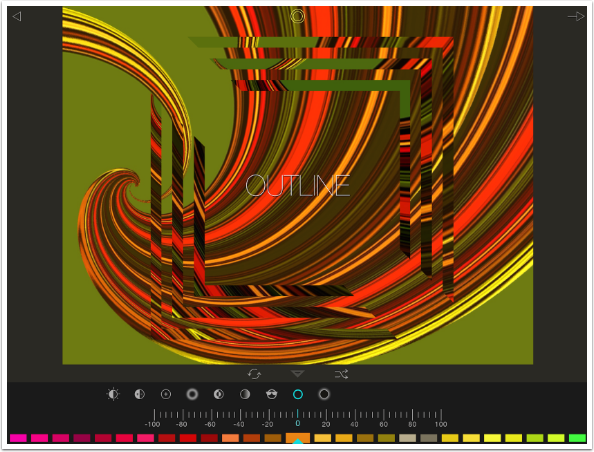
Moving the slider to the negative side affects the opacity of an outline that is a standard width. Below you’ll see the outline is only at 50%.
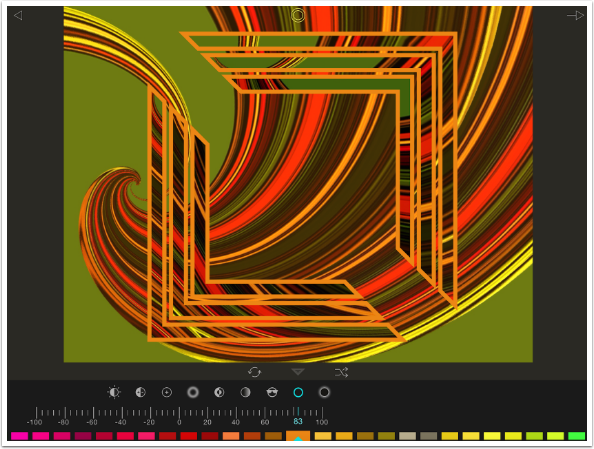
Moving the slider to the positive side affects the width of a 100% opaque outline. Whether you use negative or positive values, the outline is always built to the outside of the shape.
The last new effect is Glow, which applies a gradient stroke of the chosen color. The gradient fades from 100% opacity to 0%, and the slider affects the size of the glow.

Moving the slider to the negative creates an inner glow. The farther the slider is moved, the larger the glow becomes. You will usually keep an inner glow at a lower value to keep the glow from inundating the entire shape.

Positive values create an outer glow, as if the entire shape throws off light or casts a shadow.
Below I’ve brightened the exterior of the shape using the Brightness slider and used black as my glow color to show you the “shadow” effect possible with an outer glow.
The new shapes available in Fragment are divided into three packs of twelve shapes each: Tribal, Mirage and Bloom. Each pack is 99 cents, but you can get all three for a discounted price of $1.99. I think that’s reasonable, and a reasonable source of income, rather than asking for money for an update or a subscription.

Below you’ll see the Tribal pack, and the twelve shapes added.
Next are the new shapes in the Mirage pack.
Finally, the twelve shapes in the Bloom pack.
However, you are no longer limited to shapes provided by the developer. You can add your own shapes, provided they are vector files in the SVG format. These can be created with vector apps such as iDraw and Imaengine (covered in an article in December of 2014). These shapes you add are placed in a Custom Shapes group in Fragment.
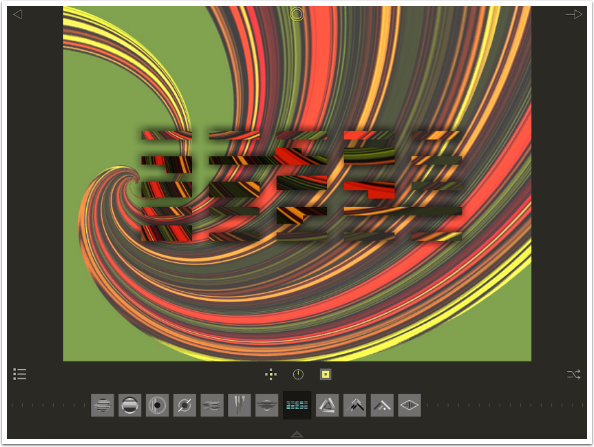
The custom shapes can include text, as long as they are converted to outlines before exporting them to Fragment. In this way you can use Fragment to watermark your images. Below I added Blur, Brightness and Glow to a custom shape that is text of my name.

Fragment allows for shapes with different shades of gray, which “shatter” your image in different ways. Custom shapes can also be built with multiple shades, like the one below with hexagons and circles.
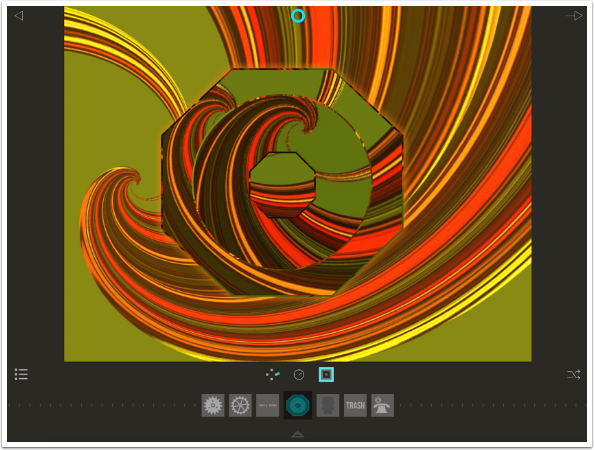
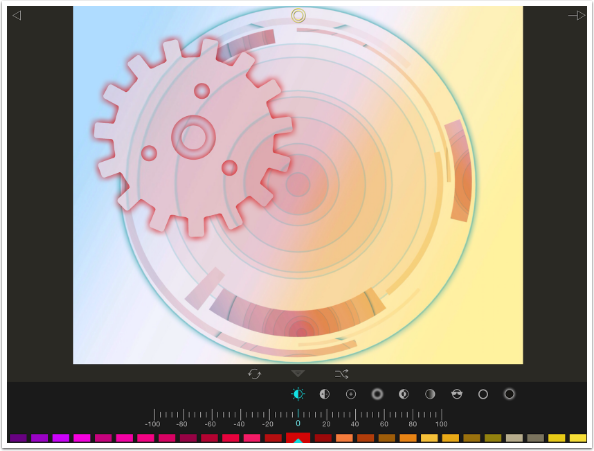
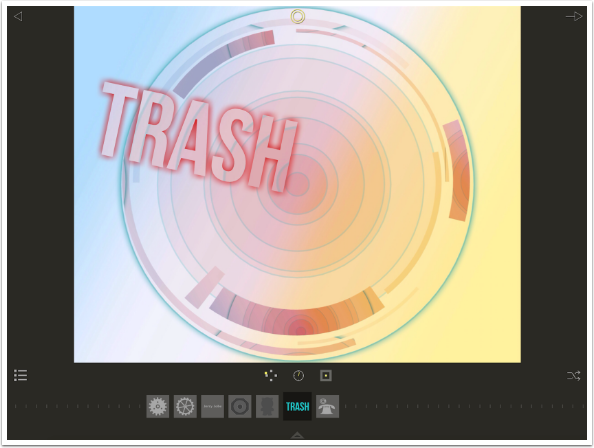
Below you’ll see a finished version of the swirl image using two custom gear shapes.
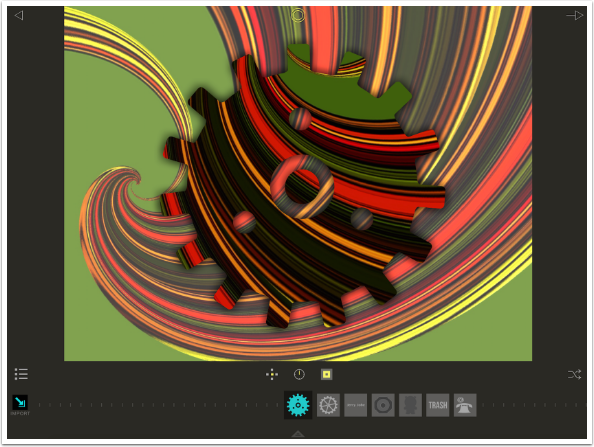
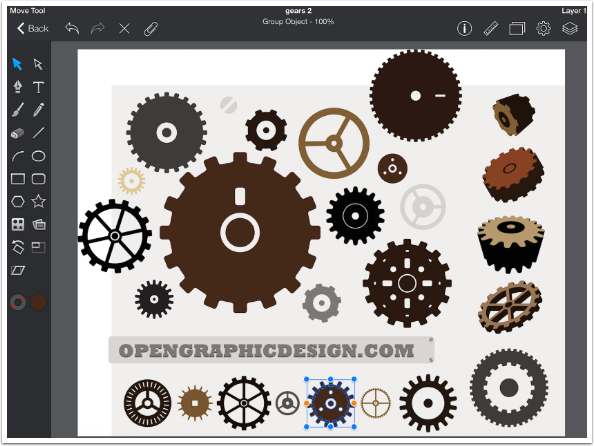
I’m now going to walk you through getting a custom shape into Fragment. I’m starting with a group of open-source gear images in SVG format, taken into iDraw. I’m using iDraw to break the gears into separate images. If I tried to take the SVG file as-is into Fragment, it would combine all the gears into a single shape, just like they are shown in the full image.
I’ve selected the gear at the bottom center.
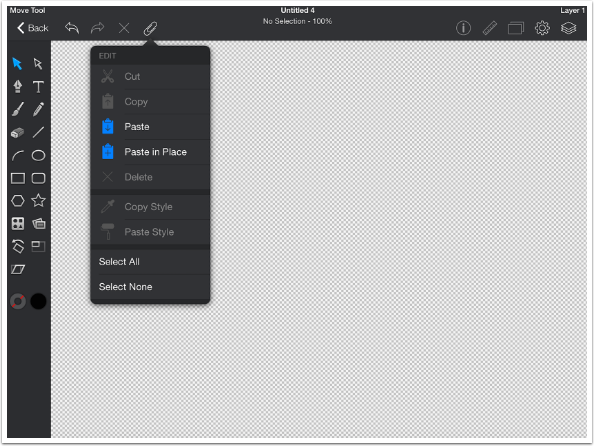
I use the copy command to copy just the selected gear.

I open a blank document and paste the single gear.
It doesn’t matter, with vector graphics, how large the gear is. It can be expanded or contracted without any loss of detail.

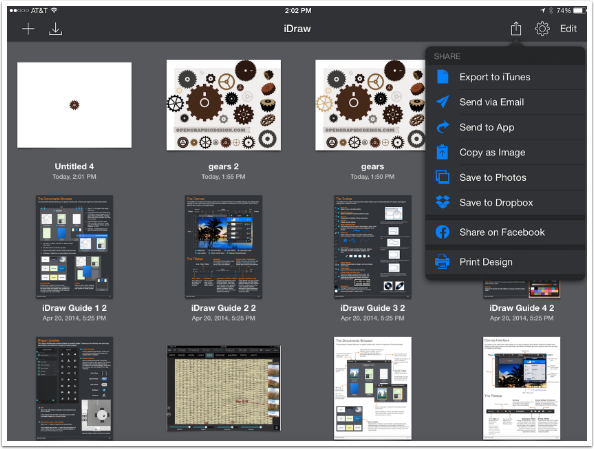
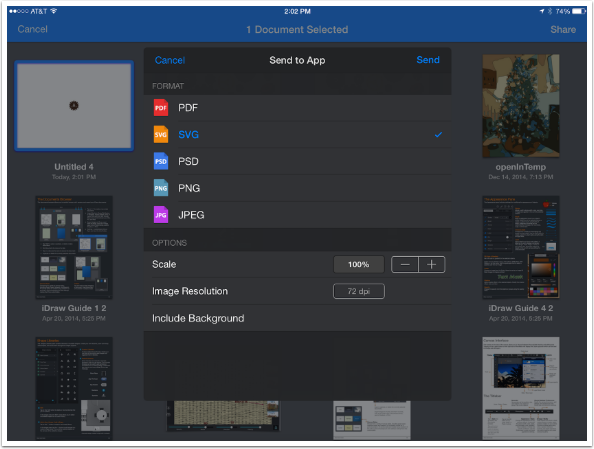
I save the image with the single gear and choose to send it to an app from the Share drop-down menu.
I select the single gear image and press Share at the upper right.
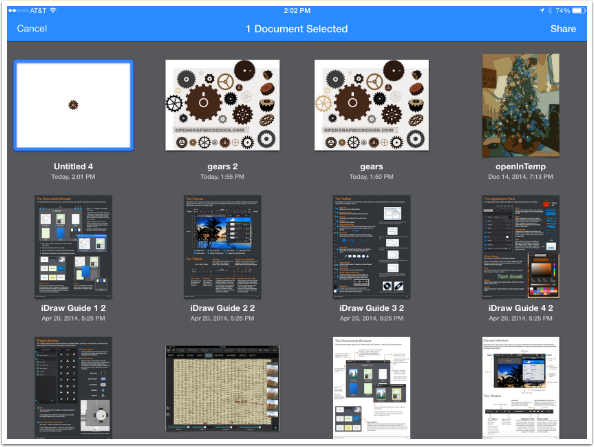
I choose to send it as an SVG file, and also deselect the “Include background” option at the bottom. I only want to include the gear, not the white background. I tap “Send”.
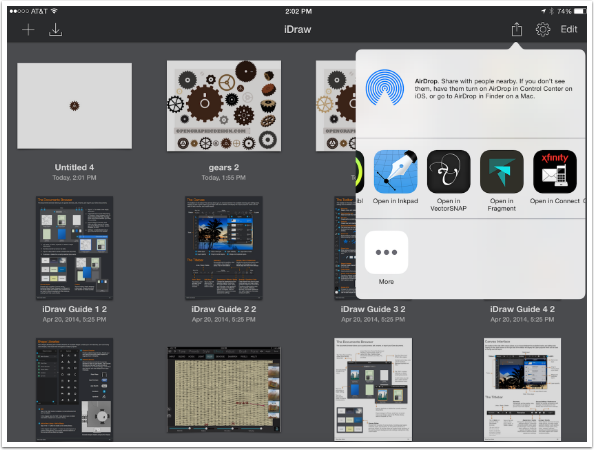
The normal iOS dialog box opens, and I choose to “Open in Fragment”.
Fragment opens, and asks if I want to Import the SVG. I choose Yes.
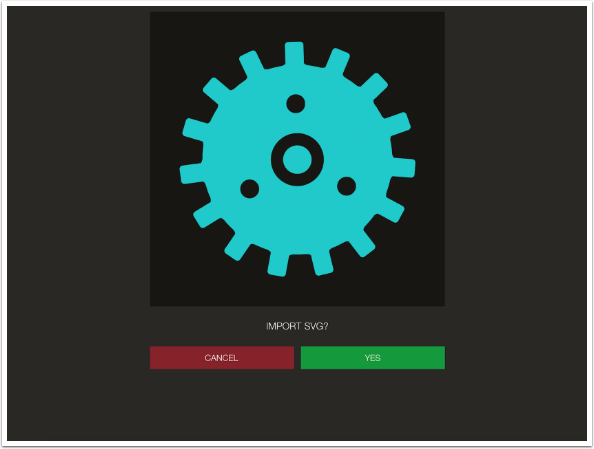
The shape is now imported for my use in Fragment.
As I said before, you can use text as a shape, as illustrated below.
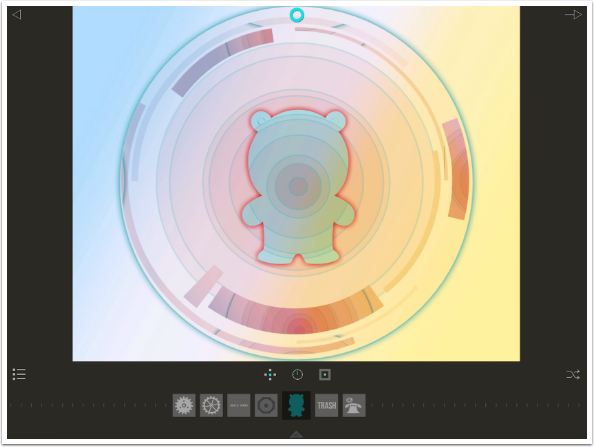
You can also use cutesy shapes, such as the teddy bear shape below, created for use in paper-cutting crafts.
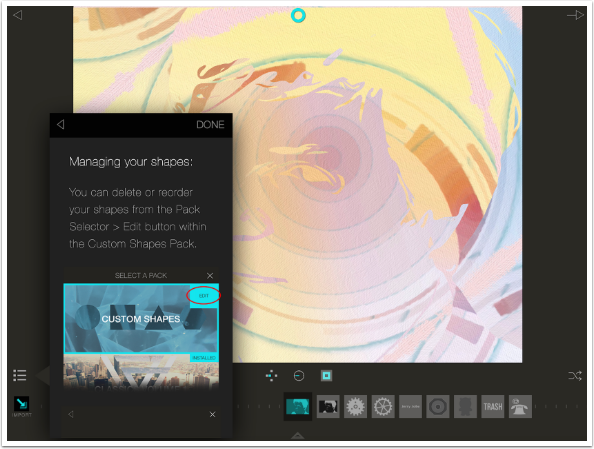
When you scroll to the bottom of the Shapes list, there is a separate help file available for dealing with importing SVGs and managing your Custom Shapes. According to the help file, seen below, you should be able to arrange and delete your custom shapes by tapping the Edit button on the Custom Shapes thumbnail within the Shapes list.
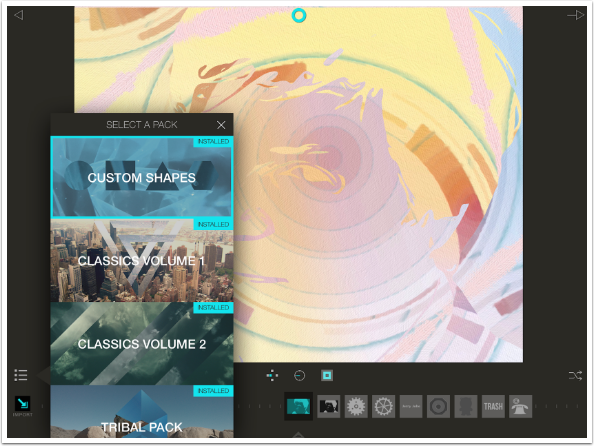
The edit option is available to me on the iPhone version of Fragment, but not on the iPad version shown below. I have contacted the developers about this issue, so they are aware. I hesitate to say that it is something that they have to fix, and not just a problem for me.
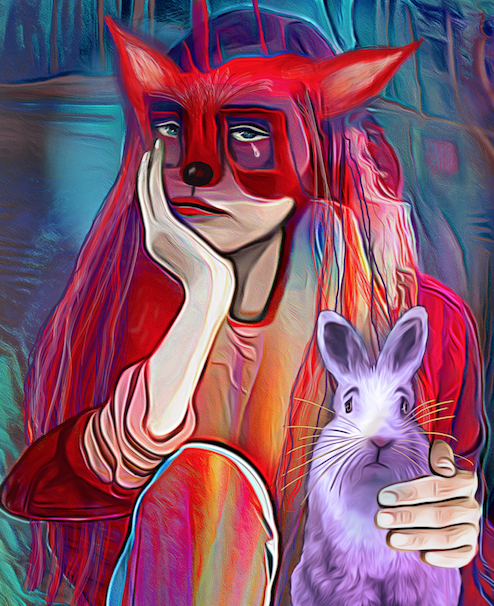
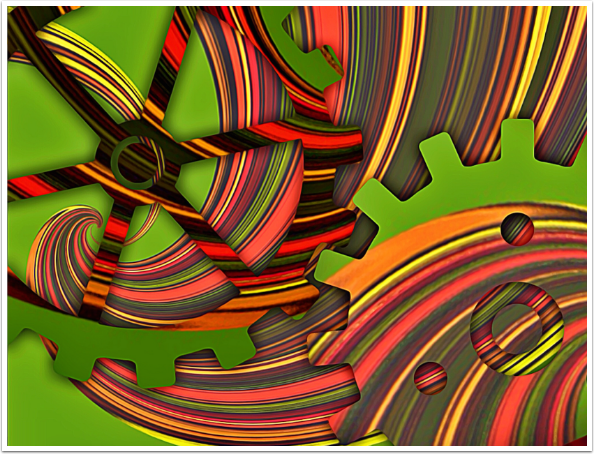
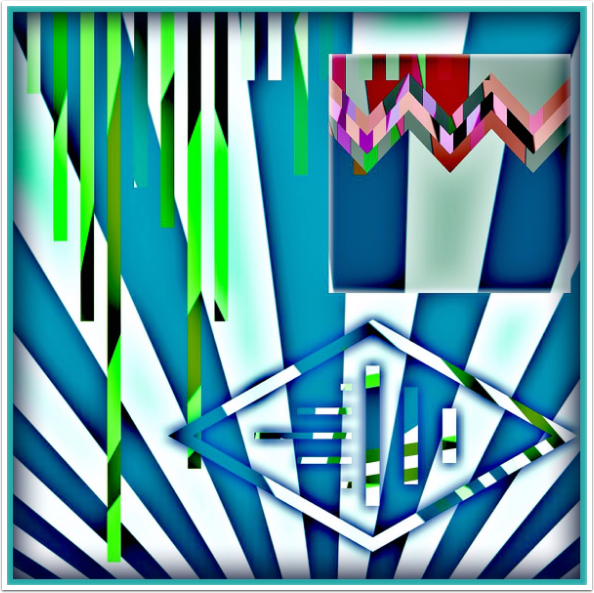
Fragment is capable of making a very bold statement, as shown in the image below created in conjunction with iColorama.
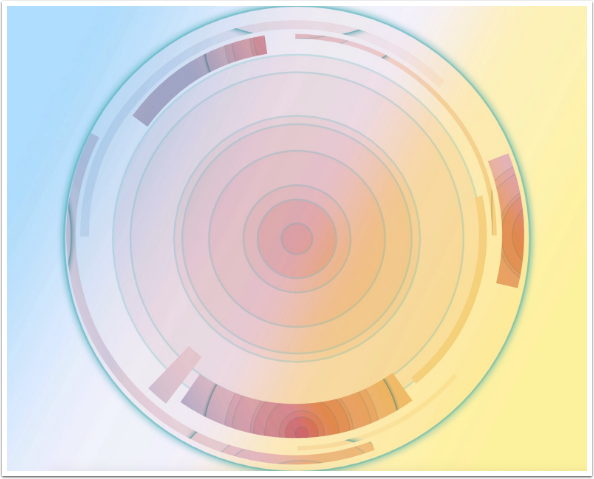
It’s also capable of subtlety, as shown in this image.
Of course, you can turn actual photos into a kaleidoscopic, psychedelic image.

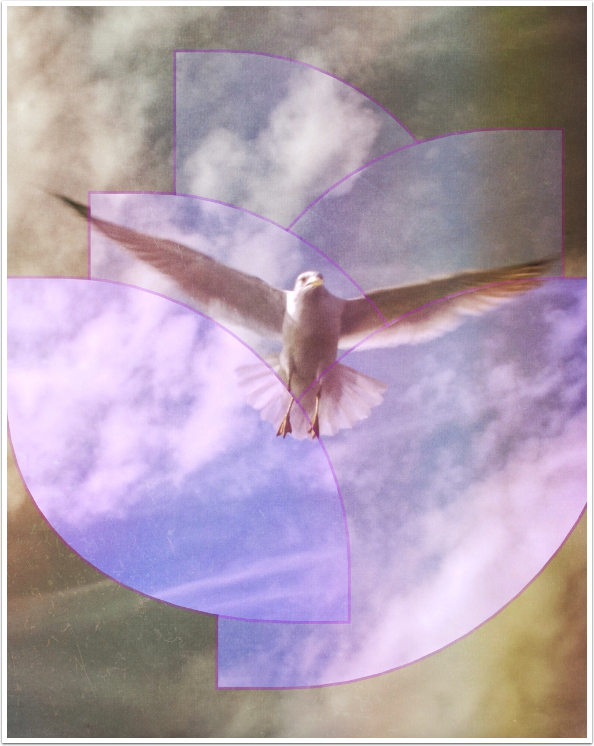
Or just emphasize the grace of a bird in flight.
I’m thrilled with the update to Fragment. It makes a great app even better. I hope that you will experiment to find out what it can do for you. Enjoy!
TheAppWhisperer has always had a dual mission: to promote the most talented mobile artists of the day and to support ambitious, inquisitive viewers the world over. As the years passTheAppWhisperer has gained readers and viewers and found new venues for that exchange.
All this work thrives with the support of our community.
Please consider making a donation to TheAppWhisperer as this New Year commences because your support helps protect our independence and it means we can keep delivering the promotion of mobile artists that’s open for everyone around the world. Every contribution, however big or small, is so valuable for our future.
Jerry Jobe
Never content with just scratching the surface of what an app can do, Jerry Jobe decided to pass on what he learned about imaging apps to others. He’s constantly trying to figure out just what tools other artists have used, and trying to incorporate them into his own work, in an attempt to find his style. He’s written tutorials on over 145 apps so far, which you can find (along with his Song of the Day entries) at http://enthusiasmnoted.wordpress.com/ He lives near Atlanta, Georgia, where he also finds a creative outlet in acting and directing in community theater.