Mobile Photography & Art Tutorial – iC Painter – Automagic Painting by Jerry Jobe
We are so delighted to publish this bumper tutorial by none other than our brilliant tutorial editor, Jerry Jobe! Read Jobe’s thoughts as he puts iColorama’s sister app, iC Painter through its paces (foreword by Joanne Carter).
“I’ve received a lot of requests to cover the iColorama sister apps that break out the painting capabilities of that most flexible of art apps. MetaBrush has layers and brushwork is done manually, which is not one of my strong suits. It would require many tutorials to begin to cover, much like iColorama itself. iC Painter, on the other hand, is an auto-painting program which is deceptively simple, but can yield impressive results. There’s a lot to cover, so let’s dive in”.
iC Painter is an app which “shows its work”, allowing you to stop a painting process in the middle. For that reason, I thought a video would be appropriate. At the same time, a video which showed the features in detail would be too long. So in this tutorial, I have both a video and some more in-depth screenshots. First, take a look at the video, then perhaps use the text and screenshots for future reference.
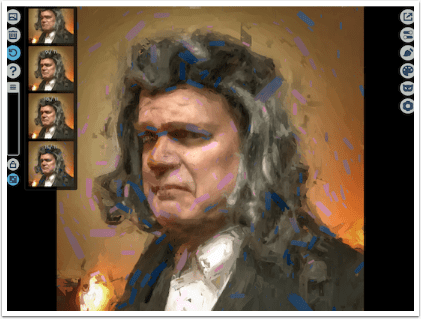
As explained in the video, iC Painter for iPad does not have a splash screen. That’s why I reproduced the icon for the initial image above. So when the app initializes, you will be brought to an empty screen. Like iColorama, the iPad version is in landscape, while the iPhone version is portrait. The same controls exist on the iPhone as the iPad, but they are in different places. I will show you the controls on the iPad version, and finish the tutorial be explaining the different structure of the iPhone version.
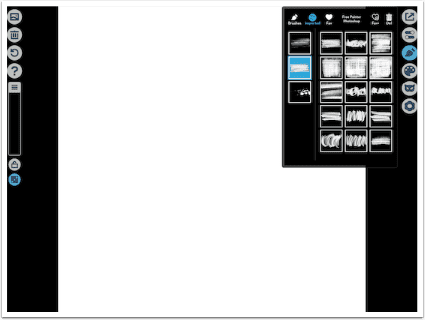
At the upper left is the button for importing images, followed by trash can/clear screen, history, help, brush size slider, brush size lock, and variable brush size toggle. As the image is painted the size of the brush changes. When the variable toggle is off, the brush still does not stay the same size. It starts large and gets smaller. When the toggle is on, it starts large, gets smaller, then larger, then smaller – back and forth until the number of painting steps is completed. I am usually quite satisfied with the variation that occurs with the lock off and the variable toggle on – it would be a very specialized look that would require all the brush strokes to be the same size.
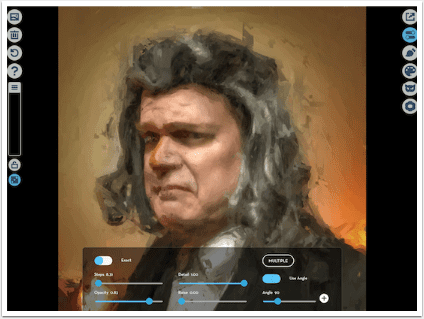
On the right are buttons for Save, Sliders, Brush, Palette, Mask and Extras.

The Import button takes you to your Camera Roll. There is no camera within iC Painter.

The help button takes you to a ten-page PDF with some explanation of the controls.
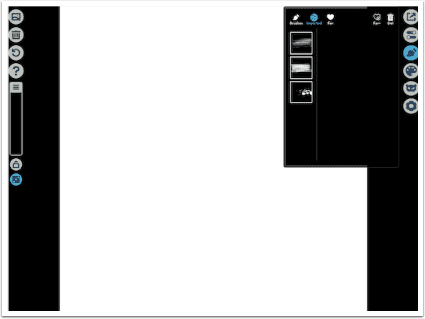
As you saw in the video, once you’ve selected your image, you are presented with a blank white canvas and the prompt, “Tap once for painting”. Before painting you should choose a brush or brushes. The selection of brushes within iC Painter is smaller than in iColorama, but you can add your own brushes here if you desire. Tapping the group on the left side of the Brush panel will select all of the brushes in the group; a single brush can be selected on the right.
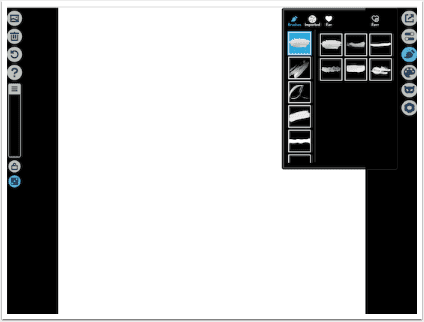
Below you will see that I have added three brush groups. If you find some brushes online, just choose to open them in iC Painter, and they will show up under the Imported tab.
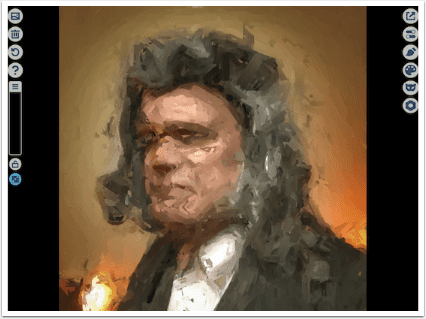
To begin, I am choosing the second imported brush group. All 15 of the brushes will be used.
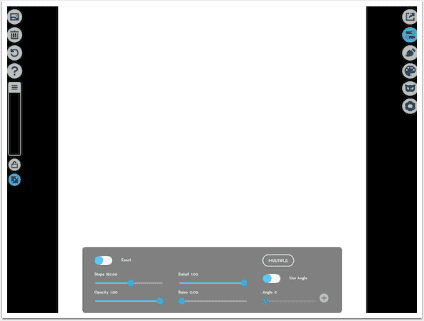
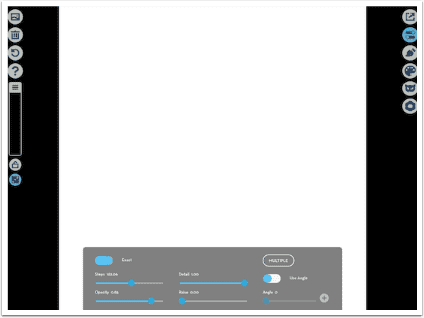
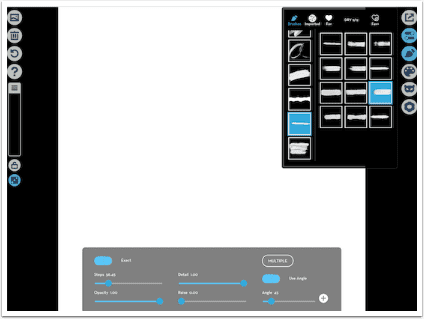
iC Painter paints in a number of steps. The number of Steps is controlled under the Sliders button. Steps defaults to 300, but I prefer to start at a bit above half of that. Running 300 steps takes around 30 seconds on my iPad Pro, and longer on my iPhone 6S+, so lowering the number of steps makes sense, especially when you are experimenting.
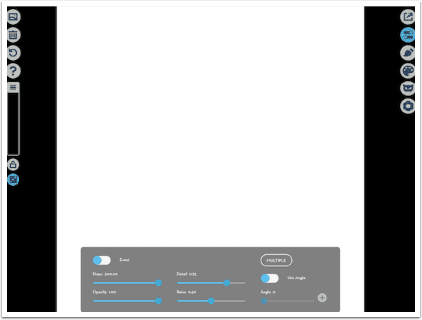
I also raised the amount of Detail to 100%, and lowered the Raise to 0. Raise gives each stroke an outline giving an illusion of depth. I find that certain chalky brushes (not the ones in use here) are better without the Raise.
I tap the screen and the painting is begun. Over at the right of the screen a counter measures the percentage completed. At any time you can tap the X to stop the painting if you like what you see.
I decide I don’t like that particular combination and so I tap the trash can to clear the screen. This also resets the brush size to the largest setting, to start over at the beginning. If you tap the screen to continue painting, the brush size will continue to get smaller.
Below you will see the large brush strokes that are used immediately after having a blank canvas.
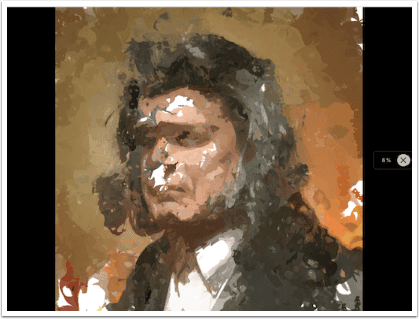
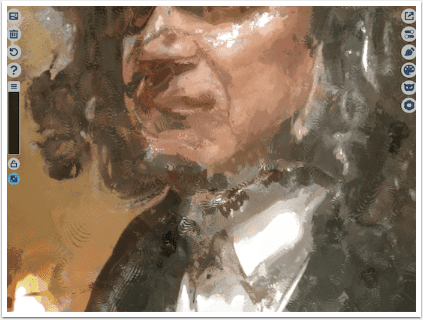
I wanted you to see the effect of the Raise slider, so I increased it to the maximum. Once again, I got a screen shot once the largest strokes had been made. Notice the dark edges of the brush strokes, and how they no longer blend together.
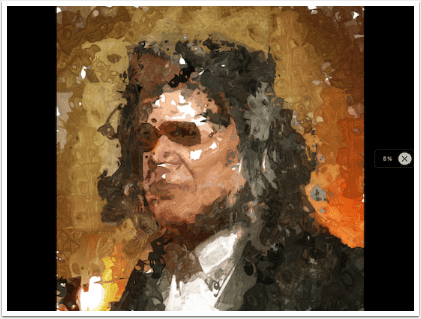
iC Painter is not designed to make a photographic illustration. There will always be a rough loss of detail, even when the Detail slider is all the way to the right. You may have noticed a switch with the label Exact. Exact mode will give you more detail, but at a cost. Let’s switch it on to see what I mean.
In Exact mode, some wavy lines, resembling fingerprints, are introduced. This is not my favorite look, so I rarely use Exact mode.
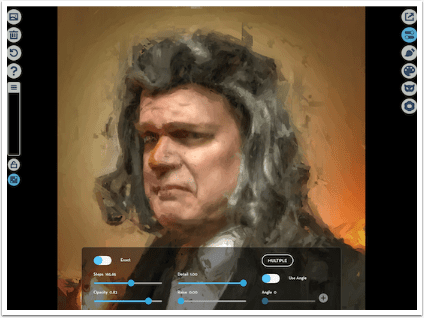
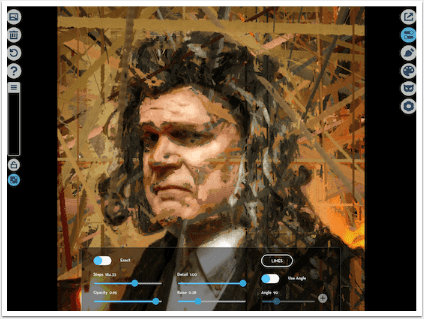
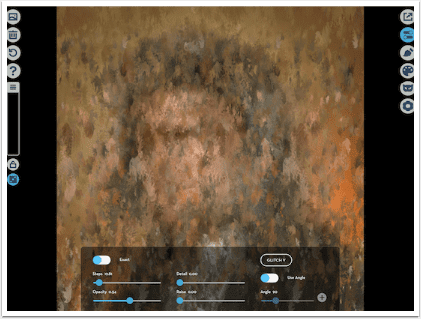
Also on the Sliders panel are a switch to Use Angle and an angle slider. The + sign allows you to quickly increment the angle by 45 degrees. In order to more clearly see the effects of angles, I have chosen a single horizontal brush.
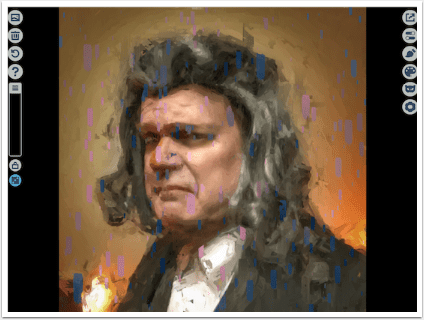
Every stroke is painted at the same 45-degree angle. This may be just the look you are wanting. I certainly find it useful for backgrounds, then applying more details with subsequent passes.

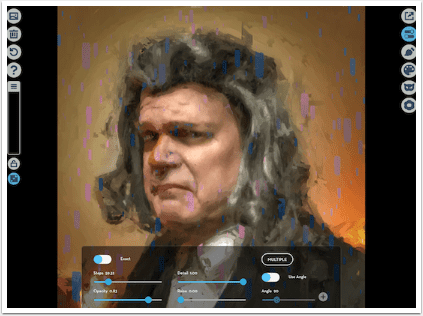
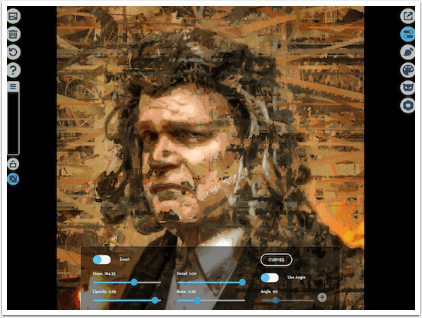
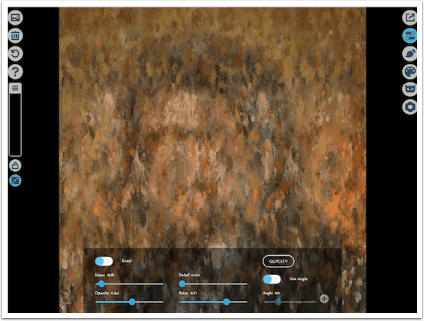
Below is the same individual brush with the Use Angle switch turned off. I like the roughness.
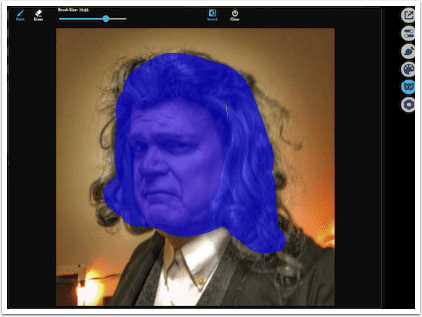
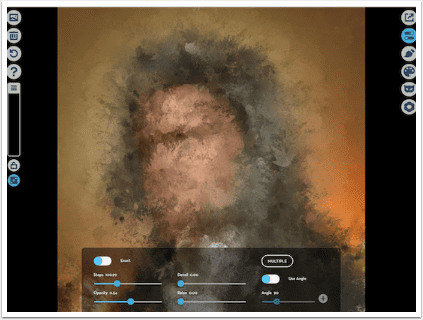
So the roughness is good, but how can I add detail to just the face? With a mask. The mask is found under the “cat’s-eye” button. The mask brush size can be adjusted using the slider at the top of the mask panel. However, you can not change the hardness of the brush. This can result in some nasty edges if you start playing with opacity.
I paint over the face, since it is easier to work with. However, that masks painting from the face. In order to mask so that only the face will get more painting and more detail, I have to hit the Invert button at the top of the mask panel.
I pulled back the opacity and increased the steps. Notice how the added detail was only added to the face and hair, while the surrounding areas remained the same.
Sometimes, in modern painting, artists will use a bit of strokes in other colors to add interest. This can be accomplished easily in iC Painter through the use of the Palettes. I tap the Palette button and I’m presented with a preview of the image and a set of palettes.
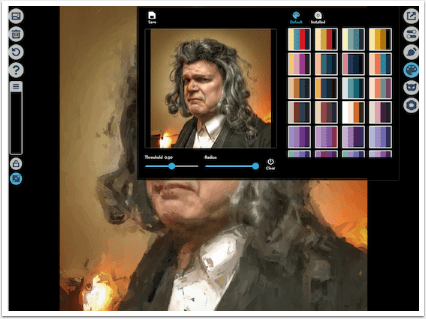
Once I choose a particular palette, it is reflected in the preview. Threshold and Radius help determine which color is overlaid on which part of the image, bot there is no Opacity slider for the palette. If you wish to have only a hint of the color, reduce the opacity of the brush strokes.
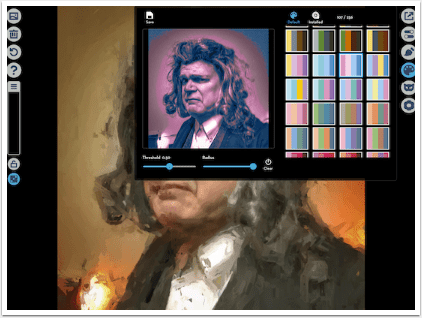
I only want a few strokes of the changed color, so I reduce the number of steps to almost its limit. (The lowest number of steps possible is 4.)

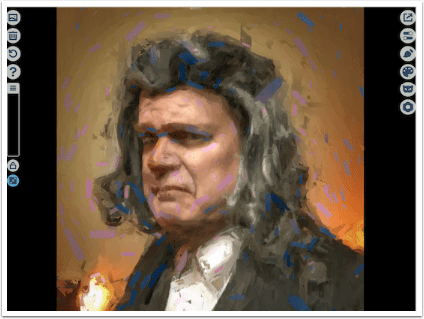
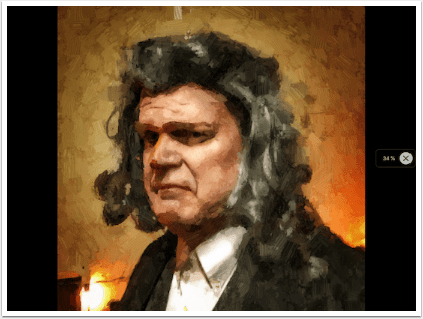
And below is the result of the few extra colored strokes.
If you don’t like the placement of the strokes, you can step back in history to try again. Here that would be back to step 10 of 11.
I stepped back, and decided I wanted my additional color strokes to be vertical. I flipped Use Angle and changed the slider to 90 degrees.
Below is the result. There are still some rather harsh colored strokes. Look at that blotch on the nose!
One solution is to paint on top of them. I go back into the palette and clear it so that any additional strokes will use the original colors. I also increase the number of steps to about 60. These additional strokes did help to cover some of the worst of the colored strokes.
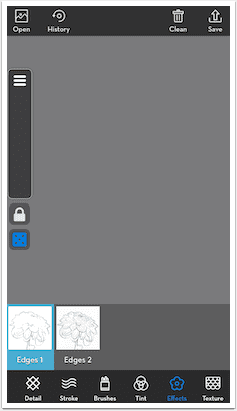
The Extras button contains two “finishing” features: Texture and Edges. When you tap on the four white squares, a series of texture thumbnails appear. You can change the scale and the opacity of the texture with the sliders.
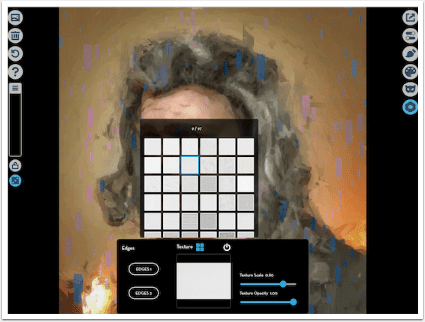
I also added Edges 1. If you tap on the Edges button an additional time, the edges are strengthened. To get rid of edges or texture, you have to step back through History to before they were added.
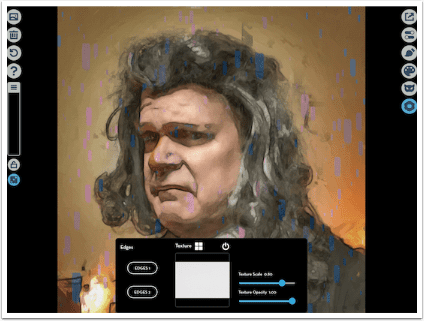
I put the word finishing in quotes, because edges and textures are not necessarily the last step you will want to take. For instance, I like to add additional paint to cover some of the edges. That’s what I’ve done below.
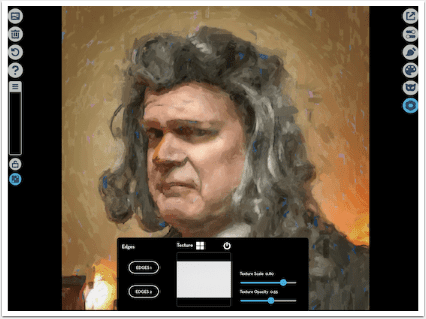
The drawback is that the new strokes at high opacity will also cover the texture. If you look at the image above, you will see some totally smooth strokes covering the texture. This can be helped by adding the same texture at the same scale, but with lower opacity. I’ve done that below.
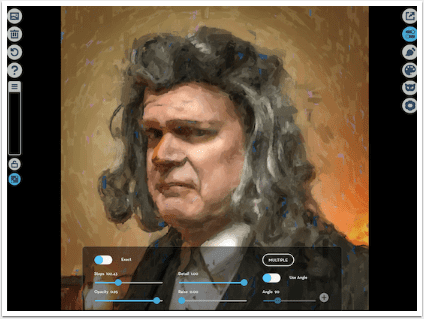
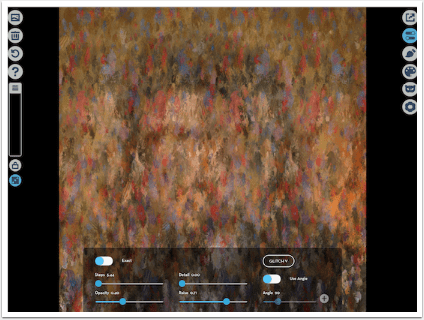
Most of what we’ve covered so far helps to make the painting look more like the image. There are some nice features in iC Painter to rough up the image as well. You can see below that the Raise slider does that to some extent. The Mode button, where Multiple is the default, above the angle parameters also helps to roughen the image.
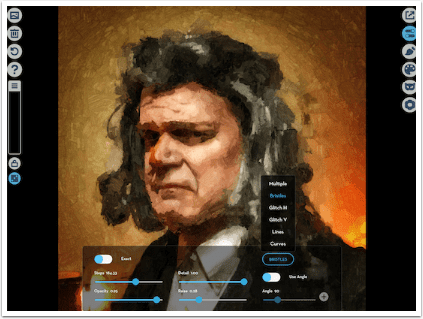
The first mode is Bristles. As you can see below, each brush stroke has lines within it, as if the brush had large bristles.
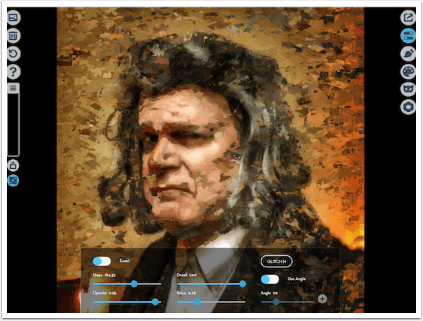
The next is Glitch H, or Horizontal. The glitch modes pull paint from another part of the image. In this case, the resulting strokes are horizontal.
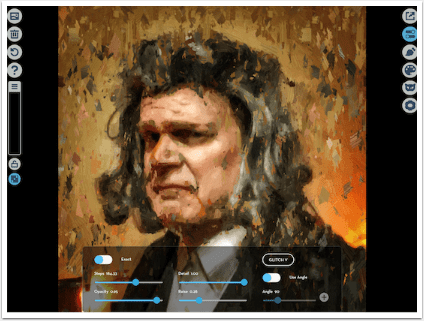
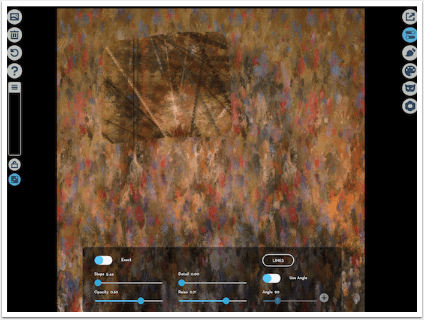
Glitch V, which I prefer, created vertical strokes.
Lines creates lines using the current brush. The current brush is a horizontal line, so the resulting lines are straight. If it was a drip brush, the lines would be broken by the vertical drips. If the brush was curved, the lines would have a scalloped look.
Although the number of steps is high in the example below, I stopped the painting at 4-5%.
Curves, instead of lines, creates sine waves.
Below you can see that I added some high detail Multiple mode strokes in over the Curves using a mask.

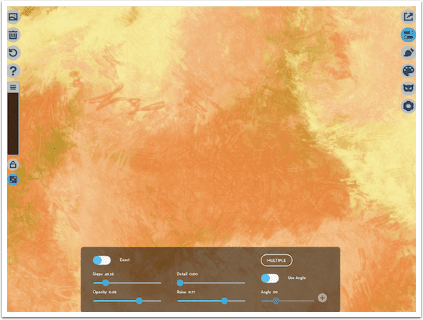
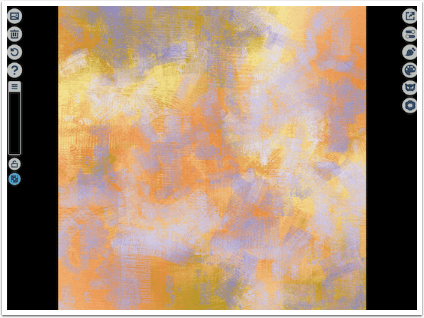
What happens when we make the image so rough we can’t recognize the subject any more? You get a textured background or abstract. iC Painter excels here. The first thing I do is pull the Detail down to 0.
Well, the results still resemble the original. You can make out the basic shape.
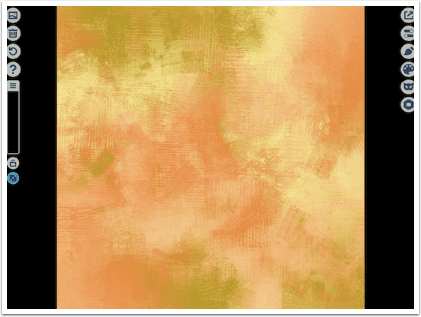
Add some Glitch V and it becomes less apparent.
Another pass of Glitch V with additional Raise makes it more abstract.
Then a couple of passes with Glitch V with different palettes adds some color noise.
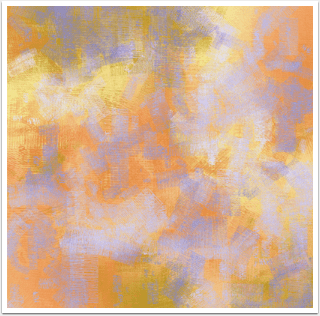
Our abstract could continue with some masked-in Lines.
The lines could be followed with Curves.
I didn’t like the additional figures, so I stepped back in history and saved the abstract with additional colors.
I took the results into iColorama for some additional toning and sharpening, and also added a Leak. You only see the figure in there if you know to look for it.

Below you’ll see some zoomed-in detail of another abstract. Changing brushes in between passes is a good way to get some variety. Here I started with a blotchy brush and then used a scribble on the next pass.
This used some crosshatches.
I added some strokes with another palette.
Here’s the resulting background.
And here’s the image that used the background.
And that’s iC Painter. It is not an app that you master, since you are not making the brush strokes, and there is a healthy amount of randomness to it. However, with trial and error, and careful coaxing, you can get some nice results.
What does it look like on the iPhone? Well, it does start with a splash screen.

Open, History, Clean and Save are across the top. At tke bottom left is Mode, which includes Exact as well as Multiple, Bristle, Glitch H, Glitch V, Lines and Curves. Set contains Opacity and Steps. Detail contains the Detail slider and the button to enter the Mask panel. Stroke contains the Angle parameters and Raise. Brushes are self explanatory, and Tint is the Palettes panel.
If you continue to scroll along the bottom, you’ll find Effects (Edges) and Texture. So all the controls are there, just in a different place than you would find them on the iPad.
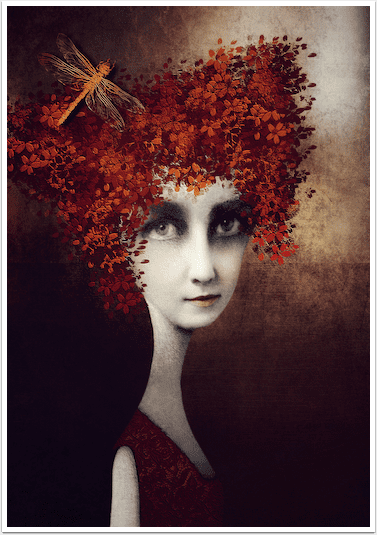
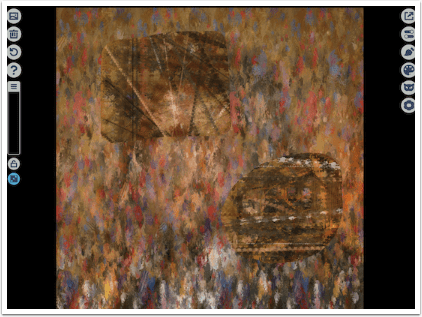
I know it’s been a long tutorial, but I thought you might like to see some examples. I’ll start with the image from the video of Lucy the cat.
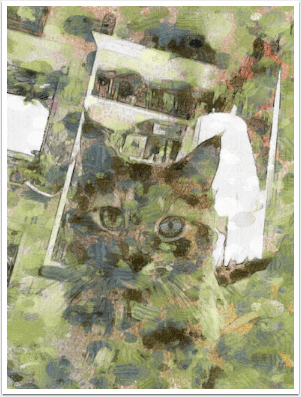
This abstract uses brush WCOLOR 10, which gives it a lovely floral look.

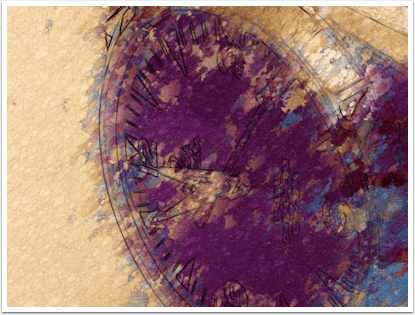
This image of a watch was very abstract, so I left the edges right on top to help you know what it is.
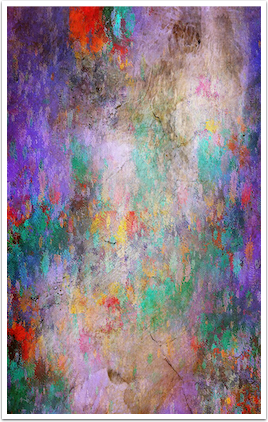
Here’s another abstract, hit with some additional Distressed FX.
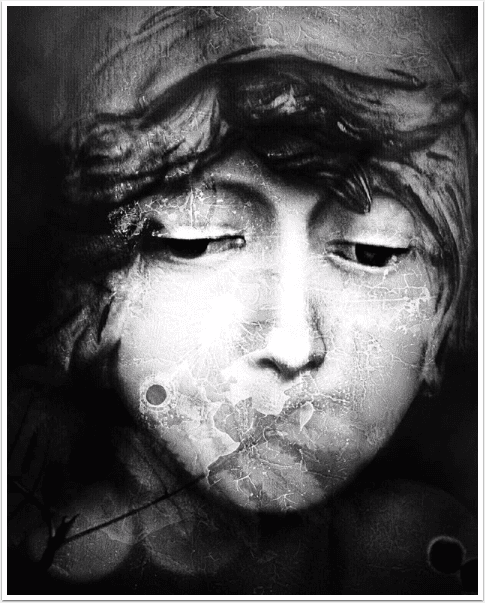
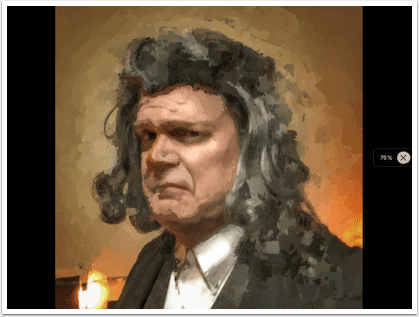
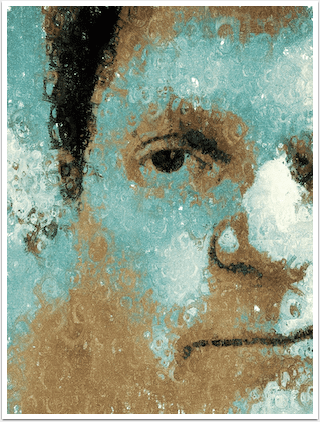
And what would my tutorial be without another selfie?
Until next time, enjoy!
Please Read…
A few weeks ago we removed all traces of our dilly dally with advertising. The adverts were intrusive and spoilt your enjoyment of TheAppWhisperer.com, you told us. We were happy to do this but of course the revenue did help to support our not for profit site. Therefore, please consider offering a contribution or supporting us with a regular monthly donation of your choosing, so that we can continue to bring you this high quality level of specialist journalism, day in and day out. Please reward our passion, as we reward yours…we would not ask if it was not important.
[seamless-donations]
Jerry Jobe
Never content with just scratching the surface of what an app can do, Jerry Jobe decided to pass on what he learned about imaging apps to others. He’s constantly trying to figure out just what tools other artists have used, and trying to incorporate them into his own work, in an attempt to find his style. He’s written tutorials on over 145 apps so far, which you can find (along with his Song of the Day entries) at http://enthusiasmnoted.wordpress.com/ He lives near Atlanta, Georgia, where he also finds a creative outlet in acting and directing in community theater.