
Mobile Photography – Tip Of The Day – Number 23
Welcome to another new section from your favorite mobile photography website and one of the most popular in the world. Today, we’re publishing our twenty third Mobile Photography/Art Tip Of The Day to our brand new section of the site.
Each day we publish a short quick tip to help you with your mobile photography, this may be related to editing your image, capturing your image, printing your image, all manner of things, across the complete photographic and art mobile genre – we’ll be featuring great mobile street photography tips, great blending tips, great cloning tips, we will cover it all from some of the greatest mobile photographers and artists in the world. We’ll also have a widget in our right hand column, displaying the Tip of The Day every day, just click on that and you will be taken to our tip of the Day archive.
We are delighted to publish our twenty third Tip Of The Day today with a great tip from our newest staff member and tutorial writer, Jerry Jobe. We have published several of Jerry’s tutorials already and if you have missed those, please go here.
Over to you Jerry (foreword by Joanne Carter)…
“Most photographers – especially mobile photographers – will admit to wishing their photos were a little bit sharper. Most Photoshop, Lightroom or Aperture workflows will include some sharpening, and there are various means of doing so. With the release of Leonardo, one of my favorite methods of sharpening comes to the mobile platform – high pass sharpening.
High pass sharpening only sharpens edges, so minor noise is not sharpened at all. (Major noise produces edges, and that will be sharpened by any sharpening method.) I’m sure you can see how that would be an advantage over a method that sharpens everything.
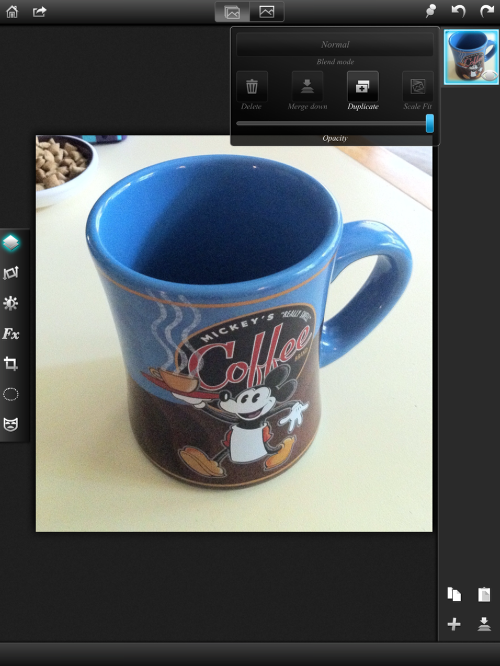
It’s a method that requires layers, so Leonardo, as a layering application, is fully capable of producing the effect. We start by duplicating the base layer – tapping the layer brings up a dialogue box that includes the ability to duplicate a layer.
Once the layer is duplicated, we want to change the blend mode to Overlay. Once again, tapping the layer brings up the dialogue box, and then tapping the word Normal brings up the list of blend modes.
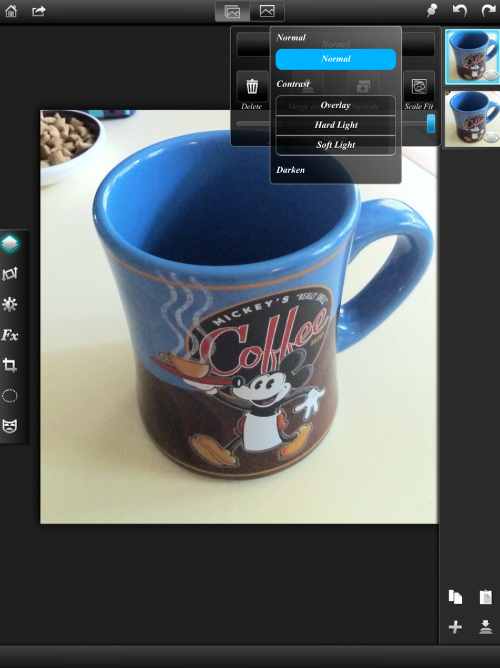
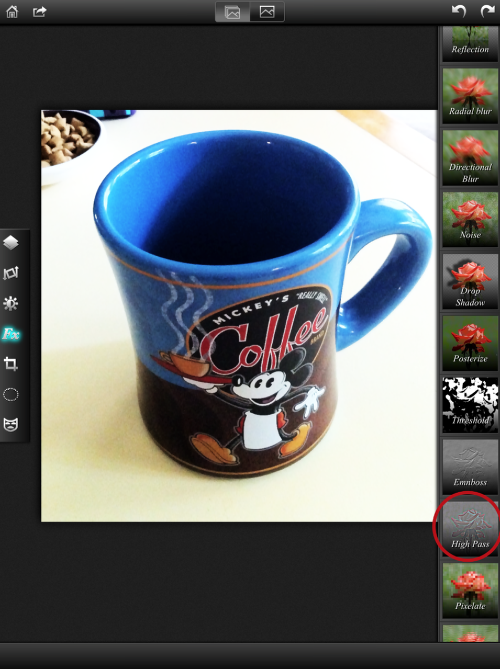
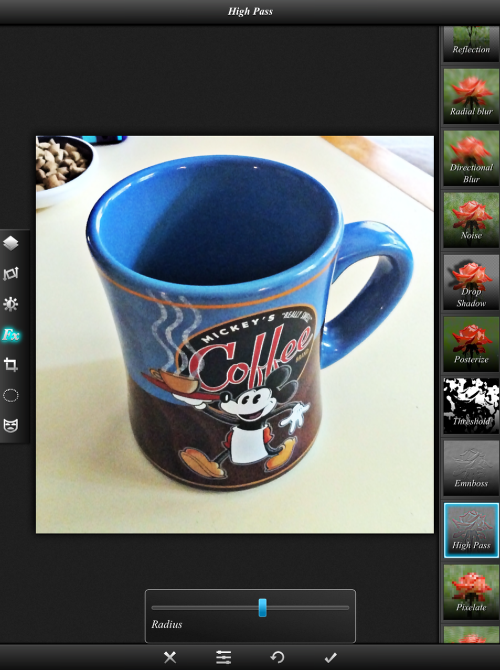
The Overlay blend mode is controlled by how far away from 50% gray a tone is. If it’s brighter, it will brighten the underlying image; if it’s darker the image is darkened. This increases contrast and saturation, as you can see. But we don’t stop there. Under the FX menu is an option for High Pass.
Tapping the High Pass option and raising the Radius slider slightly will give you the sharpening effect you’re looking for. The Radius slider controls how wide the “edge” becomes for sharpening.
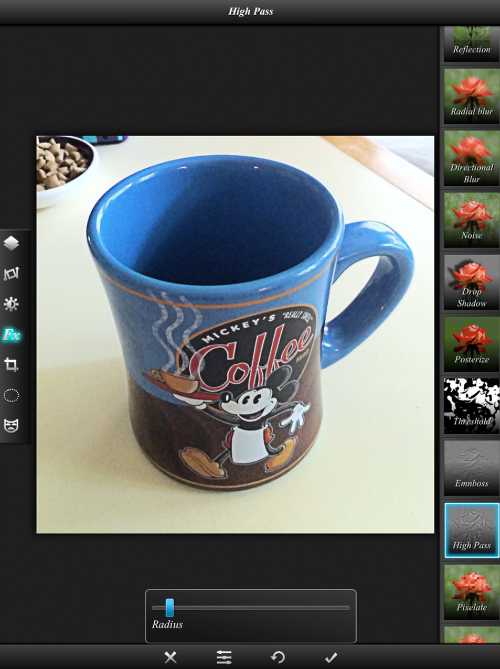
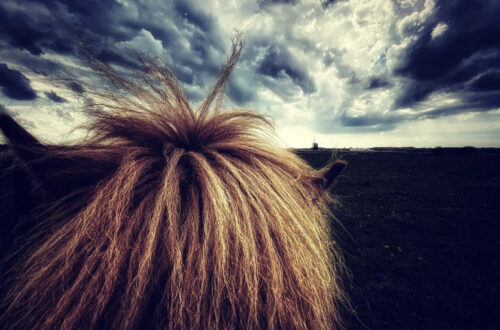
If you increase the Radius too much (as below), then the edge becomes wide enough to produce halos.
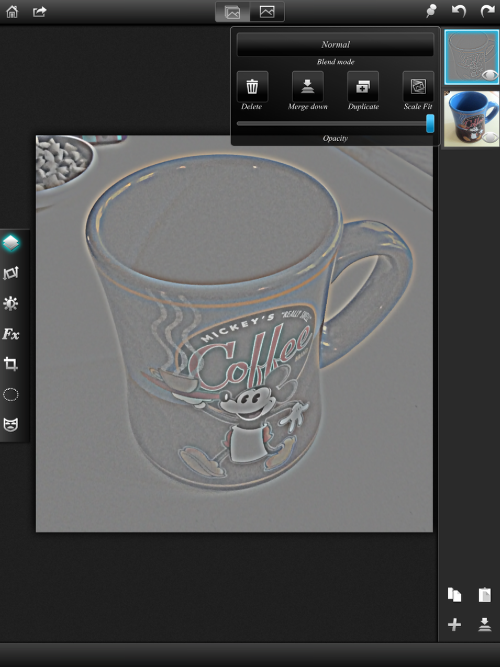
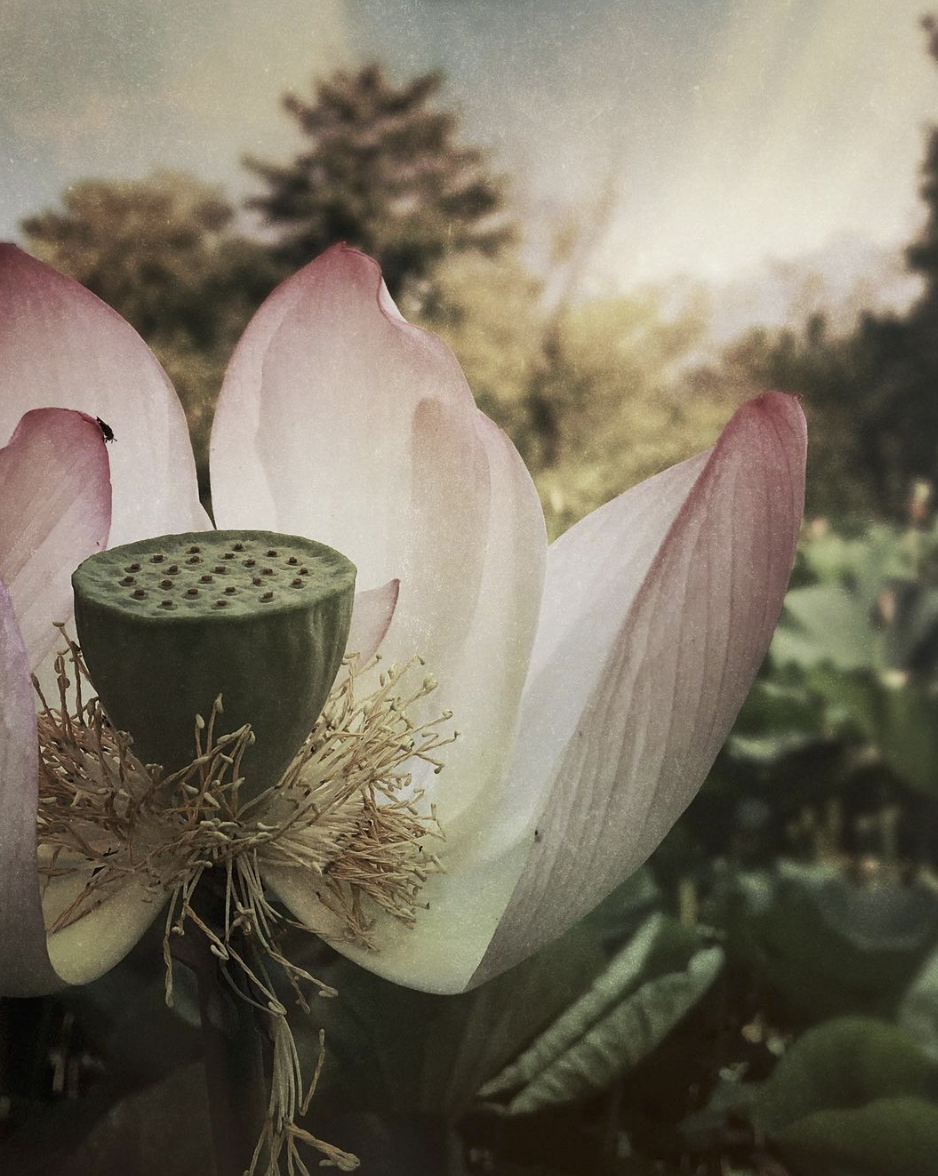
Let’s take a look at the High Pass layer itself to illustrate what occurs here. I’ve changed the blend mode of the High Pass layer to Normal to make it visible. Notice how the flat areas, like the table, are close to 50% gray. That means they don’t affect the underlying image at all. But the edges are either darker or lighter than 50% gray, and will therefore increase the contrast of the edges, making them appear sharper.
Below I’ve changed the blend mode back to Overlay and zoomed in, in order to give you a better look. The radius setting is low, about 11 pixels.

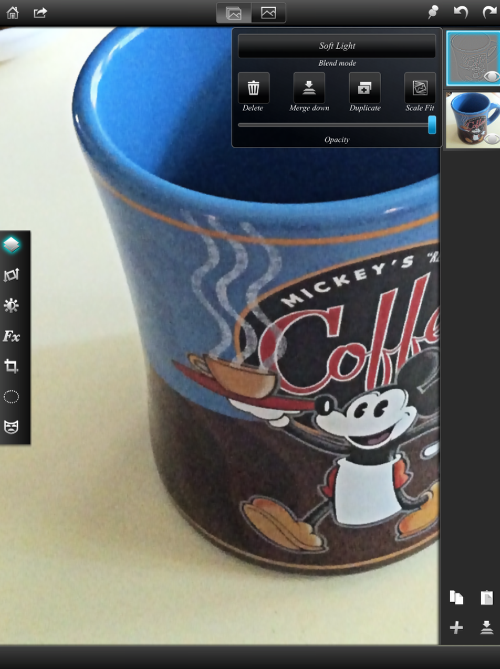
There are additional ways to modify the look of the sharpening, other than the Radius. The first is to change the blend mode to one of the others in the Overlay family. To lessen the effect, change the blend mode to Soft Light.
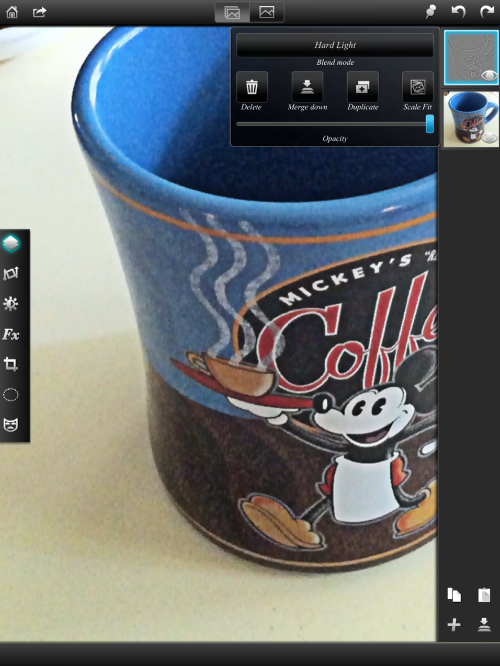
To increase the sharpening, change the blend mode to Hard Light. The scale from least amount of sharpening to most is Soft Light – Overlay – Hard Light.
You can also lower the amount of sharpening by reducing the opacity of the High Pass layer.

Finally, I’ve done a split screen of before and after High Pass Sharpening. Look closely and you’ll see the difference!
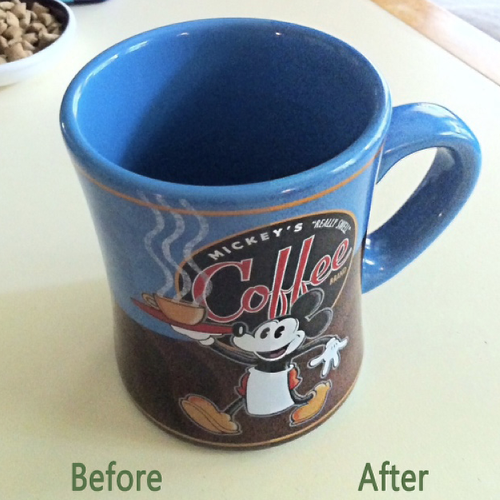
This method of sharpening your photos will not always give you the results you want, but it can be a valuable tool in your arsenal. Enjoy!”
Jerry Jobe
Never content with just scratching the surface of what an app can do, Jerry Jobe decided to pass on what he learned about imaging apps to others. He’s constantly trying to figure out just what tools other artists have used, and trying to incorporate them into his own work, in an attempt to find his style. He’s written tutorials on over 145 apps so far, which you can find (along with his Song of the Day entries) at http://enthusiasmnoted.wordpress.com/ He lives near Atlanta, Georgia, where he also finds a creative outlet in acting and directing in community theater.
2 Comments
Carolyn Hall Young
I had “known” this by visual feel, but not intellectually, just through trial and error. You have clarified the High Pass sharpening process really well, here. Recently, I had asked my husband about it, he’s a film and video guy, and he had not been able to articulate it. I passed this along to him, and he appreciated it, too. I thank you!
Cecily
This is so amazingly helpful!!!
Thanks so much for clearing up this
mystery for me!!!
Cecily