Mobile Photography / Art Tutorial – Alien Sky: Exploring New Worlds with Jerry Jobe
We are delighted to publish Jerry Jobe’s latest mobile photography/art tutorial for our reading and viewing pleasure. This time Jobe takes a look at the app Alien Sky by BrainFeverMedia. Read Jobe’s thoughts about this app as he puts it through its paces (foreword by Joanne Carter). Take it away Jerry…
Alien Sky retails for $2.99/£2.29 and you can download it here.
“Many artistic/photographic apps try to cover all the bases. These “suites” offer the user many different ways to manipulate their images. Others choose to stick with a certain function. This can be tricky, because the developers need to be fairly certain that they protect their little niche by being the best out there in their own little corner.
BrainFever Media decides to chart the second course, popping out apps like Reflect, for reflected water effects, and LensLight and LensFlare for bursts of light. Another area where they have carved out their own niche is in the addition of stars and planets to a sky. Unlike Reflect, LensLight and LensFlare, Alien Sky does not seem to have any competition in its own niche. We know that a lack of competition usually means a shoddy product, but I’m glad to say that Alien Sky is as robust and up-to-date as all of BrainFever’s other apps.
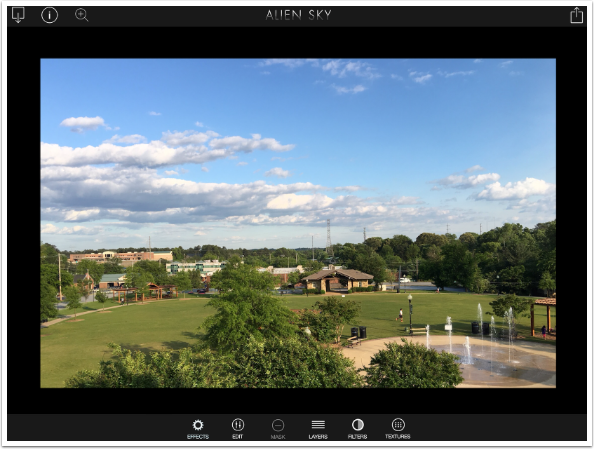
So what does Alien Sky do? It takes an ordinary landscape right out of this world – literally”.
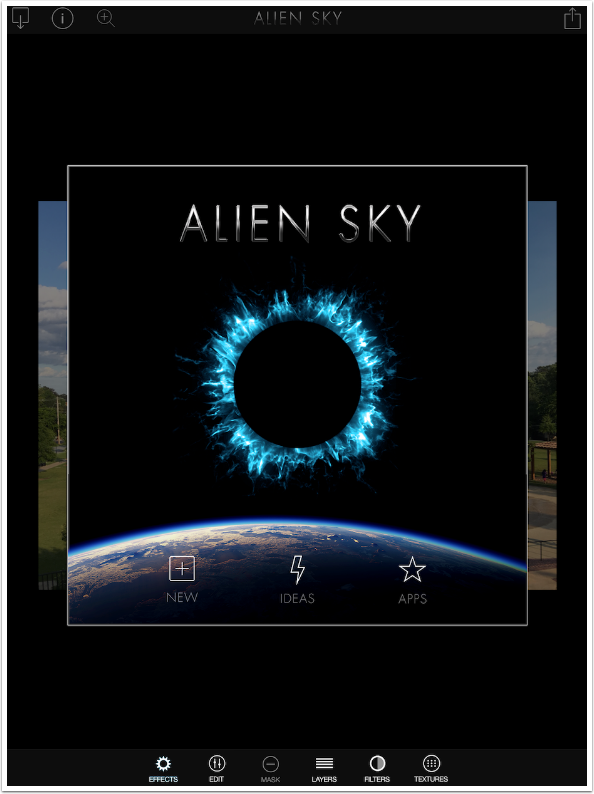
Once the splash screen disappears, you are invited to start a new project, get Ideas by looking at images tagged with #brainfeverapps on Instagram, or look into BrainFever’s other apps.
If you choose a new project, you are shown your Library in Moments order (includes your Photo Stream). At the bottom left, you can tap on “Photo Library” to access different albums, or the Camera to capture an image. There’s also an “Epic Worlds Collection” which I’ll discuss later.

Alien Sky is a universal app for iPhone and iPad. There’s also an Apple Watch version. I will be using the iPad version today, rotated to landscape orientation from here on out. The iPhone version will rotate the image correctly to landscape, but the interface does not rotate, remaining in portrait.
Once you select an image, you are taken to the Crop screen. The only “fixed ratio” options available are Square and Reset to Original.
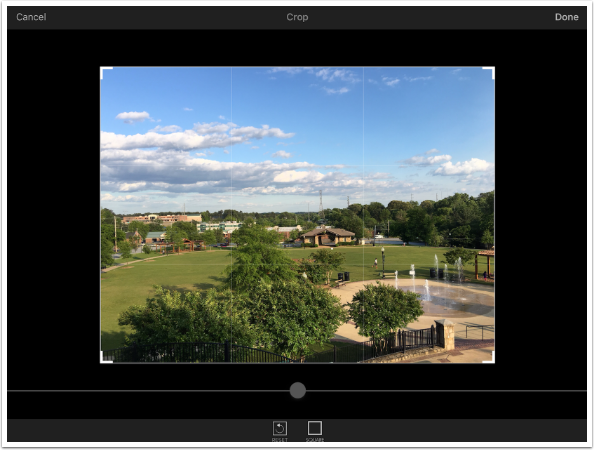
The Crop handles are free-form, and are not constrained to any fixed ratio. Even if you choose Square, the handles move freely.
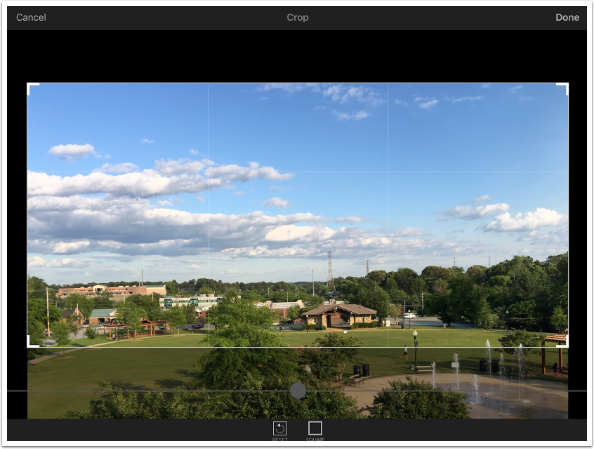
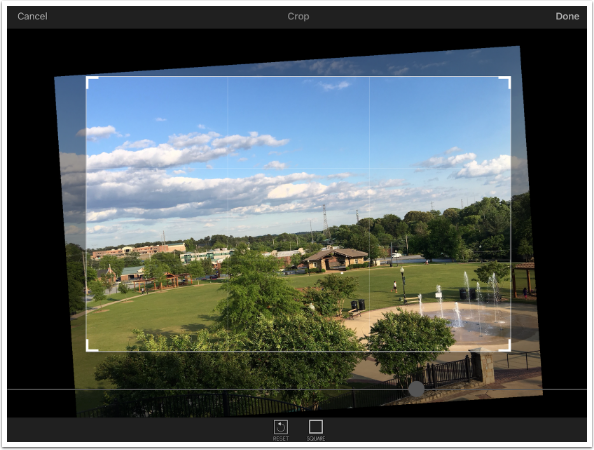
The slider on the Crop screen allows you to rotate the image to straighten the horizon.
Once you tap Done on the upper right of the Crop screen, you enter Edit mode. At the top left are the New, Info and Zoom buttons. Info is shown below. The help is rudimentary.
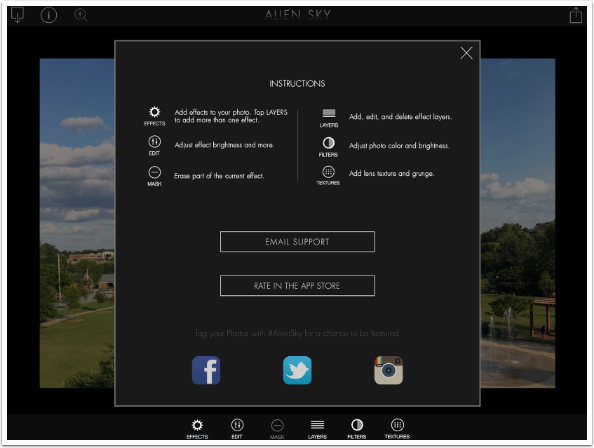
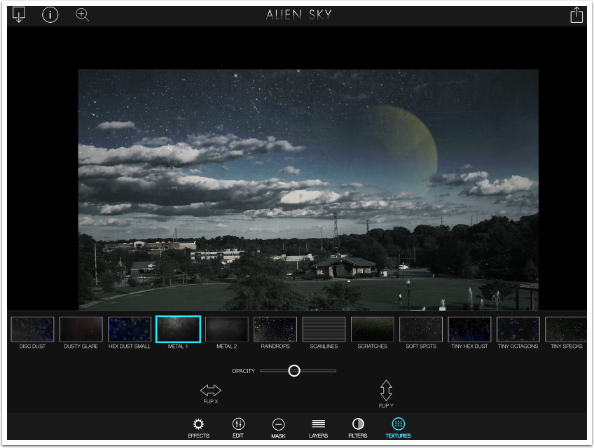
At the bottom are six buttons: Effects, Edit, Mask, Layers, Filters and Textures. Mask is greyed out below because nothing has been added, therefore there is nothing to mask. Textures are included within Filters on the iPhone version.
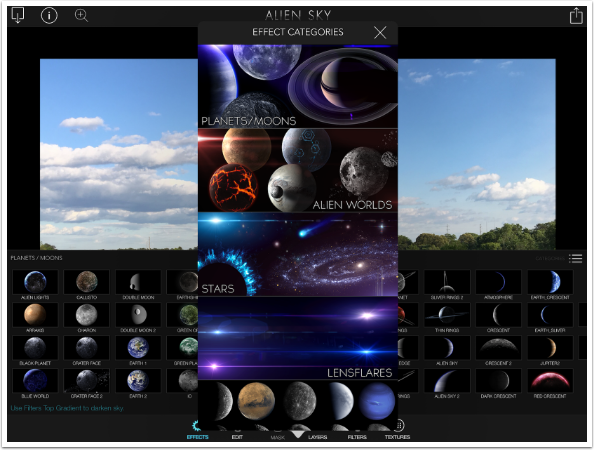
We’ll start by adding an Effect. Effects are grouped into Categories. You can access the Categories menu by tapping the menu icon at the right of the effect thumbnails, or scroll left to right through the categories sequentially.
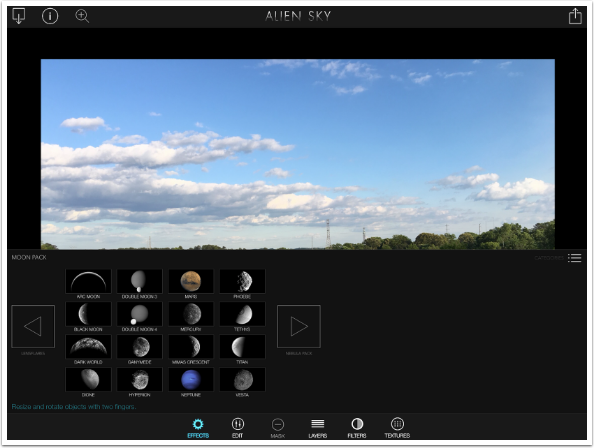
I choose the Moon Pack, which was reached by scrolling the Categories menu down. Notice the arrows which would allow me to move back to the Lensflares or forward to the Nebula Pack.
Also, notice the Earth’s moon is not included. This app produces Alien Skies, not faithful reproductions of our own.
I choose the Tethys moon and it is placed in the center.
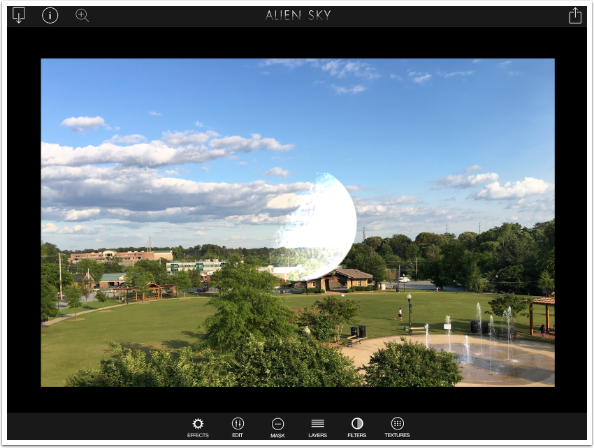
It is resized, moved and rotated with a two-fingered pinch.
It’s obvious that the moon is now in front of, and thus closer than, the clouds. This will be remedied through masking. There are three different masking brushes – soft round, hard round and square. Size and Opacity are controlled with sliders.
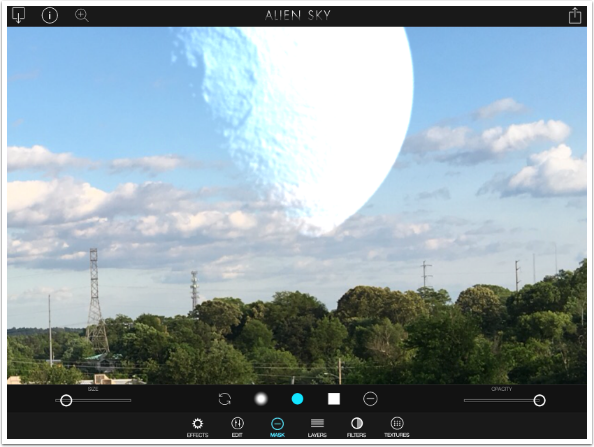
I paint over the cloud with the soft round brush so that the clouds will appear “in front of” the moon. I took a little too much away, but that is easily remedied.
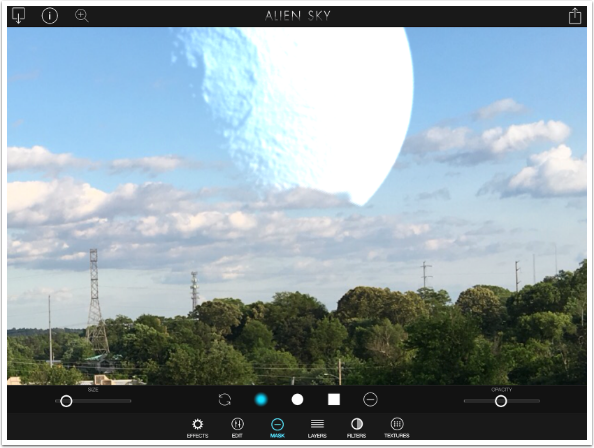
Tapping the minus button changes it to a plus, and I can paint the moon back in.

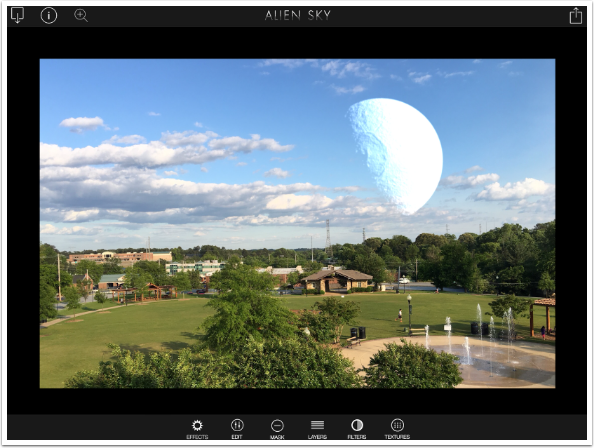
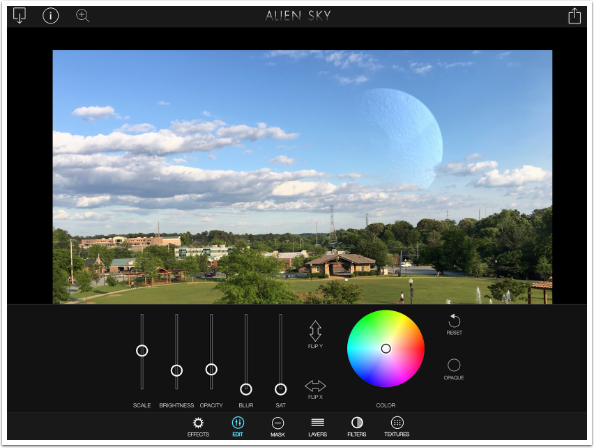
Once I’ve masked the moon Effect, I turn to Editing the Effect. It really was too harsh and too well-lit for what is essentially a daylight scene. I lower the Brightness and Opacity to bring it into line.

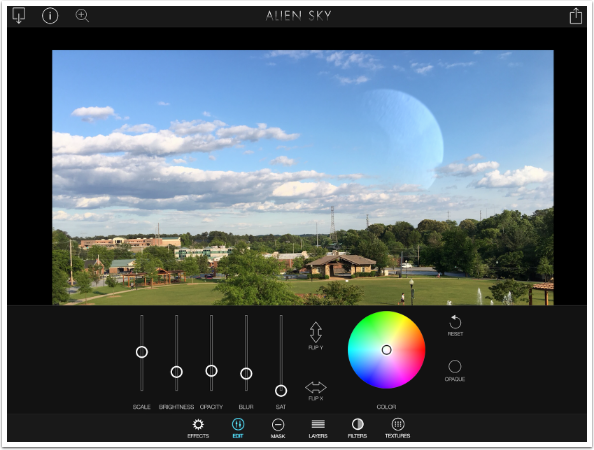
Below I have lowered the Saturation to zero, and you will notice no difference. These controls are for the Effect only and do not change the scene. Since the moon was gray, changing saturation is meaningless.
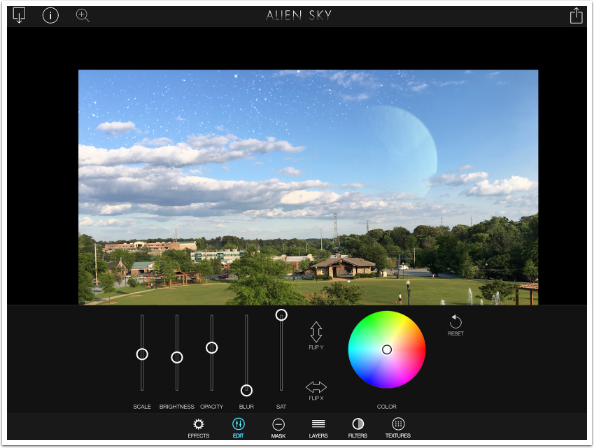
The Blur slider can be useful to simulate the effect of the atmosphere on the object. Atmosphere only blurs celestial objects slightly, though, so use the Blur slider sparingly.
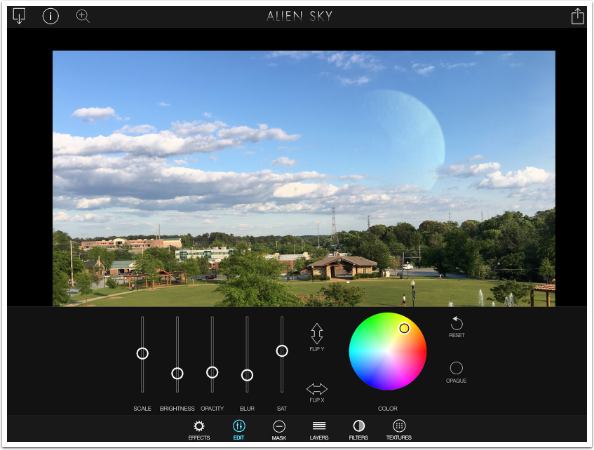
There are controls to flip the object on the X or Y axis. There’s also a color wheel that allows you to tint the object. (I had to increase the Saturation to allow you to see the tinting.)
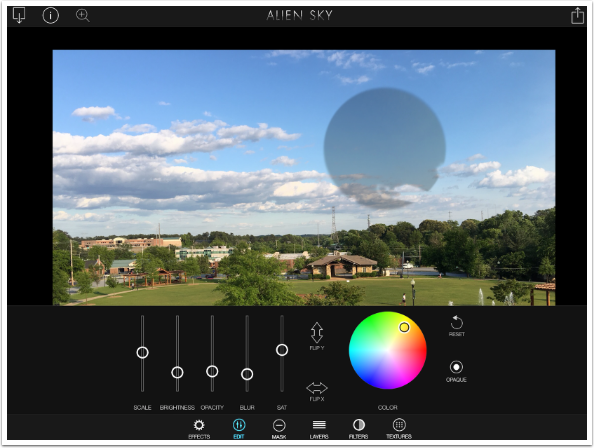
There is also an Opaque button to make the object solid. This is helpful when you have added a star field on a very dark background, and want to quickly place a moon in front of that field without having to mask the stars. In this particular situation it would look weird
In order to add additional Effects, you access the Layers menu. Tap any empty layer to add an effect. There are icons to help you change the order and visibility of the layers, or delete one.
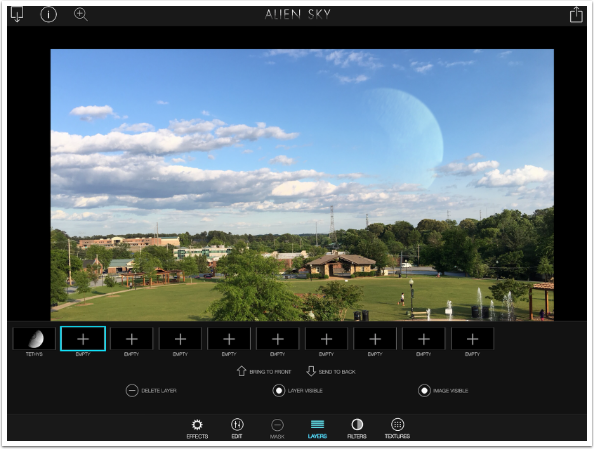
I’ve added some stars in a second layer. Each layer has its own mask, and I am going to have to mask these stars away from the clouds and moon.
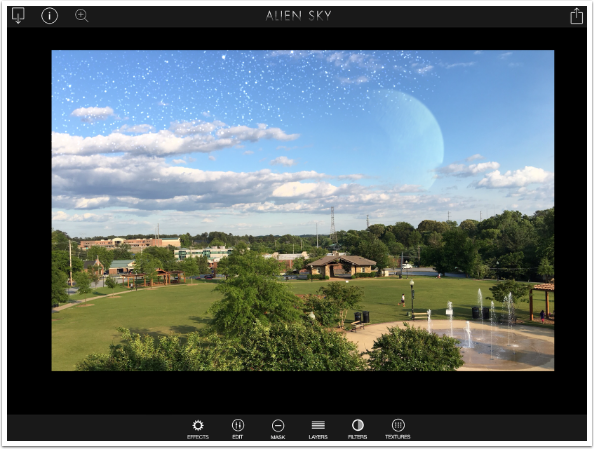
Below I’ve done my masking, and I’m lowering the opacity of the stars.
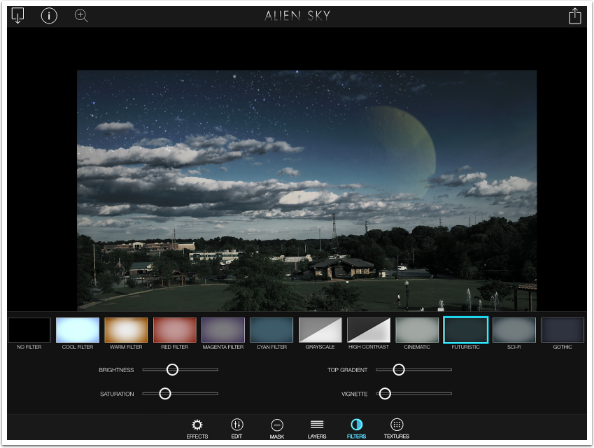
Filters and Textures help bring your images together. Below you’ll see some of the selection of sixteen different filters. There are four sliders that control the Brightness and Saturation of the filter and the intensity of the Top Gradient and Vignette.
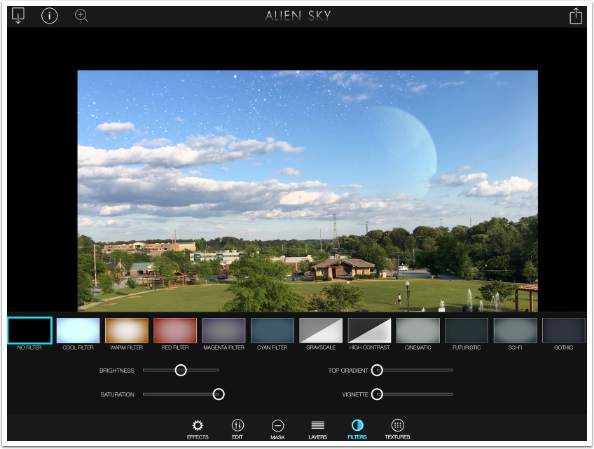
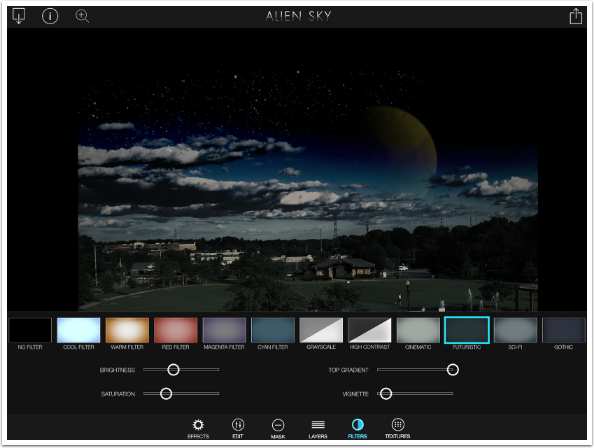
Below I’ve chosen the Futuristic filter, lowered the overall Brightness and Saturation, and increased the dark Top Gradient, which makes the sky even darker.
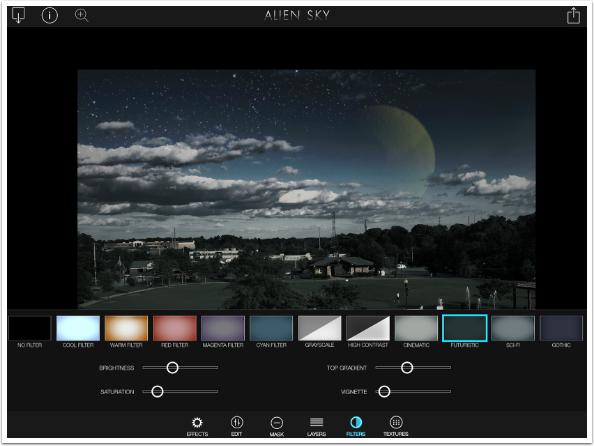
If you go overboard with the Top Gradient, as I have below, you will block out some of your object.
Below I’ve tweaked the sliders a bit. Filters and Textures are applied to the entire image. They can’t be masked and they are not considered a layer.
There are nineteen different Textures, and they range from the subtle to the obvious. There is an Opacity slider and controls to flip the textures on the X or Y axis.
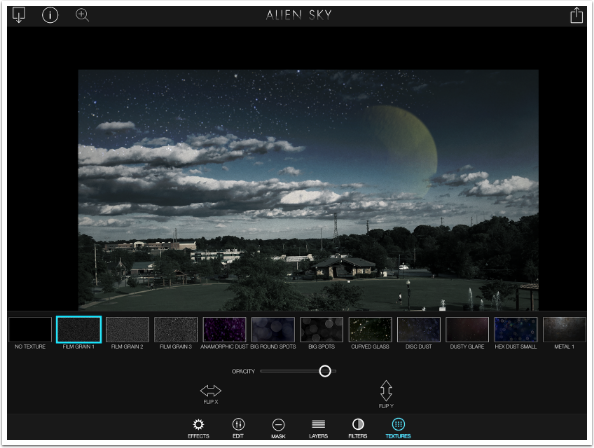
I prefer the Metal textures to more obvious overlays like Raindrops or Big Spots.
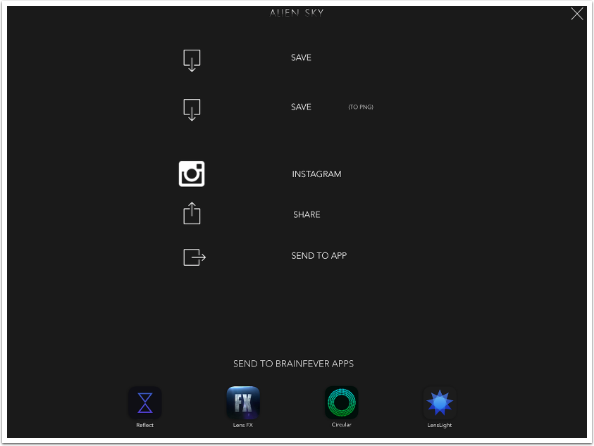
Tap the icon in the upper right to access the Save screen, which is shown below.
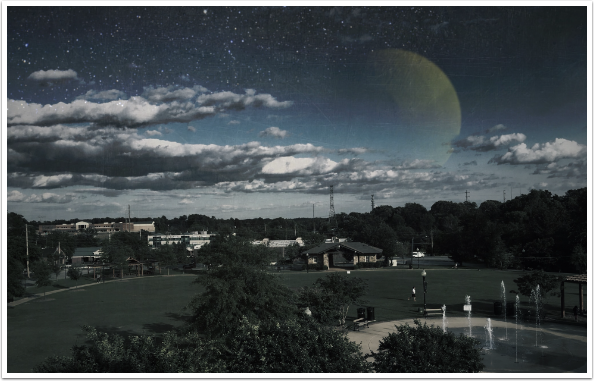
Here’s the finished image, a local park transformed to something not quite right.
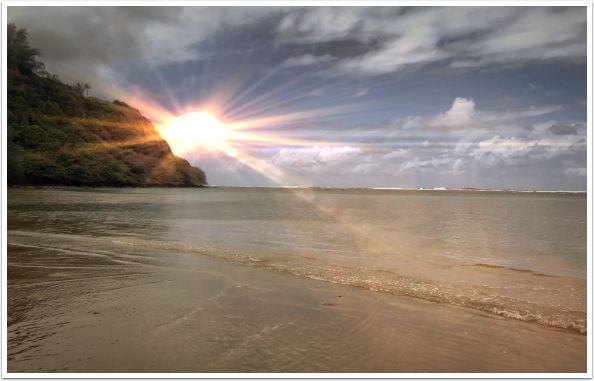
A combination of a setting sun and a lens flare works well on this seaside image.
I spoke earlier about the Epic Worlds Collection. This collection is several dozen images that you can freely use as backgrounds for your alien worlds, replacing your images. BrainFever just asks you to tag your images if you post them on social media.
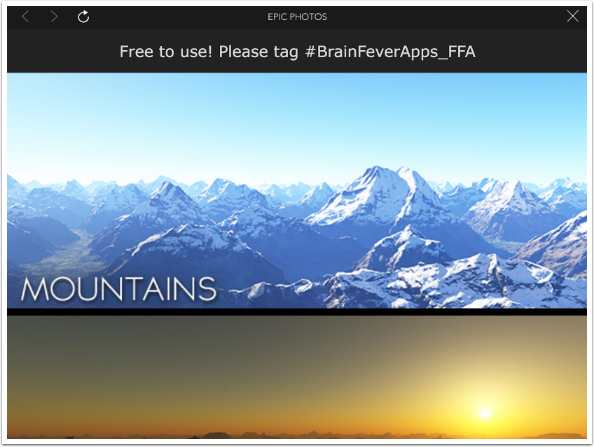
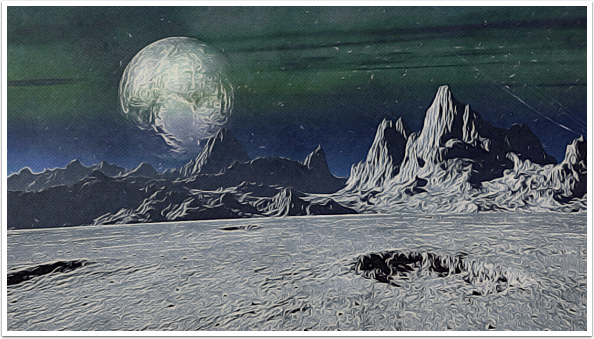
This is a mountain image from the collection, manipulated in Alien Sky and then finished in Brushstroke.
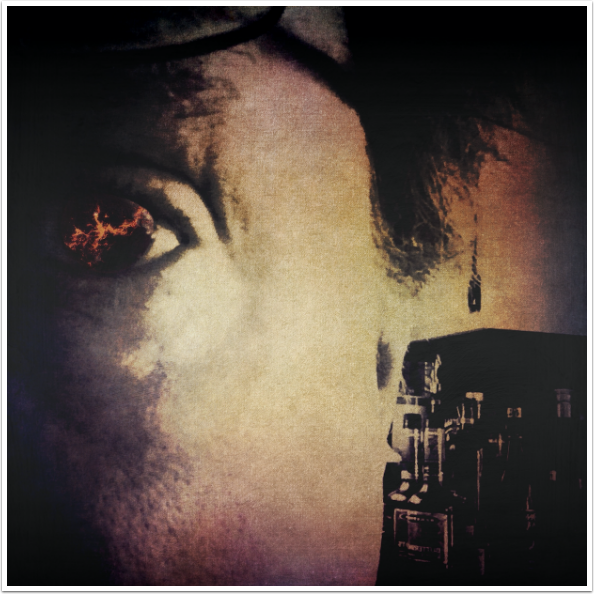
Of course, there’s nothing that forces you to use Alien Sky on a landscape rather than a portrait. Maybe I left my contacts in too long.
Alien Sky has found its niche and it does what it does very well. If you decide you’d like to give an otherworldly look to your images, then this is the app to use. Until next time, enjoy!
Donating = Loving = TheAppWhisperer.com
TheAppWhisperer has always had a dual mission: to promote the most talented mobile artists of the day and to support ambitious, inquisitive viewers the world over. As the years passTheAppWhisperer has gained readers and viewers and found new venues for that exchange.
All this work thrives with the support of our community.
Please consider making a donation to TheAppWhisperer as this New Year commences because your support helps protect our independence and it means we can keep delivering the promotion of mobile artists that’s open for everyone around the world. Every contribution, however big or small, is so valuable for our future.
Jerry Jobe
Never content with just scratching the surface of what an app can do, Jerry Jobe decided to pass on what he learned about imaging apps to others. He’s constantly trying to figure out just what tools other artists have used, and trying to incorporate them into his own work, in an attempt to find his style. He’s written tutorials on over 145 apps so far, which you can find (along with his Song of the Day entries) at http://enthusiasmnoted.wordpress.com/ He lives near Atlanta, Georgia, where he also finds a creative outlet in acting and directing in community theater.