
Tutorial – Creative – Lens Flare
Lens Flare is an app by BrainFeverMedia, the creators of LensLight and Alien Sky. If you’ve seen J.J. Abrams’ Star Trek and you liked it, you will just love this app. The app allows you to add a wide variety of natural looking lens flares and also some textures to your images. It has an impressive tool set that should satisfy the need of every sci fi addict but it is also quite useful for landscapes or even street shots if you want to enhance your images in a very realistic way.
The app first came on the market in February 2010 and has been recently updated to give the users some more flare options, some adjustments of the existing ones AND… the possibility of adding multiple flares to the same image without having to save it and restart the app.
I went through the previous version of LensFlare (before updating it on my iPad) and through the updated one (on my iPhone), comparing every single flare and this is what I found out:

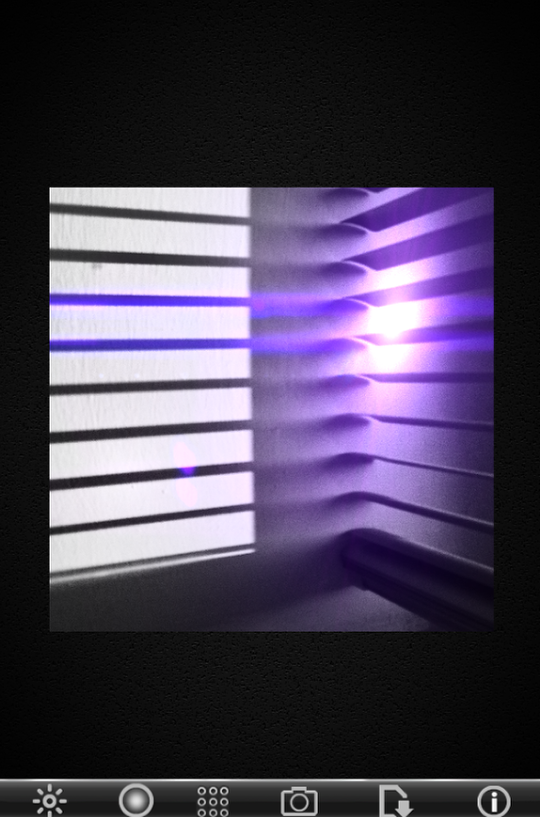
Anamorphic Blue
1. Three new flares have been added, namely Anamorphic Blue, Red Pulse (which I really like) and Sun Fire (really lovely as well). There you have the three new flares in action on the following photographs.
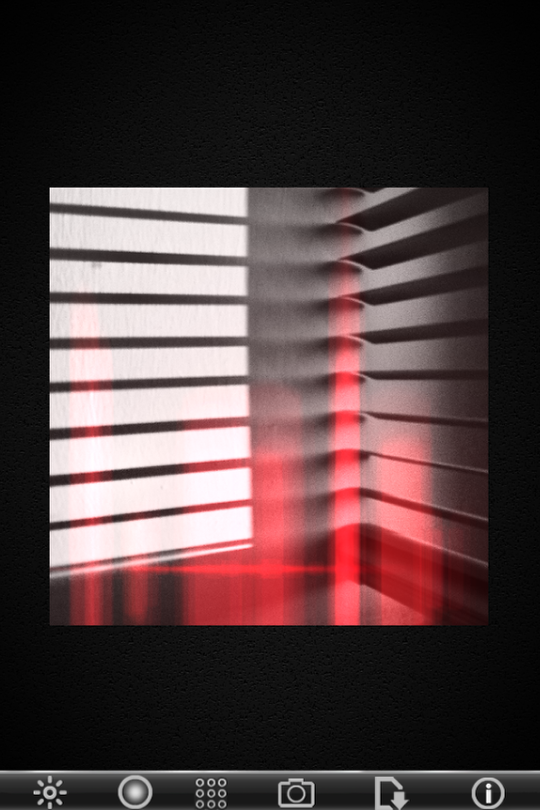
Red Pulse
Sun Fire
2. Two flares have been removed, Plasma Beam and Blue Spark ( sorry to disappoint you if you liked them!)
3. Two of the existing flares changed. Alien Streaks is now called Electron Streaks and it is more powerful than before, covering a larger area, while Electron Hex is totally changed and makes me, personally, think that the previous structure made more sense.
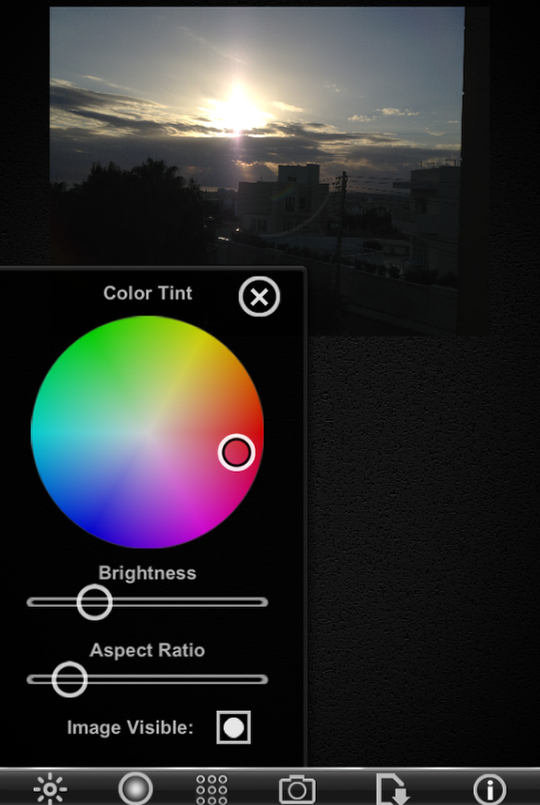
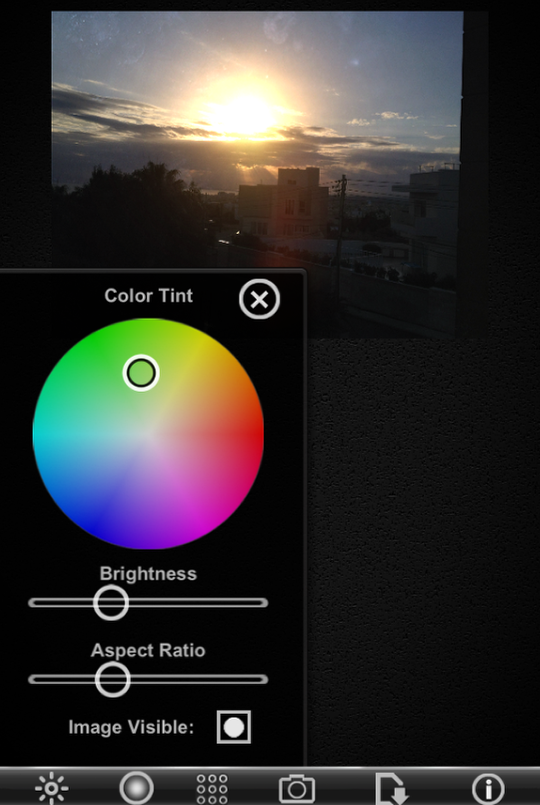
Coming back to the actual version, it includes exactly 57 flare options, 8 different textures and the possibility of adding everything you may wish on top of each other and of adjusting the brightness, tint and also the aspect ratio of every flare.
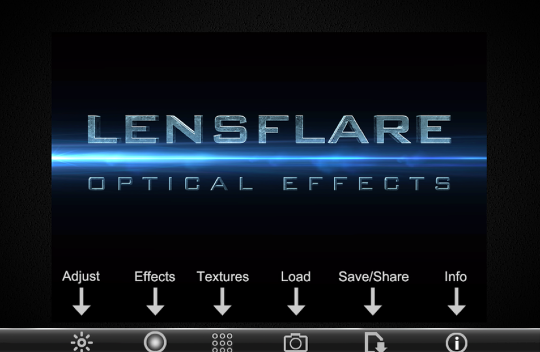
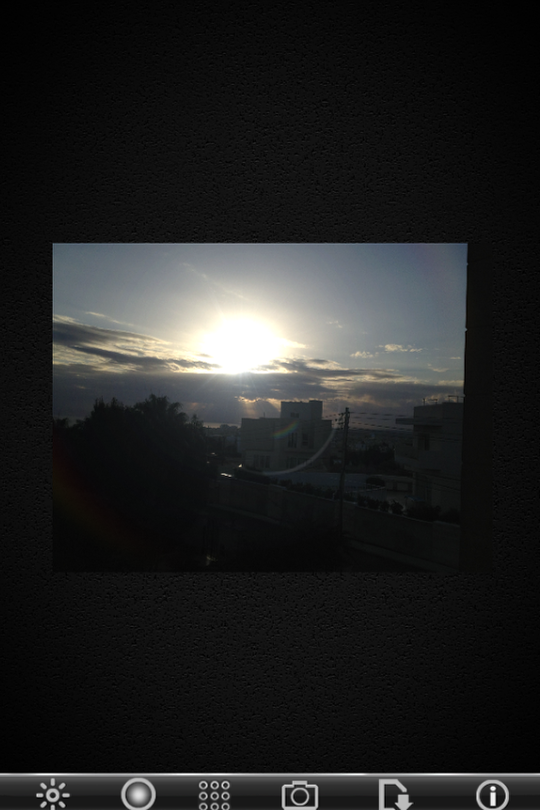
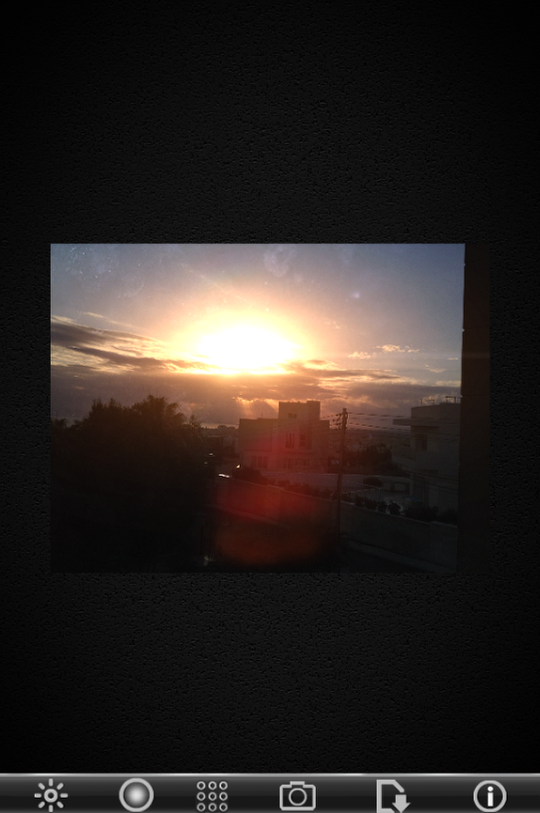
The user interface is actually quite easy to handle, the new added info to each icon saves time and makes the use of this app intuitive.
You can tap and drag to bring your flare in the right position, you can pinch with two fingers to enlarge or shrink it as you wish, you can also rotate the flare to a desired angle. The image can be saved right away to your camera roll or, if desired, using the “render image” option, additional flares can be added.
Step 1
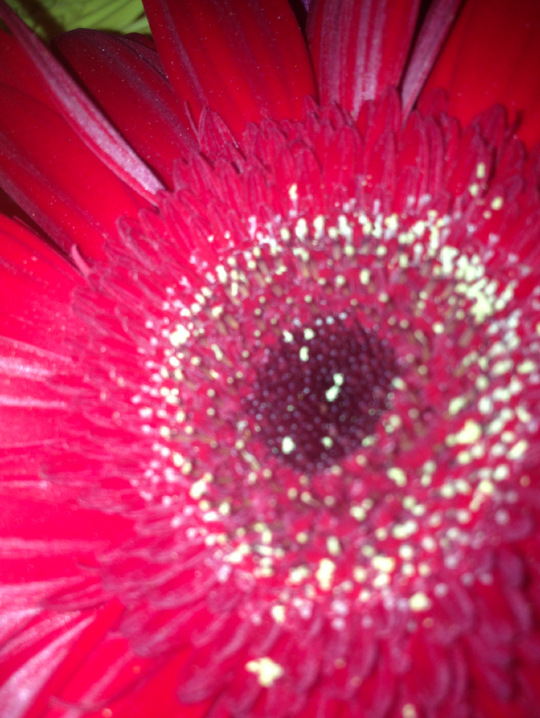
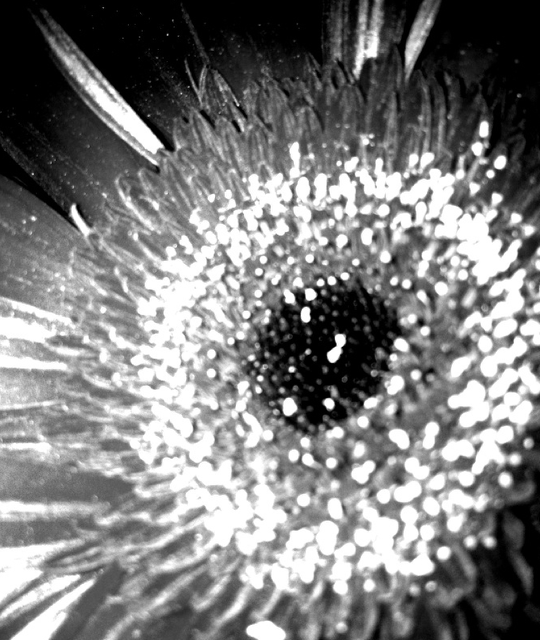
Now let’s give it a try. I used a very common image of a flower that inspired me to some fantasy interpretation, there are for sure better images and uses of this app but the Star Trek magic is not everyone’s strength….
Original image, as mentioned, a quite usual flower:
My first step is usually to turn every image into black and white and see what’s left over from an image when no colors are distracting my eye. It helps me also realize better the light/shadows balance.
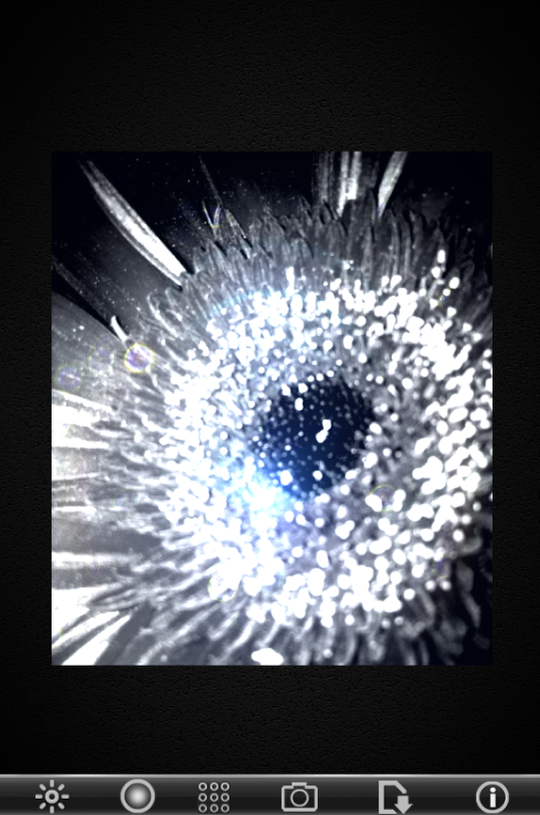
Step 2
The b&w image made me think of an eye so I started my search for a blue dot to add in the middle of it to make it look like a blue eye. Prime100mm was my favorite choice.
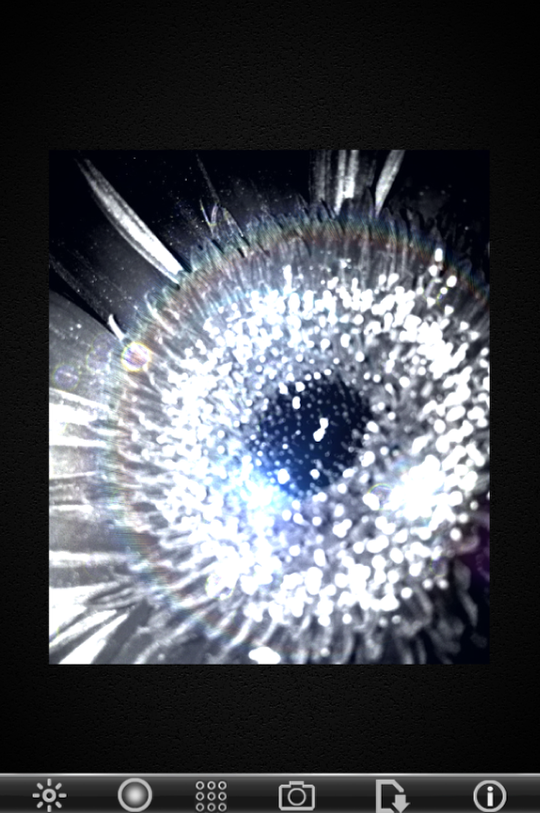
Step 3
I liked it but it didn’t feel “right” yet, so I chose the “render image” function and went back to the flare options, in search of a circular flare to complete the idea of my eye. Chroma Ring worked best for me so I added it to my image.
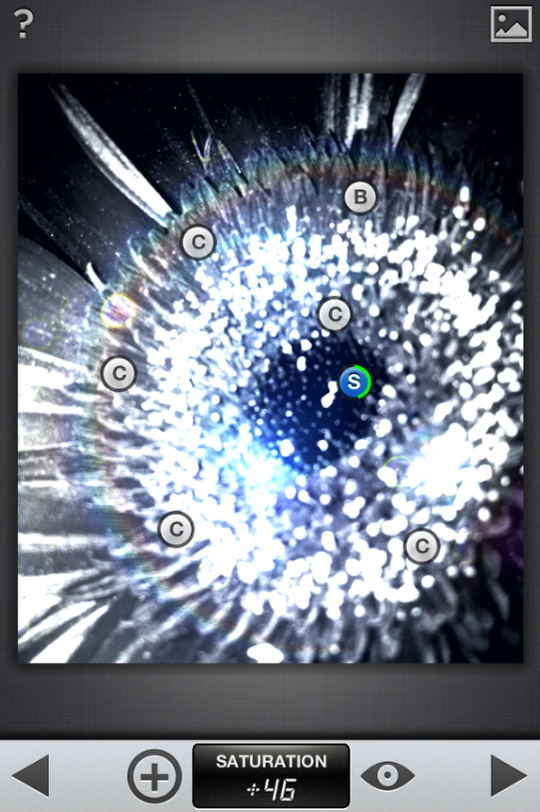
Step 4

Next step was to find a lens texture to add to my image and decided for the “small white spots”. A decent texture always “settles” an image.
Step 5
Well, there it is so far regarding LensFlare. As you can imagine, I couldn’t just stop here, I needed more contrast, more saturation, more…. oomph. So, there I am again into my favorite app, Snapseed, adjusting and enhancing what I felt to be in need of enhancement.
Step 7
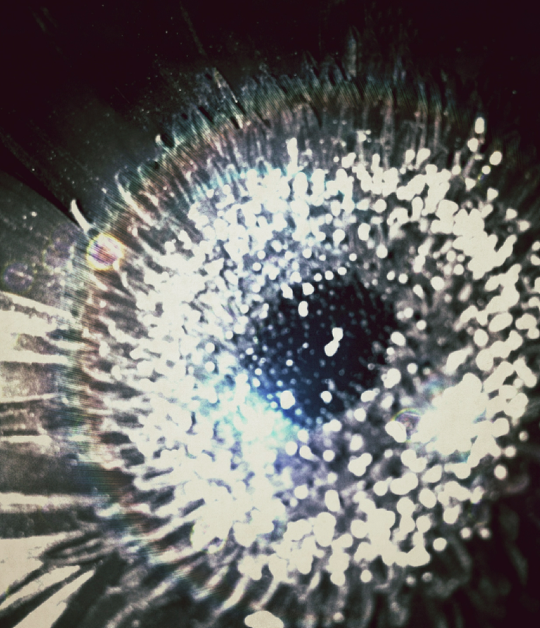
My journey into fantasy land ends here. Hope you like it.
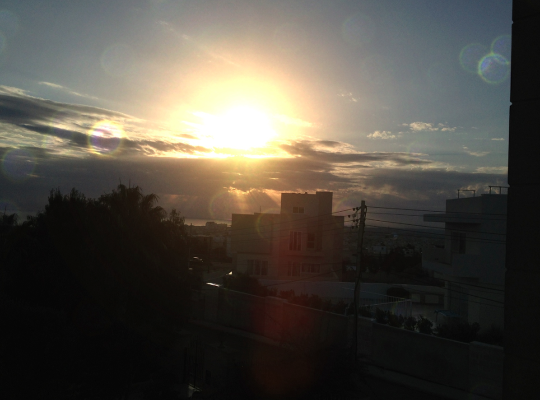
My tip: use LensFlare sparingly on images of landscapes or street pics, it can easily look overdone and artificial. Try to place the effect in a way that shows just as much as to lighten up your image and to add decent rays to it. If you already have a light source in your image, the best way to use a flare is to add it on top of the existing light, it functions really well and looks natural. The right effect can also look convincing as a light source on it’s own if the intensity fits your image well.
I added “White Light” Flare, reduced brightness and aspect ratio, added red tint and the “smudges” texture.
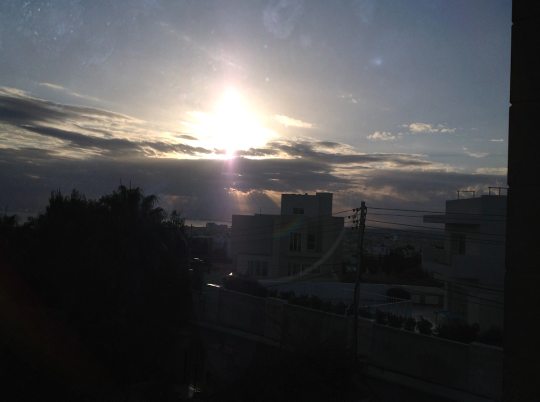
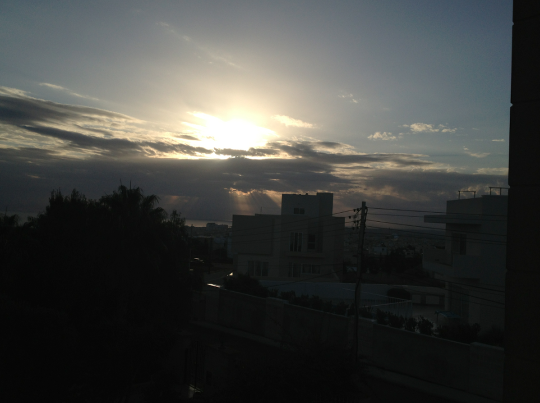
Another alternative could be adding “Sunfire”, adjusting it, adding a “Big Spots” texture and there you have an “enhanced” sun rise.
Just for your information, there is also a flickr group where you can post your awesome images created using LensFlare, just have a look at some images and maybe you would fancy to give it a try yourself : http://www.flickr.com/groups/lensflareapp/. Have fun with LensFlare! 🙂
Laura Peischl
Laura Peischl (iSnob) was born in Romania, later she moved to Vienna, Austria where she studied German Studies and Psychology at the University of Vienna and has been based in Malta since 2004.Laura has been featured in various leading mobile photography websites and magazines. Her works have been displayed in numerous solo and/or collective exhibitions around the world. Her images have been mainly displayed in the United States including the OCCCA (Orange County Centre of Contemporary Art, The Lunch BOX Gallery in Miami, The Giorgi Gallery in Berkeley, California, Studio b in Florida, Philadelphia, Colorado as well as in LA Mobile Arts Festival 2012.Laura has also been teaching online iPhoneography courses at www.thecompellingimage.com for sometime now.
5 Comments
David
Great tutorial, Laura! Your images are fantastic!!
Laura
Thank you, David! really glad you like it :))
Steve H
Nice tutorial.. Thank you
kim martino
Nice tute Laura, Thanx!
Tracy Mitchell Griggs
Will be adding this to the app folders soon!