Blackmagic Camera App Settings Explained (2026): Every Setting, Simplified
Introduction
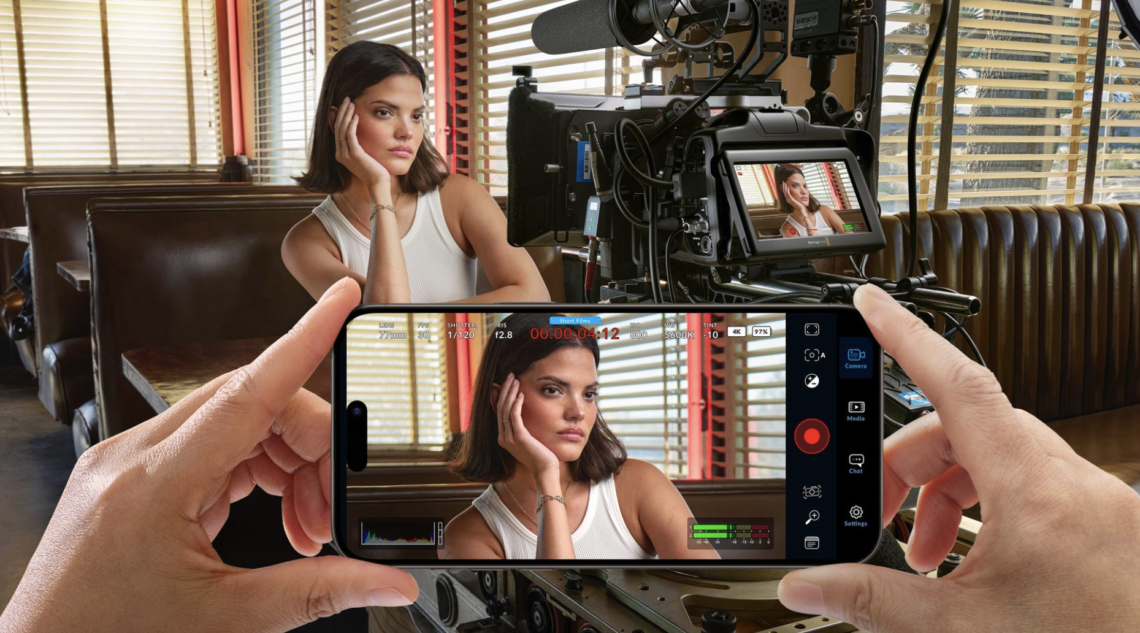
The Blackmagic Camera app has become one of the most powerful free filmmaking tools available for iPhone and Android, bringing professional camera controls to devices that many creators already carry every day.
Yet, for first-time users, opening the app can feel overwhelming. Frame rates, codecs, colour spaces, LUTs, shutter angle, ISO, bitrate and audio settings all appear at once, often without much explanation. The good news is that you don’t need to understand every professional filmmaking term to achieve excellent results.
This guide explains every important Blackmagic Camera app setting in plain English, helping you configure the app for cinematic video, social media, documentaries, travel films and everyday shooting.
Why Use the Blackmagic Camera App?
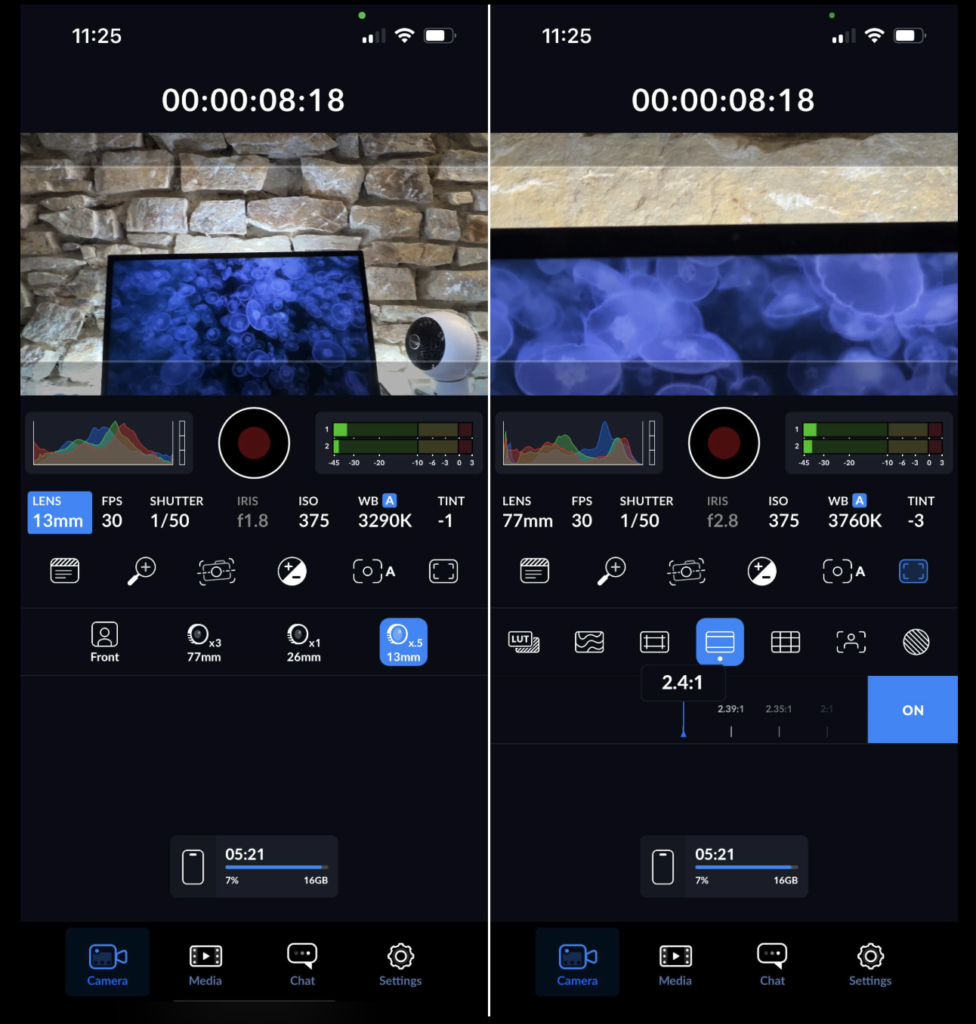
Unlike many camera apps, Blackmagic Camera gives you full manual control over video recording.
You can control:
- Exposure
- ISO
- White Balance
- Focus
- Frame Rate
- Shutter Angle
- Audio Levels
- Codecs
- Resolution
- LUT Monitoring
Best of all, it’s completely free.
Resolution
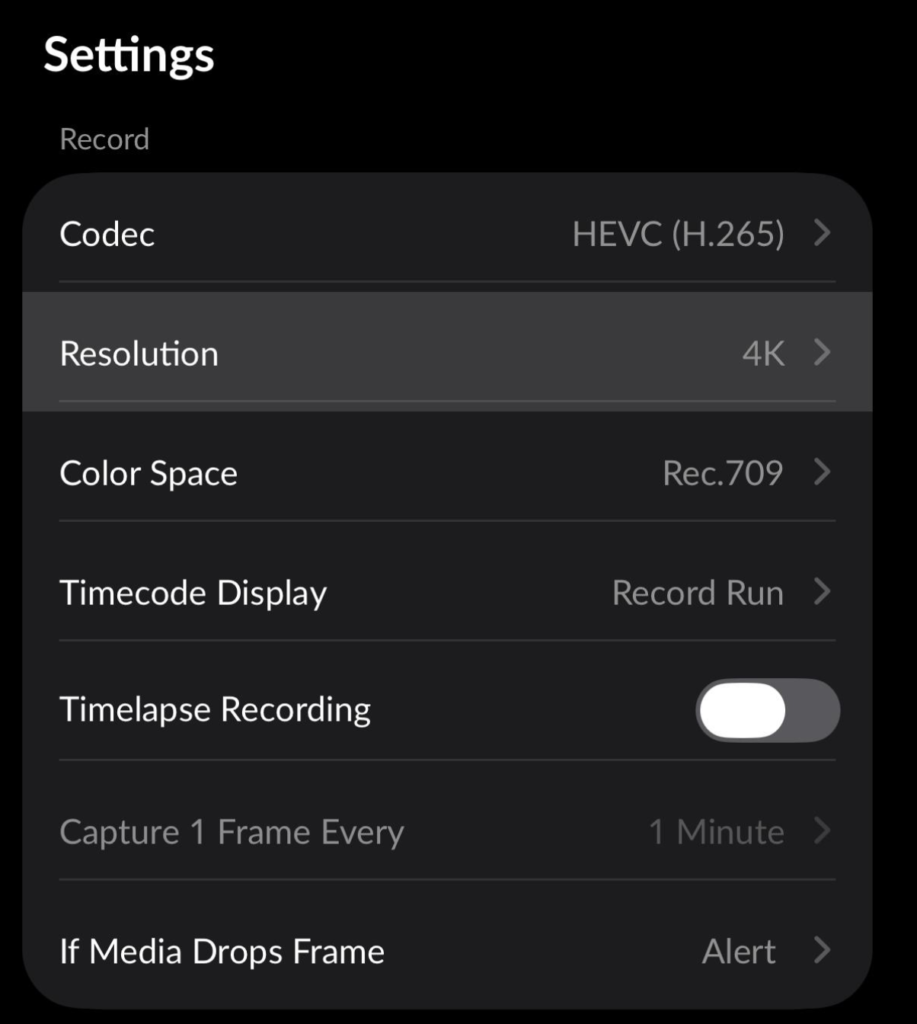
One of the first settings you’ll encounter is resolution.
Higher resolutions capture more detail but require more storage space.
1080p
Ideal for:
- TikTok
- YouTube Shorts
- Everyday filming
Advantages:
- Smaller file sizes
- Easier editing
- Faster exports
4K
Recommended for:
- YouTube
- Commercial work
- Travel films
- Documentary
Advantages:
- Sharper footage
- Better cropping
- Future-proof
For most creators, 4K provides the best balance between quality and flexibility.
Frame Rate
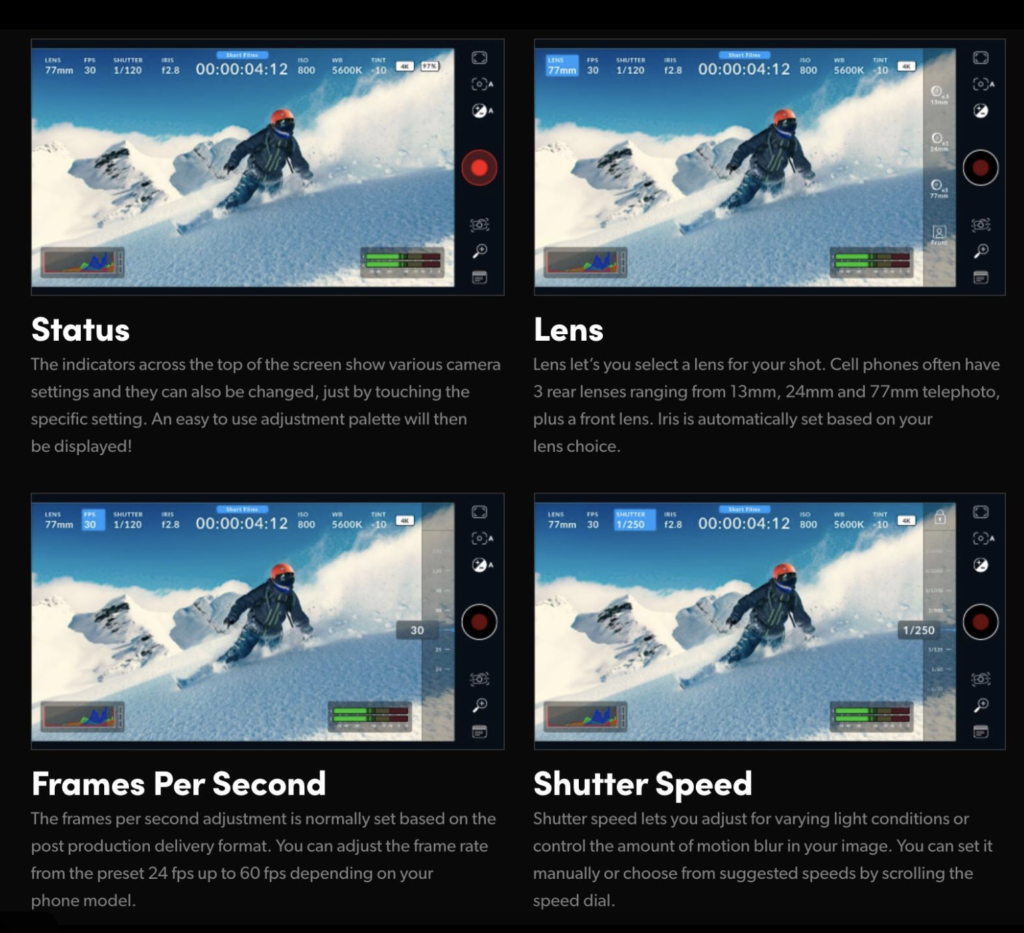
Frame rate determines how many images are recorded every second.
24fps
The traditional cinematic look.
Ideal for:
- Narrative filmmaking
- Documentary
- Creative storytelling
25fps
Best for UK and European creators.
30fps
Common for online video.
60fps
Perfect for:
- Action
- Sports
- Slow motion
Shutter Angle
One feature that surprises many photographers is shutter angle.
Traditional cameras use shutter speed.
Cinema cameras use shutter angle.
The classic recommendation is:
180°
This produces natural-looking motion blur.
Unless you have a specific creative reason, leave this at 180°.
ISO
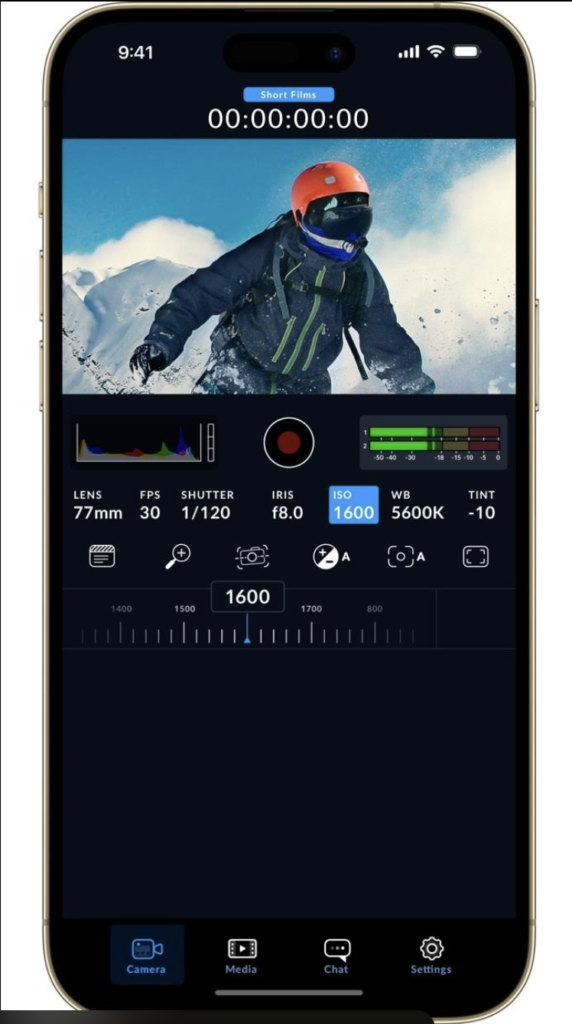
ISO controls sensor sensitivity.
Lower values:
- Cleaner image
- Less noise
Higher values:
- Brighter image
- More digital noise
Keep ISO as low as possible.
White Balance
Rather than leaving white balance on auto, manually selecting the correct colour temperature keeps colours consistent between shots.
Typical values include:
- 3200K – Tungsten lighting
- 5600K – Daylight
- 6500K – Cloudy conditions
Focus
The app allows both:
- Auto Focus
- Manual Focus
Manual focus is particularly useful when filming interviews or scenes where focus shouldn’t shift unexpectedly.
Codecs
Codec determines how video is compressed.
For most users:
HEVC (H.265)
offers an excellent balance between quality and storage efficiency.
If maximum compatibility is more important, choose:
H.264
Bitrate
Higher bitrates preserve more image detail but increase file size.
Unless storage is limited, selecting a higher bitrate generally produces better image quality.
LUTs
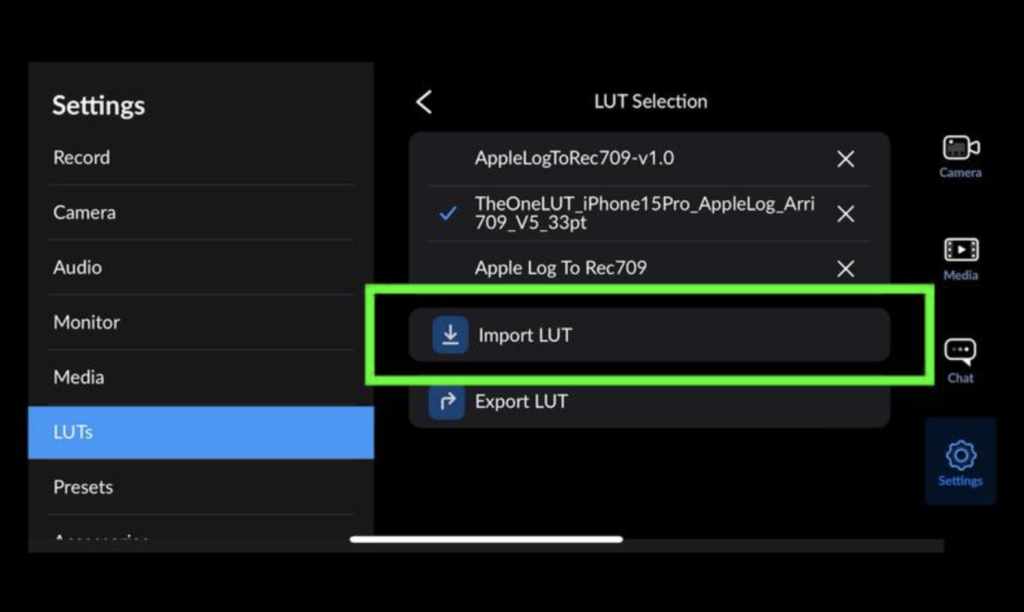
One of the app’s standout features is LUT support.
A LUT (Look-Up Table) previews how your graded footage may appear without permanently altering the original recording.
This is particularly useful when filming in flatter colour profiles.
Audio
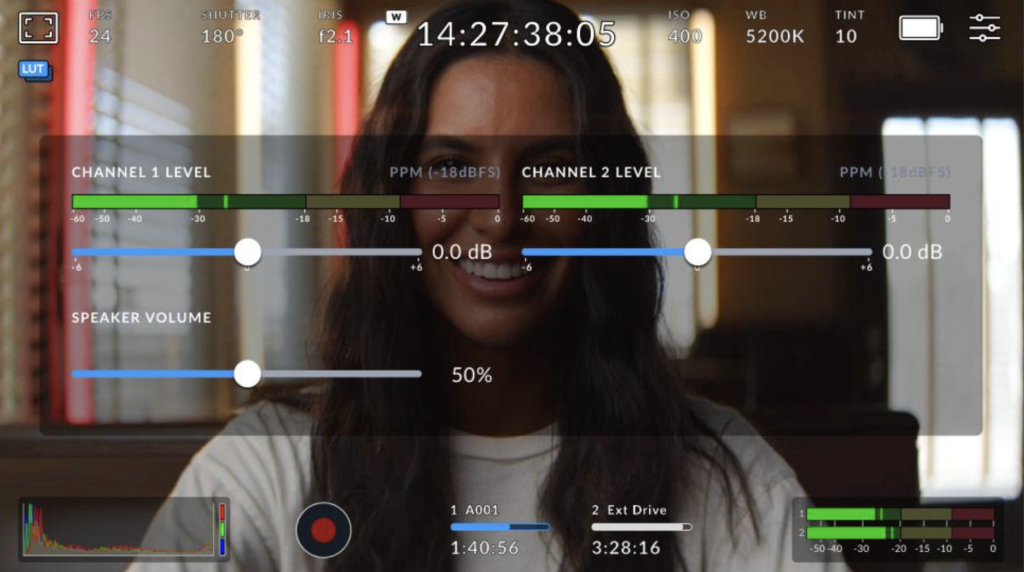
Good audio often has a greater impact than perfect video.
The app provides professional audio monitoring with manual level adjustment.
Whenever possible:
- Use an external microphone.
- Monitor levels with headphones.
- Avoid clipping.
Storage
4K footage quickly fills storage.
Before long shoots:
- Check available space.
- Remove unnecessary files.
- Consider external recording options where supported.
Recommended Settings
Cinematic Video
- Resolution: 4K
- Frame Rate: 24fps
- Shutter Angle: 180°
- White Balance: Manual
- ISO: Lowest practical value
- Codec: HEVC
YouTube
- 4K
- 30fps
- HEVC
Instagram Reels
- 1080p
- 30fps
- HEVC
Slow Motion
- 60fps
- 180° shutter angle
Final Thoughts
The Blackmagic Camera app is one of the most capable free filmmaking apps available today. While the number of controls may initially seem intimidating, understanding a handful of core settings—resolution, frame rate, shutter angle, ISO and white balance—will dramatically improve your footage.
Rather than changing every option, begin with the recommended settings above and adjust only when your project demands it. As your confidence grows, the app rewards experimentation, offering creative control that rivals dedicated cinema cameras while remaining accessible on a smartphone.
Support TheAppWhisperer
If you’ve found this article useful and would like to support independent photography journalism, please consider making a small donation to TheAppWhisperer.
Since 2009, TheAppWhisperer has published thousands of interviews, reviews, opportunities, and essays dedicated to photography and mobile art, remaining free to read for everyone. Every contribution helps support the time, research, and editorial work that goes into producing and preserving this archive.
Your support helps keep thoughtful photography writing alive.

Joanne Carter
Joanne Carter is a British photographer, photography journalist, editor and curator and the founder and editorial director of TheAppWhisperer.com, an independent international photography publication established in 2009.Her journalism, criticism and commentary have appeared in The Times, The Sunday Times, The Guardian, Financial Times, BBC, Vogue Italia, LensCulture, Popular Photography, Android Magazine, NikonPro, DPReview, Which Digital Camera and Which Camera. She has lectured internationally on photography and mobile art, served as a juror for international photography awards, and exhibited her own photographic work across the UK, Europe, South Korea and the United States.Alongside her editorial work, Joanne's photographic and postgraduate research explores death, grief, memory, representation and social inequality through contemporary photography, participatory practice and visual research methods, with the longer-term aim of developing this work through doctoral research.Through TheAppWhisperer, she continues to publish independent photography journalism spanning contemporary photographic practice, mobile imaging, photographic apps, computational photography and emerging imaging technologies.Joanne is available for editorial commissions, photography projects, judging, curatorial work, speaking engagements, consultancy and selected collaborations.