Olloclip – Macro iPhone Photography Techniques
Macro iphoneography can be an extremely challenging and satisfying activity. It is not a technique that can be done “on the run” but if you take the time to slow down, seek out the little details the universe has blessed us with, and get down at their level then you will reap the rewards…
There are a few choices for macro lenses for the iPhone, some are also compatible with the iPad and iPod touches. The photos shown in this tutorial were taken with the Olloclip.
Focus
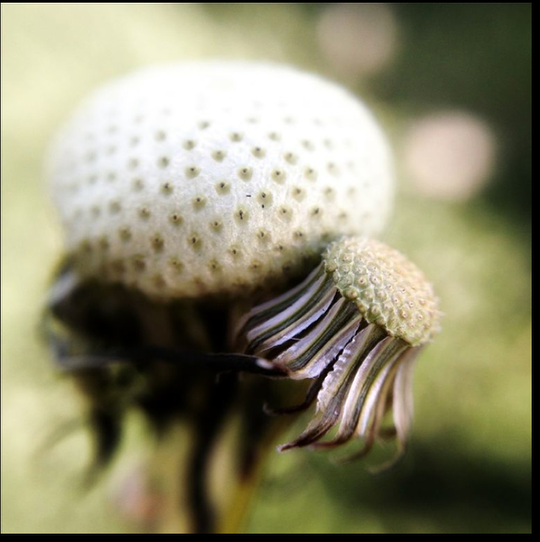
Copyright image – Mel Harrison
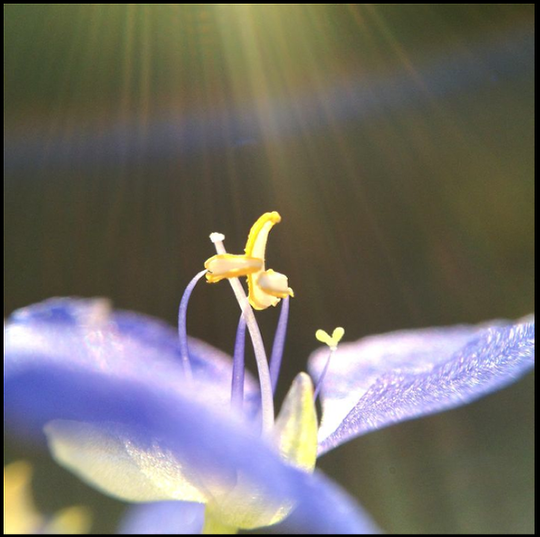
Practice your focus: The Olloclip macro lens needs to be manually focused, by moving the phone around until you hit the sweet spot. You really want to ensure the focus is on the part of the photo you want to highlight. For example: a bug’s eye or a flower’s pollen or a water bead.
Up Close
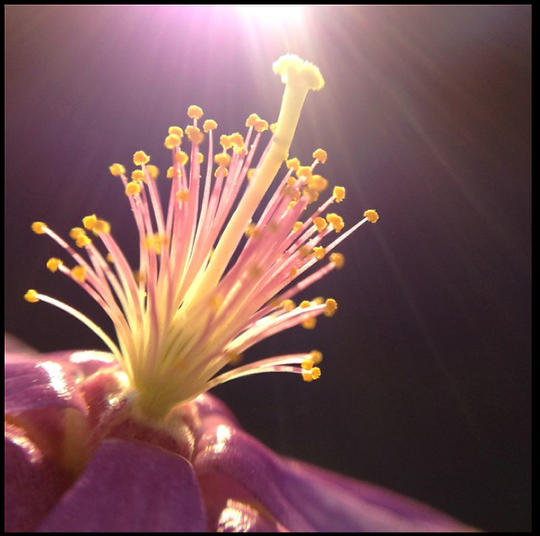
Copyright image – Mel Harrison
When I first started out in macro iphoneography I would put the lens as close as I could to the subject and then pull back slowly until the focus became clear, then depending on the app I was shooting with, I would set the focal point I wanted and continued to micro focus until I had the image focused how I wanted it.
Now that I am comfortable with the lens and understand the focal lengths more I am able to judge where the focus is going to be best so I have stopped the process of getting right up close first.
Positioning
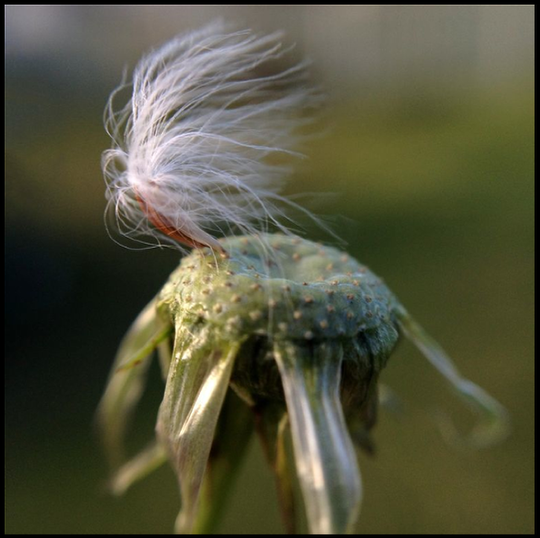
Copyright image – Mel Harrison
I have found that if you get down on the ground (if possible) and brace yourself on your knees, focus, take a deep breath, check focus and then capture the image, you will get the best results.
More The Merrier

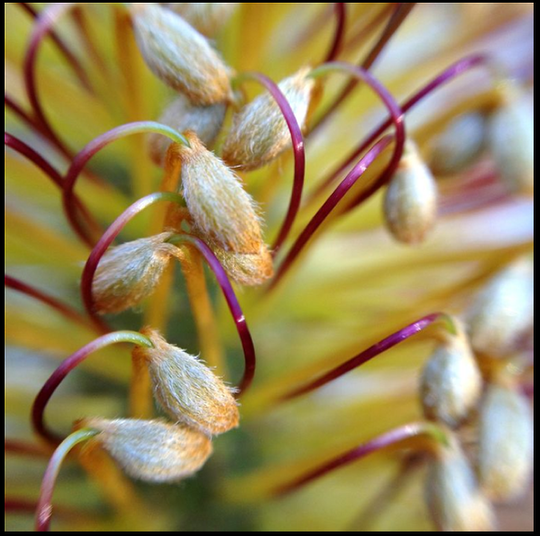
Copyright image – Mel Harrison
It really is a matter of taking a lot of photos, micro adjusting the focus as needed. With the iPhone having such a small screen it is often hard to judge if you have the focus spot on. Therefore, taking a few images will avoid the disappointment of viewing it on a big screen and seeing the front leg of a bug in focus and not the eye.
Timing
Copyright image – Mel Harrison
Pick you timing: Macro photography is a very temperamental art form; you need the right lighting and the correct climatic conditions. Pick early morning or late afternoon (I prefer the afternoons) when the sun is not high in the sky, and don’t even bother if it is windy, if you subject is being blown around in the wind… forget it!
NB: unless of course you can set up a studio shoot (JC)
Pleasure
Copyright image – Mel Harrison
Enjoy it: I have referred to macro iphoneography as Yogatography. Deep breathing, slow movements often on the ground with your bottom in the air LOL, it is very mediative. Looking at the world in the smaller elements really does bring into focus (excuse the pun) how small we all are in the grand scheme of things.
Mahoganyturtle
Mel Harrison is an Australian digital artist, iPhone photographer and writer. Her work has been shown in exhibitions around the world including the LA-MAF. She has been honoured with Artist of the Day and Artist of the Month at www.iphoneart.com. Mel is active in the IPhoneography community and is part of our sister site staff team at www.mobitog.com. You can follow Mel's work at http://www.flickr.com/photos/mahoganyturtle/ and her work is a available to purchase via http://iprints.iphoneart.com/artist_studio/MahoganyTurtle As a Columnist for theappwhisperer.com, Mel will focus on digital art and collage images. Her column will be called APPart and she will be incorporating a different 'mainstream' editing app each week and will hopefully inspire you to try your hand at some APPart of your own.
4 Comments
Andrew Proudlove
Nice work Mel – great article!
mahoganyturtle
Thank you Andrew glad you enjoyed it!
Mel xx
Adrienne Parks
Really lovely work, Mel. Now, if I can follow your instructions! Thank you for taking the time to create such a fine tutorial.
mahoganyturtle
Thank you Adrienne, have fun! If you have any specific questions don’t hesitate to ask
Mel xx