Tutorial – Creative – A Painterly Edit
We recently interviewed the author of this piece, Geri Centonze in our A Day In The Life interview as well as our Extension of the I interview. Geri is a sci-fi sketch card artist turned mobile photographer and is very experienced with using mobile photography apps creatively. We think you will enjoy this tutorial to help you turn a relatively ‘normal’ looking image into something quite striking albeit in a very simple way. Take a look at this tutorial and let us know your thoughts at the end of the piece. (foreword by Joanne Carter)
Links to all the apps used and mentioned in this post are at the end of this article.
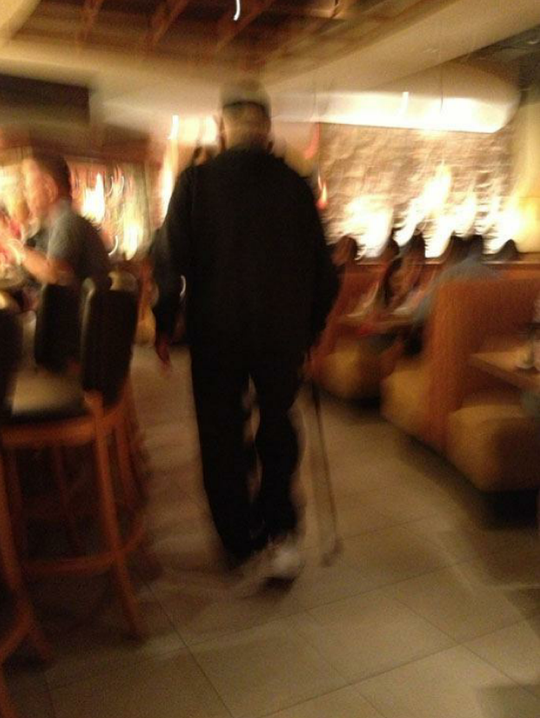
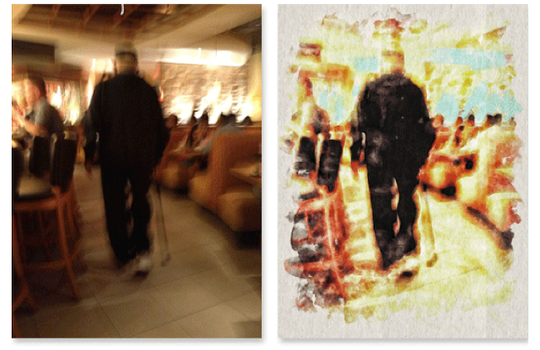
The beauty of working with apps is that you can take an image that has some potential and develop that potential. I really liked the posture of this elderly gentleman, but wasn’t at all happy with the exposure, blurriness, etc. It did have potential for a painterly edit.
Step 1
Open the image in Snapseed. Select TUNE IMAGE and adjust Brightness +88, Ambiance +70, Contrast +35, Saturation +20, White Balance -25. Click APPLY.
Step 2
Still in Snapseed, go to DETAILS and adjust Structure +100. Click APPLY and repeat this process. Save image. This is the image after the Snapseed adjustments. It looks grainy, but don’t worry, we’ll fix that.
Step 3
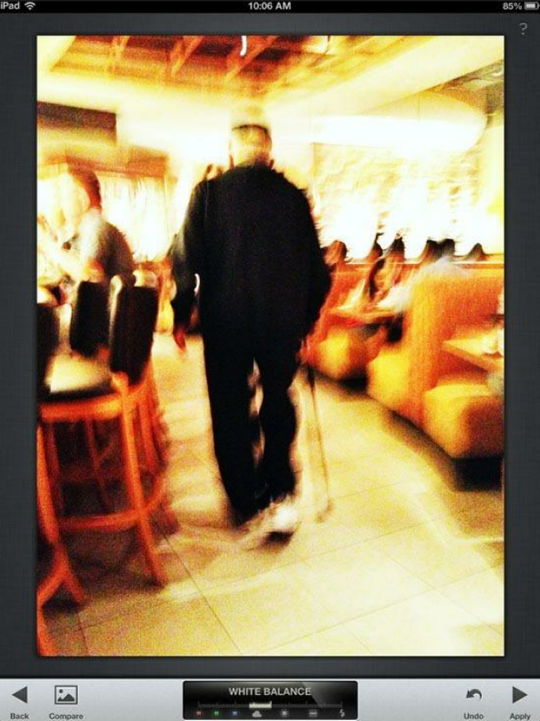
Open the saved image in Photoshop Express and select Reduce Noise. Move the slider all the way up to reduce the noise.
Step 4

Click the checkmark to apply changes and repeat the process of reducing noise again. Save the image. These are the results after reducing noise.
Step 5
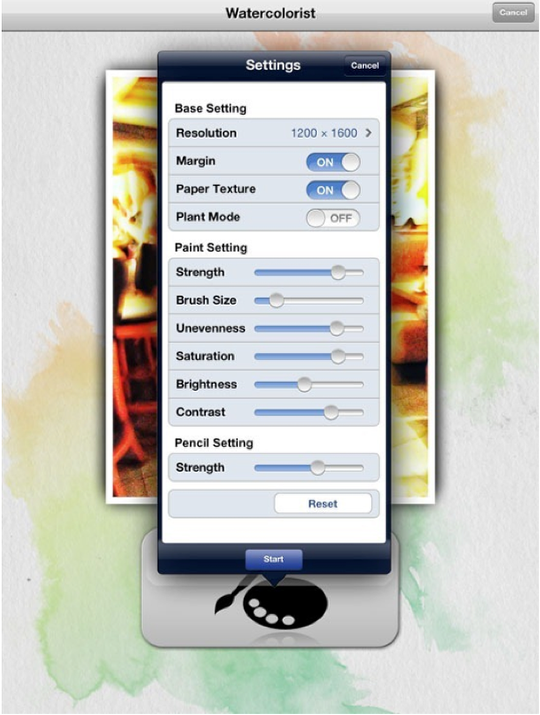
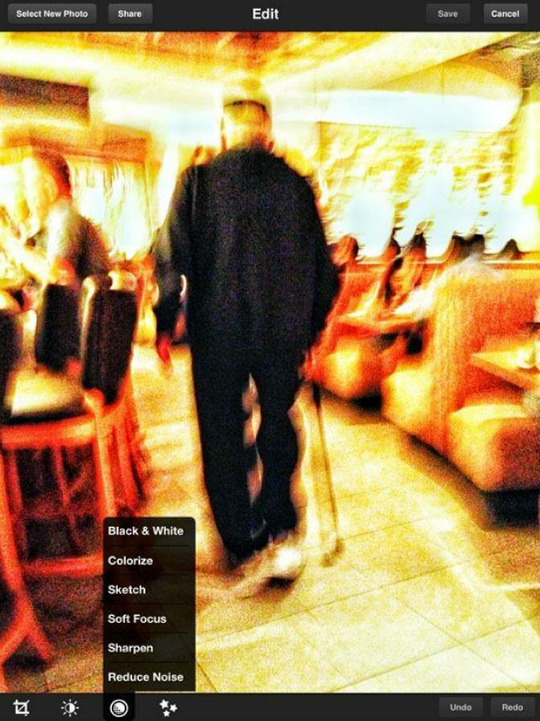
Open the most recent saved image in iWatercolorist and adjust the settings as shown above. Click START and after running the app, Save the results.

This is the iWatercolorist result at this stage.
Step 6
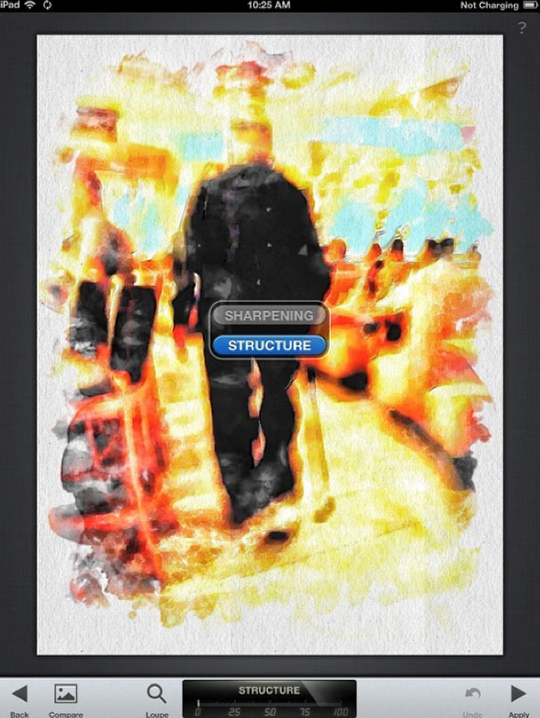
Back into Snapseed with the most recent save and with the DETAILS adjustment, bump the Structure up +100. APPLY and SAVE.
Step 7

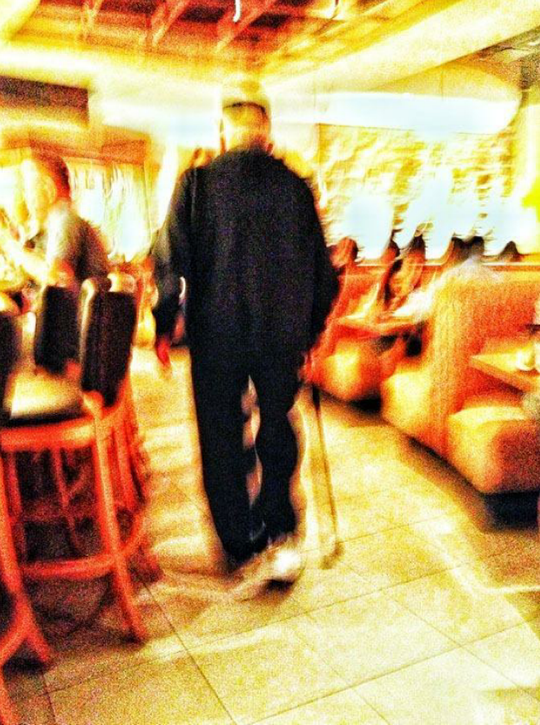
It was just a bit too bright for my liking and needed some texture, so I opened the most recent saved image in PhotoCopier. Under PAINTINGS, I applied the Schiele effect. SAVE
Final Image
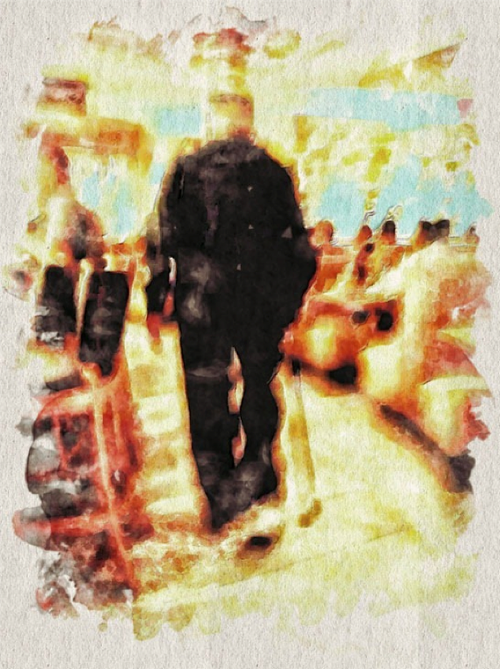
This is the final edited version shown with a definite improvement on the original!
Geri Centonze
Geri Centonze (@gericentonze on Instagram) has always been drawn to faces. For four years, she created sketch card portraits (trading card sized art) and has sold over 1300 original pieces to collectors worldwide. After stumbling upon the work of various mobile artists, Geri has set aside her art markers to pursue her new passion - the evolving field of mobile photography. Still in love with faces, she uses her art experience and app addiction to produce painterly portraits, but enjoys all aspects of mobile photography. Geri shares her artistic journey on her blog iartchronicles.com.

7 Comments
Geri
Thank you for sharing my tutorial. I hope everyone will have fun experimenting in their own way with the amazing array of apps available!
Dilshad
Wonderful tutorial!!! I am going to give it a go now!!
Thanks a mill!!
Geri
Thanks Dilshad – You’re the best!
Robert Lancaster
Fantastic tutorial. I definitely have some new techniques to try out … and some new tools I need to relook at in my toolbox.
Geri
Thanks for checking out the tutorial Robert – if you have any questions, please don’t hesitate to contact me!
Lilian
Great tutorial!!!
Tks!!
Geri
Thanks Lilian – I have submitted another one and it should be posted soon =)