Mobile Photography/Art Tutorial – Polamatic: Everything Polaroid except the smell and messy backing
We are delighted to publish Jerry Jobe’s latest mobile photography/art tutorial for our reading and viewing pleasure. This week Jobe takes a look Polamatic by Polaroid. Read his thoughts as he puts it through its paces (foreword by Joanne Carter).
Polamatic by Polaroid retails for $0.99/£0.79 and you can download it here.
“The advent of digital photography made it possible to check immediately if you had captured a shot you liked, without having to wait until an entire roll had been shot and processed. On the spot, you could decide that the subject had been blinking or if you’d been photobombed by wildlife.
Those of us who grew up before digital had a real-time option also: instant film. The king of instant film was Polaroid. Each exposure was its own little package, consisting of photographic paper and a backing with developing chemicals. You took the picture, and the packet was forced out the front of the camera. You peeled the backing away, and the picture would come into view in front of your eyes. Amazing technology, especially for those of us who didn’t have darkrooms and had to send our rolls of film away to get them processed.
It was very expensive, however. Each image, each little packet came at a cost. Inevitably, your friends would put their hand in front of your lens at the worst moment, enjoying the look on your face as another 50 cents or a dollar was wasted.
Nevertheless, a lot of nostalgia built up around “instant” film. It got to where amateur photographers craved the smell of the developers tossed away with the backing. So it was inevitable that app developers would try to recapture those days with Polaroid-style camera apps.
I wasn’t ever swept up in the Polaroid craze; too expensive. But I’ve tried a few of the apps, and wasn’t all that excited – until a recent update of the app Polamatic. It advertises itself as the official app of Polaroid, and was developed by Dana Shakiba. The new release (v5.0) expands the effects by an order of magnitude! The original app emulated the popular Polaroid 600 film, but Polamatic has gone from a single film to ten types of Polaroid film”.
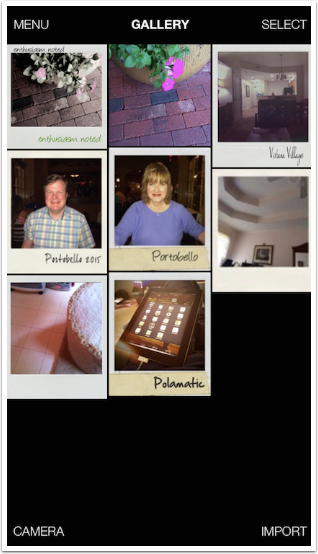
The app is simple to use. It starts you out in the Gallery, which contains copies of all the images you have worked on. You can tap Menu to contact support, and Select to choose items in the Gallery to Share or Delete. (You should regularly delete items from the Gallery so that the app doesn’t become bloated.) At the bottom of the screen you can choose to take a picture using the Camera or Import one from your albums.
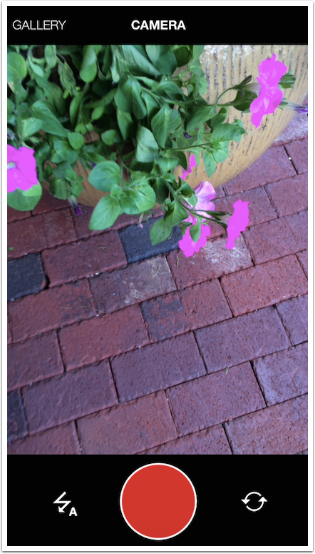
I’ve chosen to take one with the camera. The controls are simple; you have Flash options at the left of the big red shutter button, and the choice between front- and rear-facing cameras on the right.
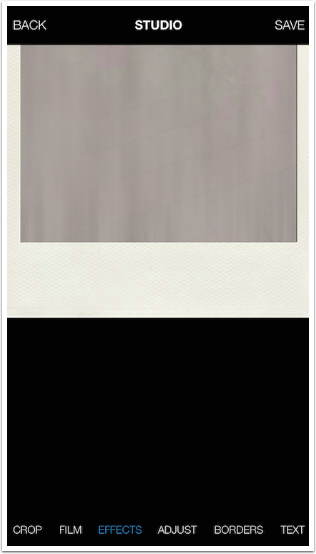
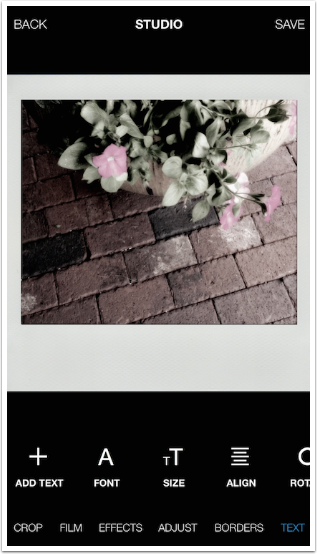
After you snap the picture, the app shows you a Polaroid print coming down from the top of your screen. Once it is entirely on your screen, it starts to reveals itself. This process is fun and only lasts a few seconds. You don’t have to wait as long as it took for the real thing! While you’re waiting, notice the controls at the bottom of the screen: Crop, Film, Effects, Adjust, Borders and Text.
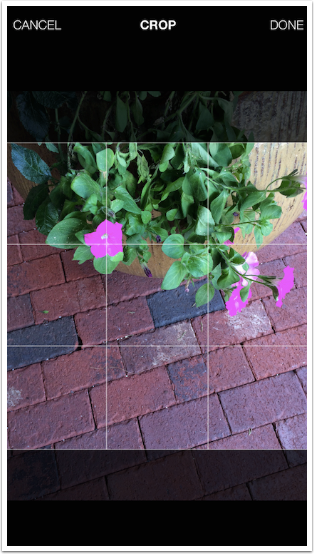
Polamatic defaults to using the 600 film. The Crop feature, shown below, uses the proportions of the selected film. In the case of 600 film, this is a square. The proportions are not adjustable. You move and zoom the image within the box provided.
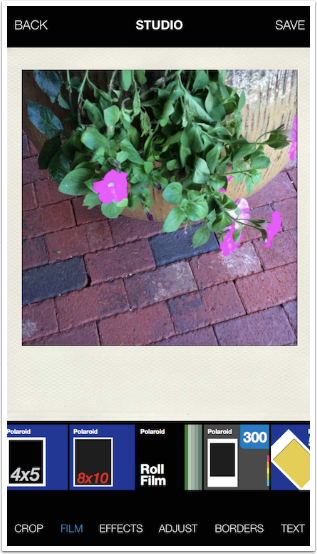
The next option is Film, where you get to choose between the ten available films types. The type of film determines three things: the proportions of the image, the number of effects (filters) available, and the number of borders available. Here’s a run-down of the films and their numbers of effects and borders.
Polaroid 600: 12 effects, 35 borders
Polaroid 100: 14 effects, 10 borders
Polaroid Type 80: 15 effects, 11 borders
Polaroid SX-70: 12 effects, 35 borders
Polaroid Spectra: 12 effects, 11 borders
Polaroid 4×5: 12 effects, 6 borders
Polaroid 8×10: 11 effects, 5 borders
Polaroid Roll Film: 12 effects, 5 borders
Polaroid 300: 12 effects, 11 borders
Polaroid 500: 14 effects, 11 borders
No Film: 126 effects, 0 borders
The No Film option (not shown) puts no constraints on your image; it will not be cropped from the original. No border will be added. However, you have all the effects from all the film types available to you – all 126 of them.
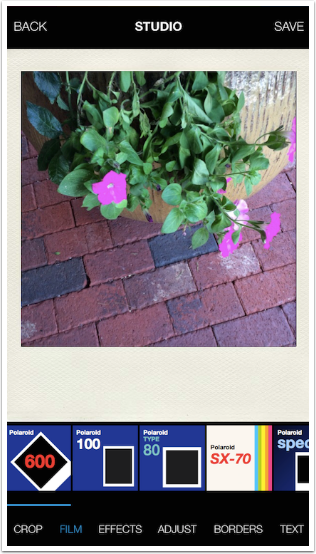
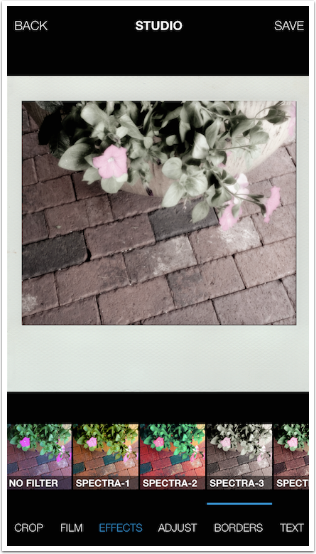
Once you’ve chosen your Film, you can then choose from the filters, or Effects, available for that film. (You can see below that I have changed to the Spectra film, and that these are the Spectra Effects.)
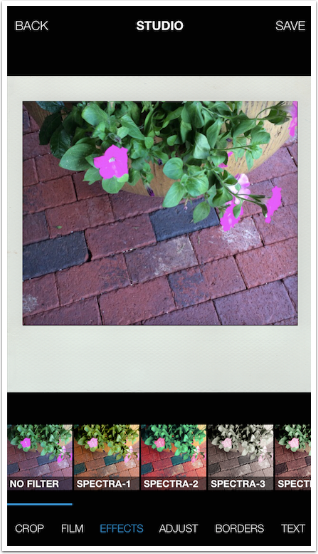
It’s just a matter of tapping on the thumbnail from the horizontally-scrolling list.
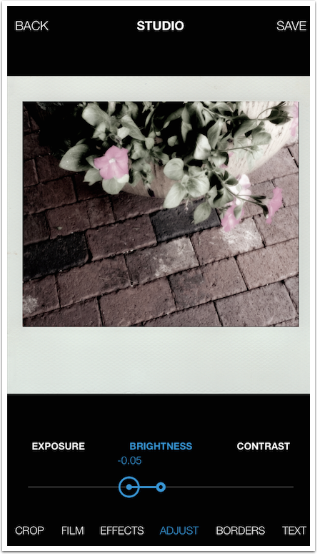
After applying the filter, you can Adjust the image further. The available adjustments are accessed from a horizontally-scrolling list. They are:
Exposure
Brightness
Contrast
Saturation
Gamma
Hue
Temperature
Tint
Shadows
Highlights
Sharpen/Blur
Sepia
There is also a Reset at the end of the Adjustments. As seen below, the sliders indicate how far from the default value they are moved. This gives you an easy visual representation of where the default values actually lie.
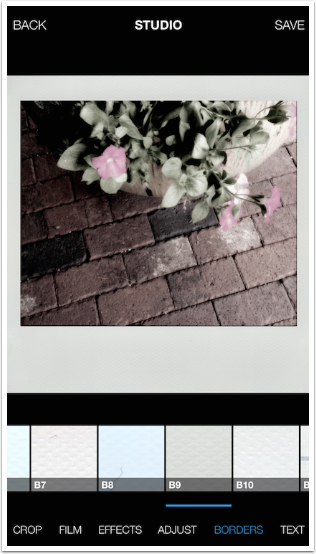
Borders are applied to match the film stock. Some have the wider bottom edge, while some are a uniform size around the entire image. Some are aged, have scuff marks, even masking tape applied. The 600 and SX-70 film types have colored borders. Just scroll through and tap on the thumbnail to apply.
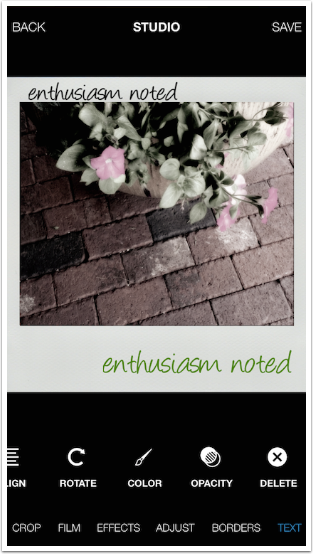
Text is fairly straightforward. You add the text and drag it to where you want to place it. You have 58 fonts to choose from, ranging from handwritten fonts to standard fonts to typewritten fonts. You change the size, rotation, and opacity using sliders; Alignment gives you a choice of left, center and right; and color is chosen from a color picker.
You can add more than one text element and have different fonts and colors. You can also delete unwanted text elements.
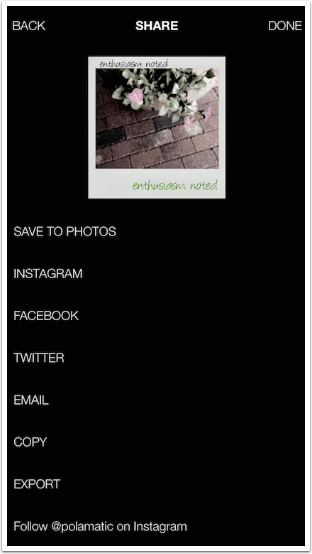
When you’re ready to save your creation, just tap save at the upper right and you’ll get the options seen below.
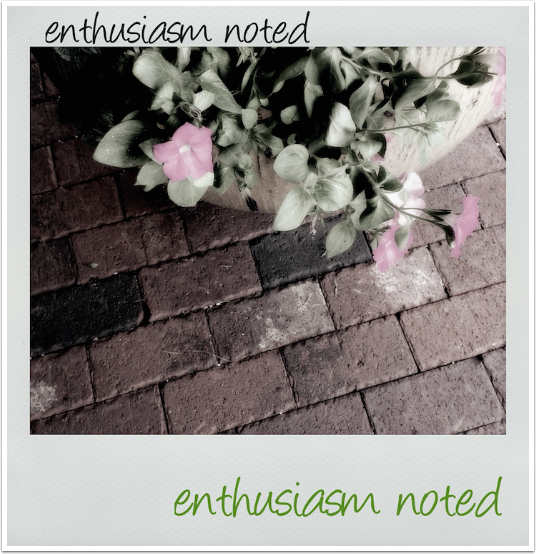
Below you will see the result. Polamatic does not reduce the resolution of the image; this image is a nice 2400×2475.
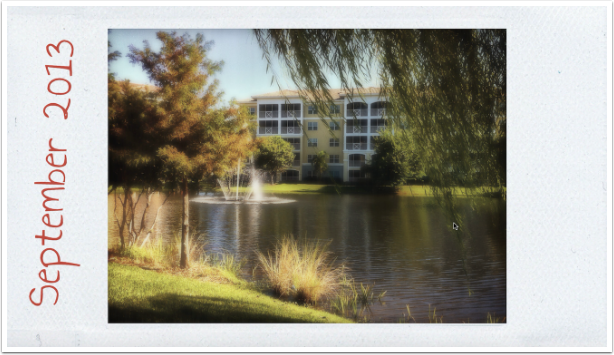
All the films have their strengths and weaknesses. Here’s an image done with the 500 film and a nice glowy blur.
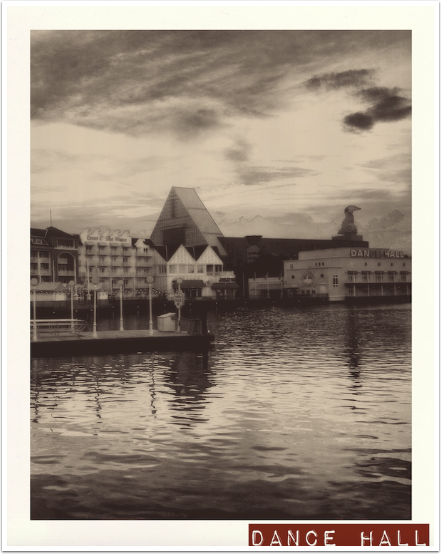
My last example has a nice sepia monochrome filter and a plastic-label font on 4×5 film.
Quite frankly, I was not expecting to like release 5 of Polamatic as much as I do. But it’s fun, it’s easy to use, and the addition of ten times the film stocks gives you much more variety in the looks you are able to achieve. So get out there and get instant results with Polamatic!
TheAppWhisperer has always had a dual mission: to promote the most talented mobile artists of the day and to support ambitious, inquisitive viewers the world over. As the years passTheAppWhisperer has gained readers and viewers and found new venues for that exchange.
All this work thrives with the support of our community.
Please consider making a donation to TheAppWhisperer as this New Year commences because your support helps protect our independence and it means we can keep delivering the promotion of mobile artists thats open for everyone around the world. Every contribution, however big or small, is so valuable for our future.
Jerry Jobe
Never content with just scratching the surface of what an app can do, Jerry Jobe decided to pass on what he learned about imaging apps to others. He’s constantly trying to figure out just what tools other artists have used, and trying to incorporate them into his own work, in an attempt to find his style. He’s written tutorials on over 145 apps so far, which you can find (along with his Song of the Day entries) at http://enthusiasmnoted.wordpress.com/ He lives near Atlanta, Georgia, where he also finds a creative outlet in acting and directing in community theater.
One Comment
Diana Jeon
Well laugh out loud. In a rare momentous day, Jerry and I agree on an app right out of the gate. Did the planets realign while I slept last night? 🙂 I stumbled upon this update of an old, rarely used by me app by accident last week, but I have been obsessed with it since then.