iPhone Photography Tutorial – ‘Turn On Your Imagination’
Our new mobile photography tutorial section is in full swing and we’ve received much acclaim from the mobile photography community, thanks to all. If you’ve missed our previous tutorials you can read them here.
Recently, after the publication of my interview, see here, Joanne asked me “Would you be interested in writing a tutorial for us ?” – Sure! I am in 😉 Well, to make a decision on the selection of work was the most difficult for me because I really wanted to choose an interesting piece, processed using a variety of apps to demonstrate how you can use your personal imagination and creative fantasy 😉
Finally, this problem disappeared by itself. Recently I completed the work entitled “What’s his deal? (City Slickers Dog walking). It was published at Pixels. I shared it in different photo groups at FB. I was surprised to receive so many comments, kind words and the most important thing and one of the comments was repeated several times – “How did you do this??” Well, the problem with the choice was solved!
I must say it is an interesting experience, because this is my first tutorial! =) I am not the best teacher, but I tried to be detailed and clear =) I hope this will be useful and interesting stuff!
Read this easy to follow tutorial and see if you too can create a similarly wonderful shot. Links to all apps used in this tutorial is at the end of this article, just incase you’re inspired enough to give it a try yourself.
nb: we have to say and we are sure all our readers will agree Nat that this tutorial is superb, we cannot believe how you created such a wonderful image, you imagination is second to none and your skills as both an artist and photographer are top notch. Thank you so much for sharing this tutorial with our readers, we can’t wait to read some more 😉 Joanne
The Final Image
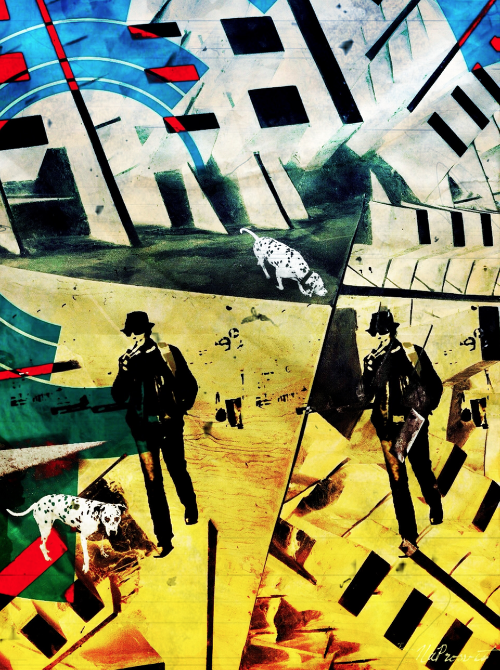
This is the final image, the one I am going to show you how to create. One of my fav tips for the beginners – when you begin to create your art work, you must have the main idea in your head!
Not having any, just playing with different apps, in the hope to get “something interesting” you are less likely succeed. I will not lie, such things also happens with me 😉
Step 1
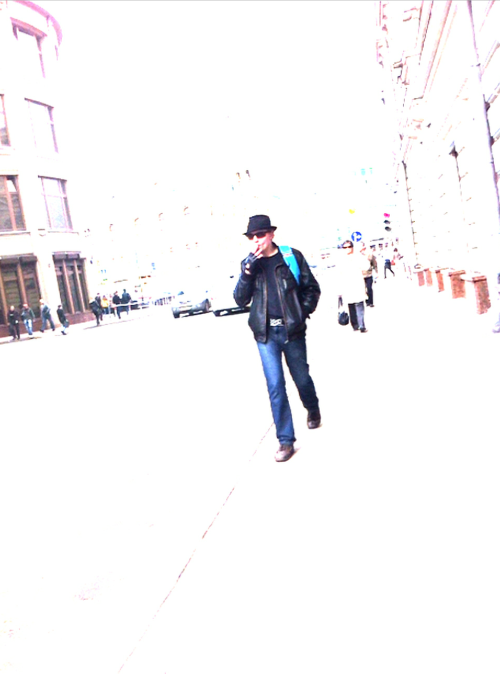
I really love street pictures! I love to spy on people;) So I try to shoot a lot of street pictures (at least in the warmer months) Mostly I shoot b&w pictures as well as I like to experiment.
This image above is one of the four main images included in the final version, the picture taken using Slow Shutter Cam app. Nothing special, not really a great picture, just a shot with a guy passing by, (but I must say that I loved how he looked) this is what I needed.
Step 2
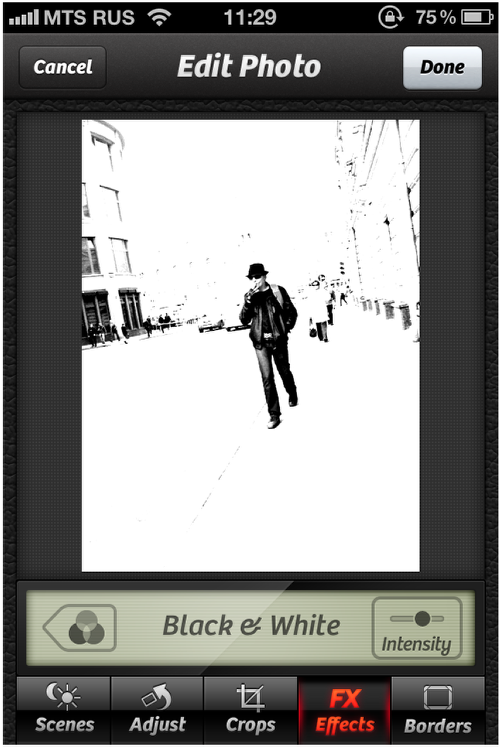
I did not want to receive any unexpected play of color during further processing, so I converted my image into b&w, using Camera +. I then saved the image.
Step 3
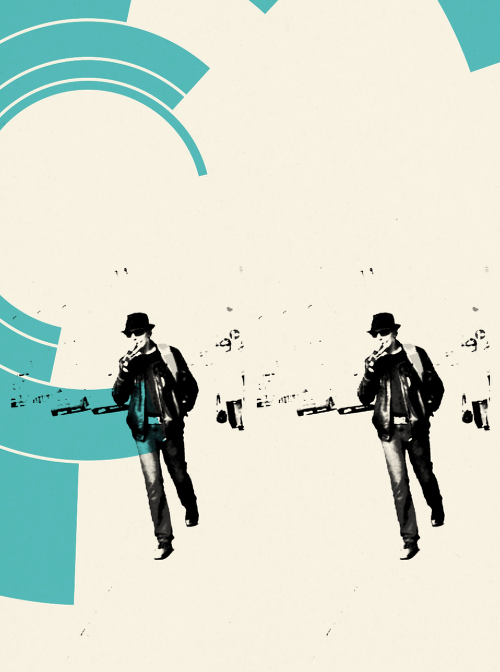
Personally, I love geometry and I really love the “poster” image style. So for this picture I opened the image using “addLib” app. It looks good, don’t you think? But it is too small! I want even more geometry! I then saved the image.
Step 4
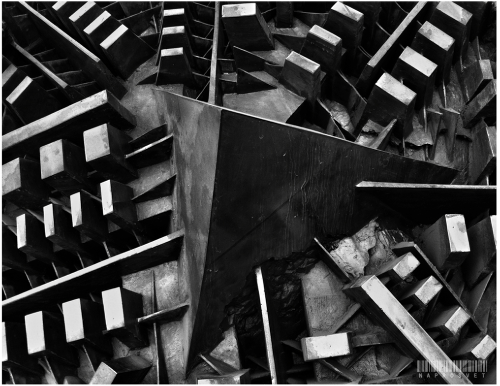
The second of my favorite tips – shoot more!!! 😉 As I said in my interview – not every picture will be released, but each of them can become an essential part of the finished work. They might be good as a texture, for example.
Ok, ao I turn to my archives and I remember that I want to see more geometry …fine! I think I found a use for it! This picture was a little bit improved using “Camera +” app.
Step 5
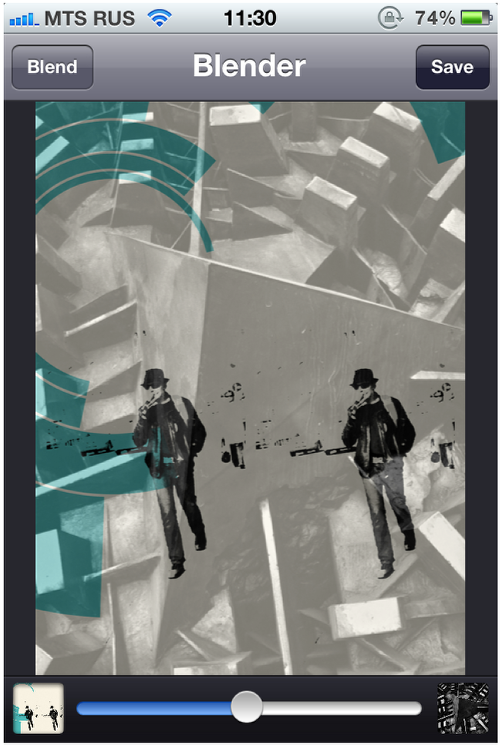
And now we proceed to the fun – blending! (Here I used “Image Blender” app). If it proves necessary to turn the image, use the application settings and select “Arrange”.
Step 6
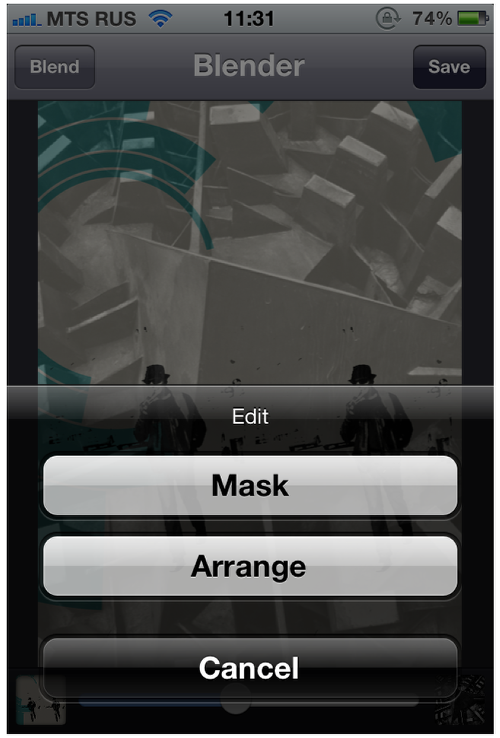
…and choose Blending Mode.
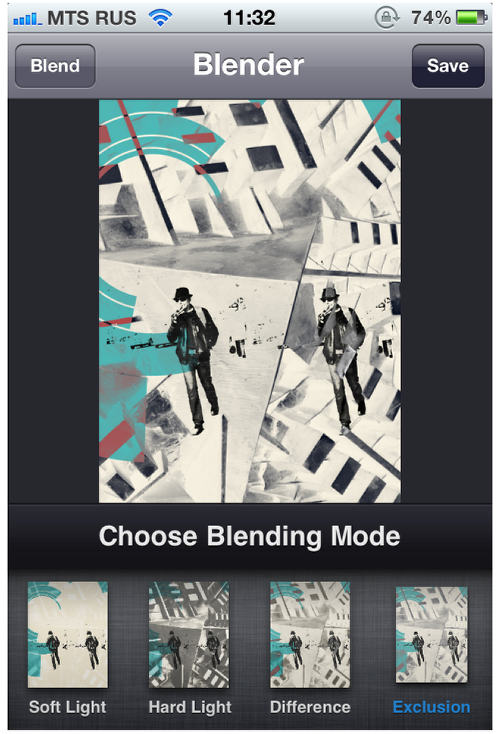
Step 7
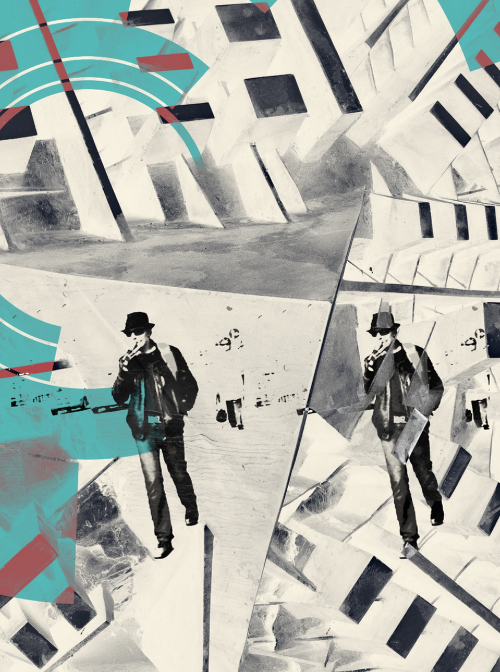
This is how the image looked at this stage.
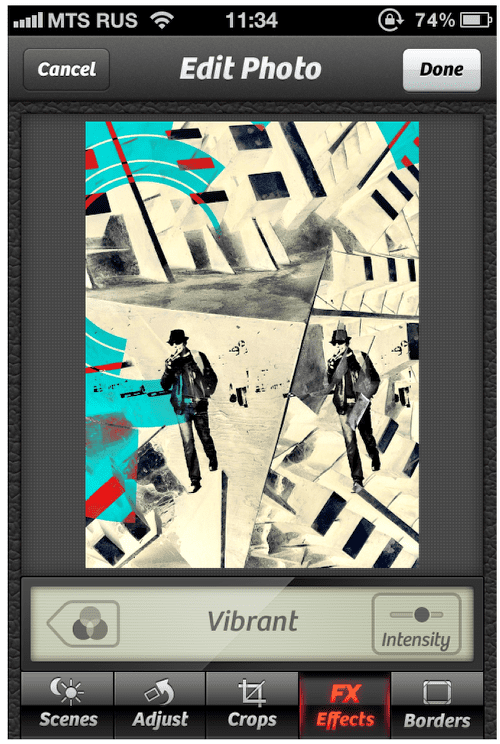
Step 8
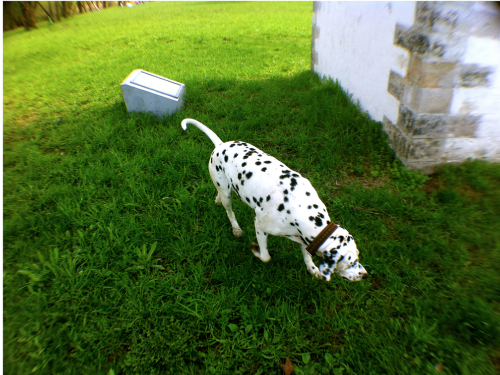
Honestly, I don’t really like pets’ pictures (this is not my element)… but recently I took a couple shots of one beautiful and noble Dalmatian ….I thought it would be nice to see it here…
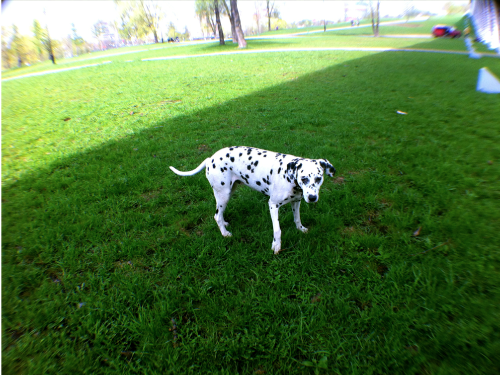
Step 8
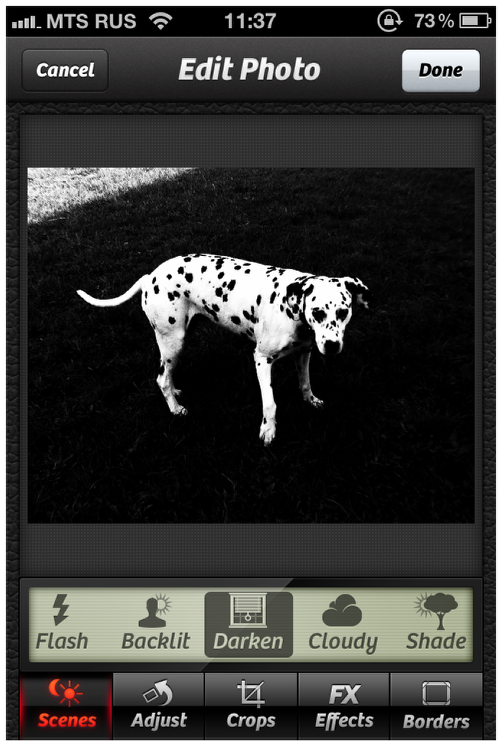
I removed the color and cropped the image using the Camera+ app.
Step 9
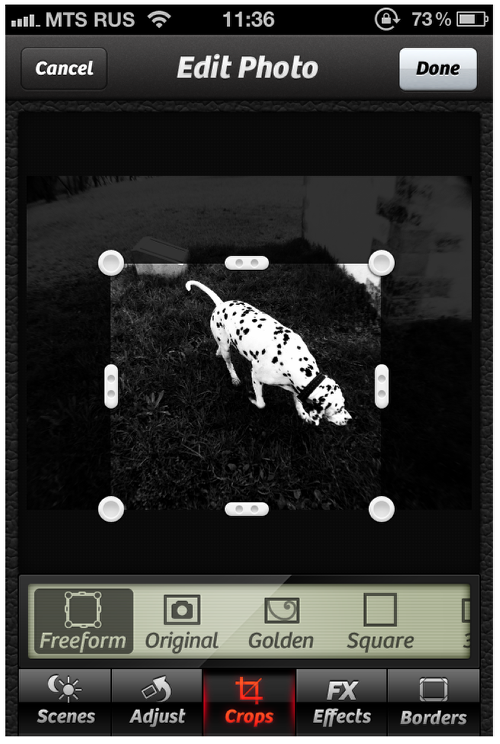
Next, I I went back to the Image Blender app and added the dogs one after the other ( using the application settings “Arrange” and “Mask”…and choose Blending Mode).
I wanted to see both at once! I liked that they have different positions.
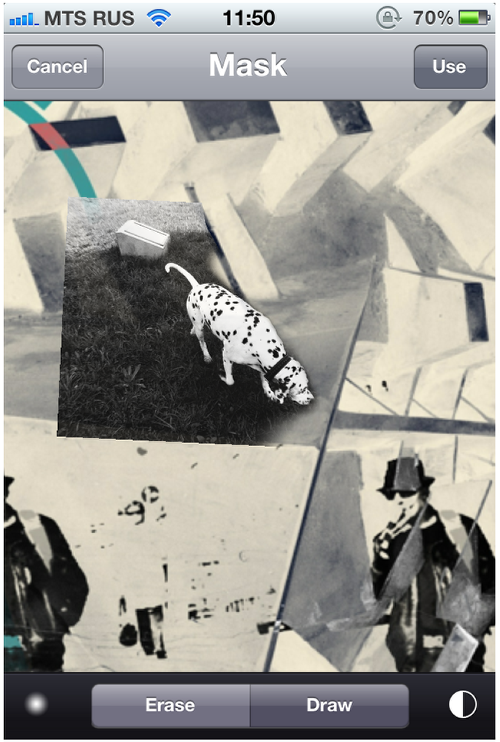
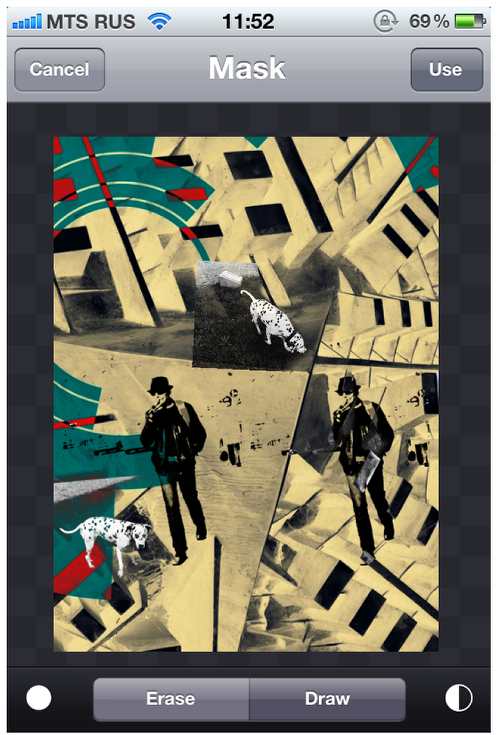
I should mention that the happy owners of an iPad can use mask with ease! I process my works using only an iPhone, so I must be very careful and accurate. An iPad is still at the top of my wish list.
Step 10
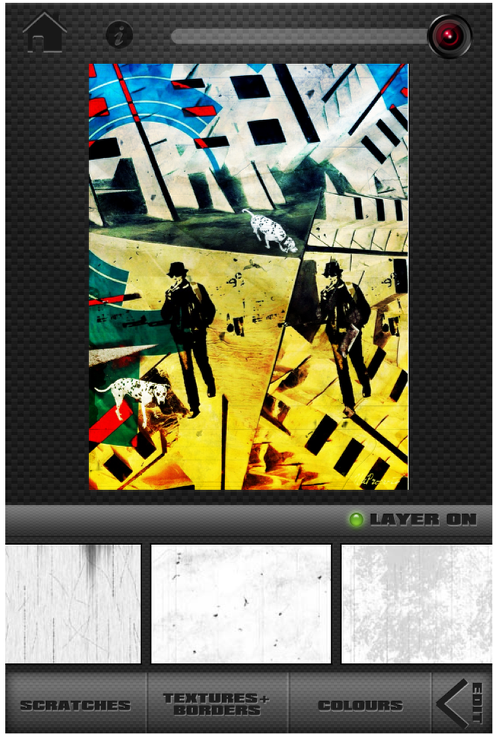
Finally, to complete my work I used the ScratchCam app and selected the app settings for my taste.
Final Image
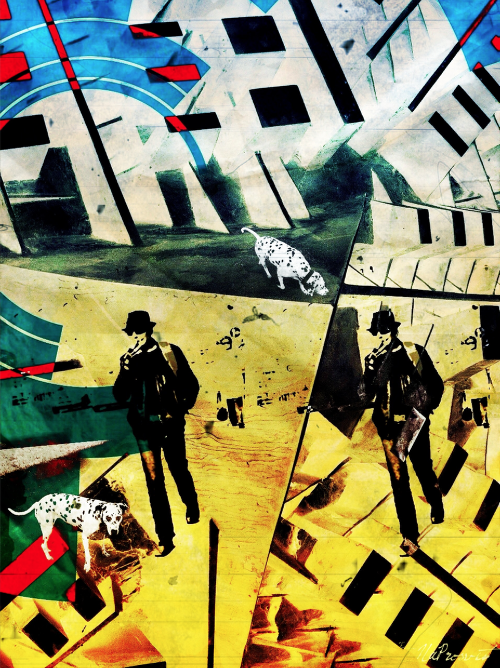
Here is the final image again. This image combined all the effects that I wanted to achieve and I was elated with it.
Links to Apps used in this Tutorial
One Comment
Pingback: