Olloclip Tutorial – How To Create A Stunning Art Inspired Image Taken With The Fish-Eye Lens
In this tutorial I will show you how to take and make a stunning art inspired image taken with the fish-eye Olloclip lens.
Final image
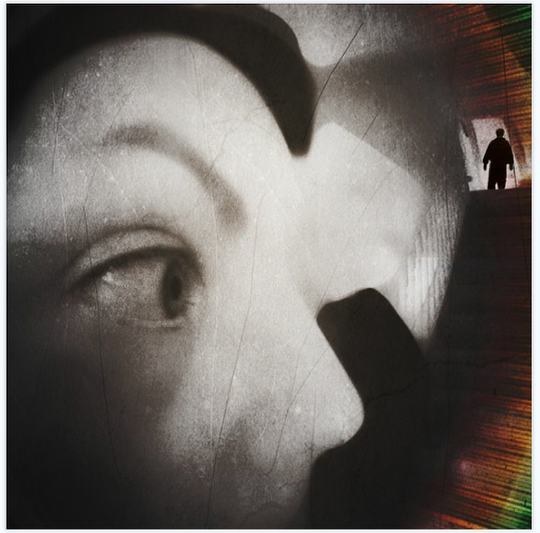
This is the final image, the one I will show you in the steps below how to create.
Step 1
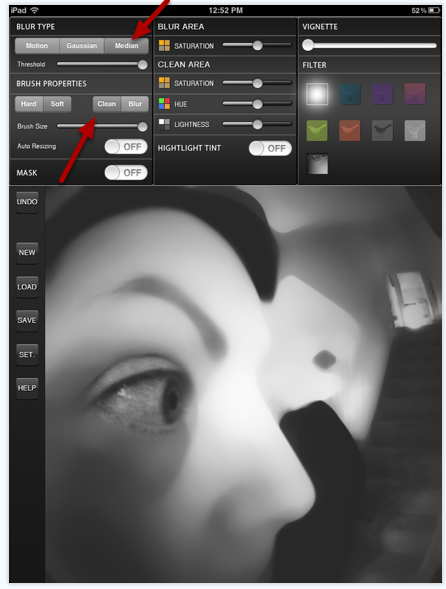
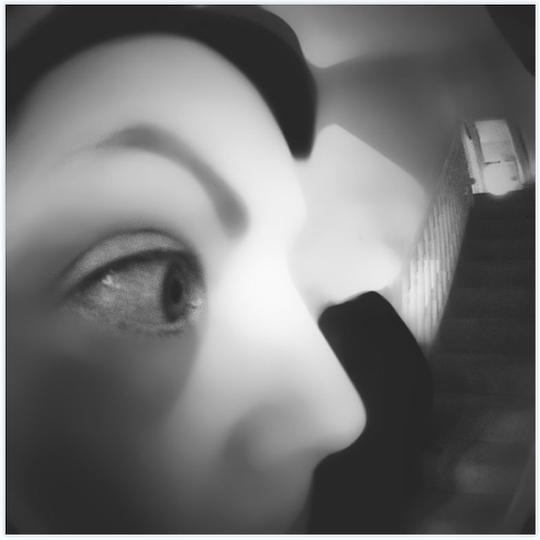
I took the original image using the Lomora 2 app with black and white film setting and my Olloclip fisheye lens. Next I opened the image in the BlurFX app.
To do this, select New from the top bar within the app and select your photo either from your Camera Roll or Photo Stream. I then selected the Median Setting and selected Clean to highlight the areas I wanted to draw attention to.
Step 2
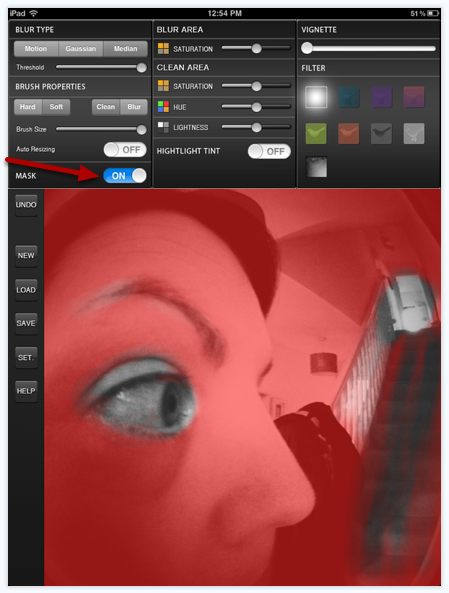
With the Mask setting set to On, (red glow) the cleaned areas are easier to see, as above.
Step 3
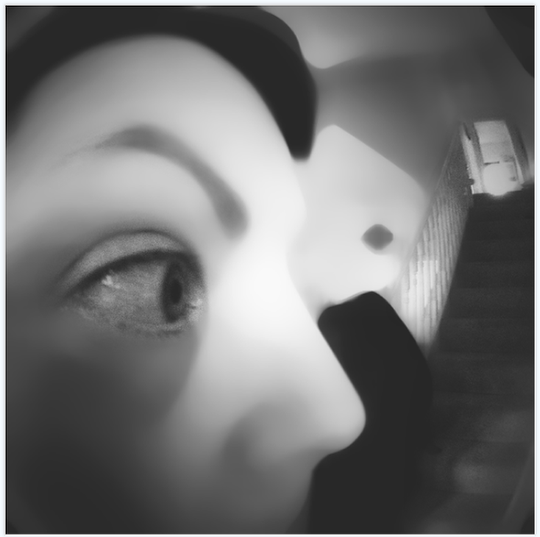
By turning the Mask setting back to the Off position, this is how the image looked with the final result of BlurFX.
Step 4
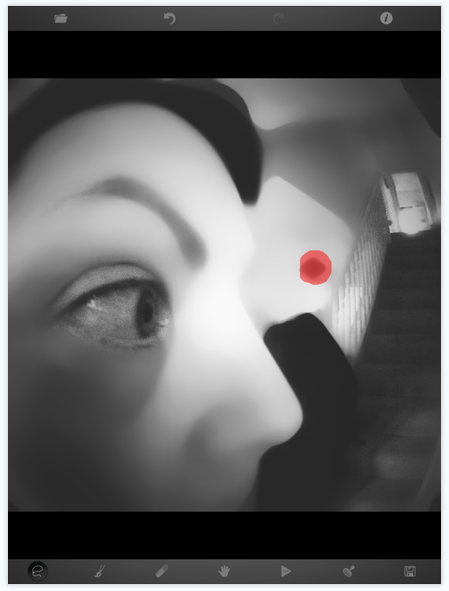
There was a distracting mark on the image from the light fitting in the hallway, so I opened the image in Touch Retouch in order to remove it.
To open the image in Touch ReTouch, just open up the app and select Open Photo From Gallery, then select your image from the Camera Roll or Photo Stream.
To remove the above blemish, I highlighted the area with the ‘laso’ tool, at the bottom left of the screen. I then drew around the area that I wanted removed. I then selected the triangle on the bottom row and clicked on Go. The item was then removed.
Step 6
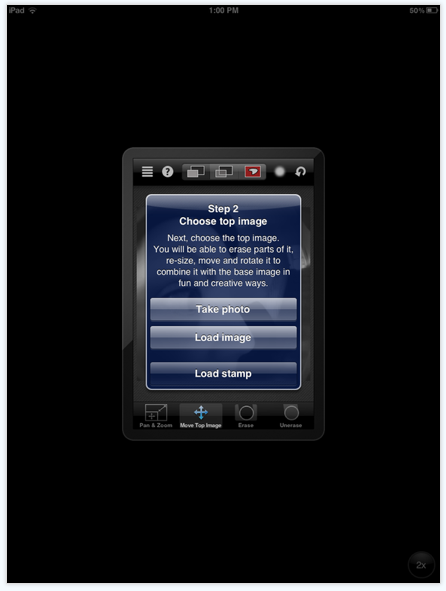
I was pleased with the image but wanted to add some additional interest to the area at the top of the staircase.
Next I chose a previously used stamp from the Juxtaposer app. I opened the app and selected Load Image from the pop up menu. I then selected ‘Load Stamp’.
Step 7
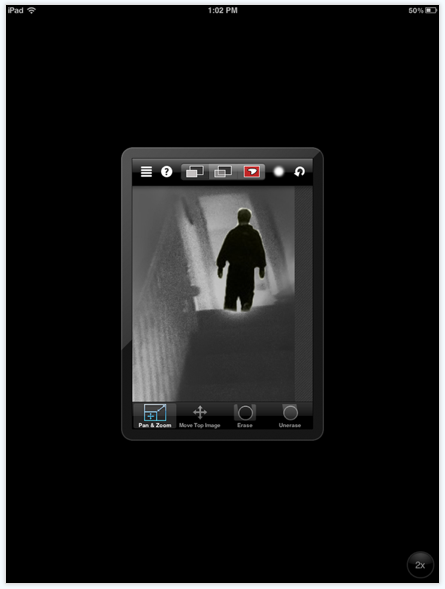
I then positioned the ‘Stamp’ in my desired location, which in this case was the top of the staircase.
Step 8
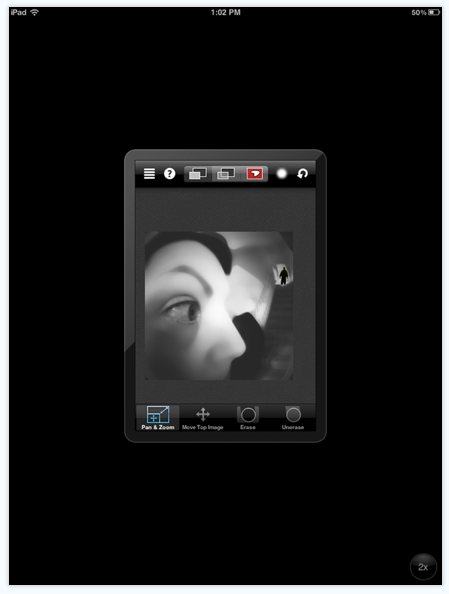
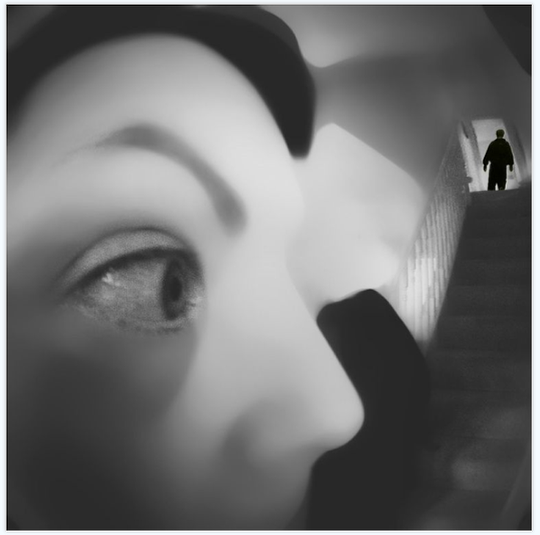
This was how the image looked at this stage.
Step 9
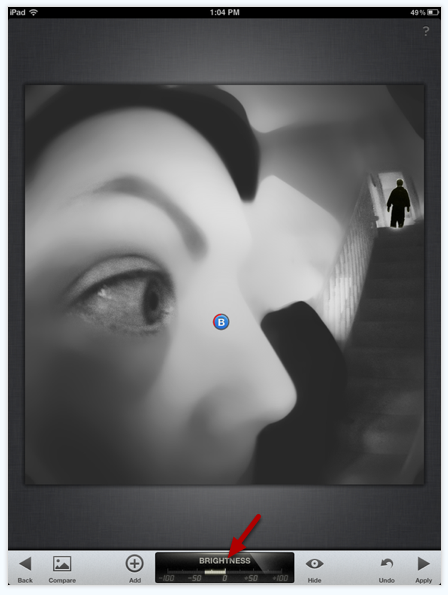
I then opened the image in Snapseed in order to adjust the brightness in one area over the nose. I reduced it by approx 40%.
Step 10
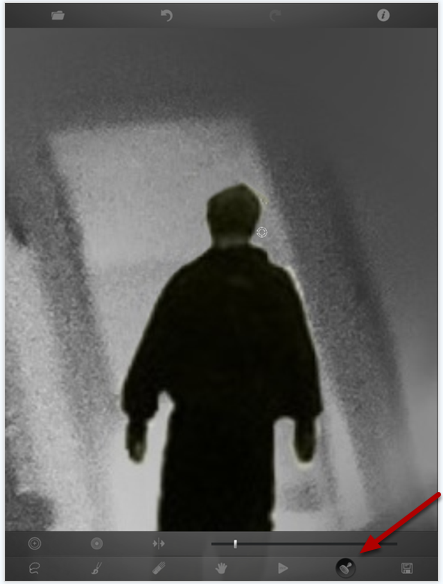
Next, I opened the image again in Touch Retouch in order to do some clean up work around the figure. I selected the Clone Stamp icon, to the bottom right on the screen and moved this around the edges of the image to remove the untidy white outlines.
Step 11
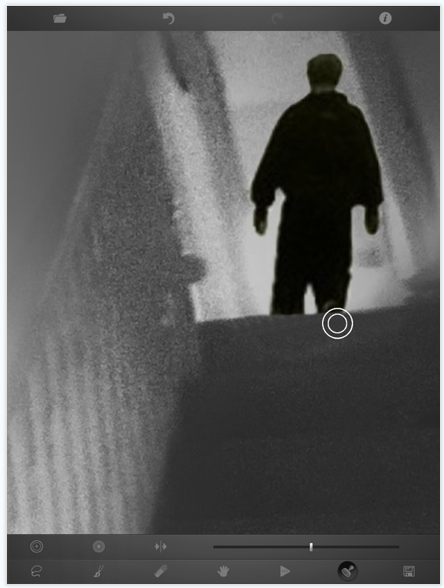
I also used the Clone Stamp to repair the top step underneath the figure, as shown above.
Step 13
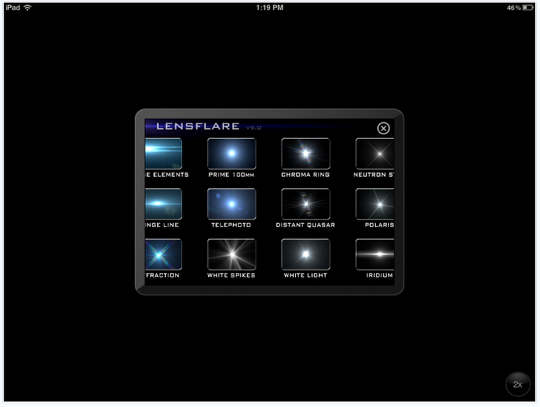
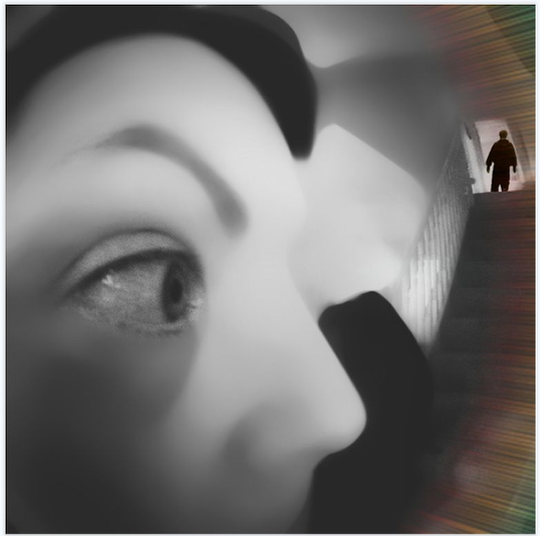
Next, I opened image in Lensflare, I originally wanted to add light around the figure, but after exploring options I noticed ‘Chroma Ring’ added an interesting effect to the side of the staircase.
Step 15
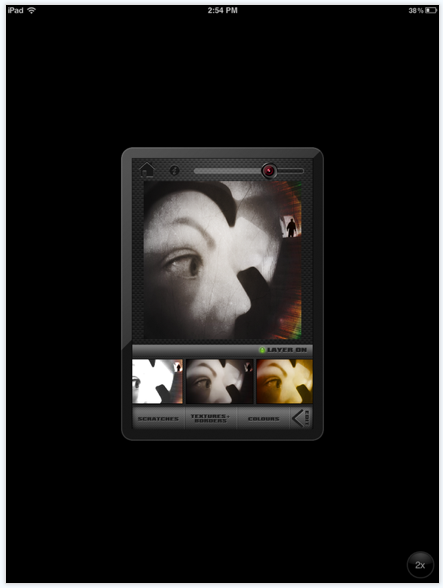
I then opened the image in ScratchCam and selected ‘Scratches’ and ‘Colors’ at approximately 75% (texture + borders OFF).
I was pleased how ScratchCam retained and enhanced the colors from LensFlare.
Step 16
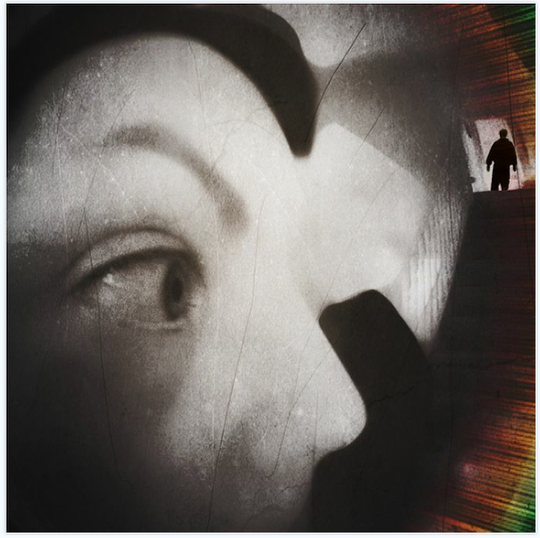
This is the final image and I have entitled it ‘Is anybody there?’.

