Color Lake – iPhone Photography Tutorial
Color lake is one of those apps you think, hmmm not sure I will use it much, but once you get it you will want to run all your photos though it to see what it will do. This was exactly what I did and boy it was fun! The adjustable horizon and adjustable snow and rain feature means you can create an image with the specific look you are after.
In this tutorial I show you how to create a stunning image using the water effect, in later tutorials I will demonstrate some of the other incredible effects of this app and how it can turn your images into something very special indeed.
Color Lake retails for $1.99/£1.49 and you can download it here.
Original Image
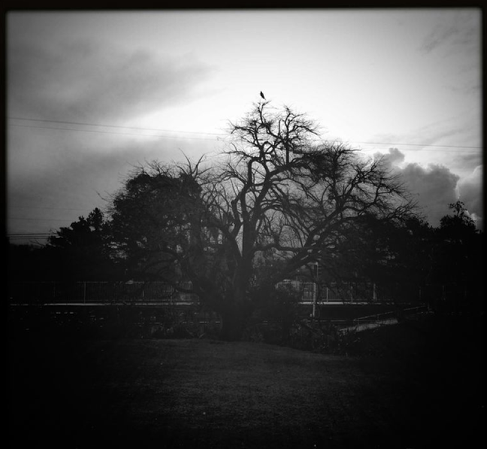
It was this Hipstamatic image that is the basis of ‘in my subconscious at ten past 3’.
Final Image
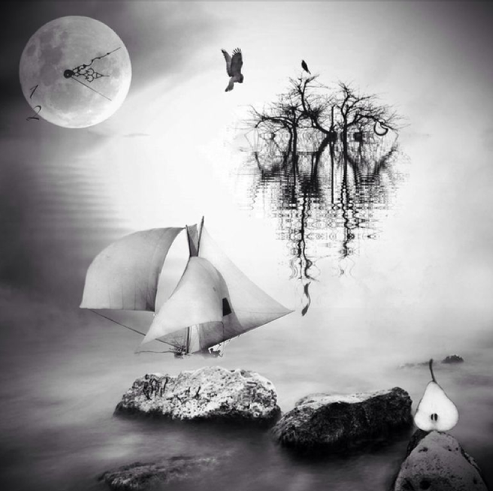
Copyright Image – Mel Harrison – ‘In My Subconscious At Ten Past Three’
This is the image we are going to show you how to recreate, none of this would of been possible without Color Lake.
Step 1
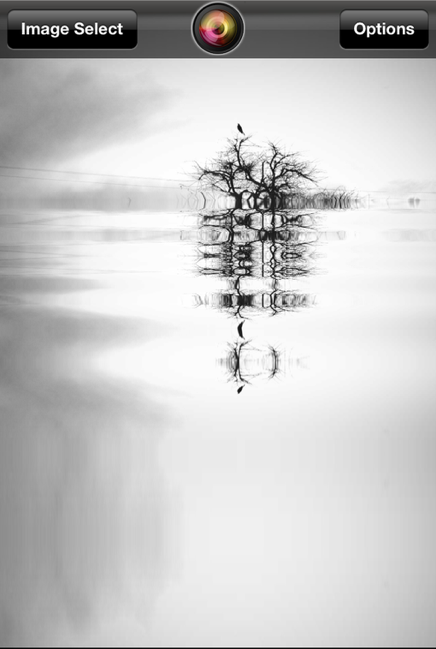
I opened the image within Color Lake and I set the horizon quite high creating an almost abstract tree form. I was not sure what I was going to do with it but I knew it was going to be the basis for something. It sat in my camera roll a few days before ideas started popping up. Color Lake is an incredible app that allows you to add amazing reflection effects and realistic Snow and Rain effects. With the water effects you can even adjust the waves size and height.
Step 2
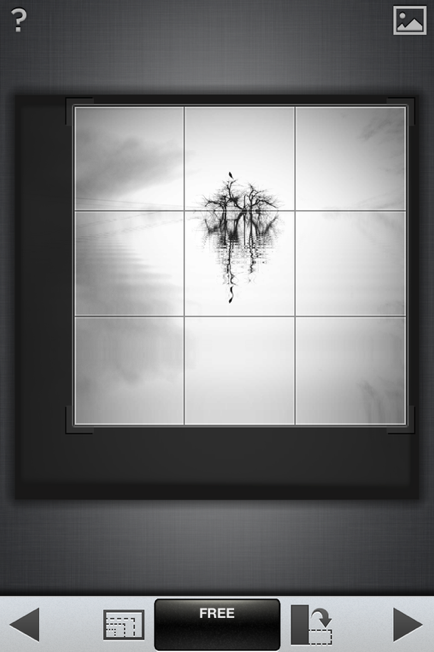
Next I took the image into Snapseed, first to crop down the image, I saved the photo.
Step 3
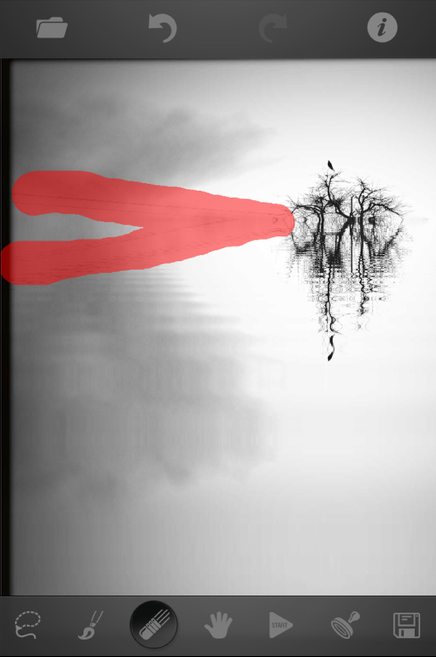
I then went into TouchRetouch to remove the lines left behind by the overhead wires, again I saved the image.
Step 4
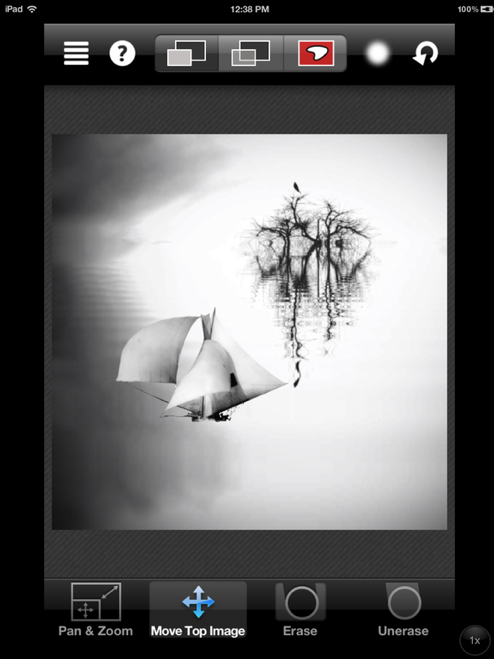
I then opened the image in Juxtaposer to add the boat to the base image. I saved it.
Step 5
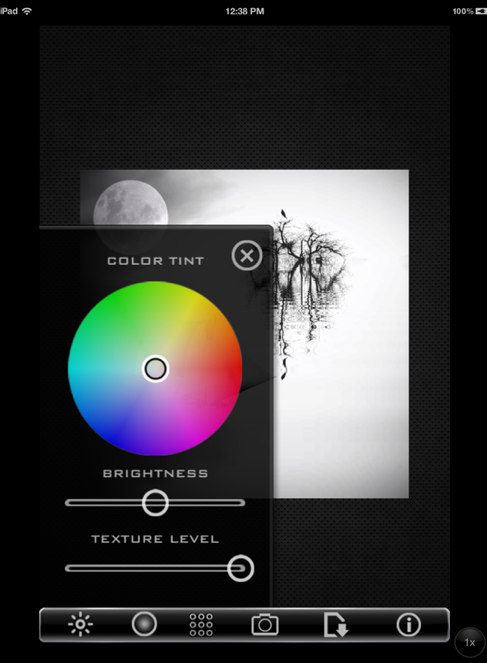
Next I opened the shot in Lenslight to add in the moon, again I saved the image before the next step.
Step 6
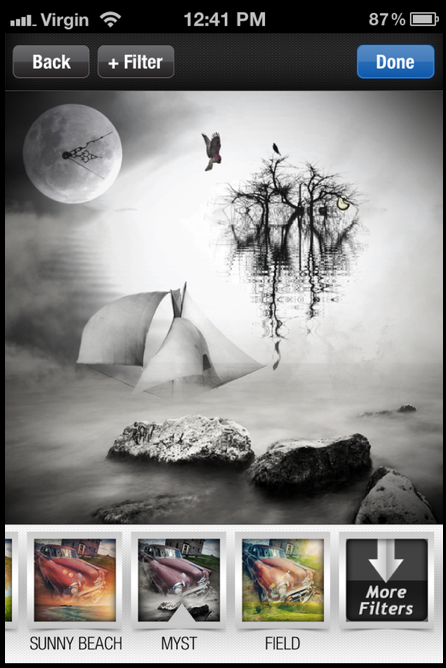
Filtermania 2 provided the misty rocks at the bottom of the image, then I went back into Juxtaposer to add some elements I had saved in my stamp menu. The clock hands went in over the moon, my daliesque clock hanging from a branch in the color lake tree and a bird in flight heading towards the tree and saved.
Step 7
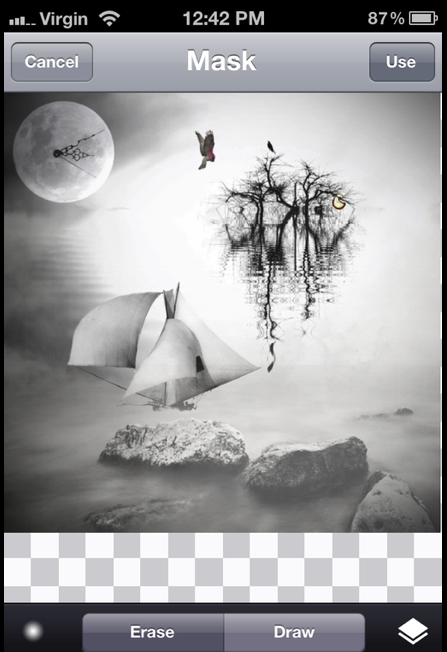
I then took the image into Image Blender and adjusted the mist over the boat.
Step 8
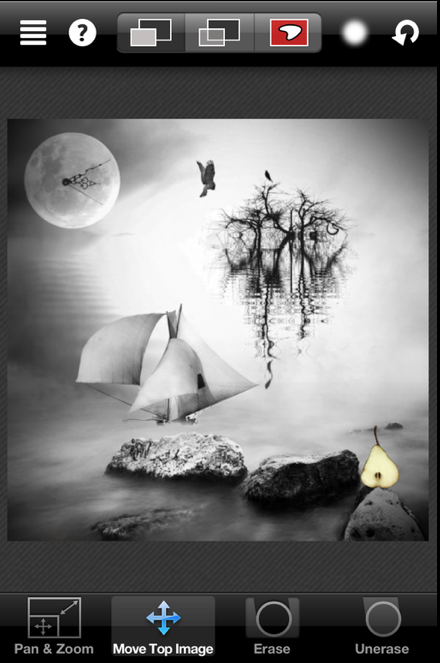
I decided I wanted my pear stamp in the bottom corner so went back into Juxtaposer to add it in.
Step 9
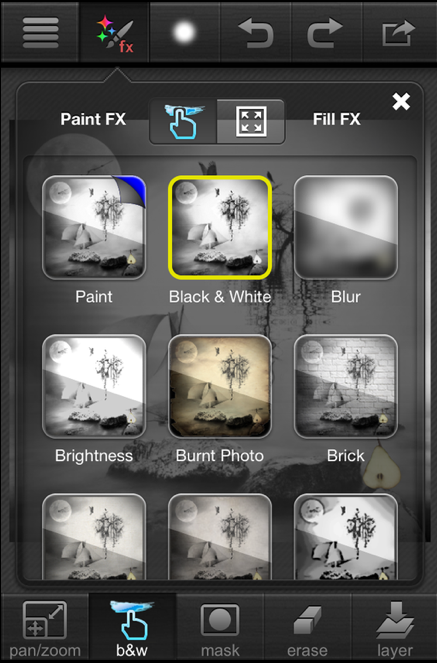
Finally I took the image into Paintfx and painted black and white over the colored stamps to make the image monotone.
Final Image
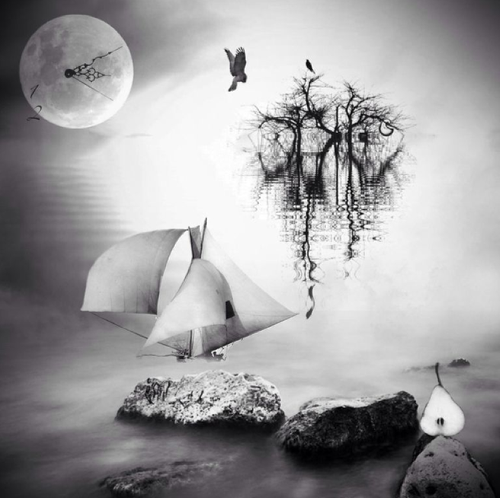
Copyright Image – Mel Harrison – ‘In My Subconscious At Ten Past Three’
Here is my stunning final image again. I hope you have enjoyed this tutorial, please comment below. I was inspired by Color Lake to produce this awesome scene and hope you will try it too.

11 Comments
Egmont van Dyck
Thank you Joanne and especially Mel for presenting us with not only an interesting tutorial but also informing us about this app.
I look forward to other tutorials by Mel using this application.
Warmest regards,
Egmont
mahoganyturtle
Thank you so much Egmont 😀
David
Great tutorial Mel!! I wondered how you created this wonderful image when I first saw it…now I know!! I am most definitely going to check out Color Lake!! Thanks for putting this together for us!!
mahoganyturtle
Thanks David much appreciated 😀
dcmacnut
Filtermania’s filters with physical objects in them has always bugged me. I never thought to use them in this fashion. Well done!
mahoganyturtle
They can be useful in the right image 😀
Paula Gardener (Jahsharn)
Amazing Mel, this is a brilliant tutorial!
mahoganyturtle
Thank you Paula xxx
Geoff White
Awesome tutorial,thanks for sharing,final image is so cool. One question I have is where in filtermainia 2 do you the misty rocks? I have been looking but can’t find it.
mahoganyturtle
Hi Geoff glad you enjoyed the tutorial. To find the misty rocks go into the ‘more filters’ section, there is a folder named scenery challenge, ‘myst’ is in that folder 😀
Cheers Mel
LynneM
Excellent tutorial. I look forward to your next contribution. Now, I’m off to buy Color Lake. Thanks.