iPhone and iPad Art Tutorial – ‘The Littlest Egliid’ by Mel Harrison
Many people have been in awe of Mel Harrison’s outstanding character creations and rightly so, they are incredible. Mel is now publishing a children’s book with this character and many more included.
We were desperate to find out how Mel created these characters will her iPhone and iPad and asked her as one of our valued Contributors to write a tutorial, she was more than happy to oblige. You will love this, what a way to start the week. (Foreword by Joanne Carter)
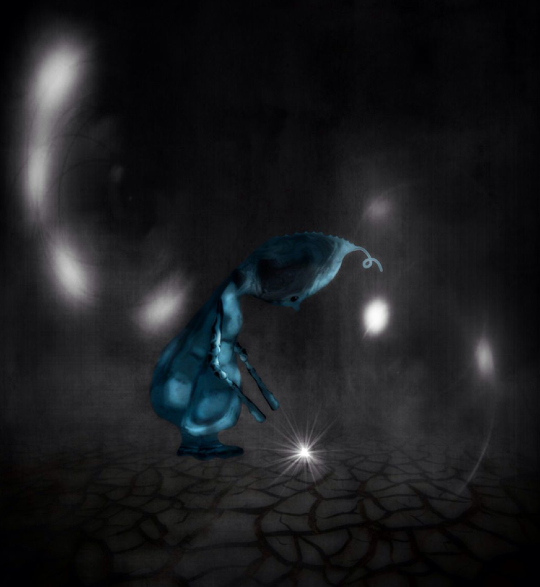
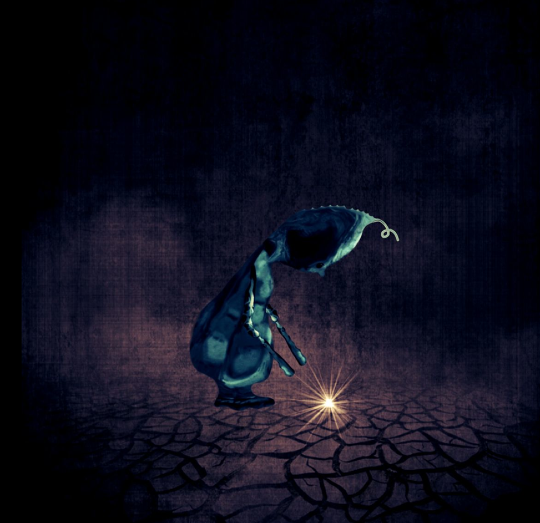
‘The littlest Egliid, the last of his kind, saw something shining in the distance, cautiously he approached and watched it for a little while. He poked it and watched some more….is it a star? Or perhaps it’s the seed everyone has been waiting for to regenerate the forest and save the planet….but no one will listen to him because he’s so small. I wonder what he will do to get their attention…
This image is part of a children’s book I am writing called The Egliid. I am getting a lot of requests for a tutorial on how I created this character so I will do my best to try and explain it”.
Step 1
The images used were taken with an iPhone 4S, then I used the Photo transfer app to transfer them to my iPad.
Step 2
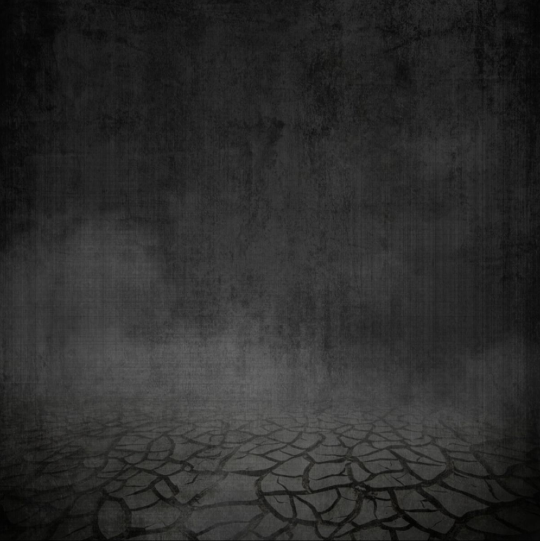
The background of the images in this series was made from a black photo painted in using Paint FX, a layer of grunge was added in ScratchCam and a cracked ground blended in via FilterMania 2. The blending was all done in Image Blender and has a large image dimension of 3072×3072.
Step 3
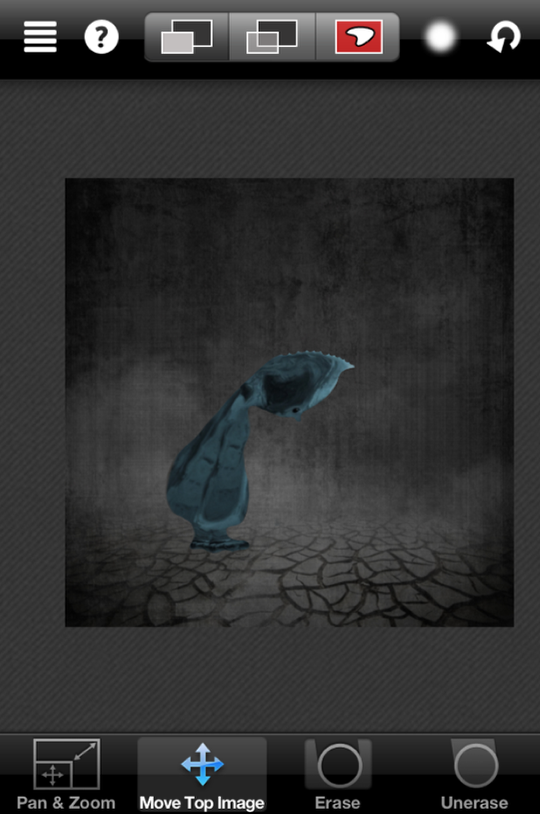
Using another image of nothing in particular I ran it through Glaze to get a texture base, this was transported into Paint FX and coloured. I took this texture “sheet” into Juxtaposer and sculpted out the character, each section was sculpted individually, saved as a stamp and used to build the character onto the previously made background.
Step 4
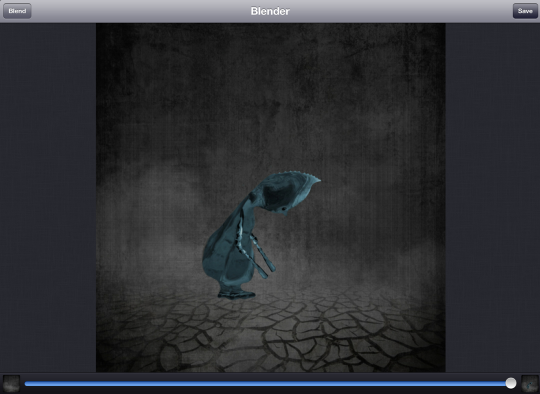
Juxtaposer will drop the image dimensions down to 2048×2048 to restore the large dimension I layer the juxtaposed image over the original background in Image Blender setting the opacity to favour the juxtaposed image. I saved this image to camera roll.
Step 5
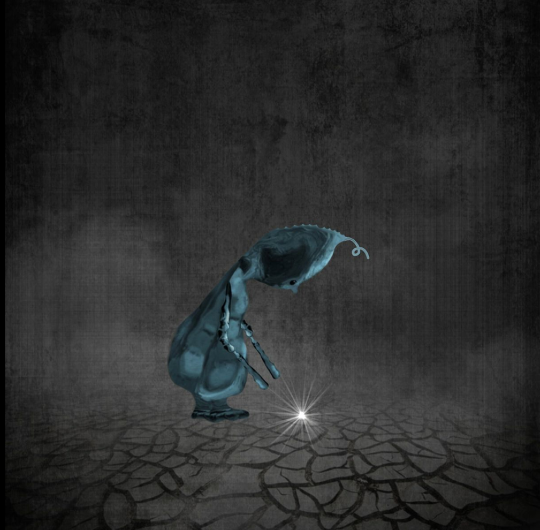
I then took the image into Paint FX and drew the curl on the top of the little Egliid’s head.
Step 7
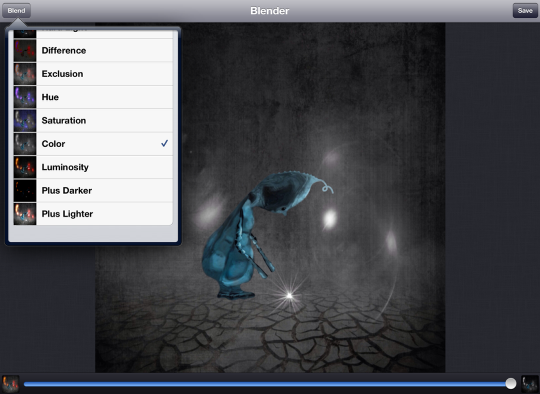
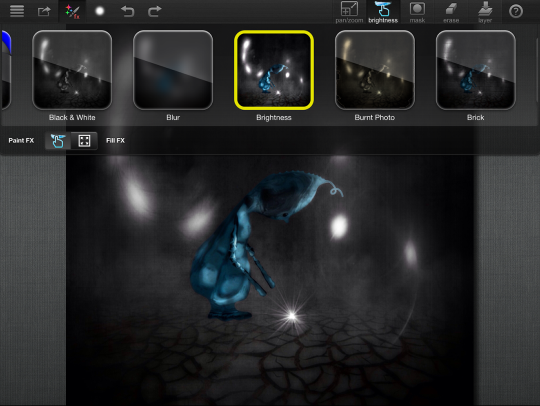
I added the light leaks via Pixlr-o-matic and using the luminosity blend mode in Image Blender changed it from colour to white. I also added a dark filter in Pixlr-o-matic to add some drama.

13 Comments
Robert Lancaster
Wow, Mel thanks so much for the tutorial!
I have been loving the thread over at MobiTog and now get a wee glimpse in to how the magic has happened.
Thank you again for sharing this with all of us.
Janine Graf
You are so creative and clever Mel! This is wonderful and a huge congrats on your children’s book! xo
Kimberly
Great tutorial! Mel your work astounds me. And I definitely want to read the book! 🙂
David
Thanks so much for sharing this with us, Mel! This is such a great series!!
Geri
Cool Tutorial – Thanks for sharing
Stephanie Cabrera
Thanks for sharing this tutorial!! I really like this!
Leslee
Mel, I cannot wait to see the book! This is incredible!
melia
thank you for showing us some magic! sweet little character
Mikro
Well done Mel!
Catherine
This is just AMAZING!!! So wonderful to see the behind-the-scenes magic. I love the Egliids so much!! <3
Mel Harrison
Thank you all so much I truly appreciate your comments! If there is anything else you would like to know please don’t hesitate to ask 😀
JQ Gaines
What a wonderful treat to see your working process, Mel… thank you for sharing! These are truly the most delightful images 🙂
Cat Morris
Wow! Thanks for sharing Mel! It’s so wonderful to get a little behind-the-scenes glimpse of your process! This is a fantastic series! Can’t wait to see the book!