Tutorial – Etchings – Putting It Through Its Paces
We are delighted to publish the first of many tutorials that we’re planning with the app Etchings. In this, the first of the series, our Head of Technical Tutorials, David Hayes, gets to grips with its main functions. Over to you David. (foreword by Joanne Carter).
In my review of Etchings, I gave a quick overview of some its features. In this first of several articles I’d like to take a look using Etchings to build images. I’ll be using the same source image throughout so you can get a feel for what Etching has available.
If you haven’t picked up Etchings yet, you can do so here. It retails for $0.99/£0.69.

My source image was taken this past summer at the Cincinnati Zoo…it’s the old Elephant House…a classic and gracious building….perfect for Etchings!
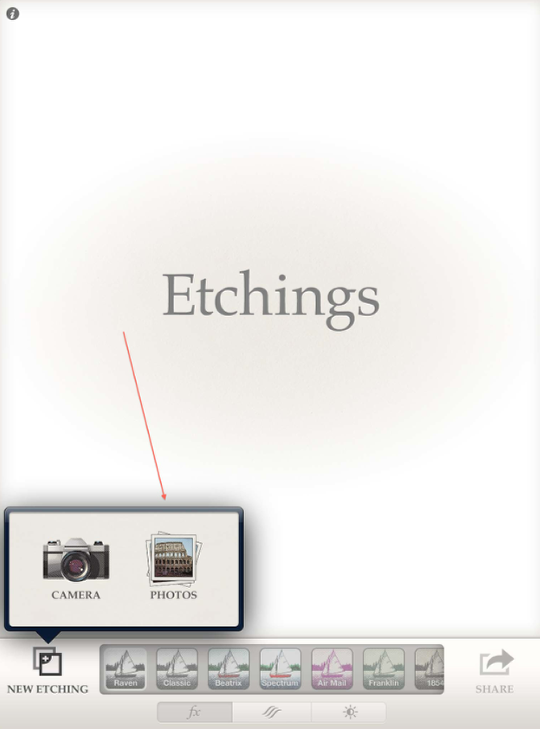
When you open Etchings, this pop-up menu will come up…from which I picked “Photos”.
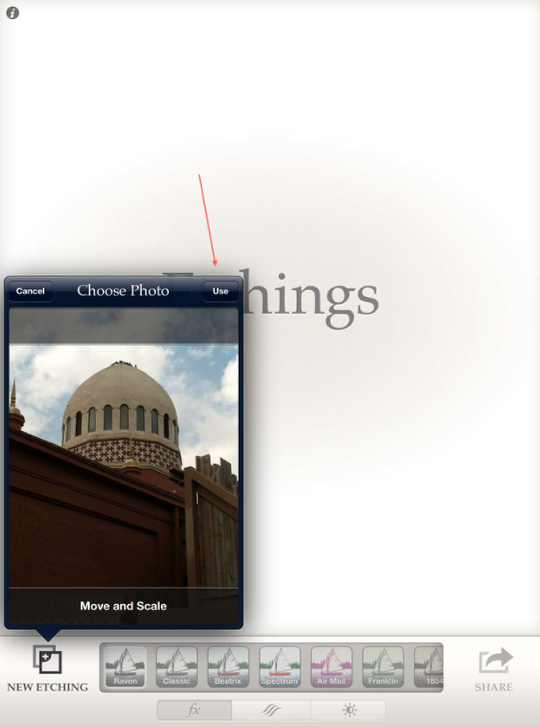
Choosing the “Elephant House” pic from my camera roll, I moved it around the “Move and Scale” window…then clicked on “Use”.
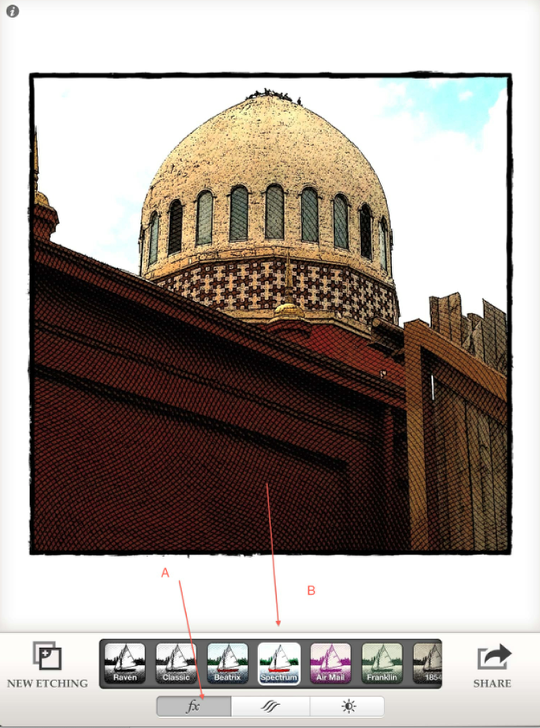
Etchings will always use as a default the “Raven” fx filter so I always go through the full gamut of choices before settling on the one I want to use. In this example, I picked “Spectrum” (B) as I liked this filter treated the colors in my source image.

Moving next the line weight (A), I decided on “Bold” (B).
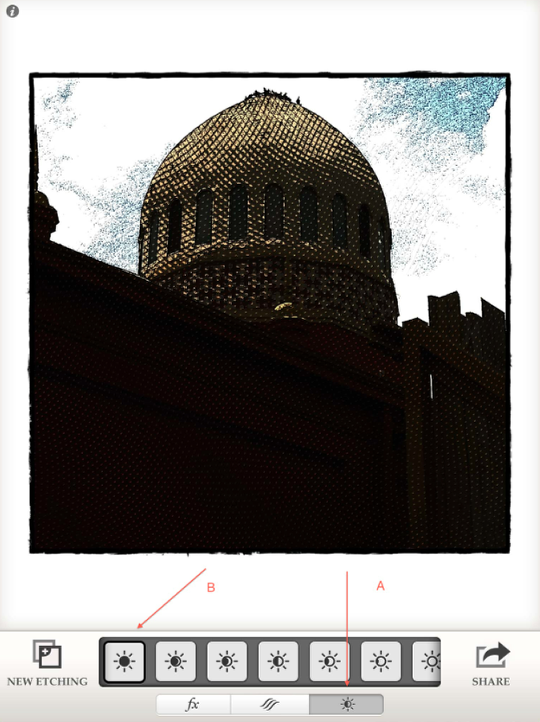
Next in the sequence is “Exposure” (A). Starting with Exposure #1 on the far left of the control strip, you can see how dark this has made my image. Not what I wanted!
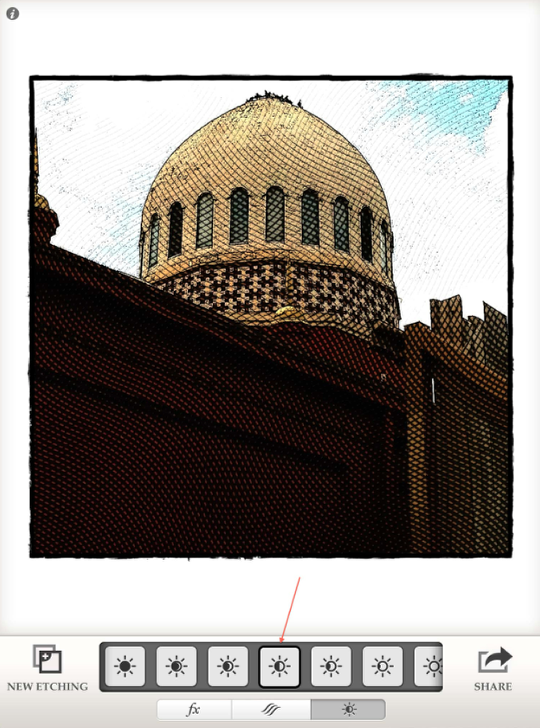
In this screen shot, I picked Exposure #4, or the middle point. This one’s not bad, but I like to “bracket” and check the other exposures out before settling.
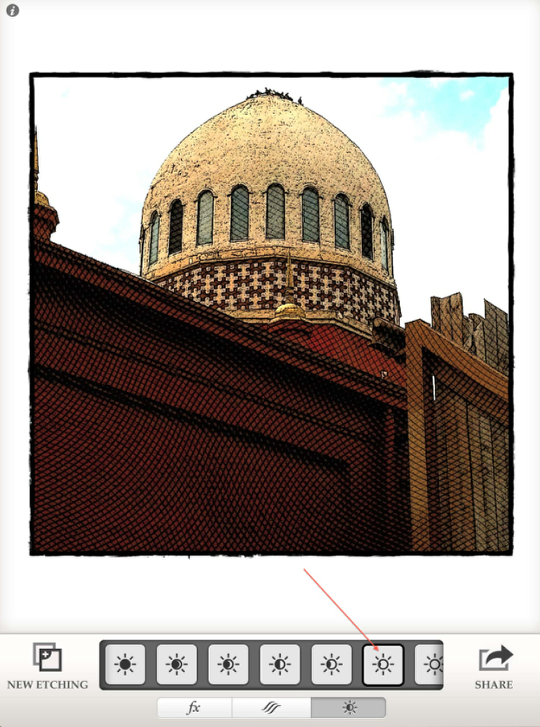
Using Exposure #6, I decided that I liked this setting the best!
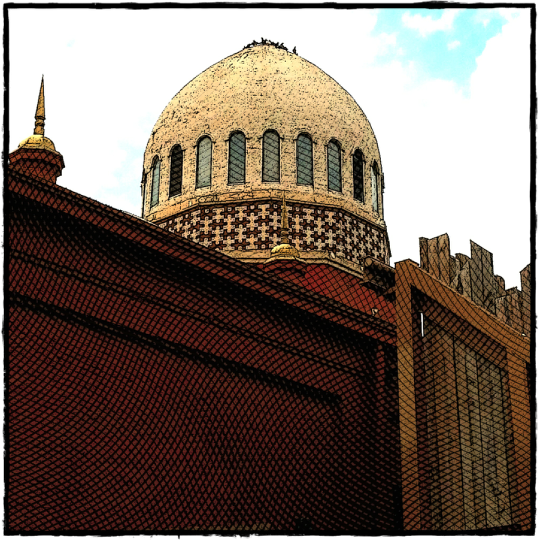
Here’s what the final product from this workflow. Now let’s take a look at a couple of other sequences using the same source image.
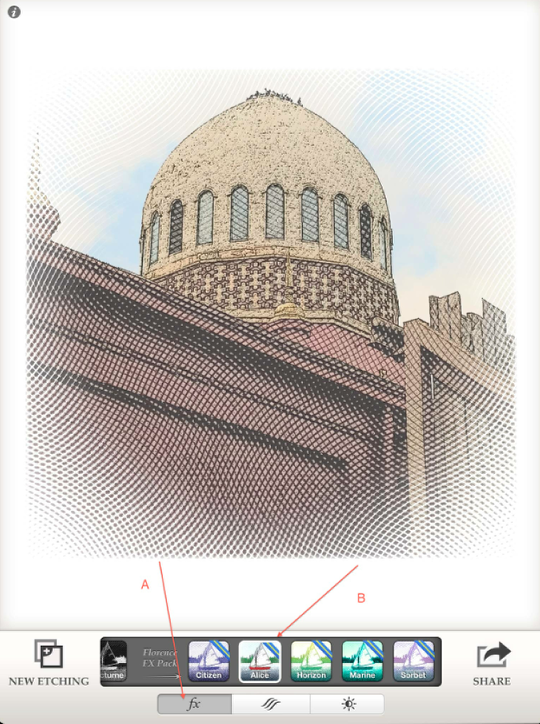
In this second sequence, I started with the “Alice” filter, which is one of the fx filters that come in the Florence FX Pack that is available as an in-app purchase.
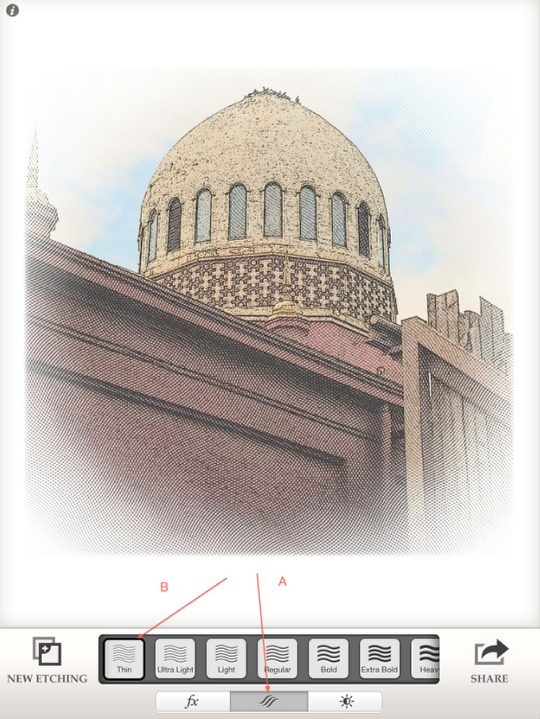
Given the delicate colors in “Alice”, I chose the “Thin” line weight.
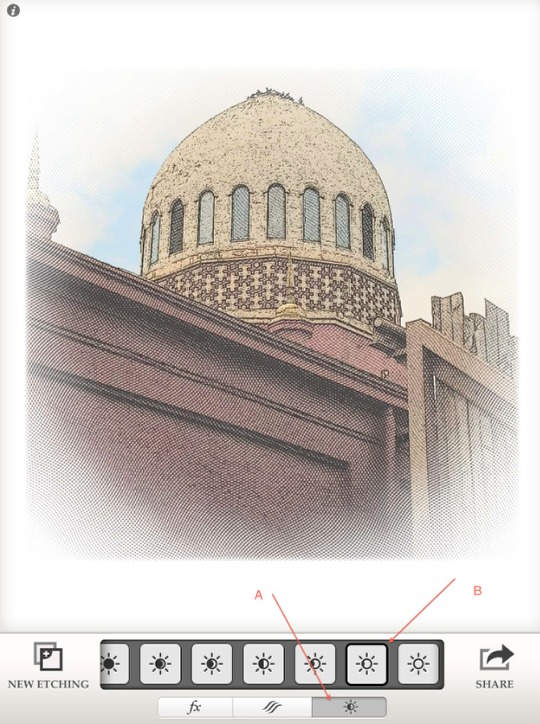
For the same reasons as the last setting, I picked a lighter exposure setting, in this case Exposure #6.
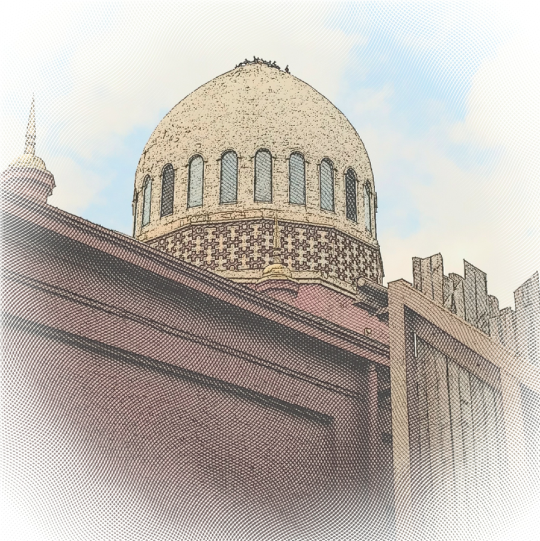
Here’s the final product from this workflow. Time now to take a look at a couple of the “Novelty” filters that come with Etchings.
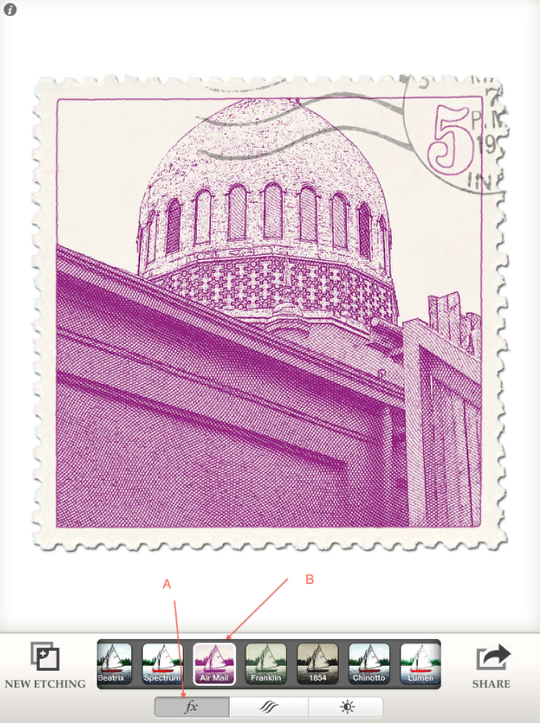
The “Air Mail” Fx filter helps you create a fun postage stamp style image. Perfect for an Elephant House!
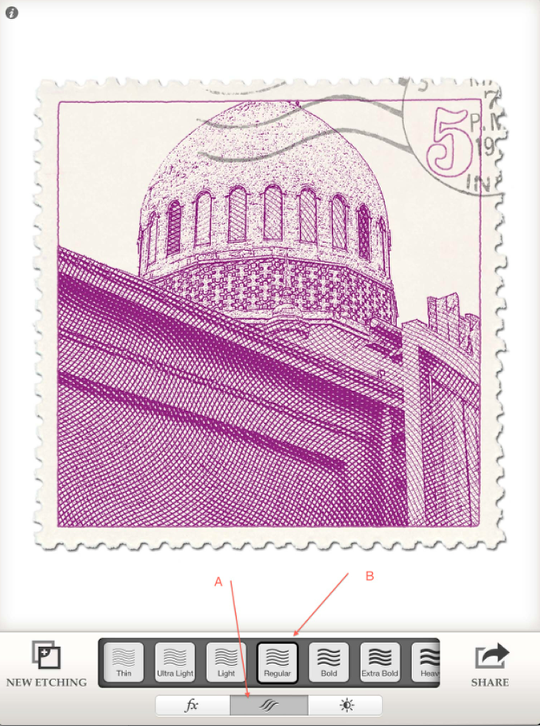
A “Regular” line weight is perfect for a postage stamp!
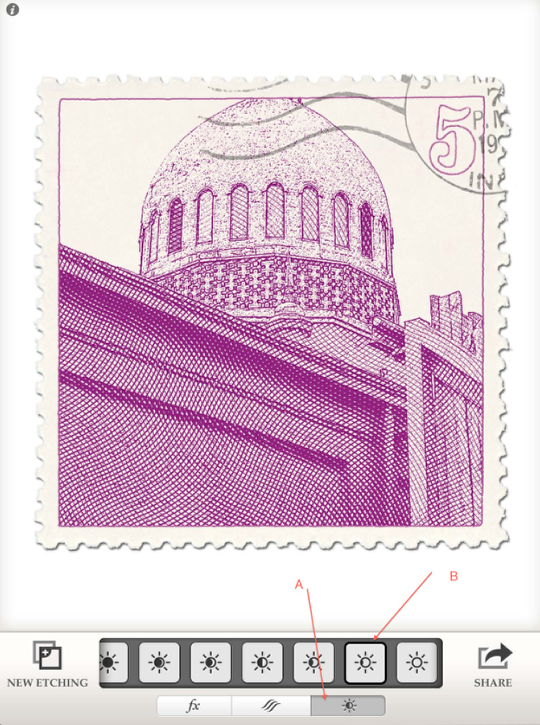
After a couple of tries, I finally decided that Exposure #6 worked best for this image as well.
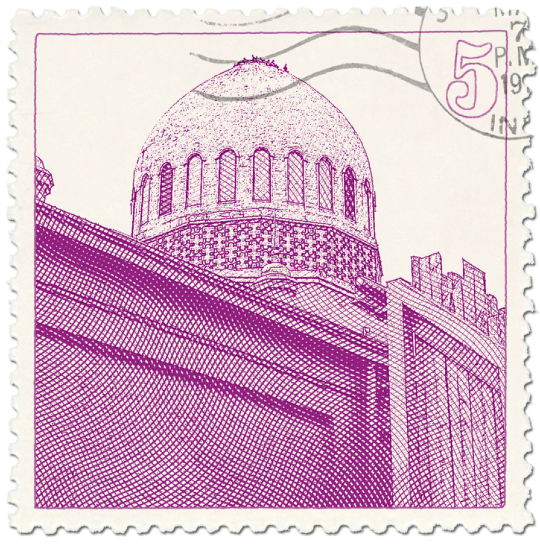
And…the final product from this sequence. One more novelty filter…and then I want to show a special feature that comes with Etchings.
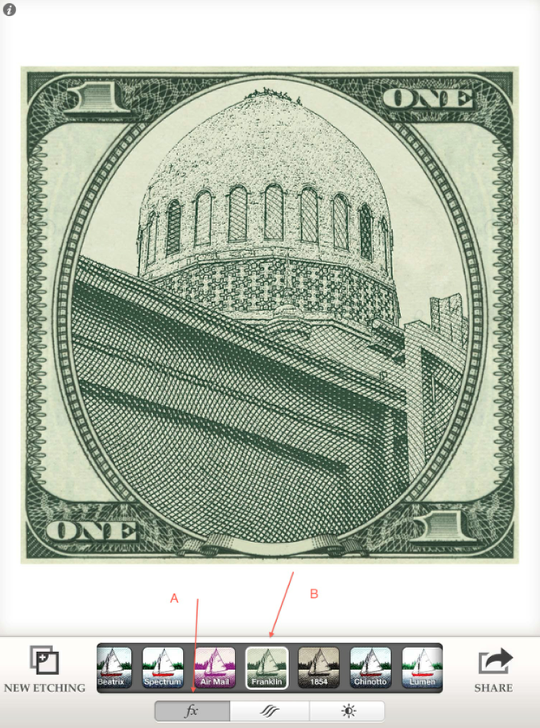
“Franklin” uses the U.S. one dollar bill as its inspiration…another fun choice for my source image!
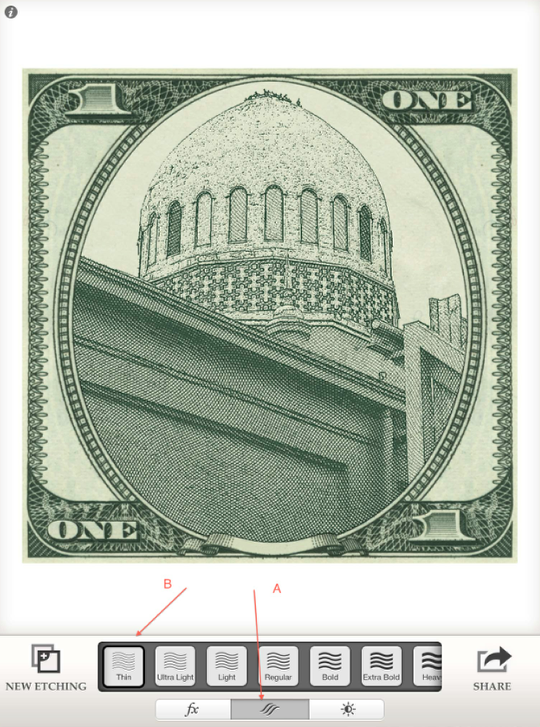
The “Thin” line weight seemed to work best here…
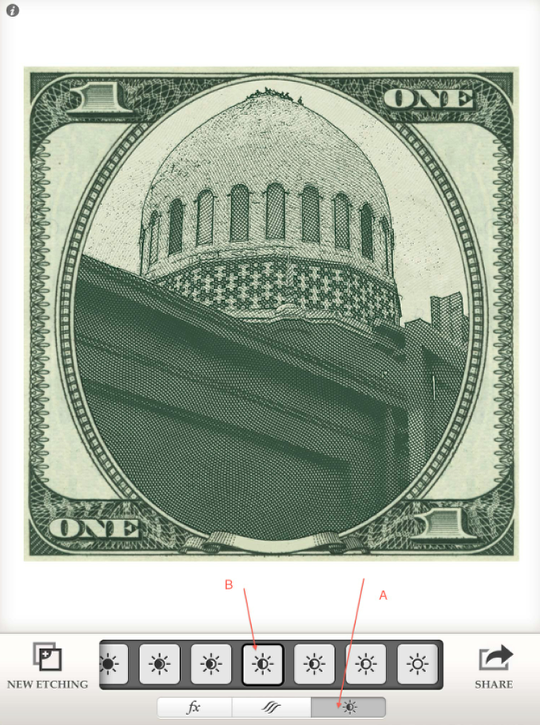
The middle exposure, Exposure #4, was my choice for my “Franklin”…
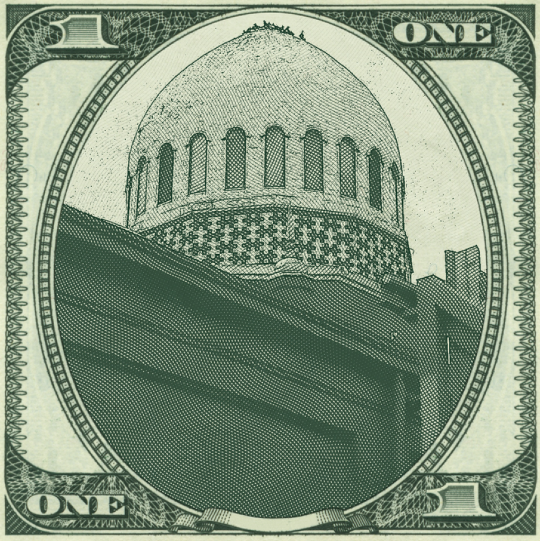
Pity this isn’t legal…but here’s the final product.
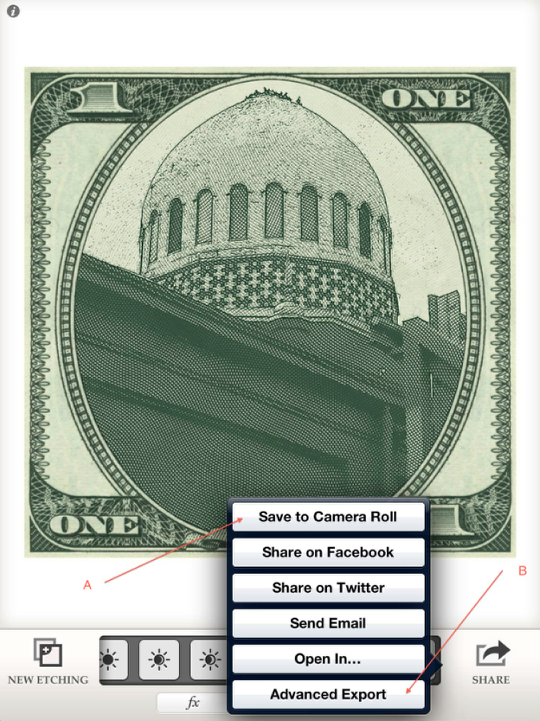
Clicking the “Share” icon in the lower right corner brings up this pop-up menu. From here you can save to your camera roll, which is what I’ve been doing. You can also share to Facebook, Twitter, send an email, as well as open in other apps. This is all typical. What’s special to Etchings is its Advanced Export function. Click on this tab to bring up its control panel.
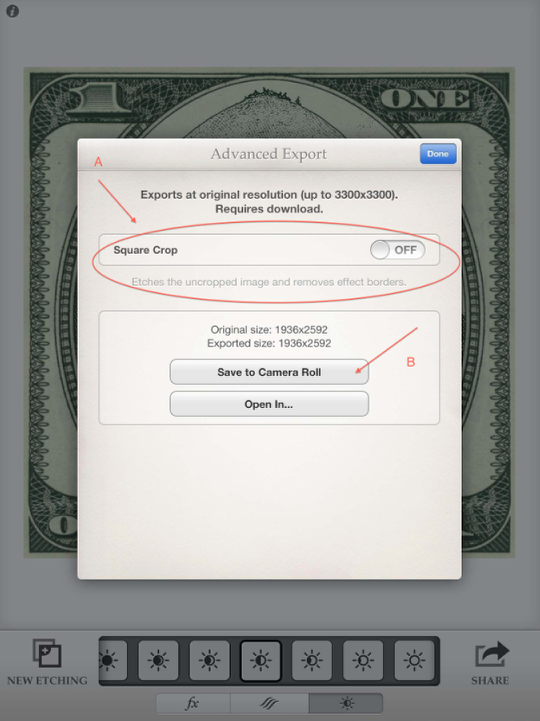
What this function allows you to do is to save a full resolution (up to 3300×3300) image to your Camera Roll. It also strips off the cropping and effect borders so you have the “raw” image to work with in another app. I’ve turned of the Square Crop function to allow for this…and then clicked on Save to Camera Roll.
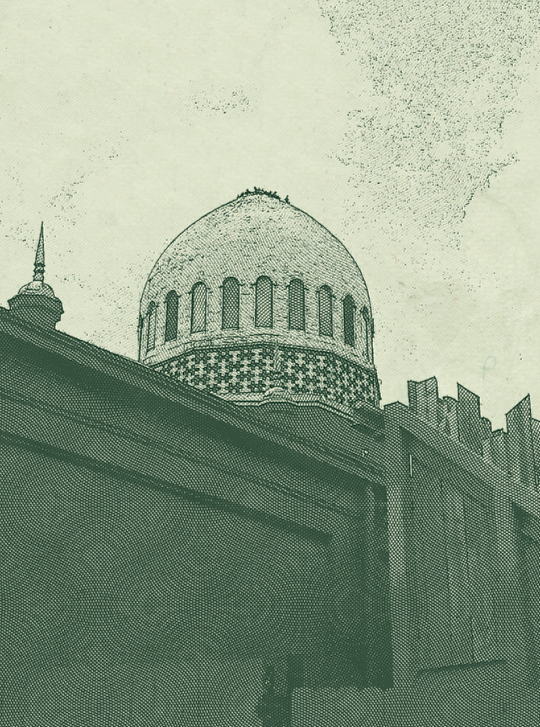
Here’s what you get…the same coloration, line weight, and exposure settings as the “Franklin” image…without the novelty border. A great feature if you plan to open your Etching image in another app.
So there you are….a look at four of Etchings fx filters and different line weight and exposure settings. In future tutorials I’ll show you how I’ve combined different apps with Etchings. Stay tuned!!

9 Comments
MaryJane Sarvis
Great tutorial David. I studied Printmaking in college and beyond so I was amused when this app came out. I discussed a few questions with the developer when it came out. Technically it recalls engraving much more than etching. They preferred the name. It’s a fun app. I’d like to see some more settings like the 1854 fx. That recalls etching most to me. It can be a fun app to use in blends.
JennLynn
Superb tutorial, perfectly explained and enhanced by the screenshots. Looking forward to many more from you using a variety of apps.
Carlos
Super duper David…I needed that…thanks for taking the time to get the details posted on how to use etching. Cheers!
Dave
MaryJane ~ My eldest daughter just recently graduated with her printmaking degree…and she would agree with your assessment. (I have also found the developer to be this way….) I have been having fun with this app in the same manner…and with other apps! Stay tuned for more on this in future tutorials!
Dave
JennLynn ~ Thank you so much. Glad you liked it. There will be more tutorials in the future….and I have more tutes already in The App Whisperer archives…do check these out in the meantime!
Dave
Carlos ~ and thank you for your feedback! Glad my tute was helpful!!
Carol
Dave, I really enjoyed this! Concise, easy to follow, another great tutorial. Thanks, now I have to buy Etching.
Delta
Thank you Dave, You just saved this app from my extinction file…this was great !
David
Carol ~ thanks!! Glad you liked it. And your welcome…I’m always happy when I “make” you buy a new app!!!
Delta ~ you are most welcome. Etchings is bit of a sleeper app…you need to work with it before you start seeing its potential. Try combining it with other apps as well. I’ll be putting together some tutorials in the future where I’ve done just that!