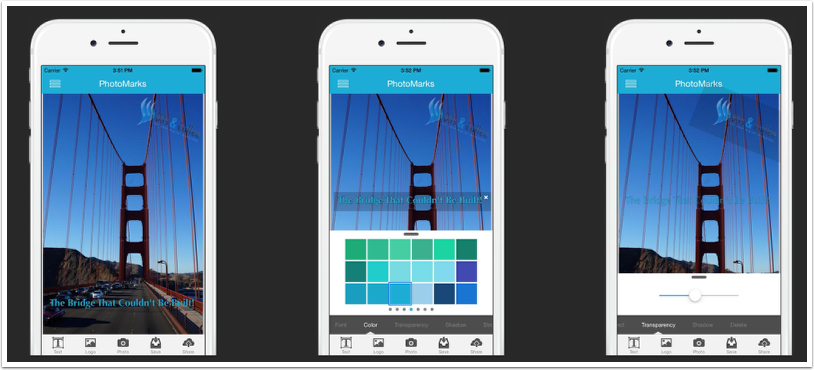
Tutorial – iPhone Adobe Photoshop Touch Tutorial
Adobe released Photoshop Touch for iPhone and Android smartphones today and both versions are available to download immediately. See our earlier post here.
Elaina Wilcox has written a great tutorial to help you start enjoying this app straight away, please take a look at this. (Foreword by Joanne Carter).
Step 1
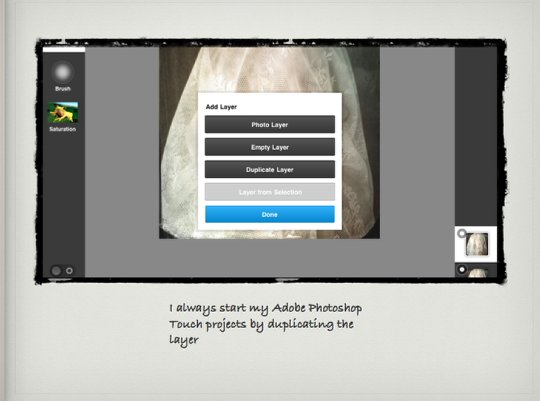
‘I always start my Adobe Photoshop Touch projects by duplicating the layer.
Step 2
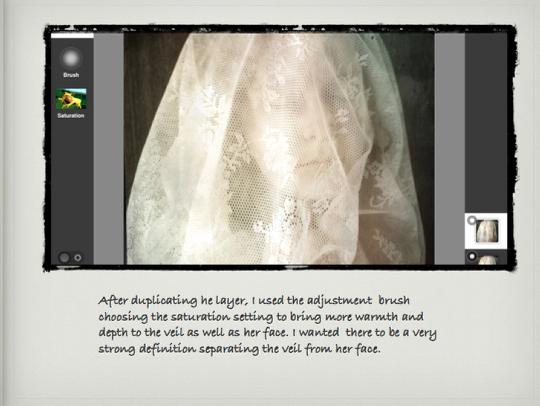
After duplicating the layer, I used the Adjustment Brush, choosing the Saturation setting to bring more warmth and depth to the veil as well as her face. I wanted there to be a very strong definition separating the veil from her face.
Step 3
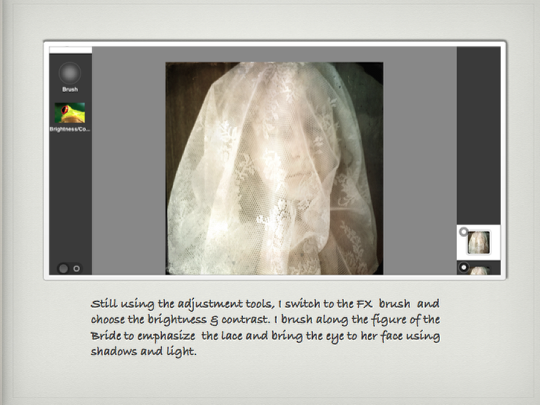
Still using the Adjustment tools, I switch to the FX brush and select the Brightness and Contrast options. I brush along the figure o the bride to emphasize the lace and bring the eye to her face using shadows and light.
Step 4
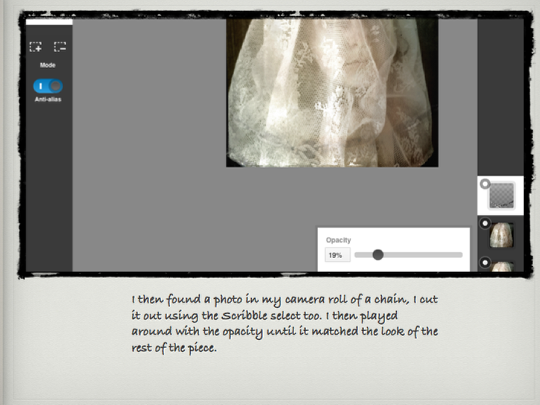
I then found a photo in my camera roll of a chain, I cut it out using the Scribble select tool. I then played around with the opacity until it matched the look of the rest of the piece.
Step 5
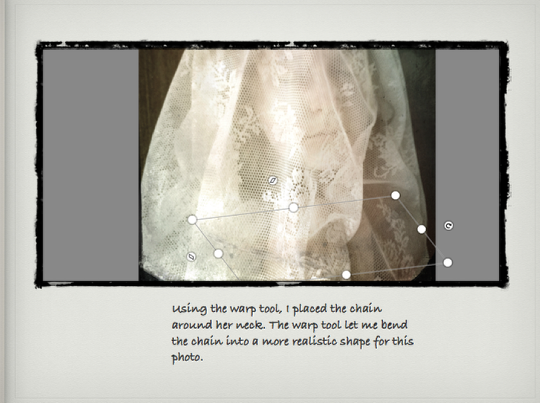
Using the Warp tool, I placed the chain around her neck. The Warp tool let me bend the chain into a more realistic shape for this photo.
Step 6
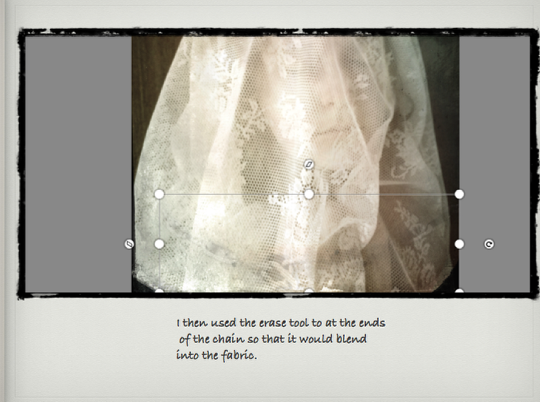
I then used the erase tool tool at the ends of the chain, so that it would blend into the fabric.
Step 7
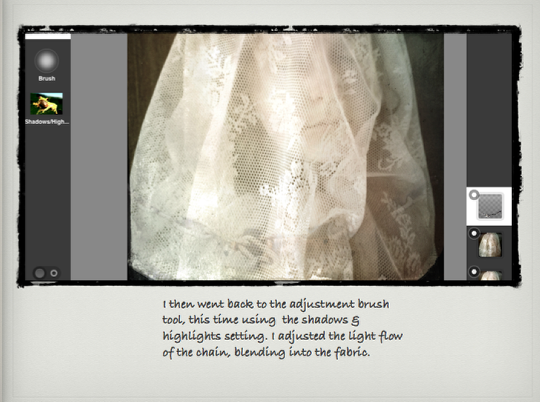
I then went back to the Adjustment Brush tool, this time using the Shadows and Highlights setting. I adjusted the light-flow of the chain, blending into the fabric.
Step 8
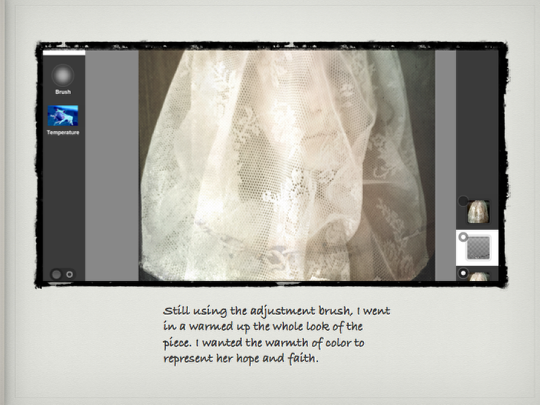
Still using the Adjustment Brush, I went in and warmed up the whole look of the piece. I wanted the warmth of color to represent her hope and faith.

And here is my final image’.


