Ask Misho – Perspective Correct : A Step By Step Tutorial On How To Fix Perspective In Your iPhone Photos
We know Misho is excited and we are too, this tutorial is based on his first (of many 😉 apps, that he has just released with developer Neccessory. We are also giving away promo codes for this app today, you can go here to enter that giveaway. Well, without further ado, over to you Misho… (foreword by Joanne Carter).
“I’m very excited to be doing this step by step tutorial for Perspective Correct. I’ve co-developed the app (my first!) with Neccessory, the team behind the successful HiLO lens Kickstarter project. Rather than tell you about the app, I want to show you what it does. As the name suggests,
Perspective Correct has been developed to fix horizontal and vertical perspective distortion in your photos. It’s the first app that gives you the choice between live or post shooting correction. Let’s start..
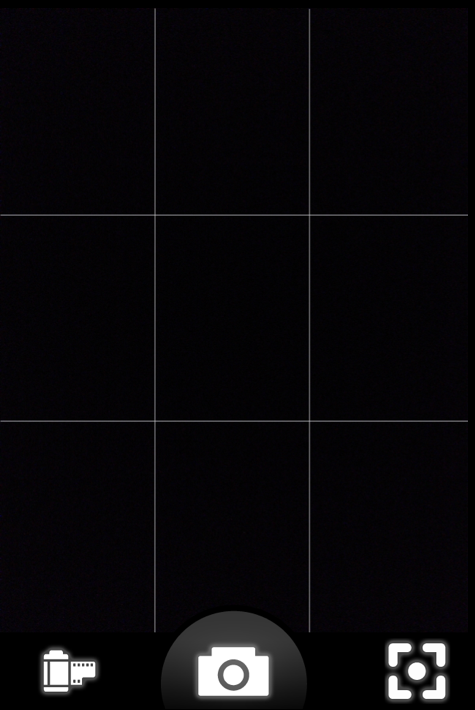
This is the main capture screen. When taking a photo Perspective Correct automatically adjusts focus and exposure.
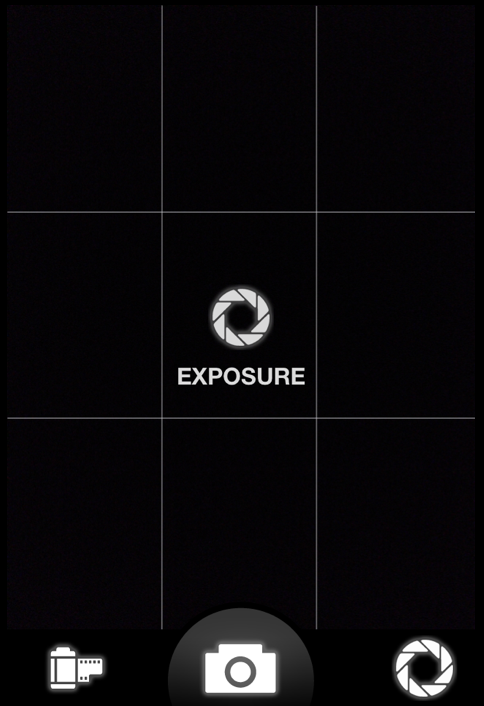
If you want more control, you can click on the screen to separately select the focus or exposure point. You can switch between the focus and exposure by clicking on the bottom-right icon. The Exposure icon is shown above.
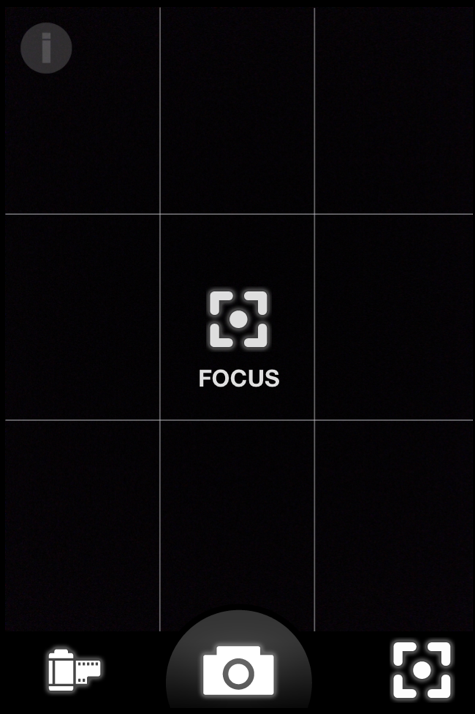
This is the Focus icon.
Uploading A Photograph
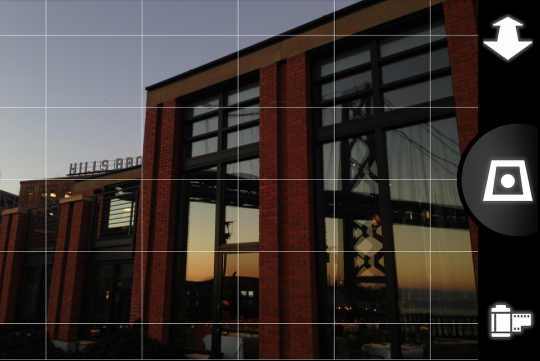
For this tutorial I’m going to upload a photo from the Camera Roll. Clicking on the Camera Roll icon opens up the photo thumbnail view. I’ve selected this photo taken earlier this year in San Francisco. As you can see the angles in the photo are not straight and the building feels like its leaning backwards.
Adjusting Perspective
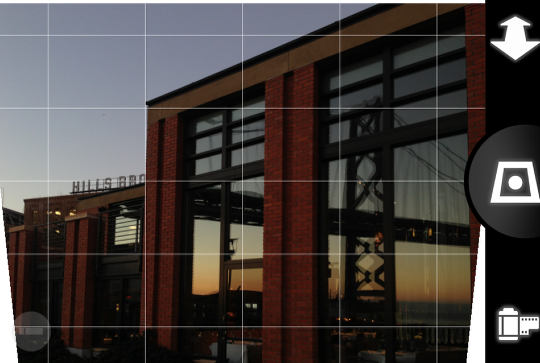
Now for the fun part, swiping up/down lets you adjust the vertical plane of the photograph. In the example below, I’ve swiped downwards to tilt the building towards me, using the gridlines for reference.
Note* You can also swipe left/right to adjust the horizontal plane of the photo, moving each side closer or further away from you. This photo does not need horizontal correction.
Rotating The Photo
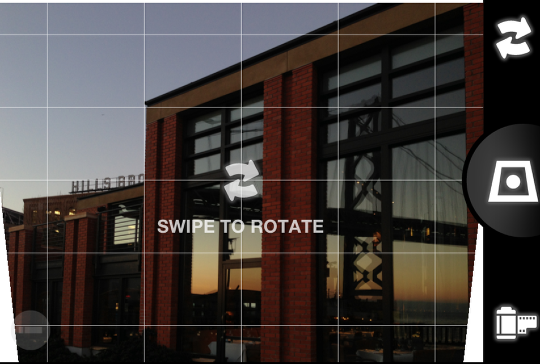
The adjustment is nearly there but some of the angles are not lining up. It appears that the photo needs a small amount of straightening. Pressing on the Perspective icon in the top-right corner switches to the Rotate Tool.
Now you can swipe to rotate the photo. Swiping close to the centre rotates the photo a lot, swiping towards the edge allows for small, incremental adjustments. Here I’ve rotated the photo a few degrees counter-clockwise (swiping left to right).
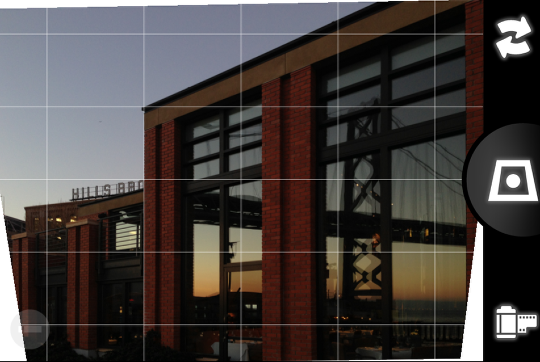
Now I can see that all the vertical lines on the building are matched up to the gridlines. One tip is to check the far left and right sides of the frame to make sure you’ve got the correction right.
Scaling for Corner Detail
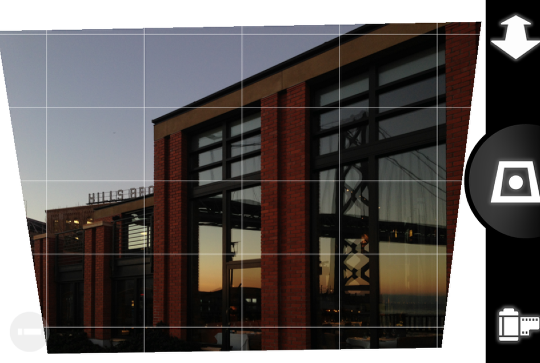
Before I finish, I’m going to click on the Perspective/Rotate icon to return to make one more adjustment with the perspective controls. By pinching the screen I can scale the image. Below you can see that I’ve made the photo smaller to preserve the corners.
Clicking on the centre button confirms the edit.
Cropping
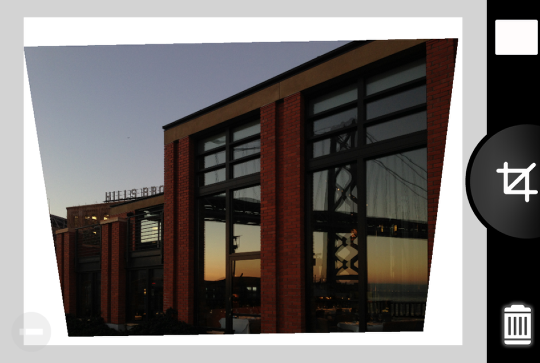
This brings up the crop screen.
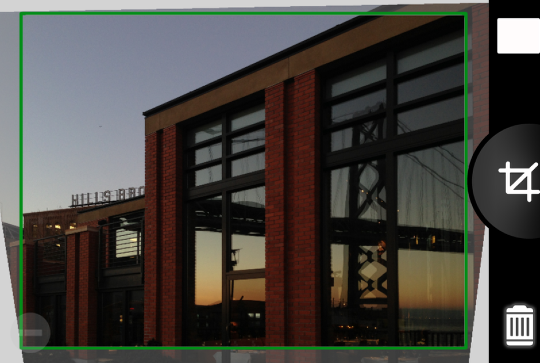
Double tapping the screen automatically fits the photo to the 4:3 frame – a green confirmation rectangle appears when all the empty background has been removed.
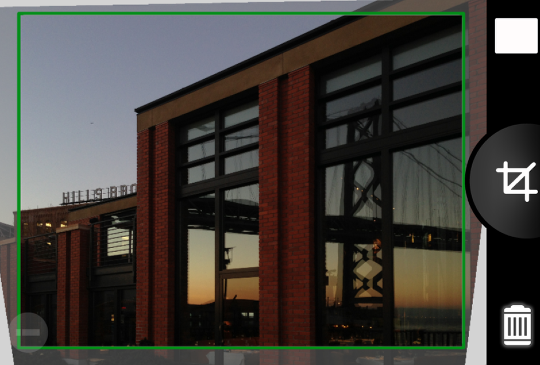
The top-right button switches between a white or black background. You can also pinch to zoom and swipe to reposition the photo within the frame. I’ve zoomed in a little more to strengthen the composition of the photo (see above).
Clicking on the centre crop button gives you the preview of the photo.
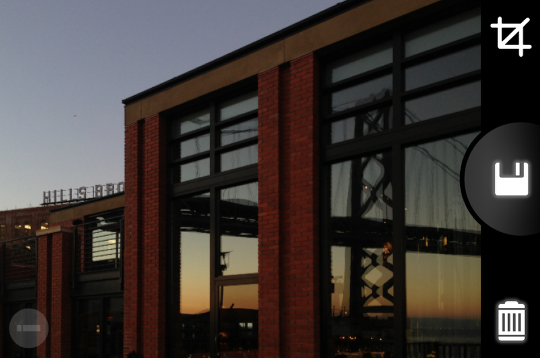
From the preview screen you can click on the centre button (now a disk symbol) to save your adjusted photo to the Camera Roll. You can return back to the crop screen by clicking on the top-right crop icon. You can also cancel the adjustment at any time by pressing on the bottom-right trash icon, this takes you back to the Camera Roll.
Here are the before and after:
Before
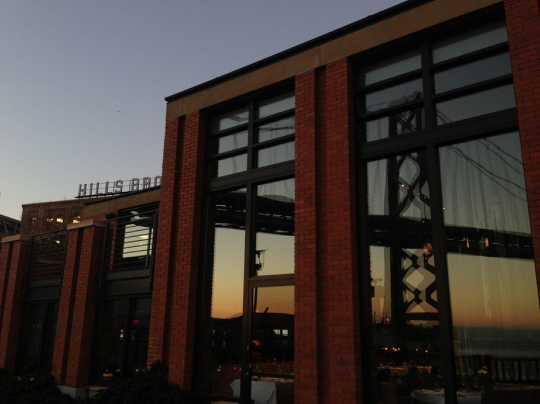
After
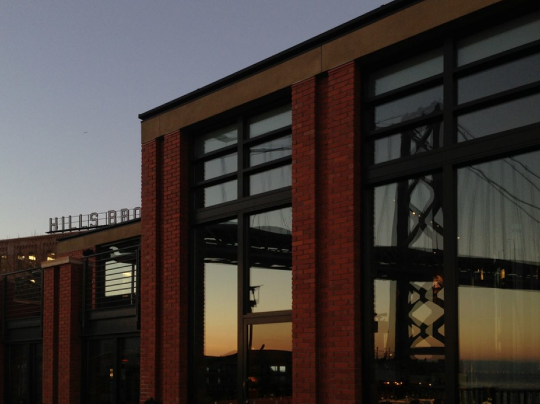
I hope you enjoyed the tutorial. Please let me know if you have questions about any of the steps or any other aspects of the app. We’re also open to any suggestions about how we can improve the app in future updates”.
Perspective Correct is available for iPhone on the Apple App Store for US $1.99/£1.49.

One Comment
Lee Thatcher
Very useful, I have wanted an app like this for some time. Being a fan of candid street photography I sometimes dont get the opportunity to frame the shot as well as I would like, this will certainly come in handy when post processing those images.