Technical Tutorial – iColorama 7b: ‘Exploring Release 3.7 continued’ By Jerry Jobe
On 30 December 2013 we published the first part of this two part iColorama series by Jerry Jobe (if you missed that, go here) and we’re delighted to publish the second part today. Jerry continues his quest to master the latest features in this new update and successfully shares his workflow. Don’t miss this, over to you Jerry. (Foreword by Joanne Carter).
“As I said last time, the latest release of iColorama has too may features to cover in one article. As a matter of fact, by the time this tutorial is published, yet another release should have come along, bringing new goodies.
If you haven’t read the first part of the tutorial, you should. It describes how to access the Multibrush and Photo brush capabilities. We’ll start with some further description of these new features, and follow with the new Deform and Tile presets.
In the first tutorial, I used the new brush settings in the Brush>Artist function. But they can also be used in many of the other Brush functions. Below, I am using the red-green gradient and I’ve loaded my arcs image as the Photo brush, with the Basic large square brush head. This time, instead of the Artist brushes, I’m using the Edged brushes.

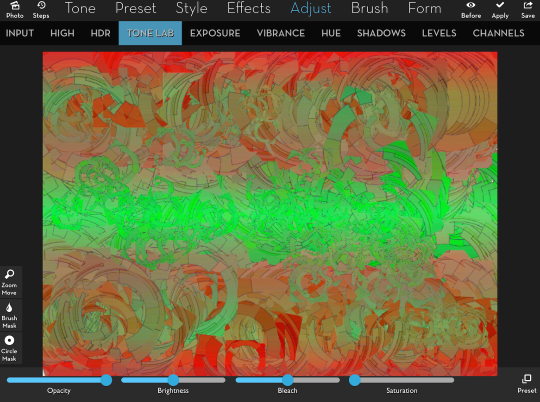
An application of Tone Lab 4 brings out the brush strokes, but in this case, I’m not as pleased with the results.
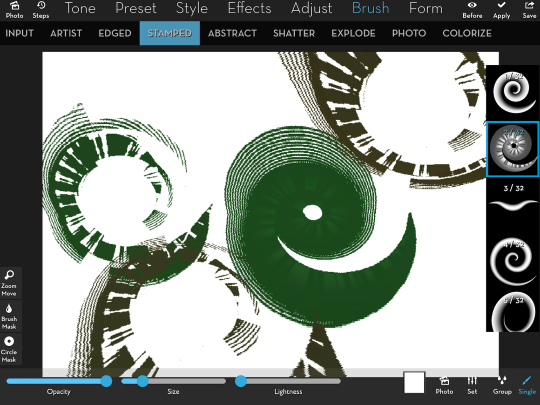
Stamped brushes also can make use of the Photo brush feature. Of course, Stamped brushes are very unpredictable, and adding photos to them does not improve that fact. I chose the second brush in the Gradient group to illustrate the added unpredictability. The first stroke shows that the stamping obscures the brush details, so that all that is produced is a nearly solid green curlicue. I then loaded the arcs as my photo for the brush, and it chops up the brush so that it no longer resembles the brush shape or the arc photo. If you’re a fan of Stamped brushes, then you will find the experimentation necessary to use this feature worthwhile.
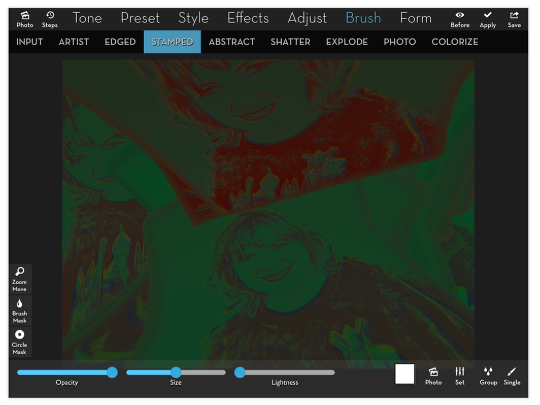
Filling in the canvas with a Stamped brush tends to make a muddy mess. Using the Photo brush does not change that.

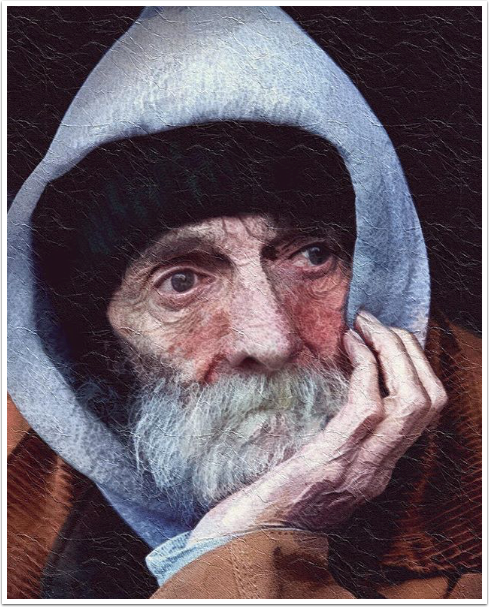
Perhaps, you say, the problem is not the Stamped brushes; it could be that the combination of the shape of the brush (the gradient curl) and the abstract photo within the brush (the arcs) is making it unrecognizable. So I changed the brush shape to a square and the brush picture to a watercolor of my lovely wife. Even the relatively plain background of a red-green gradient is enough to distort the woman’s image strongly. If there were any features in the underlying image, the woman would be distorted beyond recognition.
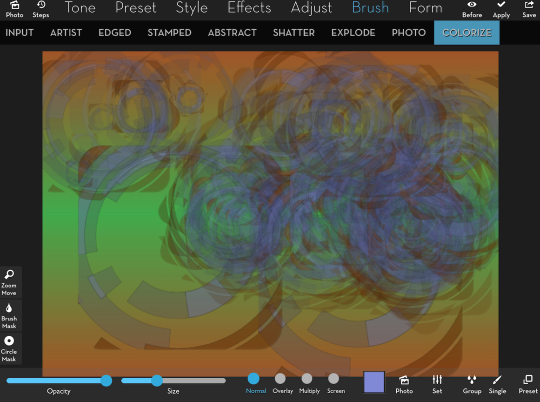
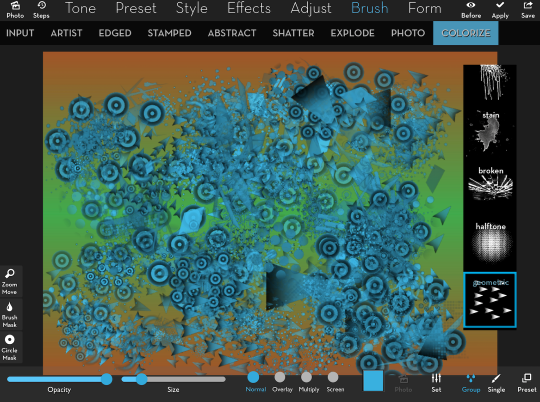
Abstract, Shatter, Explode and Photo brushes are specialized brushes that either have their own shapes or, as is the case with the Smudge and Blur brushes under Photo brushes, cannot hold a photo. Colorized brushes, however, can handle a photo. The image below uses the first Colorize setting (Colorize), a basic square brush shape, the arcs image as a photo, and a light blue color.
In the next screenshot I used the third setting (Grafik), and changed the brush shape to a heart. It was washed-out, so I added the Tone Lab 4. This is not a normal outcome, since the Grafik and Glass Edge settings do not hold photos. What is happening is that the transparency of the .PNG file is used here, but the image itself is not. If I used a normal .JPG photo as my brush, then I would be painting smooth hearts, since .JPGs do not have transparency.
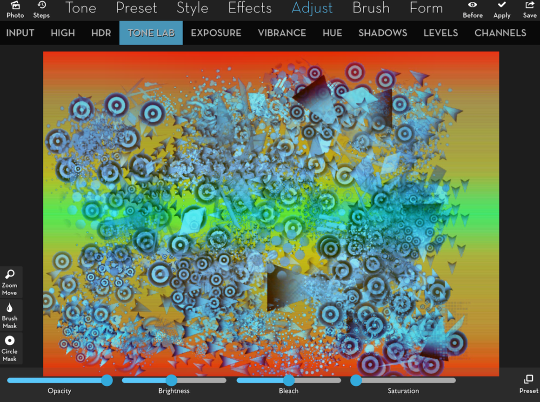
Let’s not forget Multibrush! That works with Colorize also. The image below was made with a few strokes once I chose the Geometric brush group.
Tone Lab 4 makes it pop.
The one area where brushes are used that we have not discussed is in masking. Masking is usually something that you would wish to implement in a precision manner. Therefore, you would not want a photo interfering with that precision. Multibrush would also interfere with precision masking. Neither one of them is implemented in masking.
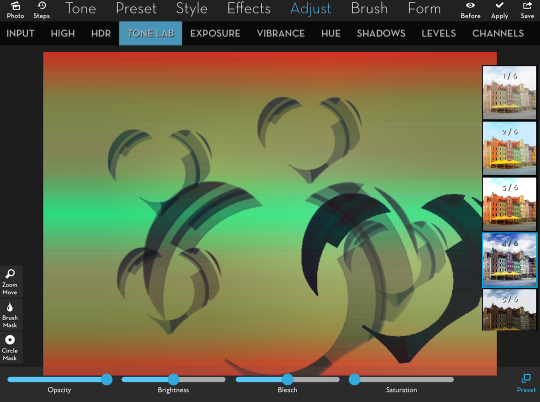
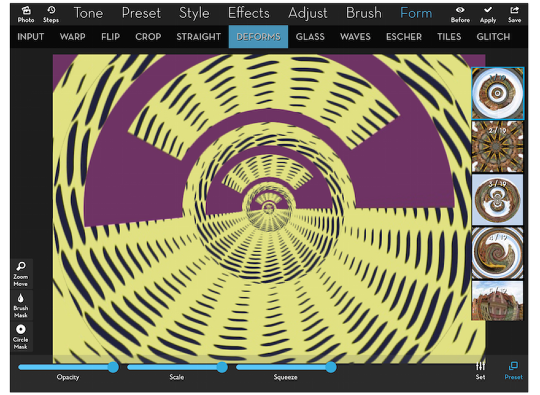
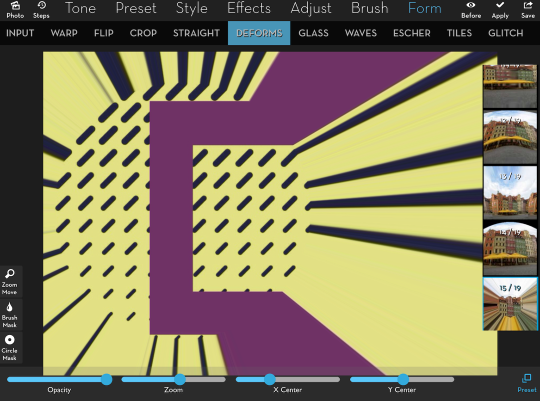
Release 3.7 also included several new presets in Deform and Tile. I have not covered either function in previous tutorials, so they might require a bit more discussion. Both are under the Form menu, and make strong graphic changes that are most easily seen when using a strong graphic image. I created the one below in Tangent.
When you tap Form, then Deforms, the first preset is automatically added to your image. Previous releases had 15 presets; there are now 19. One of the presets (which I’ll show later) was moved from Deforms to Tiles, so that means five new presets.
The first new Deform is #15, which leaves a circle of the original image alone, then stretching the pixels along the edge of that circle in a burst to the edge of the image.
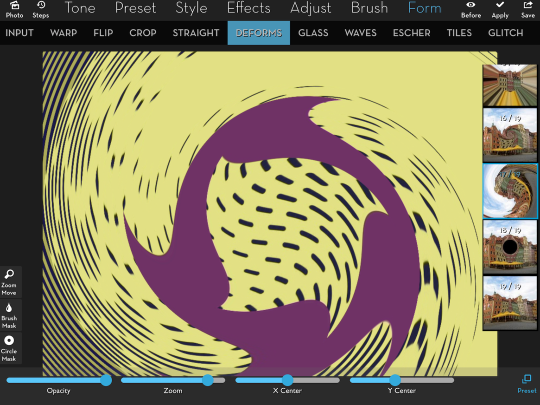
The remaining four new presets can be seen along the right edge of the following image. They include two twists of the image (the second of which is used on the large image), a black hole that puckers the edge of the hole, and a pinch that pulls the image towards a predetermined spot. All of the holes, twists, or pinches can be placed anywhere within the image by using sliders for X and Y positions.
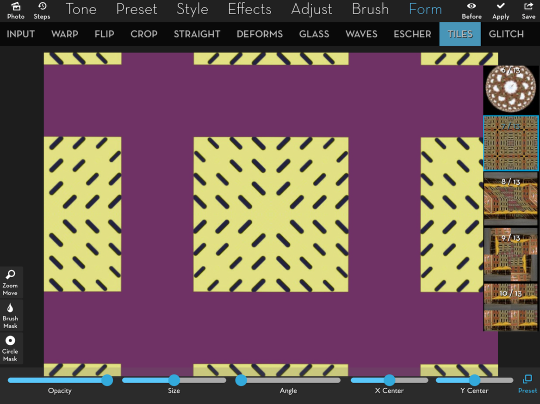
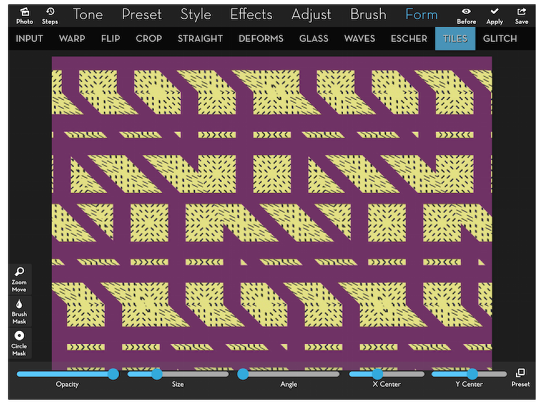
Just as with Deforms, once you choose Tiles, the first preset is applied automatically. Tiles #1 rebuilds the original image from smaller versions of the original image. There were only five presets in previous releases, and now there are 13. The first of the new presets is #6, the circular tile which was moved from Deforms.

Tiles #6 creates a small circle, so I usually start by using the Zoom slider to make it larger. At about 50%, the circle fills the image.
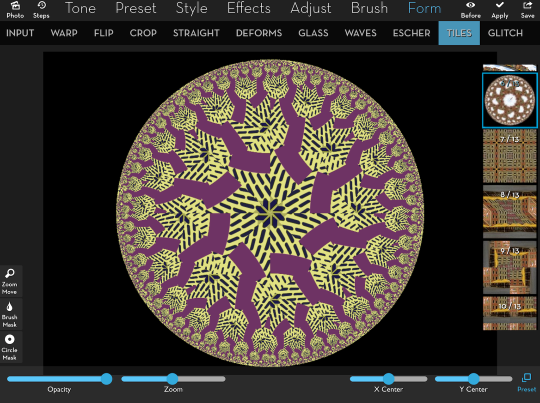
Moving the X and Y center sliders does not move the circle around the screen; it moves the point on the original image that is tiled. The changes cannot be seen in real time; you must release the slider to see the change.
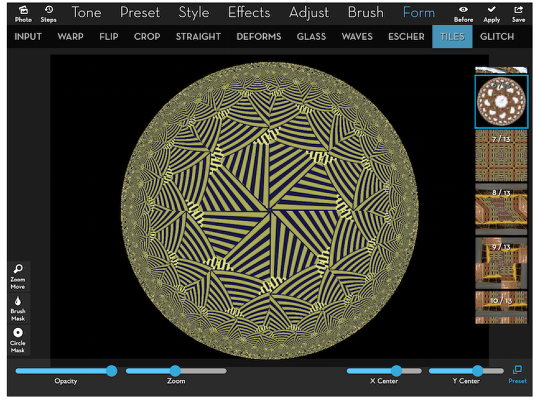
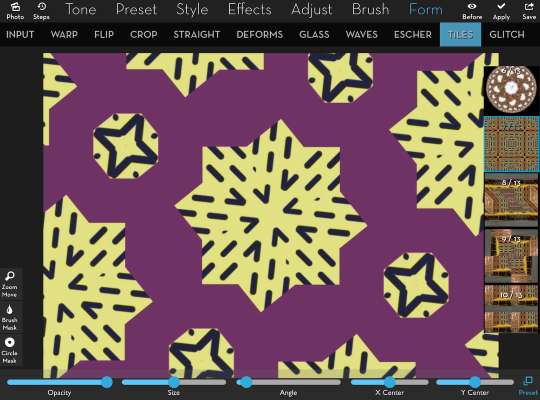
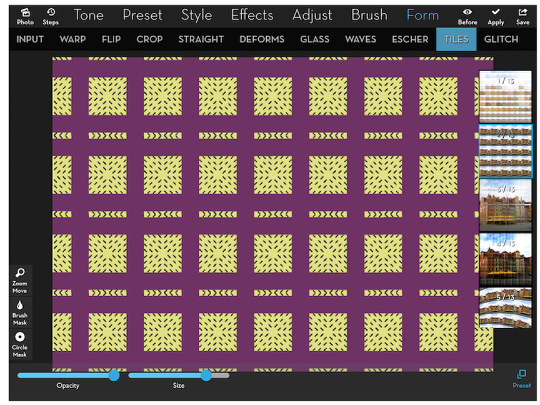
Tiles #7 mirrors portions of the image in a square.
Below I changed the Angle of the squares so it no longer looks square at all.
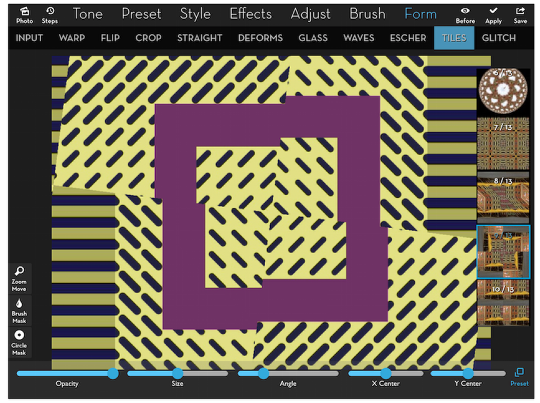
So using Tiles Mirrors and chops up the image and reforms it in a repeating pattern. Here’s an interesting image made with Tiles #9
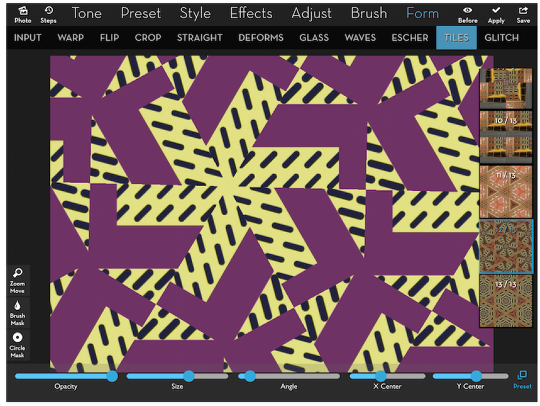
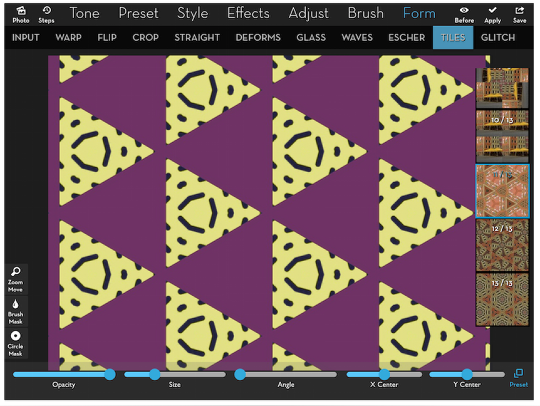
Some of the new presets chop the image into radial triangles rather than squares, like Tiles #12, seen below.
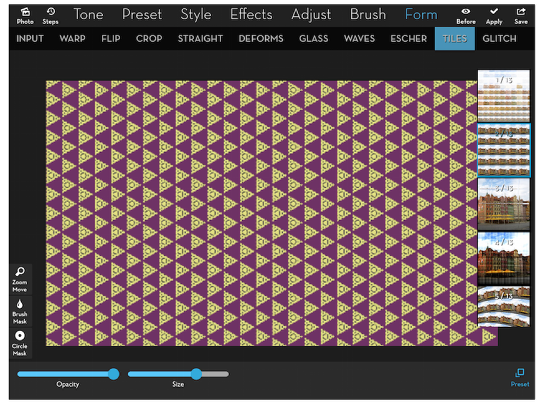
When I created the image below (Tiles #11), I thought that I would like to see the pattern repeated even more It’s not so complicated that details would be lost as it got smaller. Tiles #2 repeats the original image up to 25 times (5×5 grid), so I wanted to make sure it was repeatable. Along the top and bottom edges are portions of triangles that would not match up to form full triangles if they were repeated.
Below you’ll see the same pattern after I’d cropped the pattern so it would match along all four edges, then fed it through Tiles #2 to repeat it.
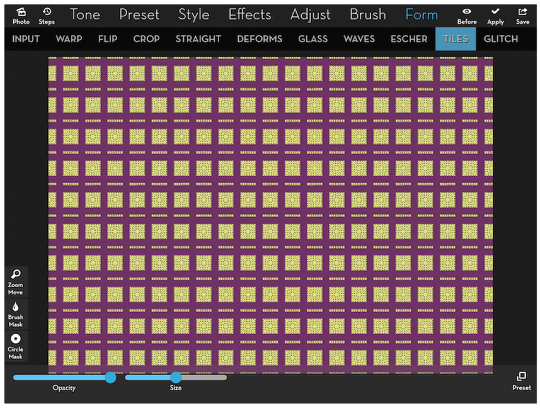
If you don’t crop to create matching sides, then you may still get a pattern, but it will be complicated. Below you’ll see the squares created with Tiles #7, that are repeated with Tiles #2. Notice the partial squares that are repeated.
Running Tiles #2 again repeats the pattern, making it even smaller.
Here’s an example of Tiles #8 repeated.
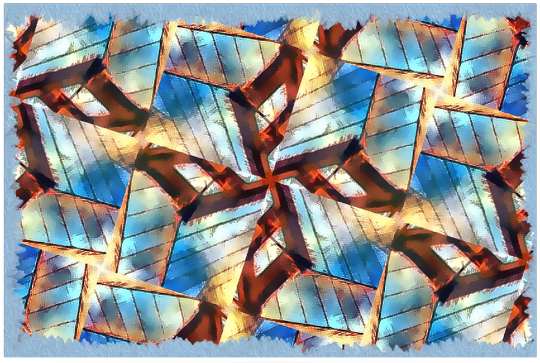
For our final example in this tutorial on iColorama 3.7, I returned to our bridge image from the previous article I used Style>Painterly>Van Gogh 1, then used Tiles #7 on an angle. I finished by painting in an edge mask, then adding color with Preset>Gradient and texture with Preset>Texture 1. I hope you have fun with the new features in iColorama, and watch this space for future tutorials! Enjoy!
Jerry Jobe
Never content with just scratching the surface of what an app can do, Jerry Jobe decided to pass on what he learned about imaging apps to others. He’s constantly trying to figure out just what tools other artists have used, and trying to incorporate them into his own work, in an attempt to find his style. He’s written tutorials on over 145 apps so far, which you can find (along with his Song of the Day entries) at http://enthusiasmnoted.wordpress.com/ He lives near Atlanta, Georgia, where he also finds a creative outlet in acting and directing in community theater.