iOS Photography Tutorial – XnShape – by Jerry Jobe
We’re delighted to publish Jerry Jobe’s latest technical tutorial here today. This week Jerry has worked on an app that stirs up mixed emotions for him and not in an arousing way. That said, he puts it through its paces, compares and rates it – over to you Jerry (foreword by Joanne Carter).
“This week, I’m doing something that I normally don’t do: talk about an app that doesn’t excite me. XnShape by Pierre Gougelet is an app that breaks down your image into various shapes – in that, it is much like Percolator or Part. Given the popularity of Percolator, it is obvious that many people like that look; I find it very limiting.
However, let me say up front that XnShape is a well-built app, with many options and the ability to save at the original resolution. My indifference to the effect does not take away from that.
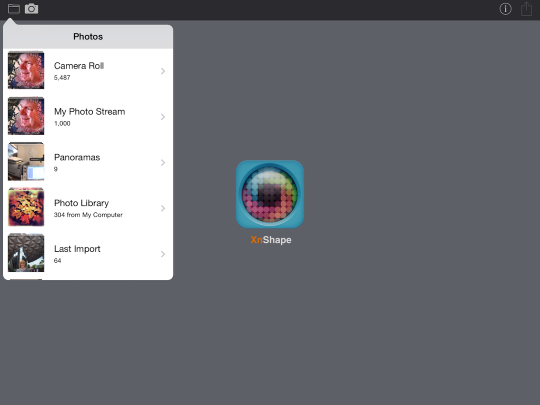
As usual, you can either load an image from your library or take a photo using the device’s camera. Since the camera does not allow for real-time effects, there is no advantage to taking the photo in this app. Stick to dedicated camera apps.
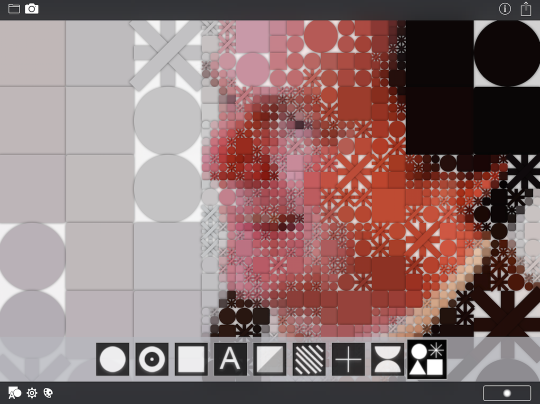
Once I’ve loaded my image, the default settings take effect and my image is broken into circles of various sizes. The placement of the shapes is less like Percolator and more like Part: the screen is broken into a grid and evaluated; if there is a strong color change with a square, then the square is broken down further, otherwise, an average color is assigned to the square. This means the shapes are laid out horizontally and vertically, with no crowding into an empty space as in Percolator. At any time, you can change the shape being used by tapping the icon in the lower left corner.
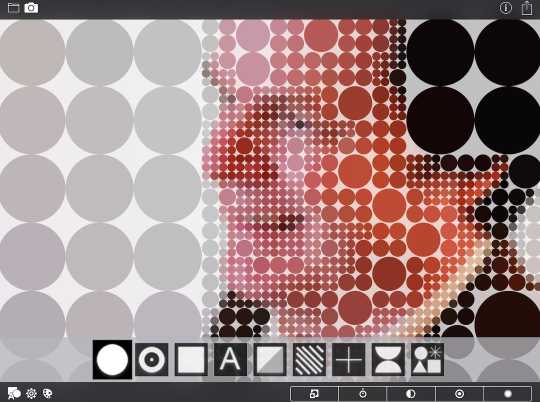
Help is non-existent in XnShape. Tapping the Info icon in the upper right gives you the current version and ads for Gougelet’s other apps.
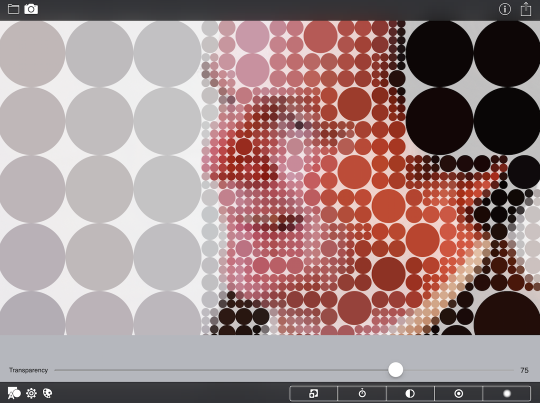
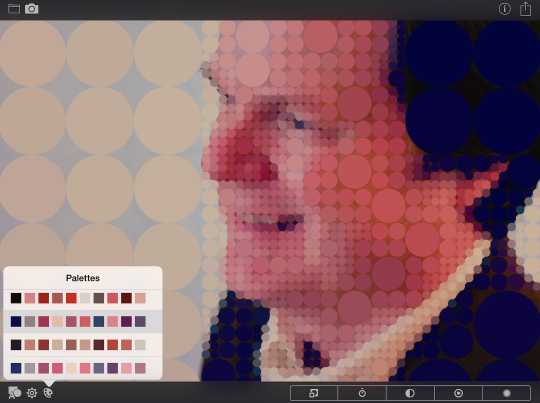
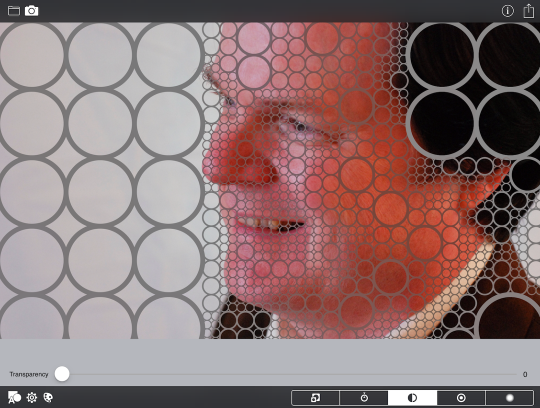
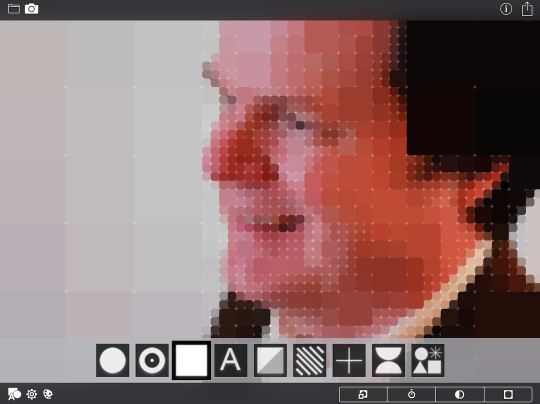
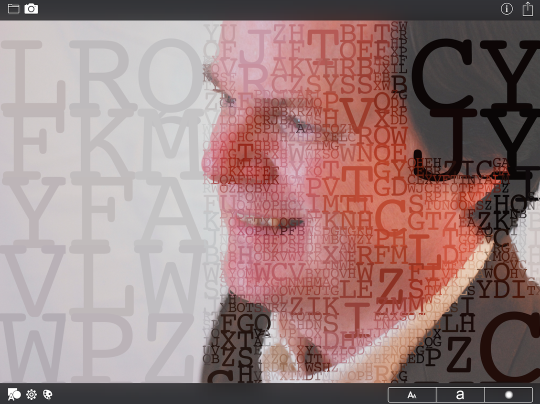
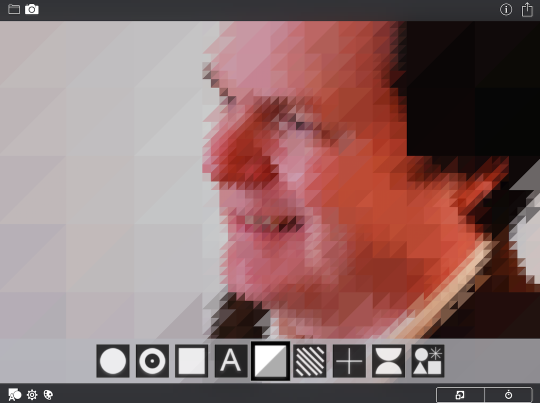
The Gear icon in the lower left brings up the Transparency slider. This does not affect the transparency of the shapes themselves; rather it affects the transparency of the white background in between the shapes. The default is 75%, as seen below.
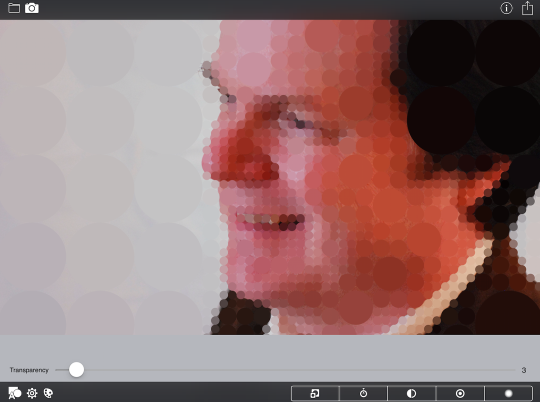
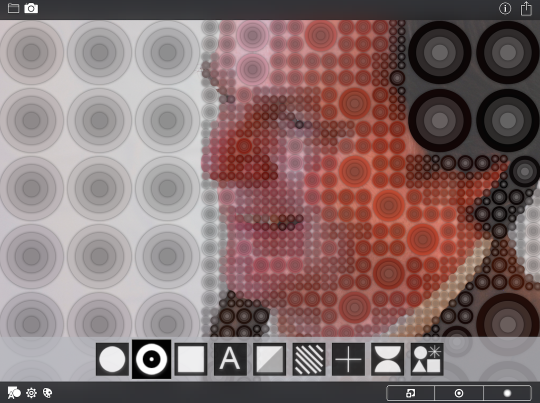
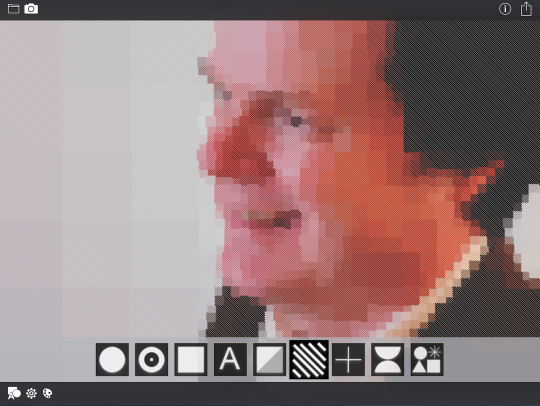
Lowering the transparency allows more of the underlying image to be seen, as shown in the following image.
The Palette icon allows you to change the colors used for the shapes. The first palette always reflects the colors that exist in the underlying image, and the remaining palettes are variations of that palette. Because the palettes are variations of the colors that already exist in the image, it is not possible to do radical color changes within XnShape, like red to green.
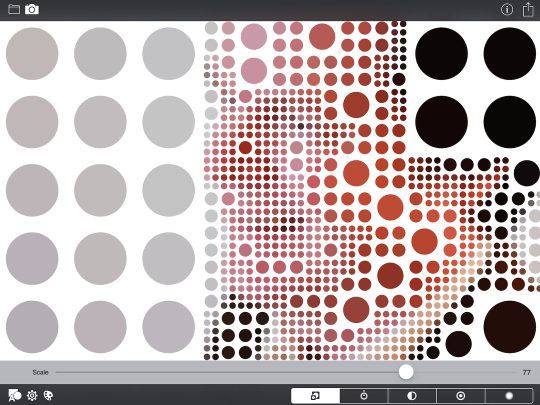
Depending on the shape used, the icons in the bottom right area of the screen change. Some shapes have up to five different settings, while some have none. The first option for the circles is Scale, which determines how much of the grid square is filled in with the circle. The default is 100%; below you’ll see the effect when Scale was changed to 77%.
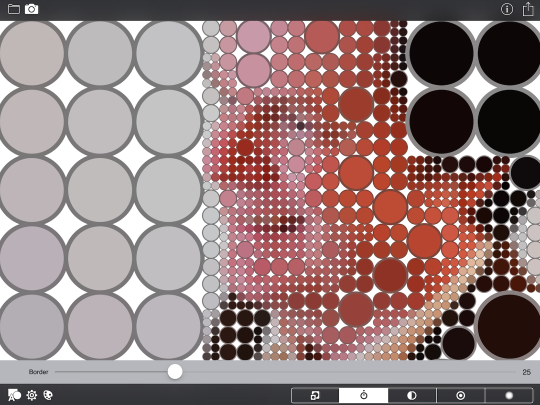
The next choice is Border, which adds a dark border around each circle. The border takes on some of the color of the circle – notice how the border on the circles over the white background is gray, while those over the face are more brown.
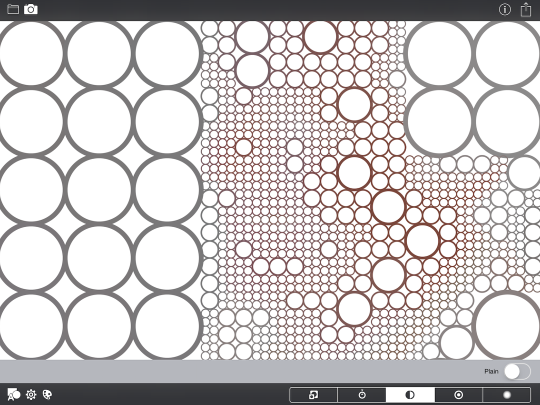
The color of the border is more obvious if we eliminate the fill color of the circles. That can be done with the next option. If you turn the Plain switch off, as I have done below, then the fill color is eliminated, and only the border remains.
Turning the Plain switch off allows you to use the Transparency slider to leave just the border over the original image. I’ve adjusted Transparency to 0 below and none of the white remains.
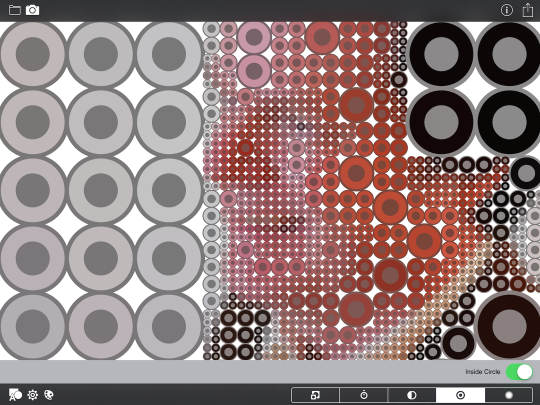
The next option for our Circles is Inside Circle, which is a switch that adds a bulls-eye of the border color to the center of the circle.
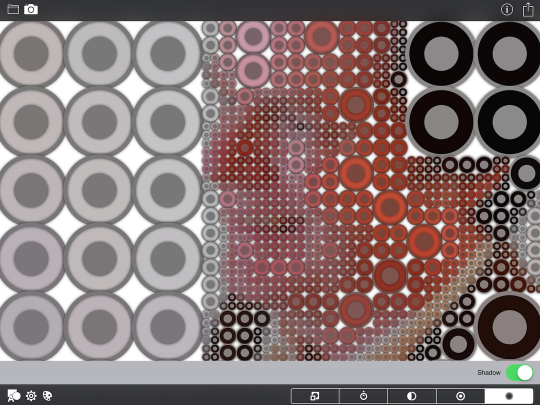
The final option is a switch for Shadow, which adds an inner-glow type of shadow to the shape. It’s not adjustable, but it is a pleasing effect.
The next available shape is another bulls-eye effect with multiple circles. The first and third options available are Scale and Shadow, respectively.
The second option is not Inside Circle, even though the icon looks as though it would be. In this case the same icon is used for the Alternate switch. Flipping this switch changes the look of the bulls-eye; instead of a steadily-darkening bulls-eye, switching the Alternate switch off creates a bulls-eye that alternates between dark and light, as seen below.

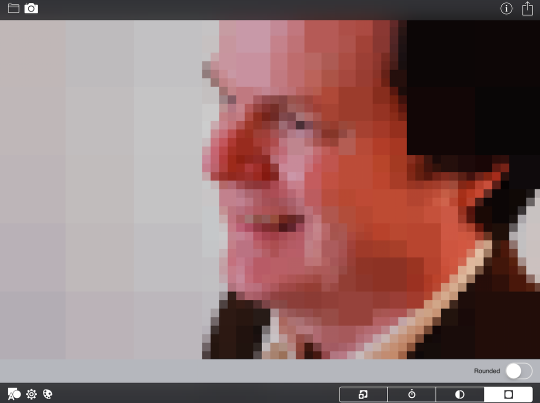
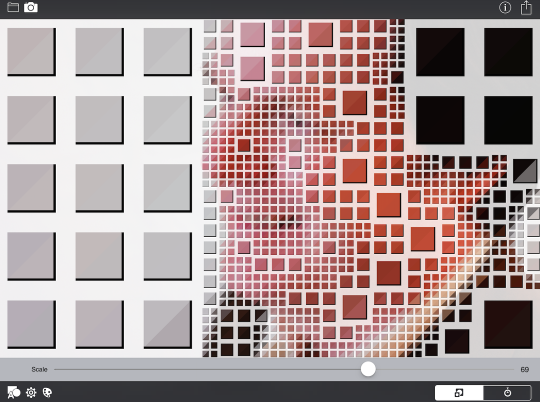
The next shape is squares. The first three options are Scale, Border and the Plain switch, which work like their counterparts with the Circle shape.
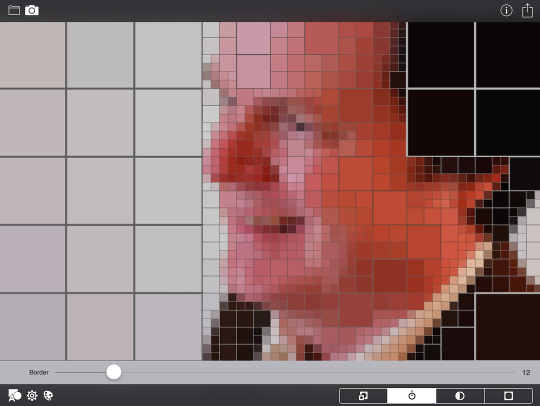
The fourth option for Squares is the Rounded corner switch. By default, this switch is on; below you can see the effect of turning Rounded off while the scale is 100% – you get a pixilated look.
Adding Border to the pixilated look gives you the look seen below.
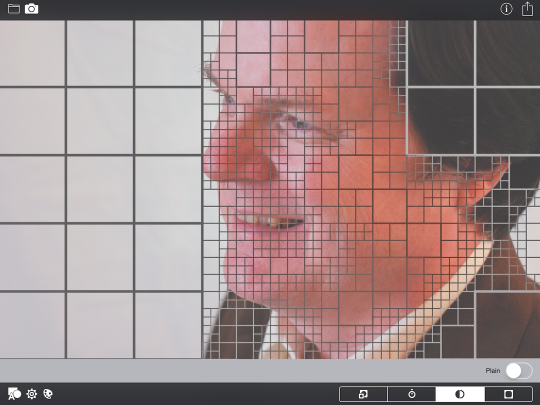
You can even see just the Border by flipping the Plain switch off:
The next available shape is Text. As you might guess, the options available for Text differ from the options for other shapes.
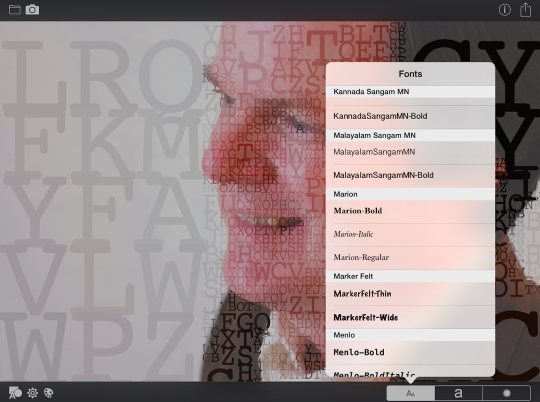
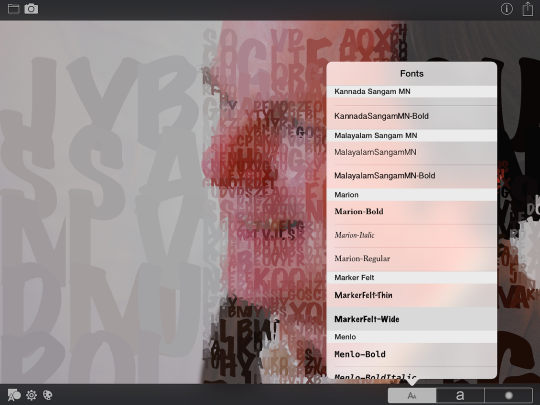
The first option allows you to change the font used. XnShape groups the fonts; this is helpful, unless you find yourself tapping on the font group rather than the individual fonts.
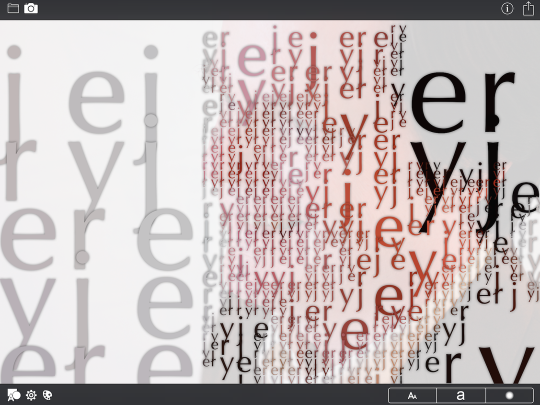
Below I’ve changed the font to MarkerFelt Wide. Notice how the letters used overlap each other. This is not adjustable, since there is no Scale option with Text
The next option with Text allows you to change the actual letters used. These letters are scrambled when used in your image, and actual words will not be used. Because they are scrambled, I took out the redundant “r” and used a lowercase “j” when deciding to use my name, “Jerry”.

The last option is Shadow, which I turned on when showing you the results of using “Jerry” below.
The next available shape is a divided square, which results in a triangle-pixilated look, as show below.
The two options available for the divided square are Scale and Border. I reduced the Scale below so that you could see that the Border is only applied to the right and bottom of the divided square.
The diagonal lines shape has no options; if you choose this shape, you get only this particular look…disappointing.
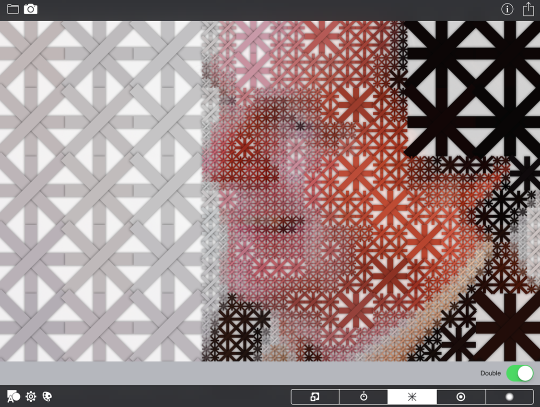
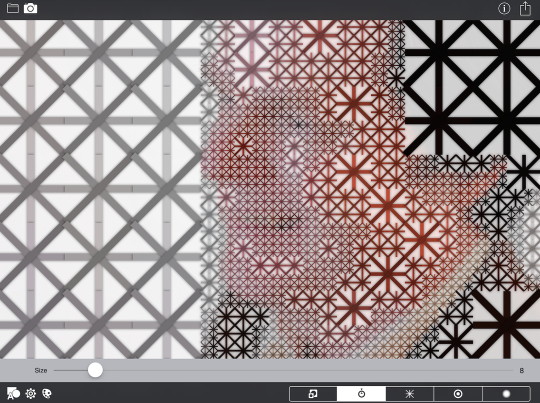
The cross shape has five options: Scale, Size, Double, Alternate and Shadow. Scale and Shadow work like those on other shapes, and Alternate makes the cross darker. The Double option defaults to On; It creates a double cross, with one set diagonally.
Turn the Double option off, and you get a single cross.
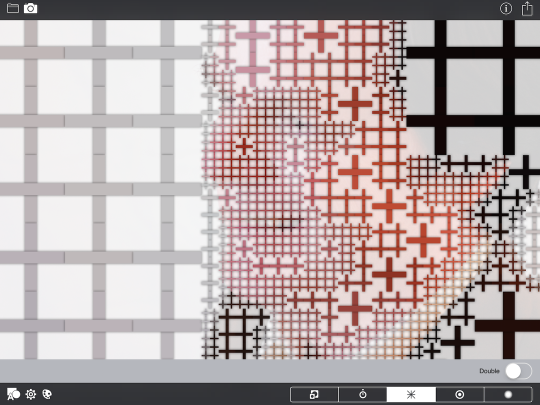
The Size option uses the same icon as Border, but it affects the width of the cross. Remember, Scale affects how much of the grid square is covered; Size affects the width of the cross.
The split circle, or hourglass, shape is interesting – it results in some shapes that are heart-like. Options include Scale and Shadow.
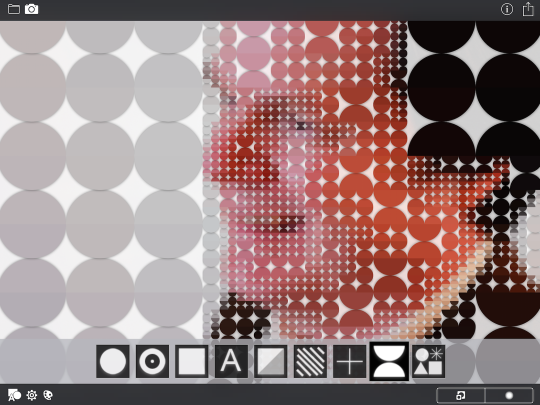
The final shape choice is not one shape, but a mixture of shapes. The only option available is Shadow.
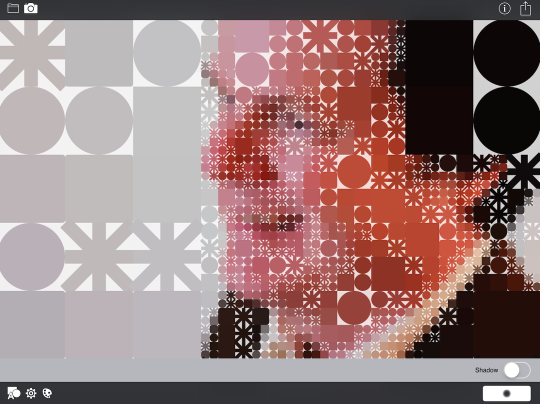
The shape chosen for any particular part of the screen is randomized. I chose another shape, then went back to multi-shape with a shadow. Notice the difference between the image above and the one below.
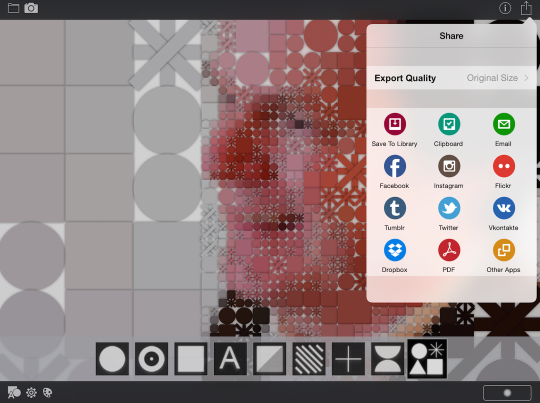
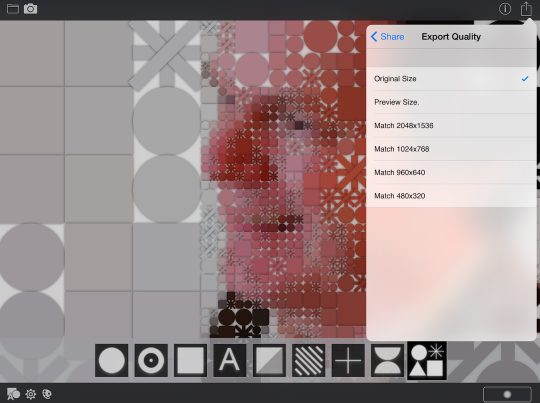
The Share button gives you access to your library, other apps, and a variety of social networks. It also allows you to change your export resolution.
Quality can be anywhere from the original size to a really miserable 480×320. Why you would choose to do that with your image is beyond my abilities to explain.
So, by this time you’ve decided whether XnShape is right for you or not. It has more shape choices than Percolator, but keeps them arranged in a grid. If it’s a look you can use, then it’s worth the dollar you’ll spend on it – there are no in-app purchases.
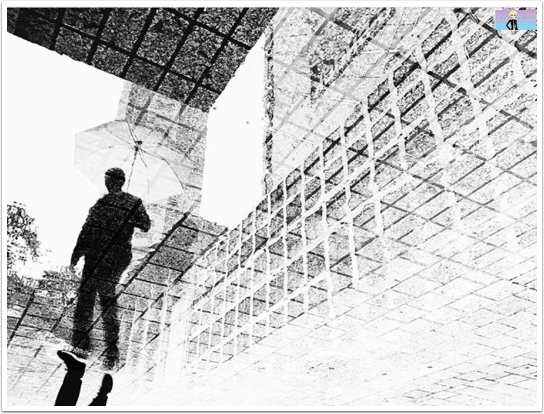
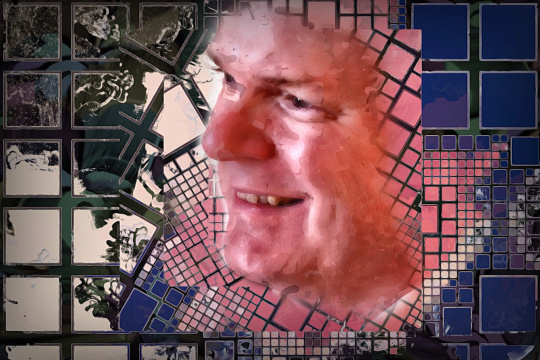
Below, I took the results from the image of my profile and passed it through Fragment. Then I used iColorama to drop out the white and put in another background. Finally I used iColorama to mask in a painted version of the original. I’m still not sure it’s worth the effort I put into it.
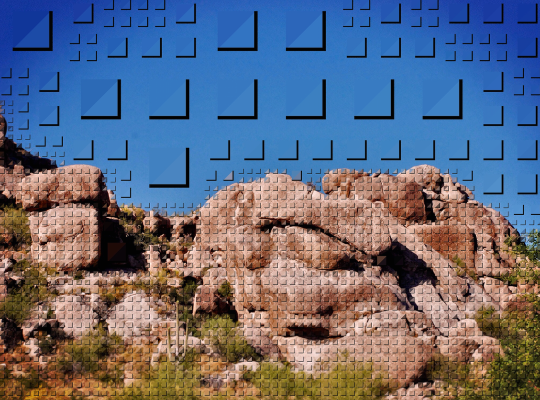
An Arizona landscape, with divided square, reduced Scale and Transparency, and a Border.
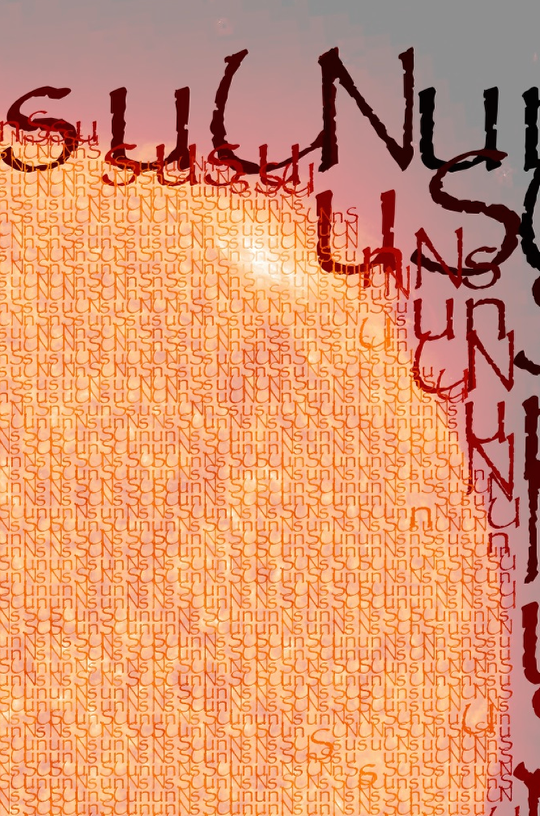
Finally, an image of the sun using the text “sunSUN”. I actually like that. Enjoy!
Jerry Jobe
Never content with just scratching the surface of what an app can do, Jerry Jobe decided to pass on what he learned about imaging apps to others. He’s constantly trying to figure out just what tools other artists have used, and trying to incorporate them into his own work, in an attempt to find his style. He’s written tutorials on over 145 apps so far, which you can find (along with his Song of the Day entries) at http://enthusiasmnoted.wordpress.com/ He lives near Atlanta, Georgia, where he also finds a creative outlet in acting and directing in community theater.