Olloclip Lens Systems – The Original 3-in-1 System
Following on from the success of his first Olloclip series article, David Hayes has today taken a closer look at the original 3-in-1 lens from Olloclip. For many of our readers who are wondering what an Olloclip is and what it can do, this is a great series to learn more from. Don’t miss this, (foreword by Joanne Carter).
In my last article covering the Olloclip lens systems (see here), I gave a brief overview of their entire iPhone line. Today I’d like to take a look at their Original 3-in-1 system.
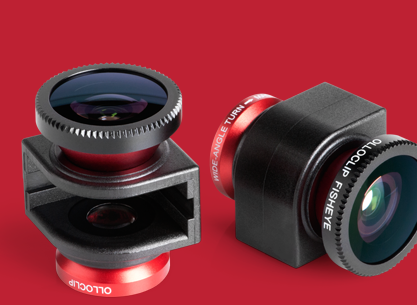
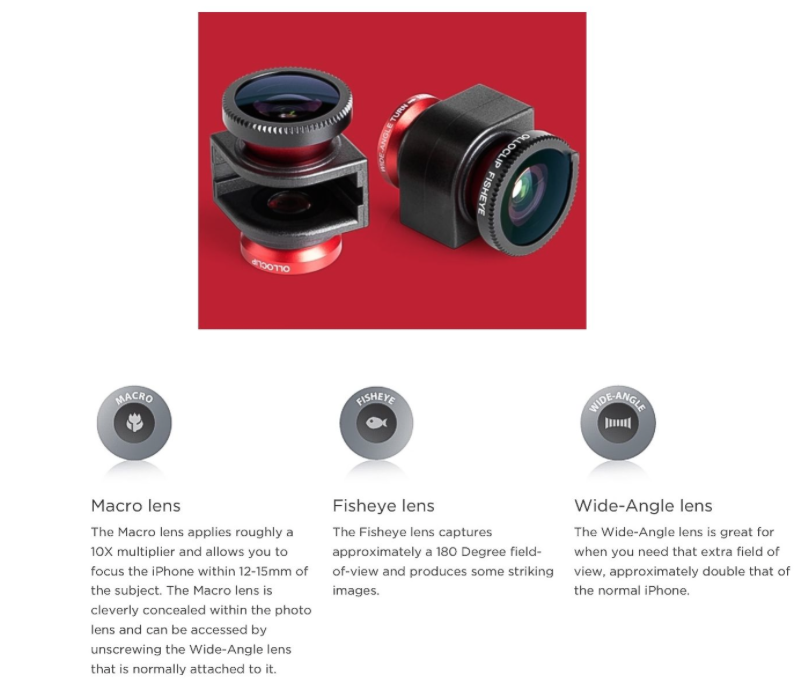
This system, which retails at $49.99, is a quick-connect lens system that includes a fish-eye lens, a wide-angle lens, and a 10x macro lens that is underneath the wide-angle lens…and can be accessed by unscrewing this lens. Very easy to slide over the iPhone back lens…and just as easy to take off!

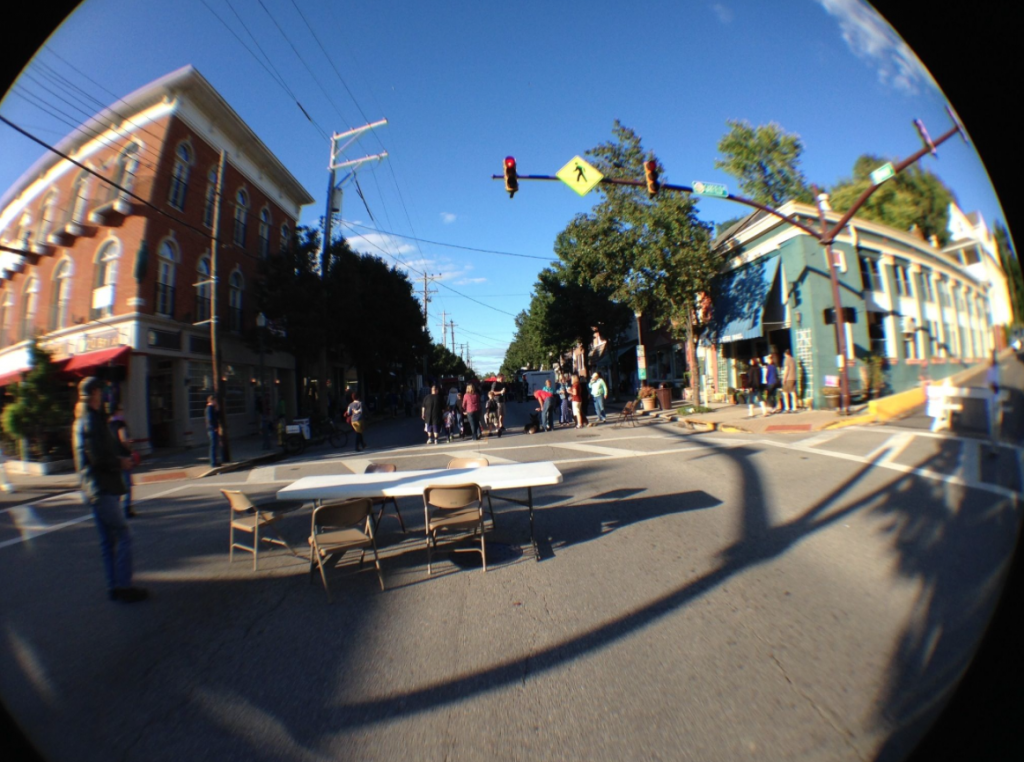
I thought I’d show you some examples of what each of these lenses are capable of producing starting with the wide-angle lens and the fish eye lens. This first image was taken this past weekend at a local street festival using the iPhone 5 lens.
Same view but this time with the wide-angle lens. Does give more of the scene but with a touch of curvature in the corners. Olloclip does have a great little app that you can use to correct this if you wish.
This time I used the fish-eye lens. As you would expect, a nice “fish-eye/fish bowl” effect yet the center of the image is still clear and sharp. Olloclip’s app will also allow you to correct the curvature if you wish.
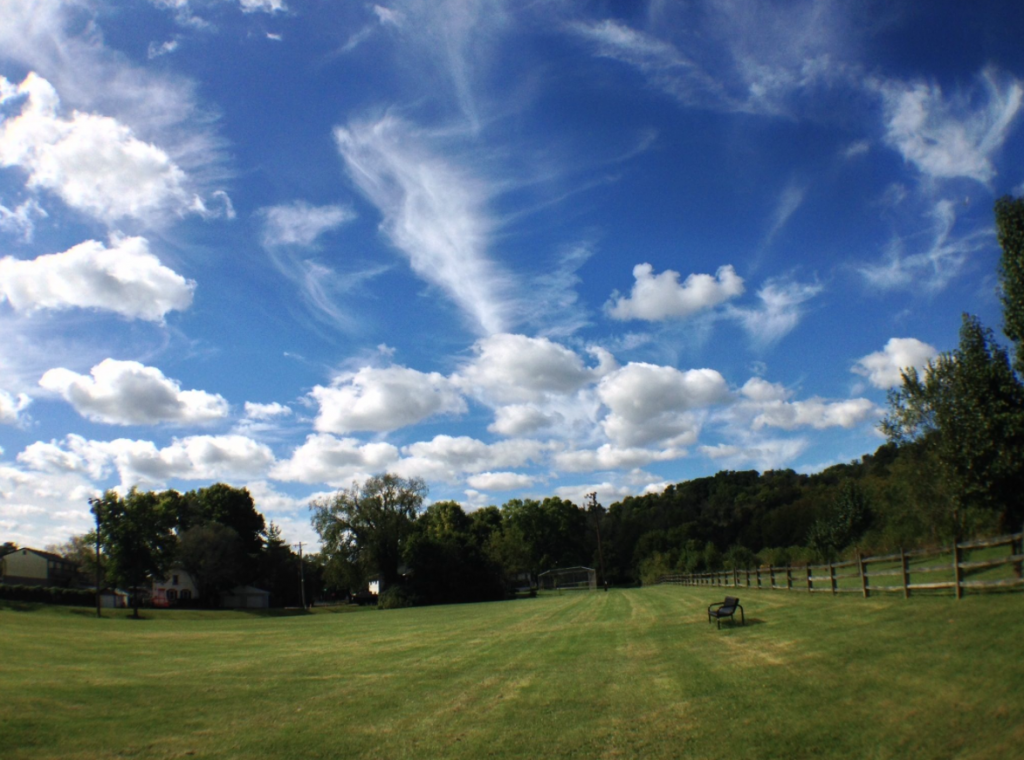
Yesterday’s morning sky was a bright blue, filled with some great cloud formations. The first image in this series was taken with the iPhone 5 lens.
Again, same view but with the wide-angle lens.
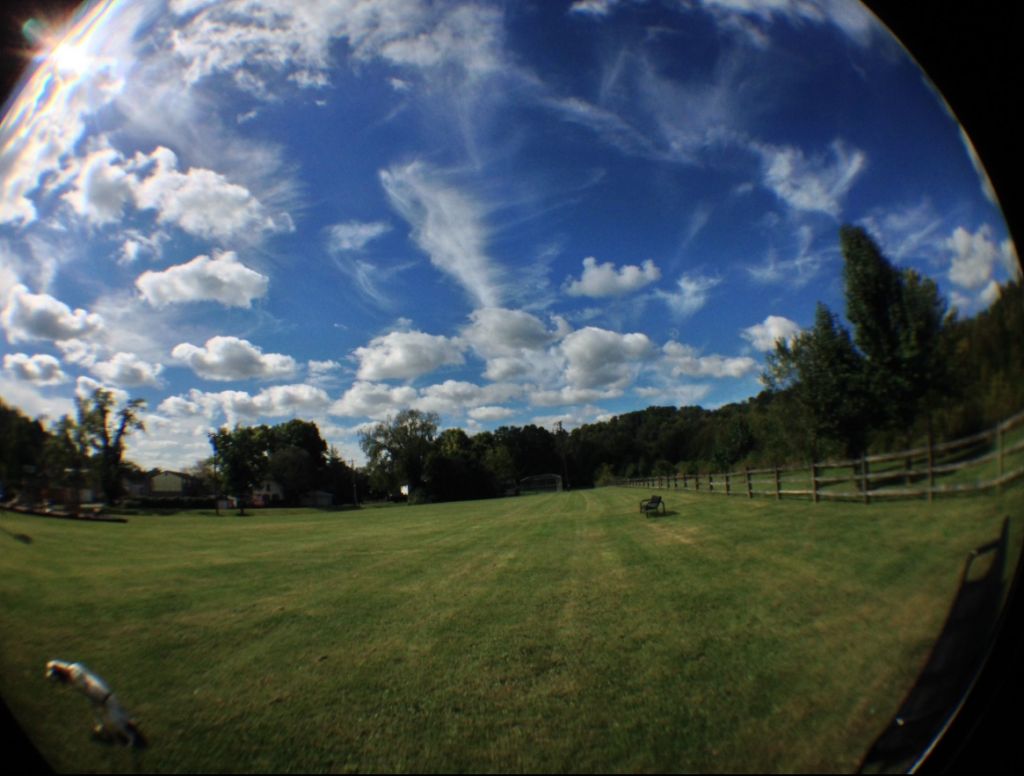
And with the fish eye lens. (That distorted shape in the left hand corner is my Brittany puppy! She tends to photo-bomb many of my snaps!!)
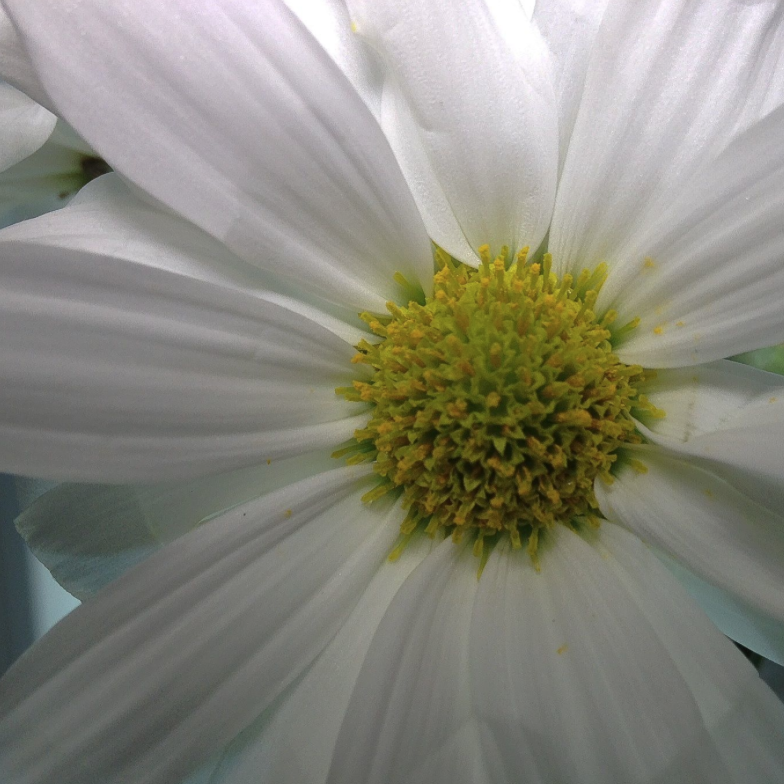
Time to take a look at the 10x macro lens. Accessing this lens is simply a matter of screwing off the wide-angle lens and sliding that side onto you iPhone. Using a simple studio set-up I took a series of shots of the same flower. (I also did do a bit of cropping and adjustment for brightness and contrast on each of them.) This first image is taken with the iPhone lens and is about as close as I could get and still maintain even focus.
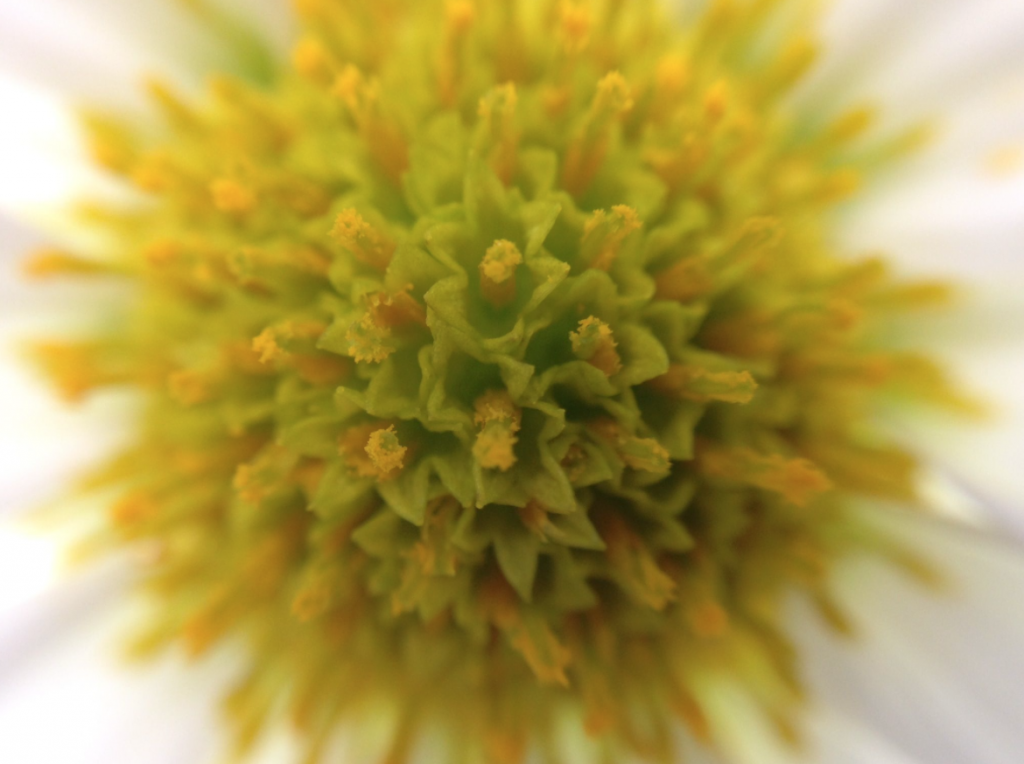
Attaching the macro lens, I moved in a little closer to the flower’s center.
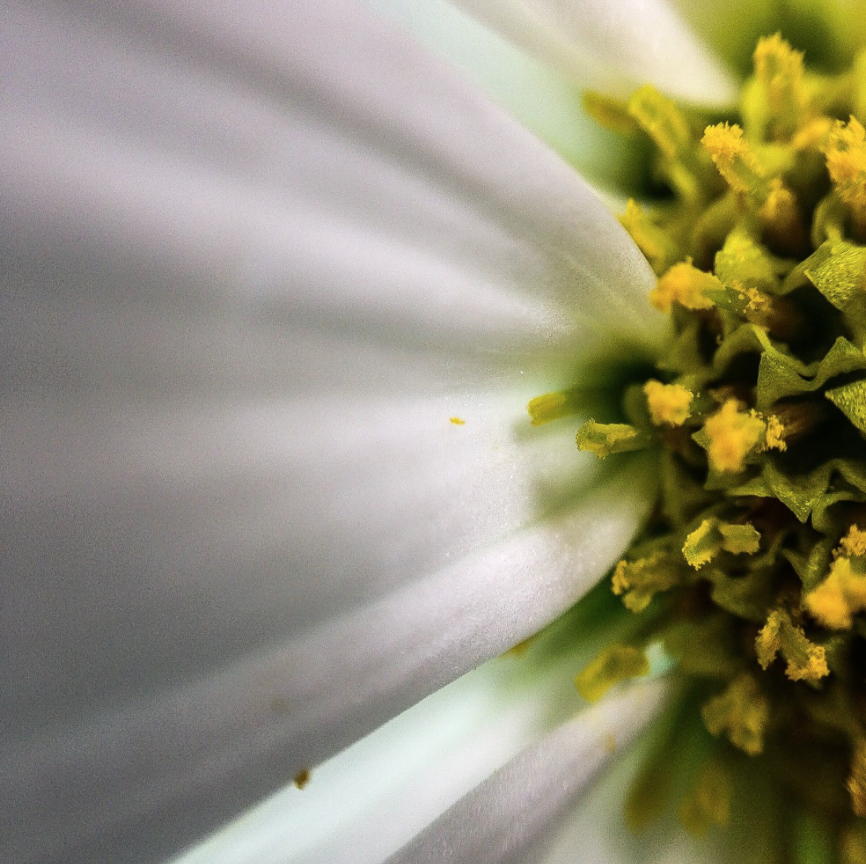
Now a little closer and to the left.
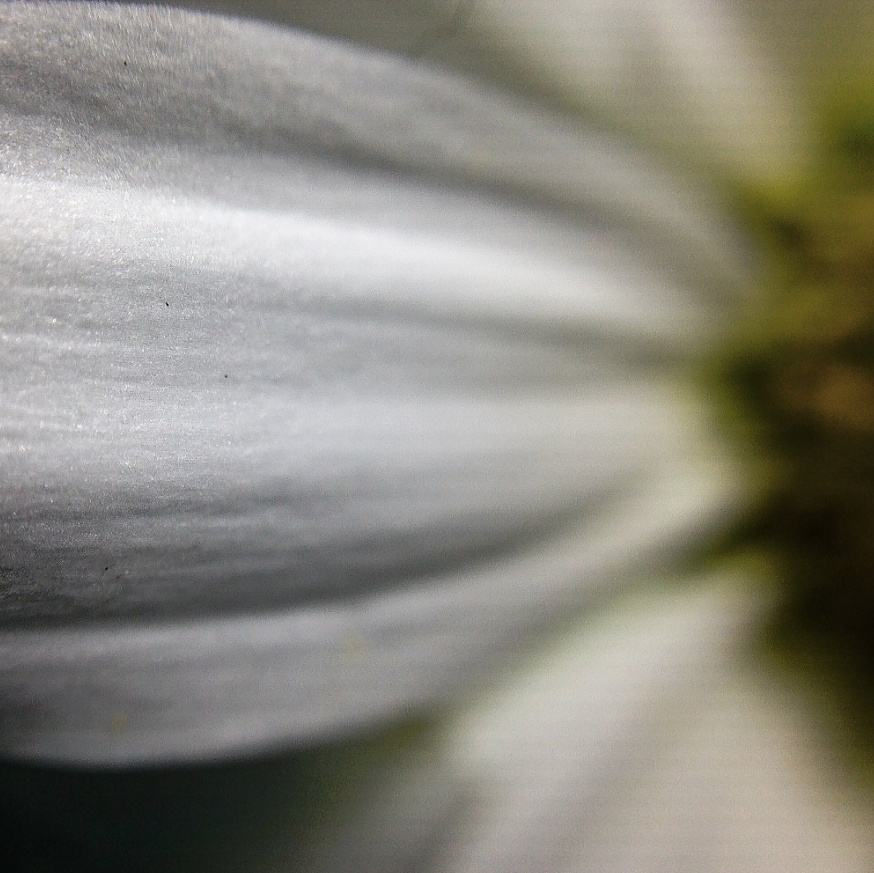
Finally, even closer and a little more to the left. What I like about shooting with macro lenses is being able to play around with the limited depth of field the lens gives you as well as playing around with the light source. Lots of fun!



2 Comments
Tracy Mitchell Griggs
If this company addressed the lens and case issues, this would be a better product.
David
Tracy,
I’m not sure what issues you’re referring to in your comments. Not that I can do anything about them…just curious….