iPhone Photography Tuturial – Etchings: Scratching the Surface
We are delighted to publish our latest iOS Photography Tutorial by Jerry Jobe. This week Jerry writes about the app Etchings, one that you may find very useful in your toolbox. (Foreword by Joanne Carter).
Etchings retails for $1.99/£1.49 and you can download it here
“I often say that I’m not an artist. This is especially true with traditional media, where I can’t “draw a straight line”. Now I know that most artists can’t actually draw a straight line. What they can do is create a smooth stroke that goes pretty much where they want it. I can’t do that either.
So I constantly look for aids for line work. I’ve covered several sketch programs, like PencilFX, ToonPaint and MySketch. But when you want hard, fine line works such as you would see on an engraving, then why not use an app that specializes in that look – Etchings by MindSea Development Inc.?
Etchings is a simple, straightforward app with not a lot of customization, but as long as the results are attractive, I can deal with the fact that there are not an infinite number of looks.
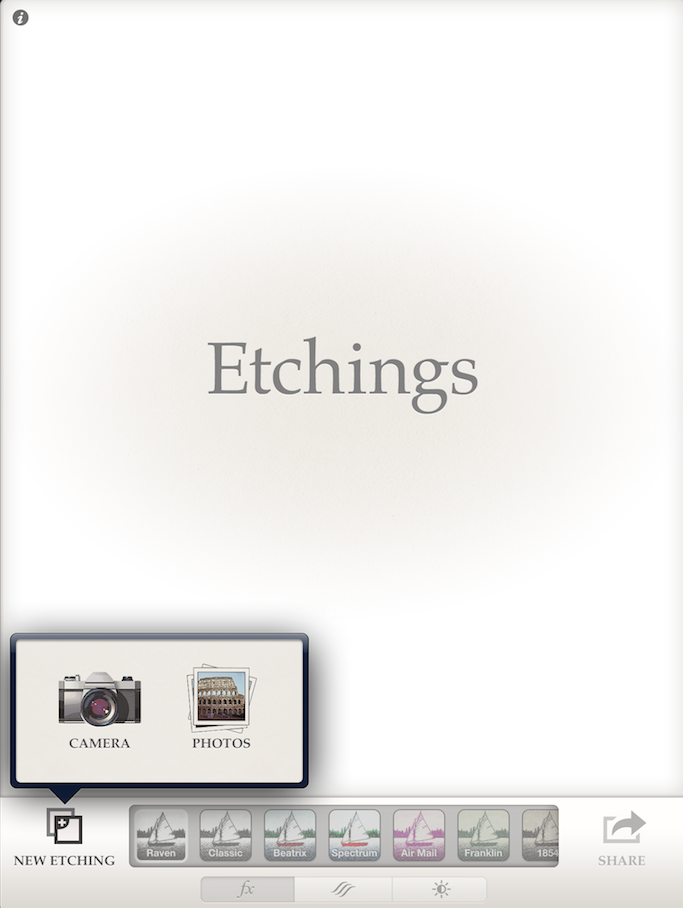
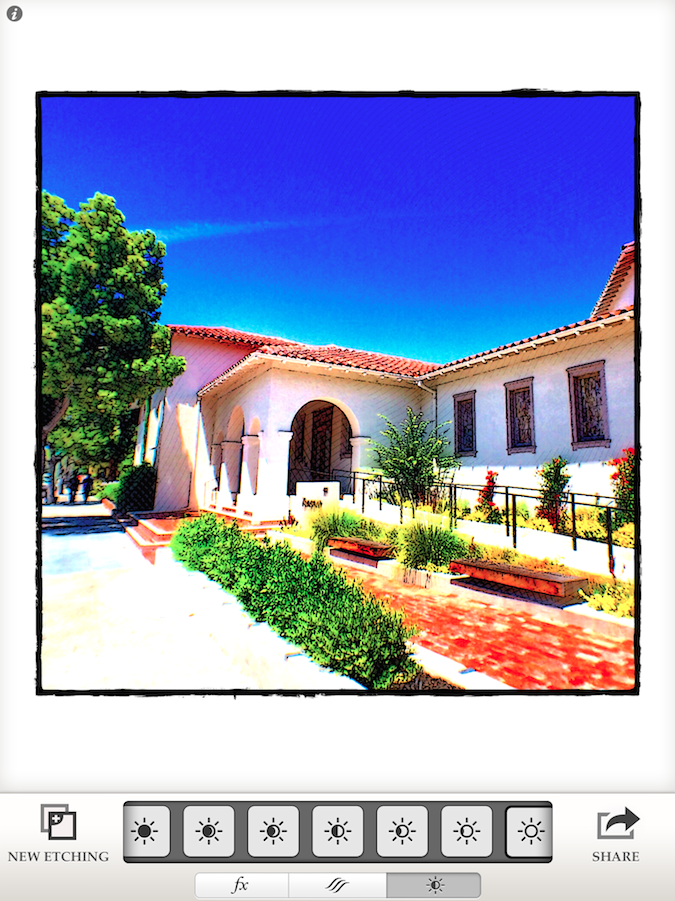
When the app loads, you’ll see the workspace with the Load (New Etching) pop-up box. You can take a photo or load one from your library.
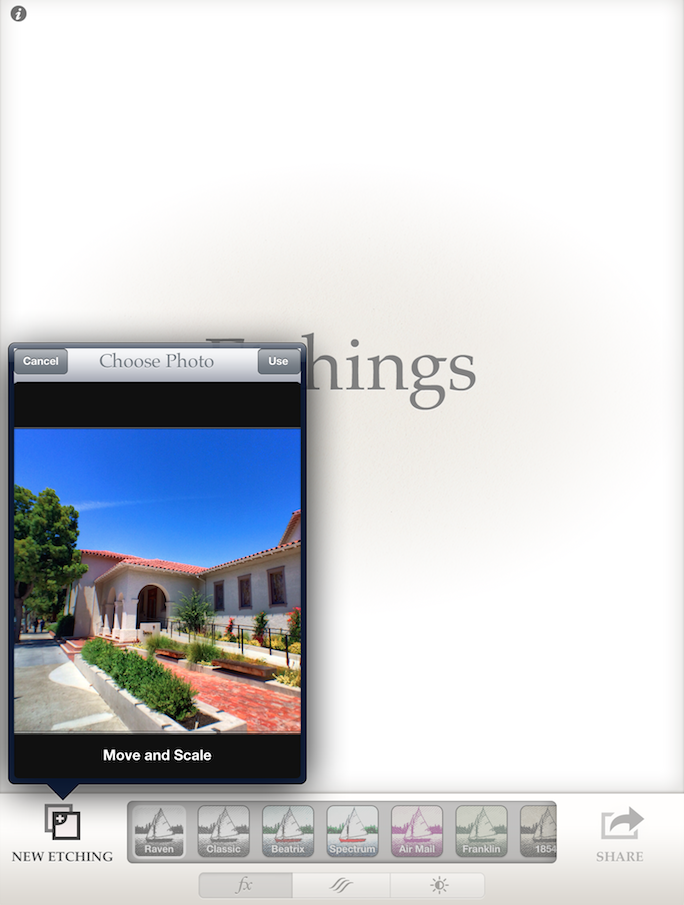
Etchings produces a square output. Therefore, the first thing the app wants you to do is crop your image into a square. If you don’t, the app will “letterbox” your image to create a square rather than crop.

As seen below, using the 2-finger “reverse pinch” allowed me to scale the image into a square.
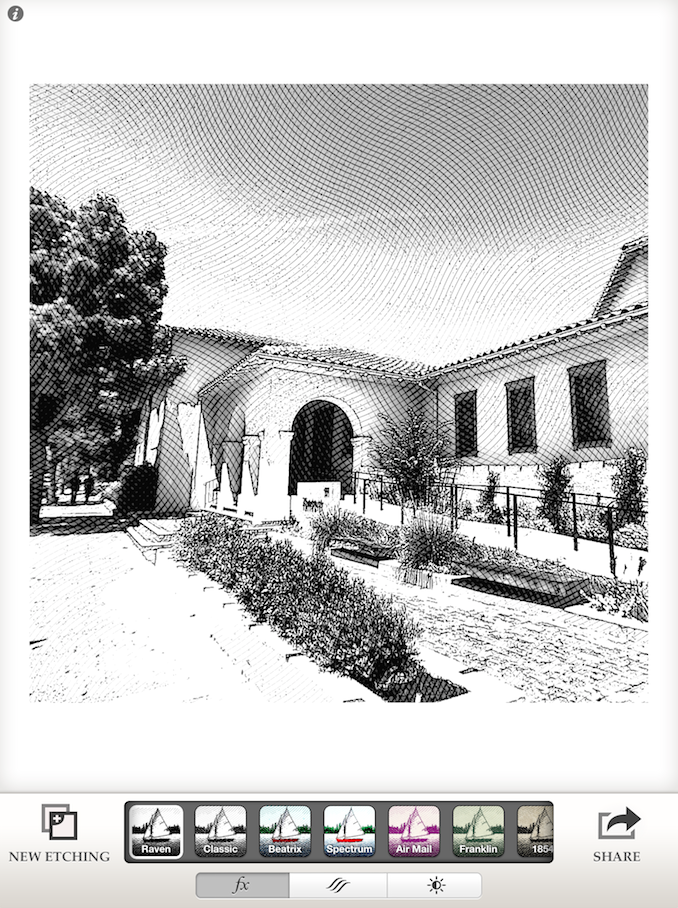
The image is loaded with the first preset, Raven, automatically applied.
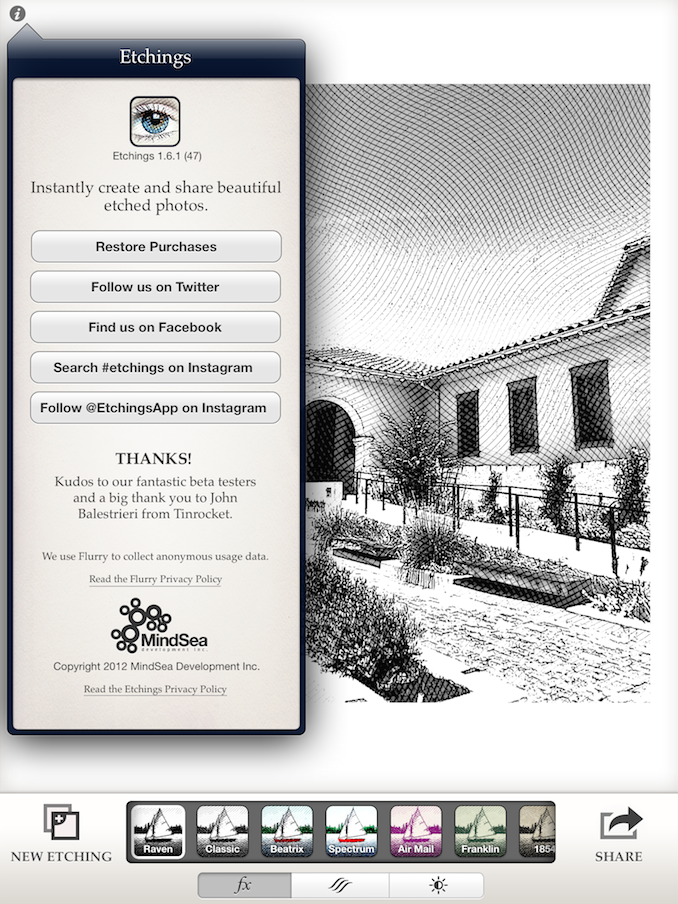
The information button at the top left does not offer much in the way of help, but it does offer a way to restore the purchase of additional presets.
Etchings comes with twelve different presets, with an additional 6 currently available through the Florence FX Pack as an in-app purchase. These presets are a particular combination of tint and border. Raven, shown above, is B&W, Spectrum uses the colors of the original photo, and 1854, shown below, has a nice grunge effect.
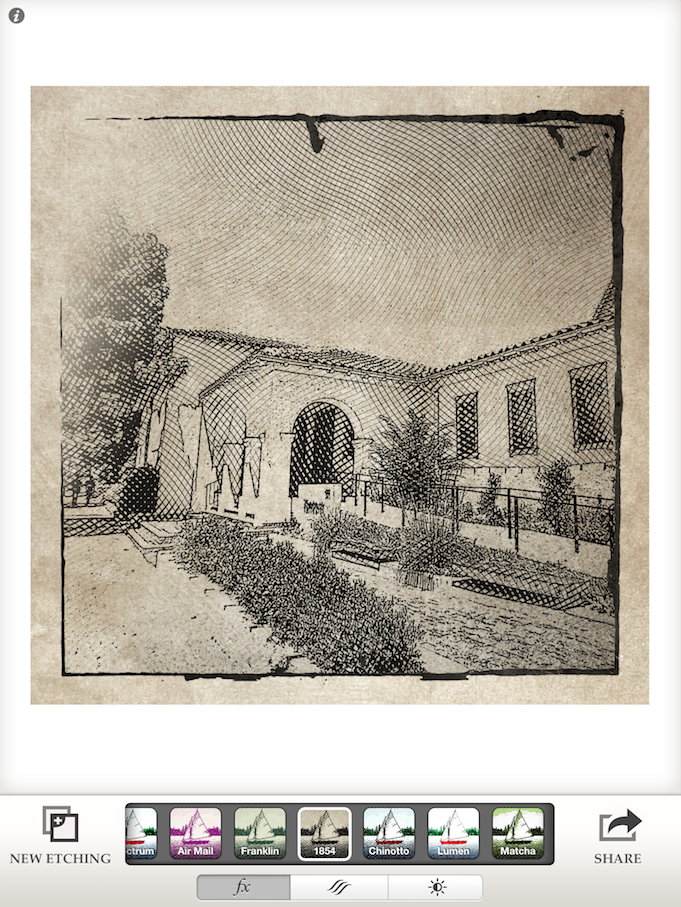
Some of the presets, like Matcha (shown below), produce a particular color tint. What they all have in common, however, is that they are fixed – the color and border combination cannot be manipulated in any way.
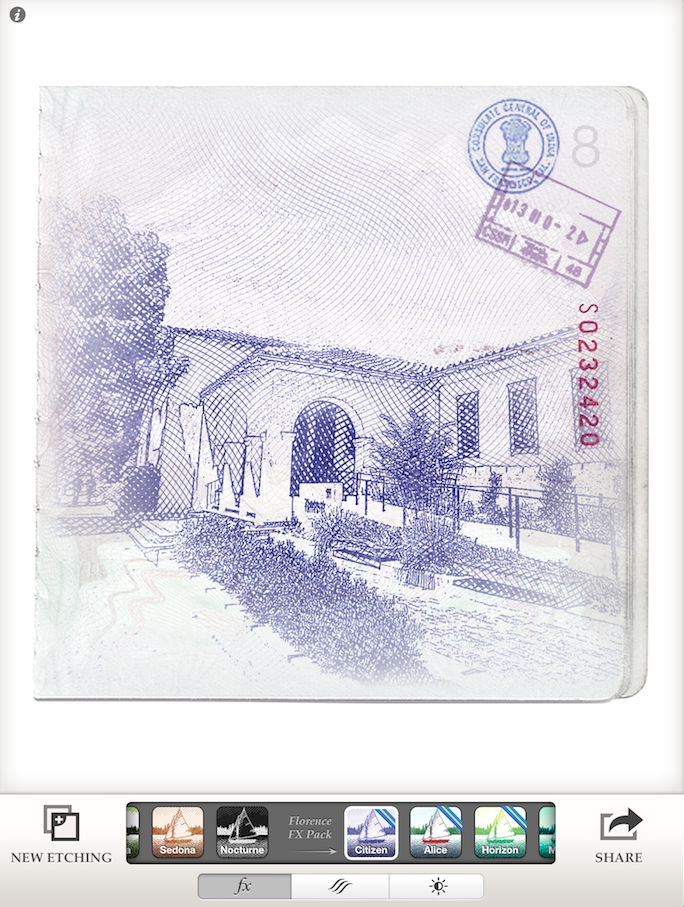
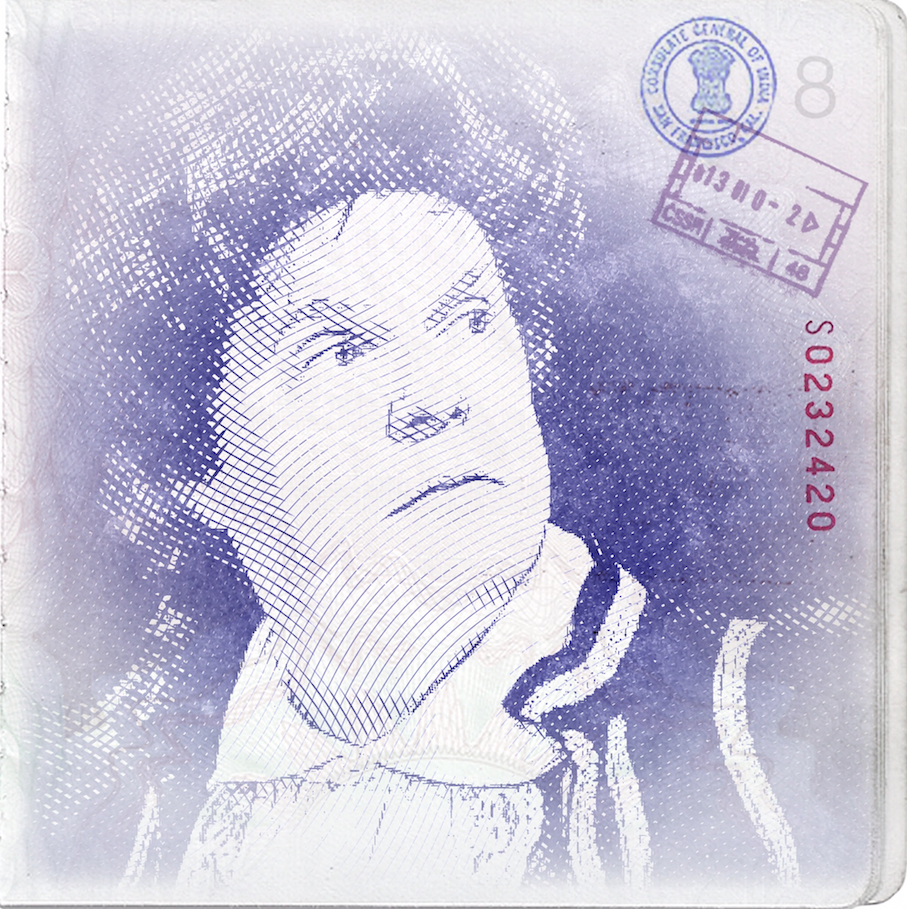
The Florence FX Pack, added in December 2012, has a couple of nice effects among the six available. One I particularly like is Citizen, shown below.
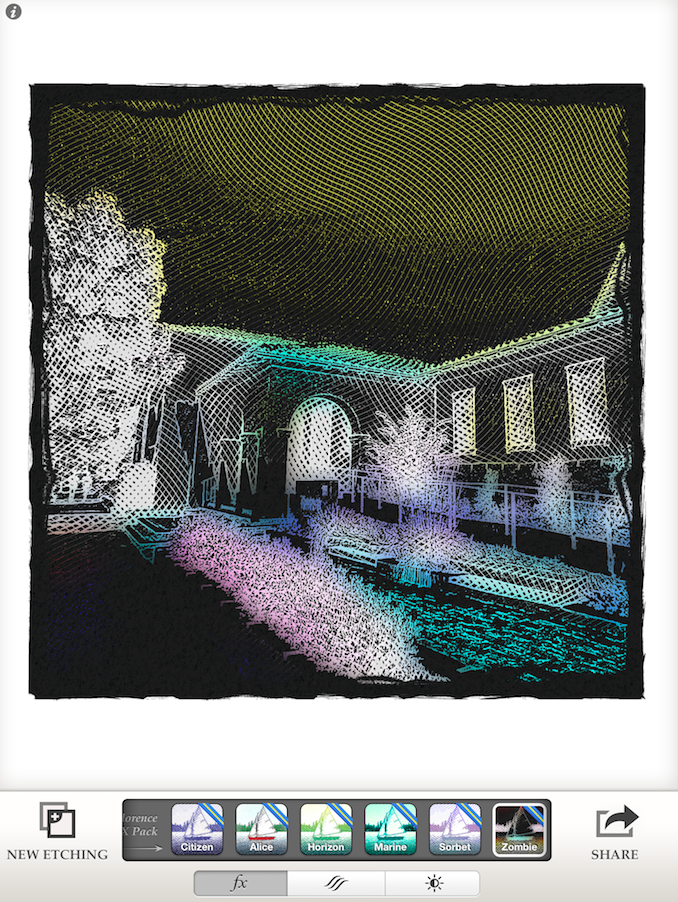
For an otherworldly “negative” look, you can try Zombie.
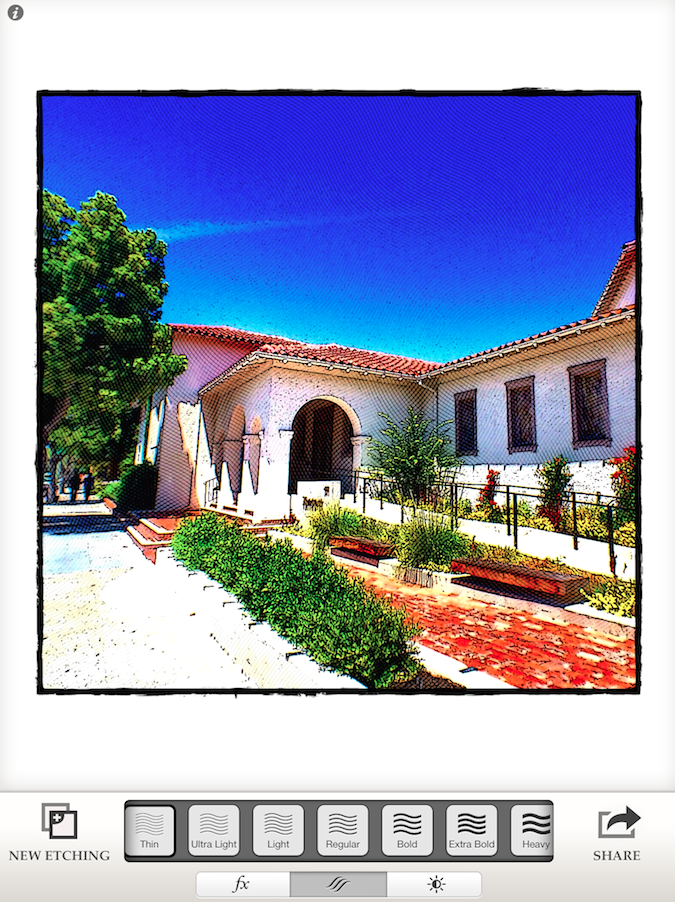
Once you’ve found a look you like, there are two adjustments that can be made: Line Width and Brightness. Below I’ve chose the Spectrum preset.

By tapping the button at bottom center with three lines, I am given the ability to affect the line width. Spectrum uses a Regular line width, which is indicated with a thicker black line surrounding the “Regular” button.

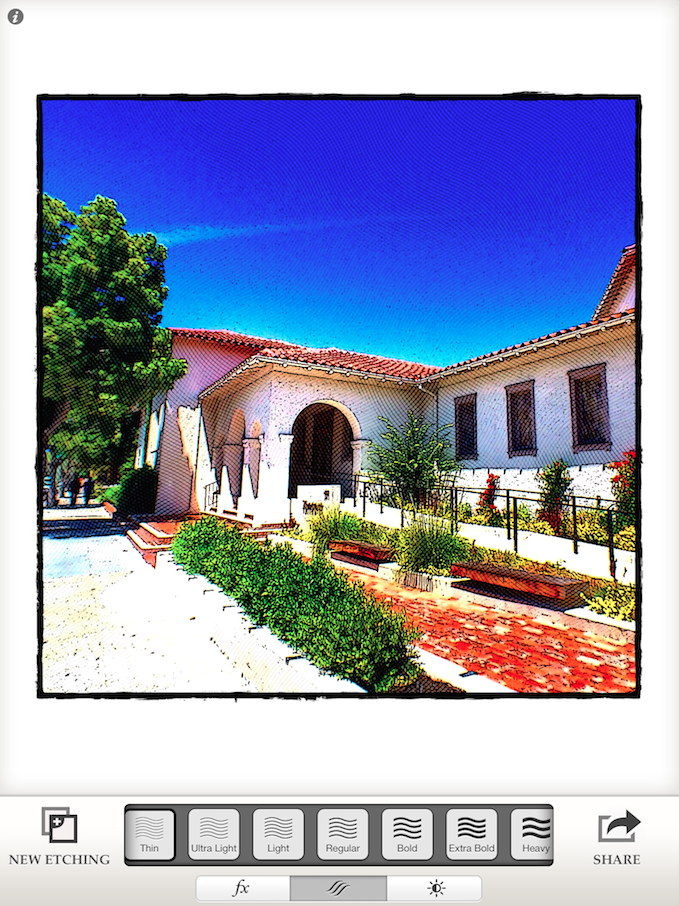
As you might expect, as the lines get thinner, they also get closer together. Below I’ve chosen Thin, the thinnest setting.
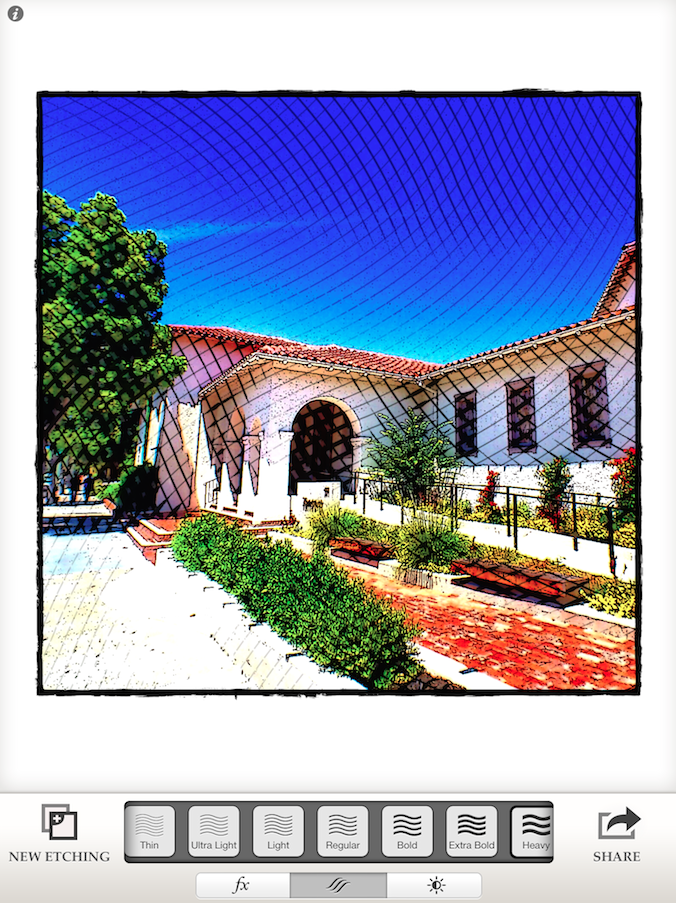
As the lines get thicker, they move farther apart. Below I’ve chosen Heavy, the widest setting.
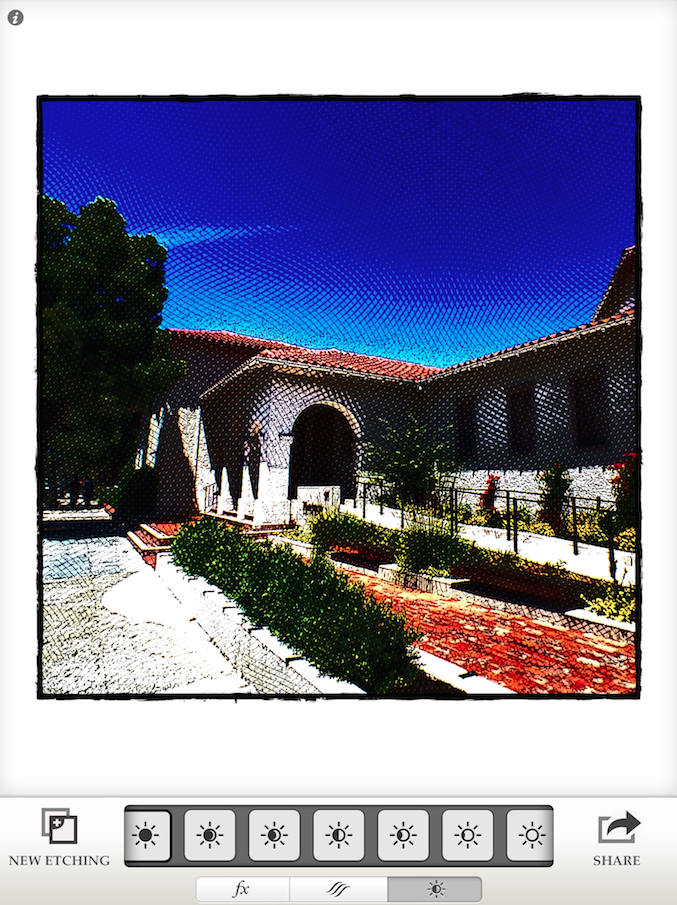
The button at the bottom right leads to the Brightness settings. There are seven different levels of brightness, ranging from darkest on the left to brightest on the right.
Below I’ve chosen the darkest setting, and there is more black present to create more and thicker lines.
At the brightest level, as shown below, the lines can disappear entirely.
The Share button leads to the standard iOS Save dialog.

And that’s it! It’s a simple app with a clear interface. Now you need to decide if it’s something you might include in your toolbox. I like it, used sparingly. Below is another image, with the Citizen preset.
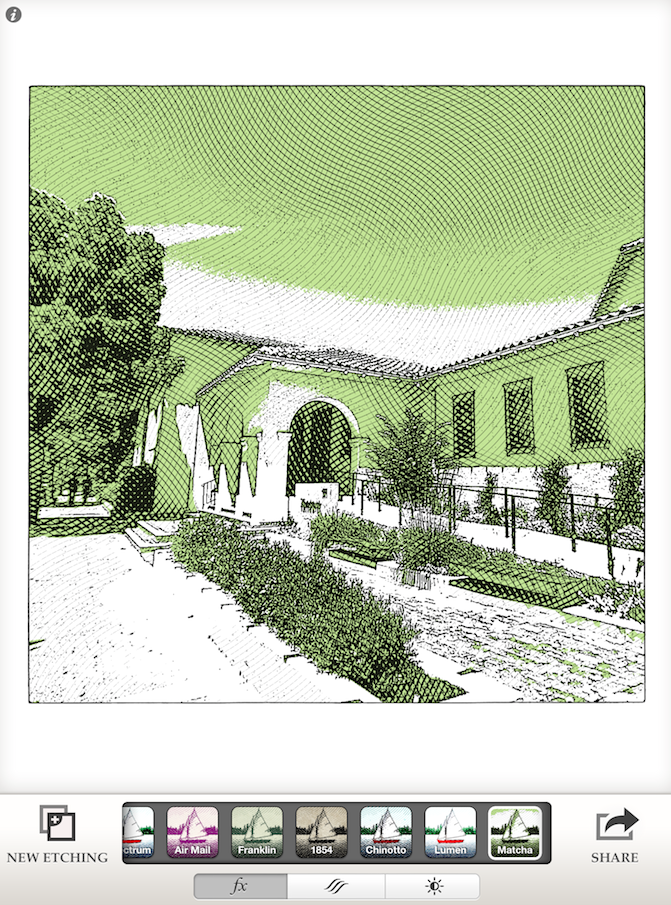
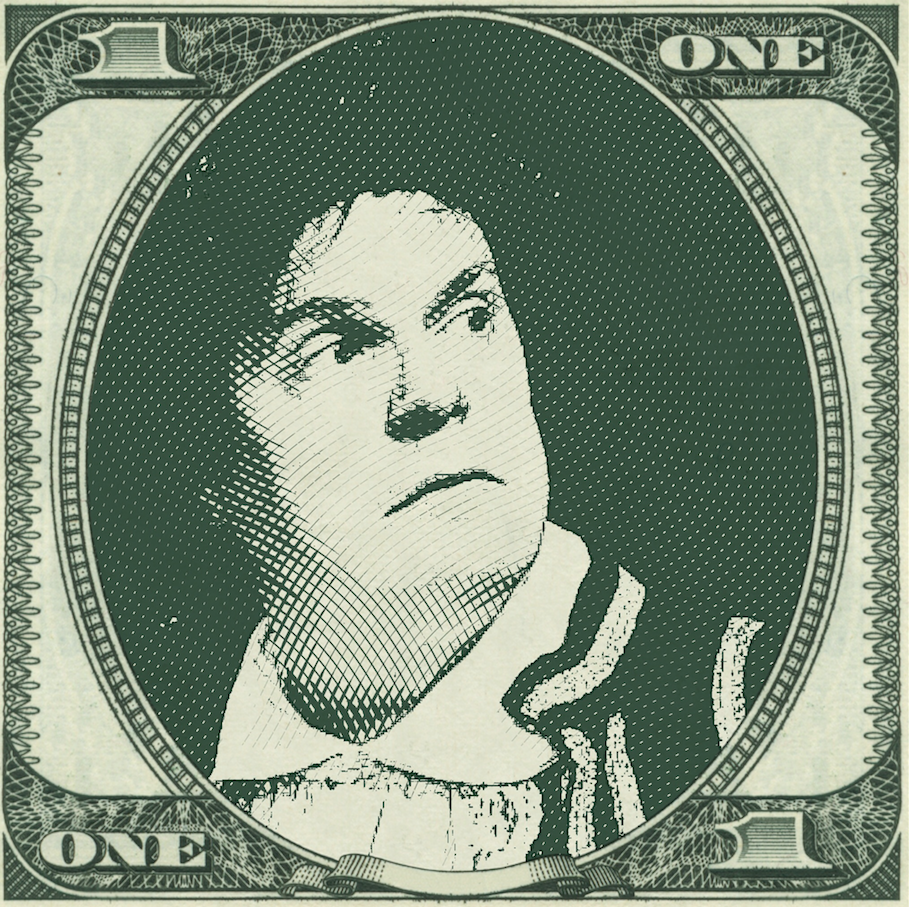
For a “rich” look, try the Franklin preset.
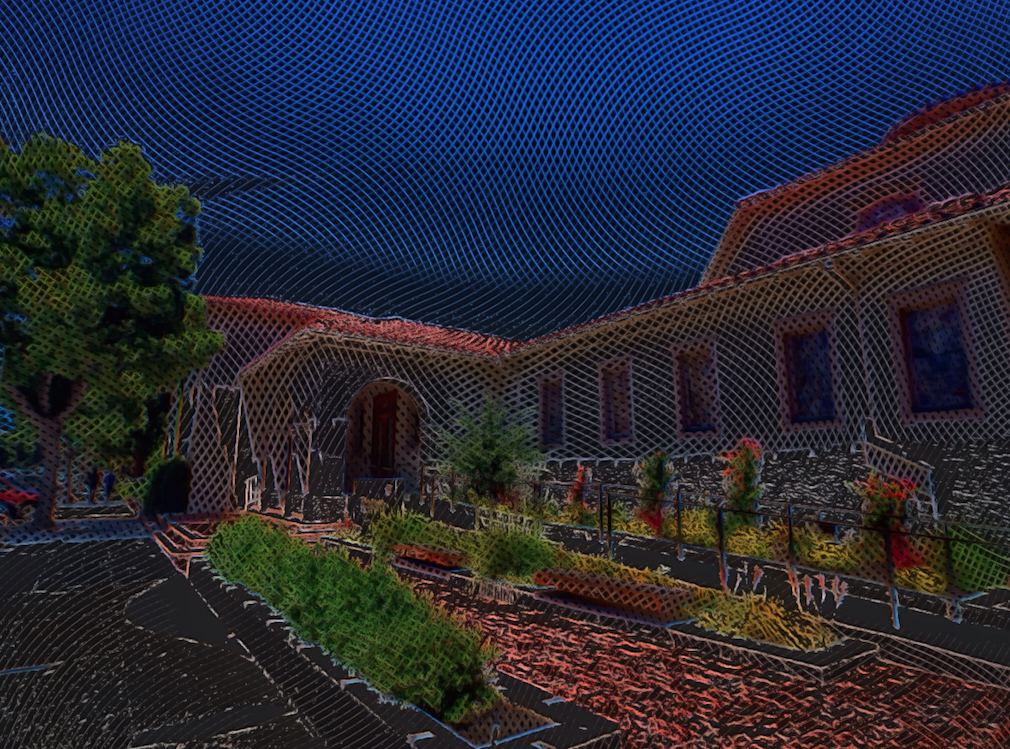
Of course, you can always use your Etchings in combination with other apps. I’ll finish with a version of our test photo using the Nocturne preset, which uses white lines on a black background. Since the full image is rectangular rather than square, Etchings added “letterboxing” at the top and bottom, which I cropped away. I then took it into iColorama to blend on top of the original. By using the Multiply blend mode, I retained the black from the Etching. The white lines are deleted, allowing you to see the colors from the original. Having colored lines on a black background gives this an interesting look. Enjoy!”
Jerry Jobe
Never content with just scratching the surface of what an app can do, Jerry Jobe decided to pass on what he learned about imaging apps to others. He’s constantly trying to figure out just what tools other artists have used, and trying to incorporate them into his own work, in an attempt to find his style. He’s written tutorials on over 145 apps so far, which you can find (along with his Song of the Day entries) at http://enthusiasmnoted.wordpress.com/ He lives near Atlanta, Georgia, where he also finds a creative outlet in acting and directing in community theater.