iPad Photography Tutorial – iColorama 3.83 – Can it get any better? Yes
We’re delighted to publish Jerry Jobe’s newest iPad photography tutorial, this time looking at the latest update to the uber popular iColorama app, don’t miss this. (Foreword by Joanne Carter).
iColorama retails for $2.99/£1.99 and you can download it here.
I had fully intended to write a beginner tutorial for iColorama. Even though this is my twelfth article on iColorama, I have yet to go over the basics of moving around in this marvelous app. But then this past Sunday Release 3.83 was approved by the App Store, and I knew that the new features should be covered first.
So what’s new in Release 3.83? A couple of bug fixes and a preset or two? No, that’s thinking way too small. Let’s take a look at the description of the release.
Load Photoshop brushes – 50 new presets.
Six words to describe a new world of working with iColorama as an artistic app.
First of all, let’s look at loading brushes. Brush capability has been a part of Photoshop on the desktop for over a decade, and vast libraries of brushes have sprung up as hundreds of people created their own brushes. Now those brushes are available to add to iColorama in addition to the hundreds built into the app.
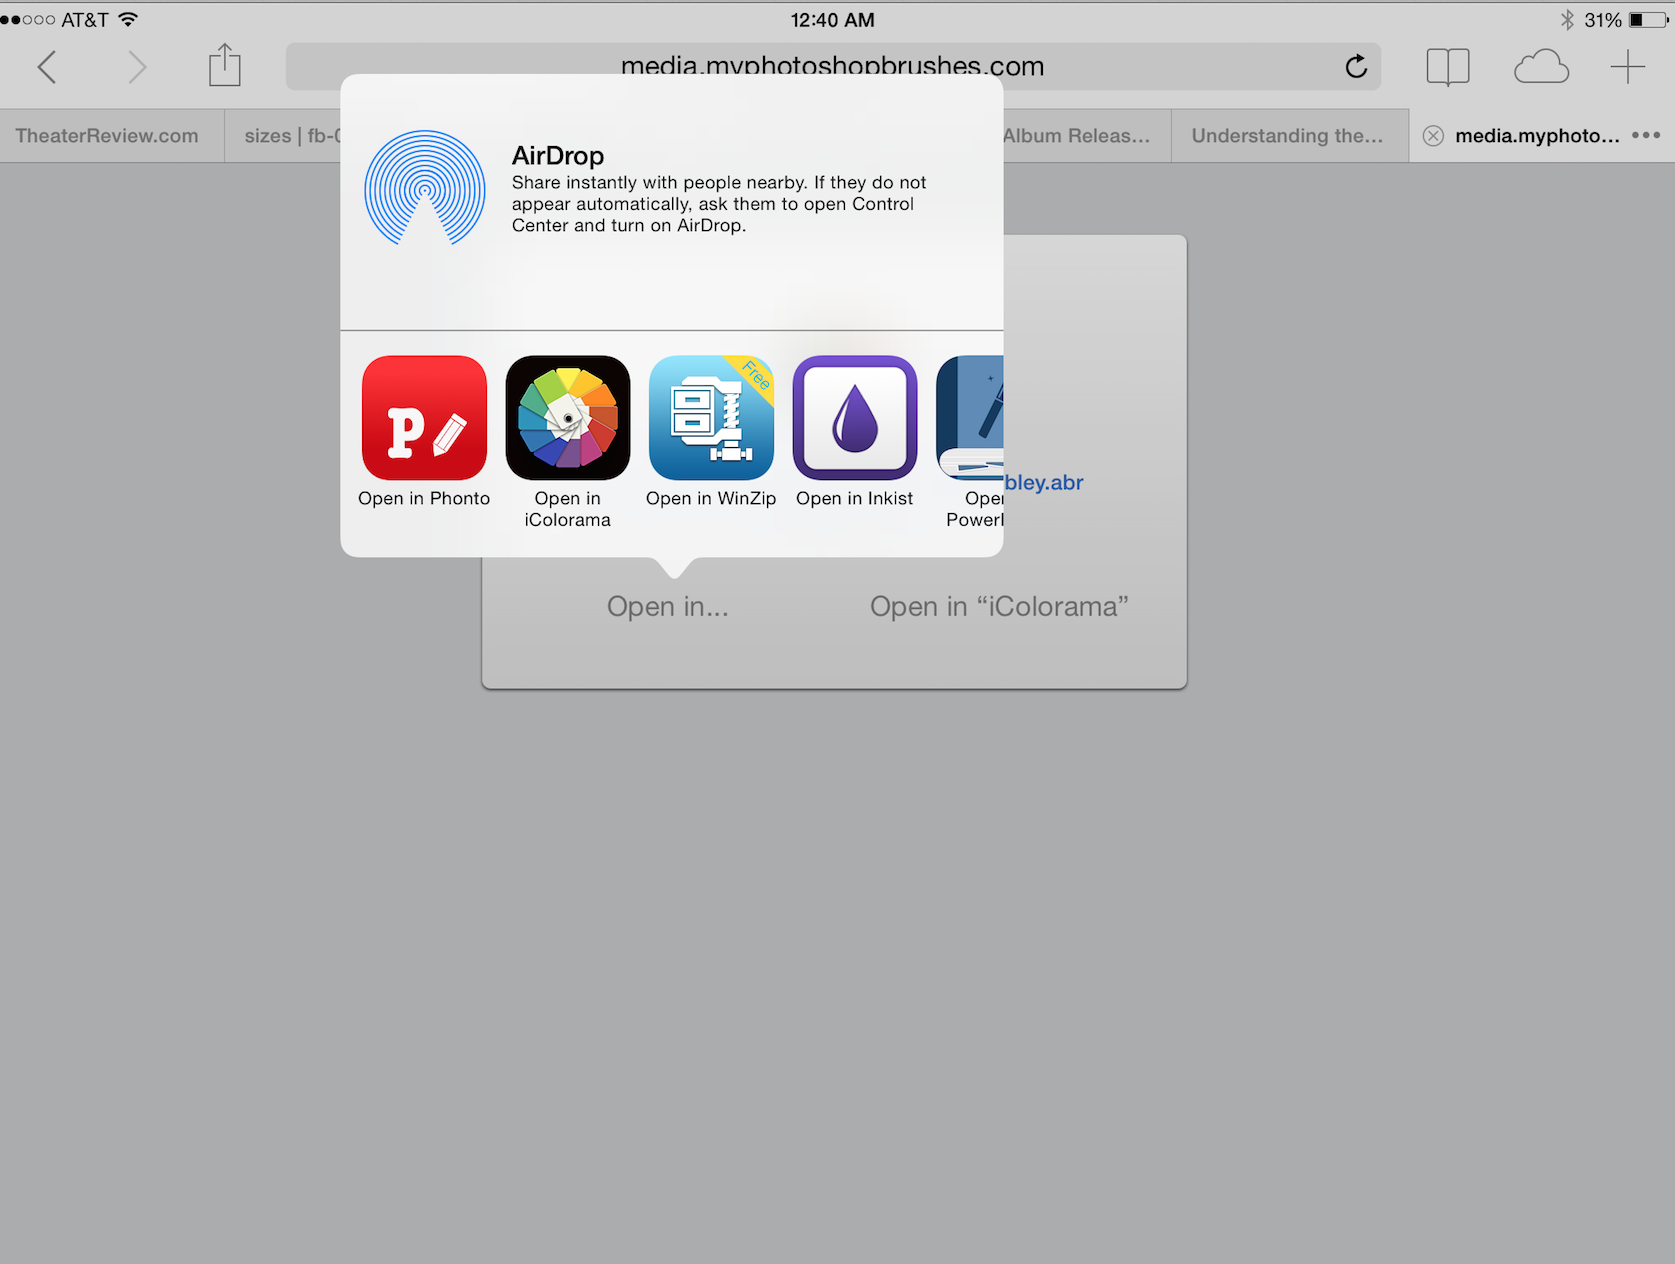
There are many places to get free Photoshop brushes, if you don’t make them yourself. Two that I like are MyPhotoshopBrushes and Texturemate, but there are literally hundreds of them. If you choose a brush and tap the link to download the brush in Safari, you’ll get a page with one or two “Open In…” links. If I use the “Open in “iColorama”” blue link seen below, Phonto opens instead. I can deal with that; no developer can test all combinations of installed apps. Instead I tap the “Open in…” link and scroll over until I see “Open in iColorama” and tap that.
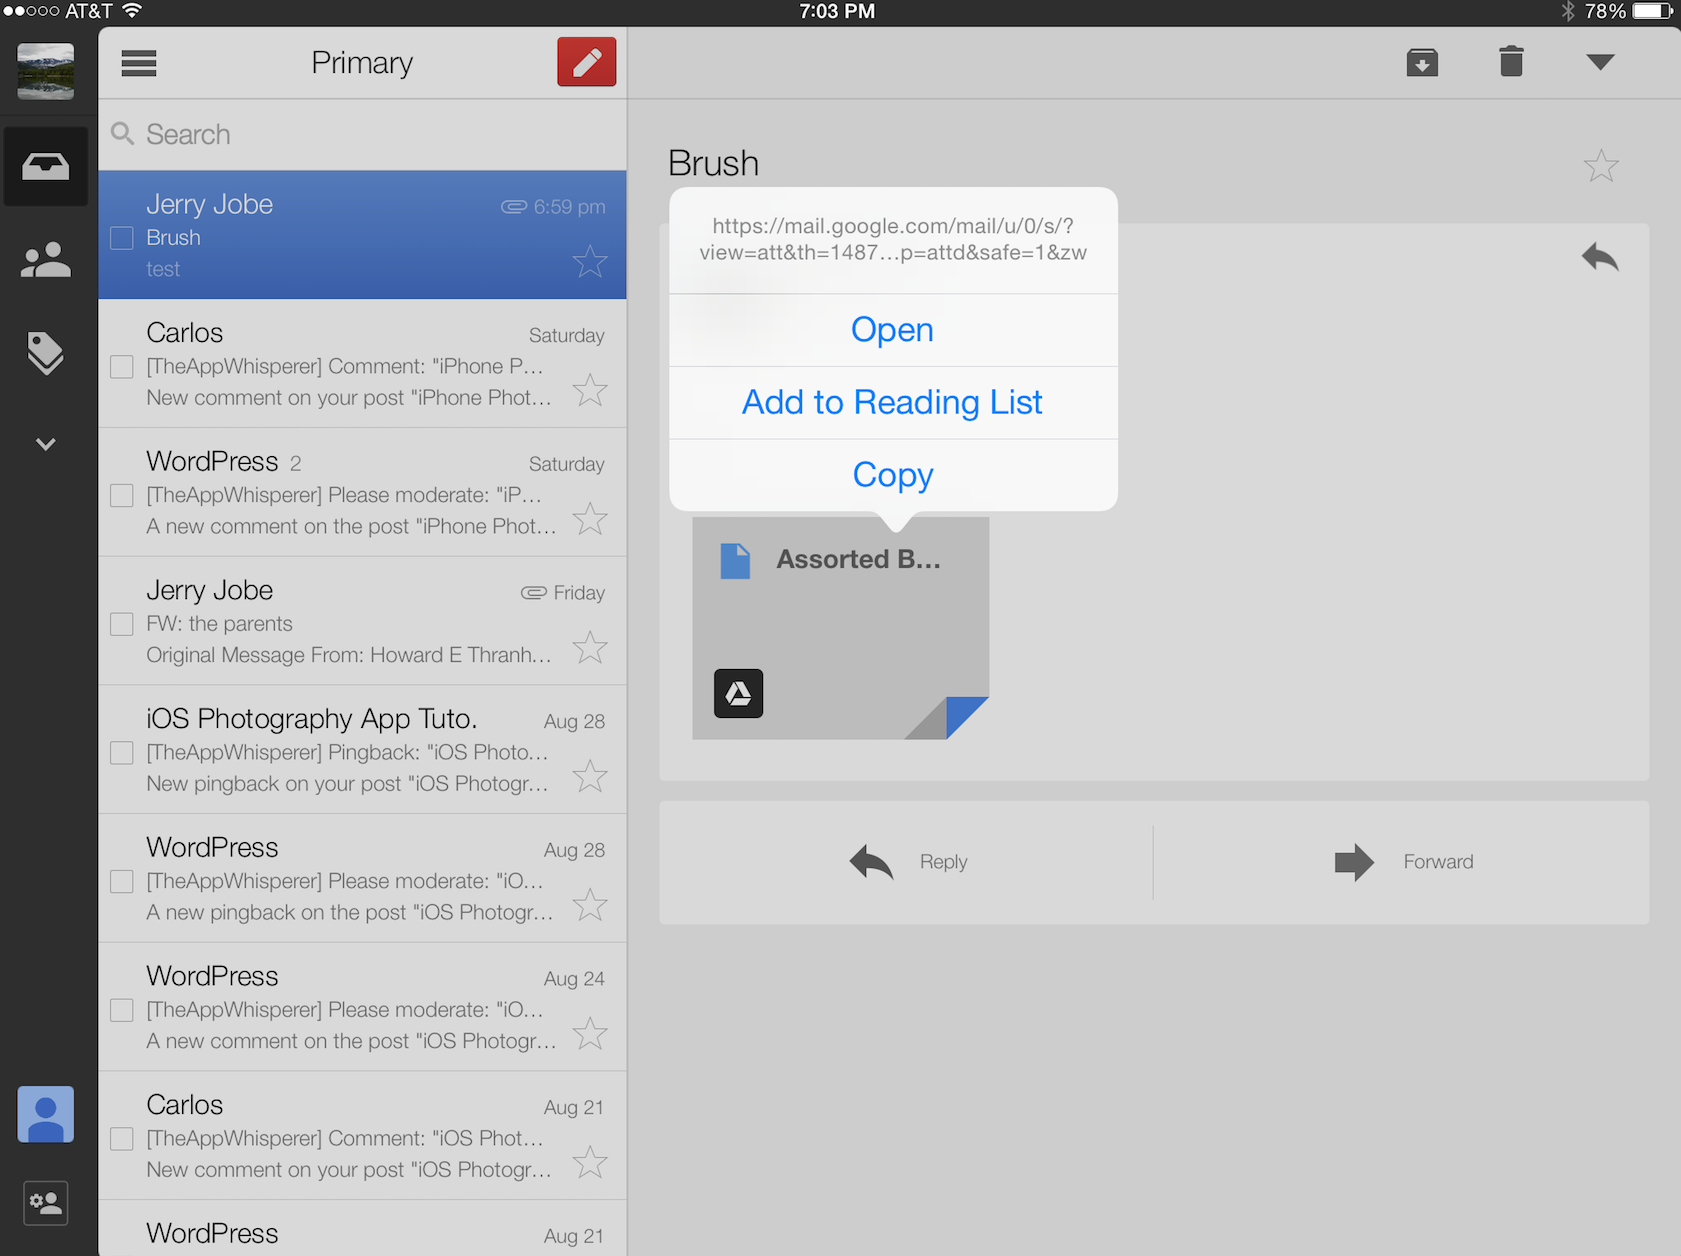
I’ve had Photoshop for years, so I already have some brushes that I’d like to add from my own machine. One way to do that is to send the brush file (files with a .abr extension) in an email to my Gmail account. The screenshot below shows what happens when I press and hold the attachment icon in the email.
Once I tap “Open”, a blank screen is shown. tap the box and arrow icon in the lower right, and choose to open it in Safari
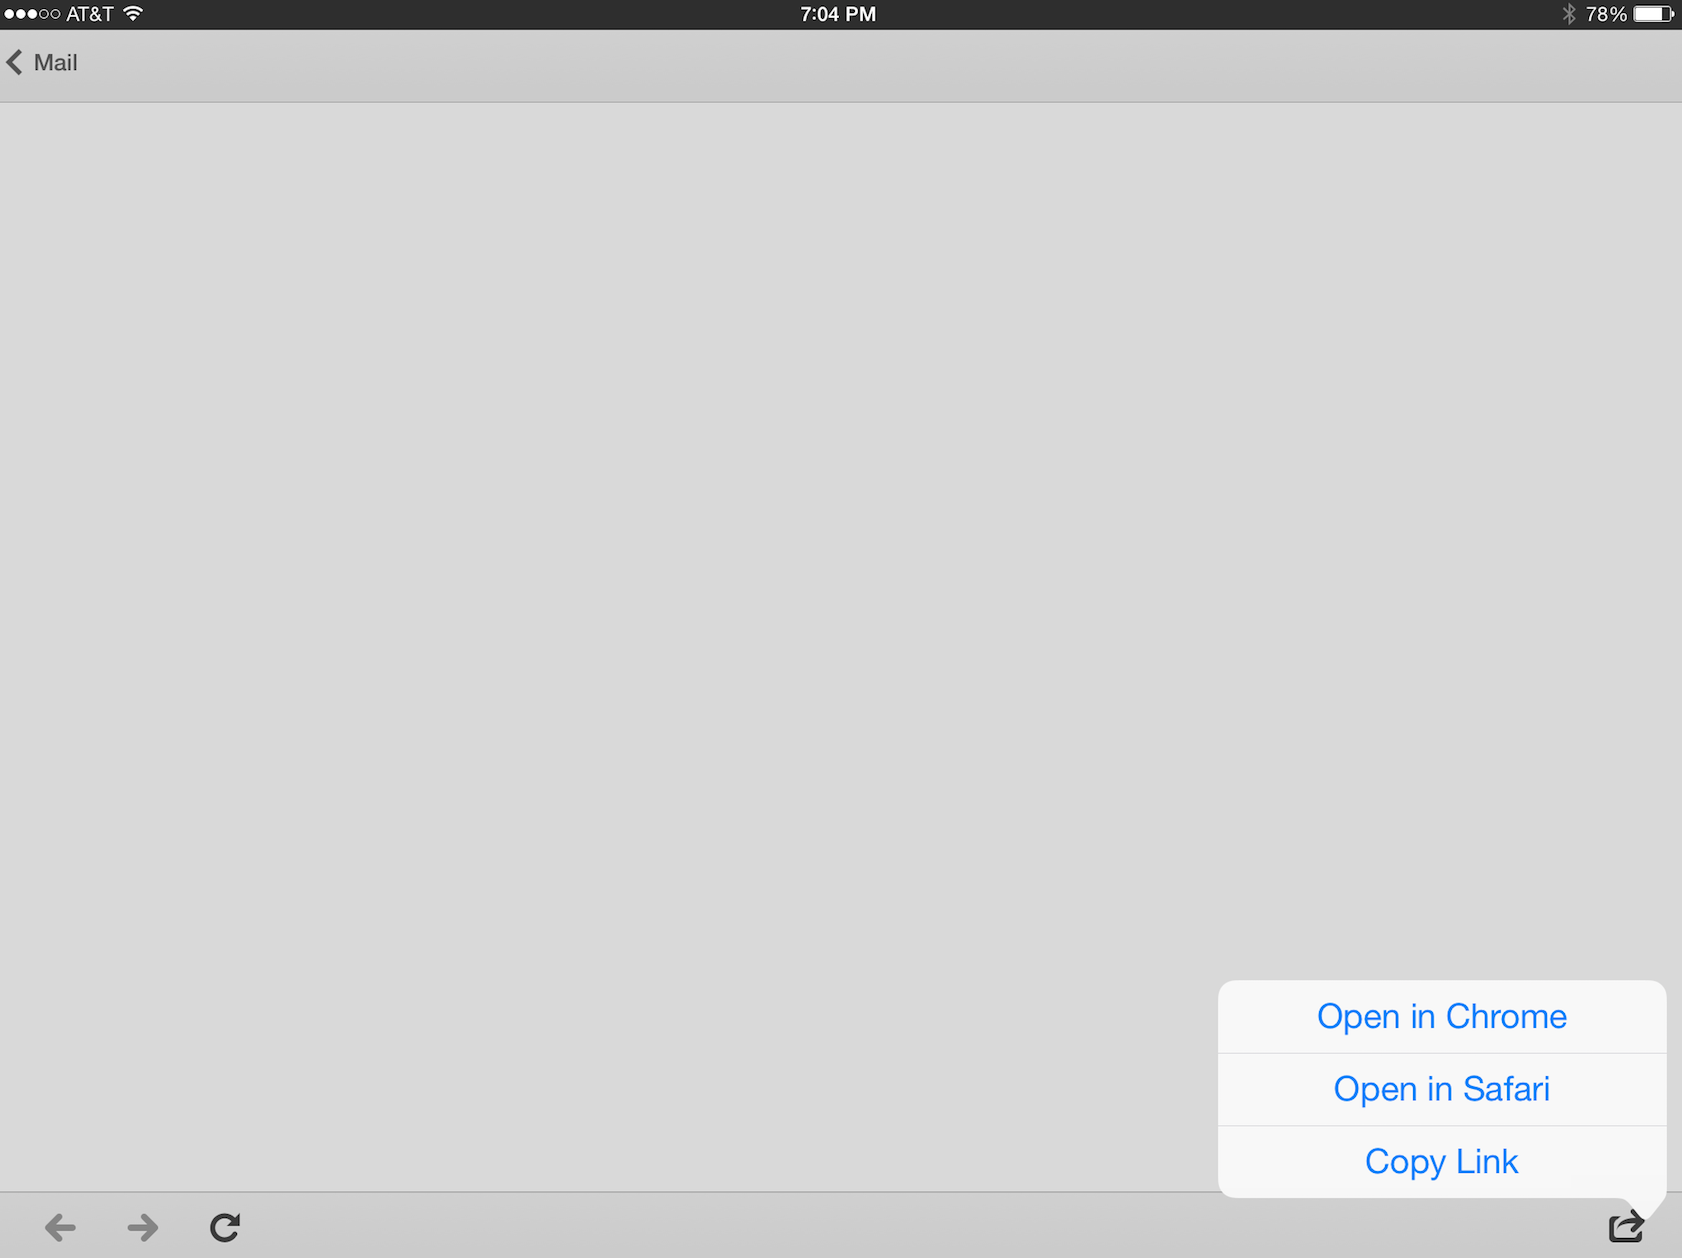 Once it opens in Safari, I have the same options to open the ABR file in iColorama.
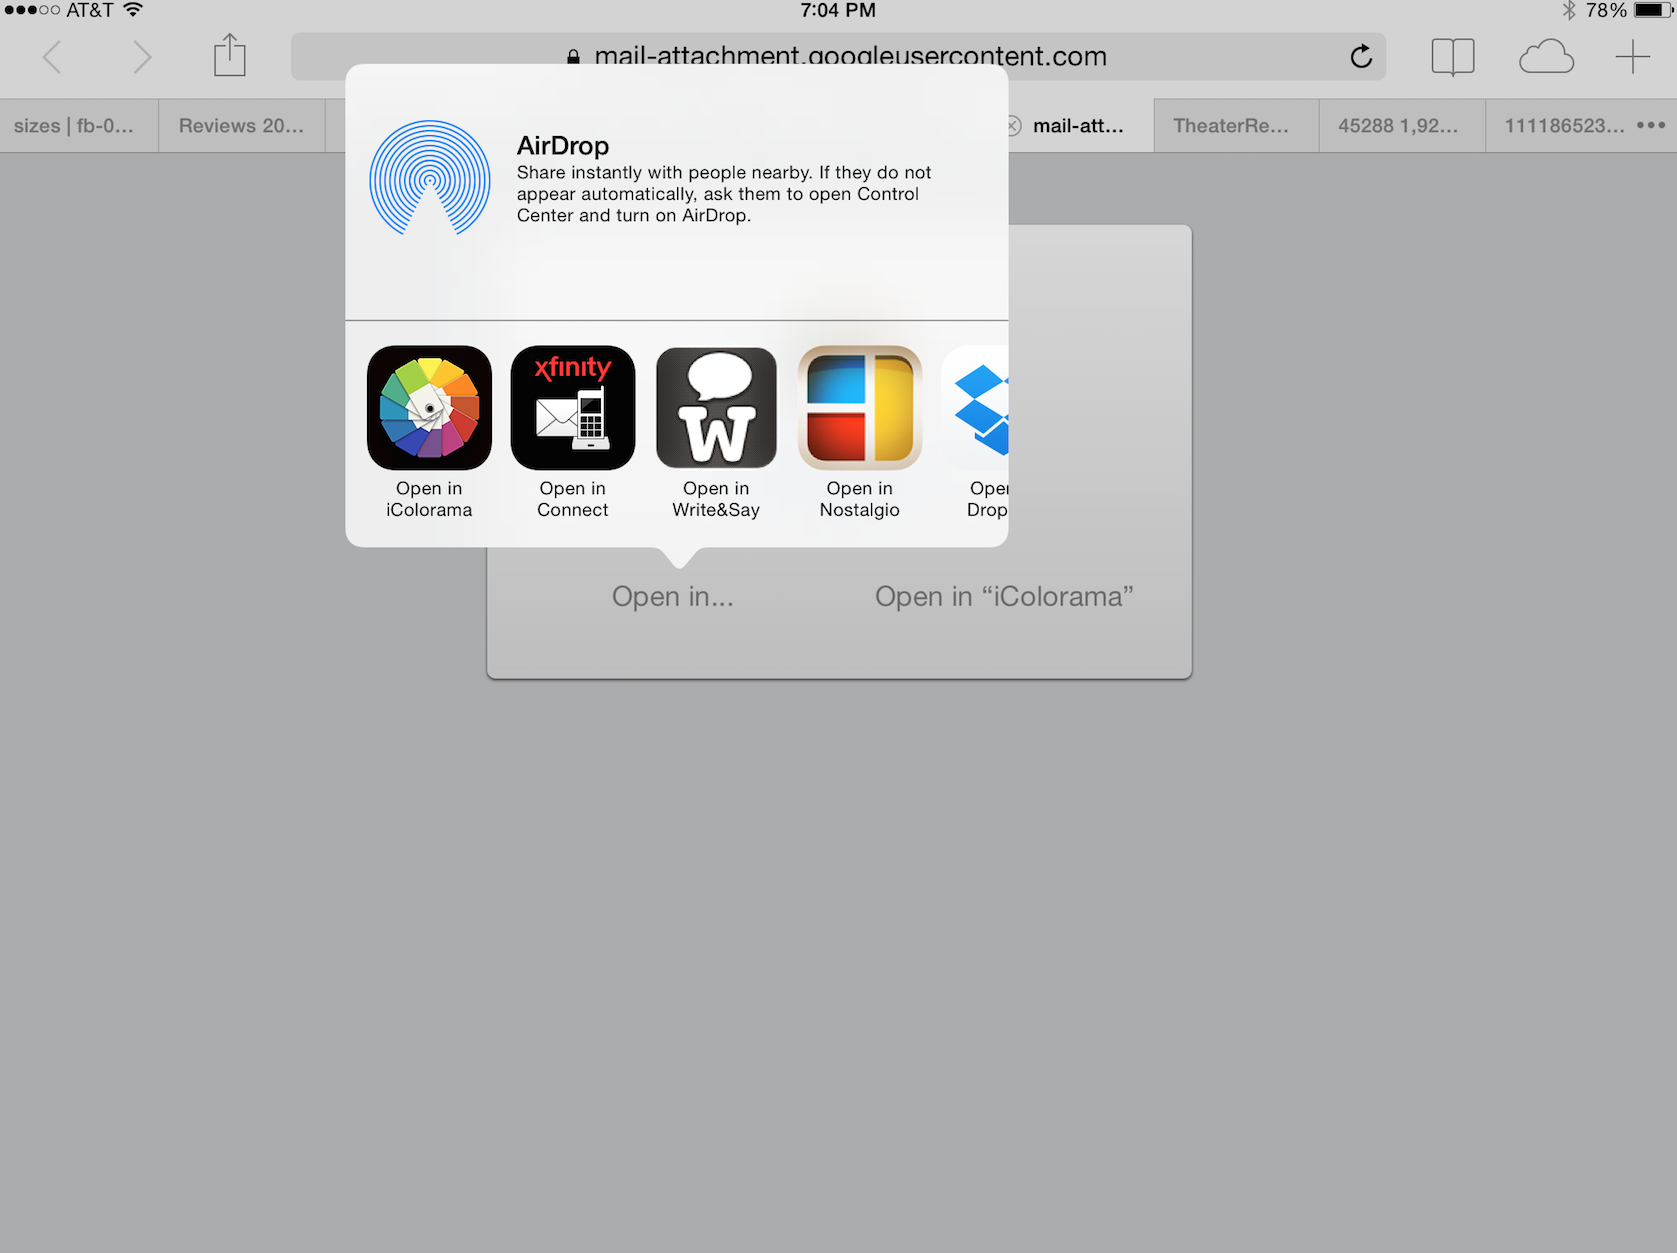
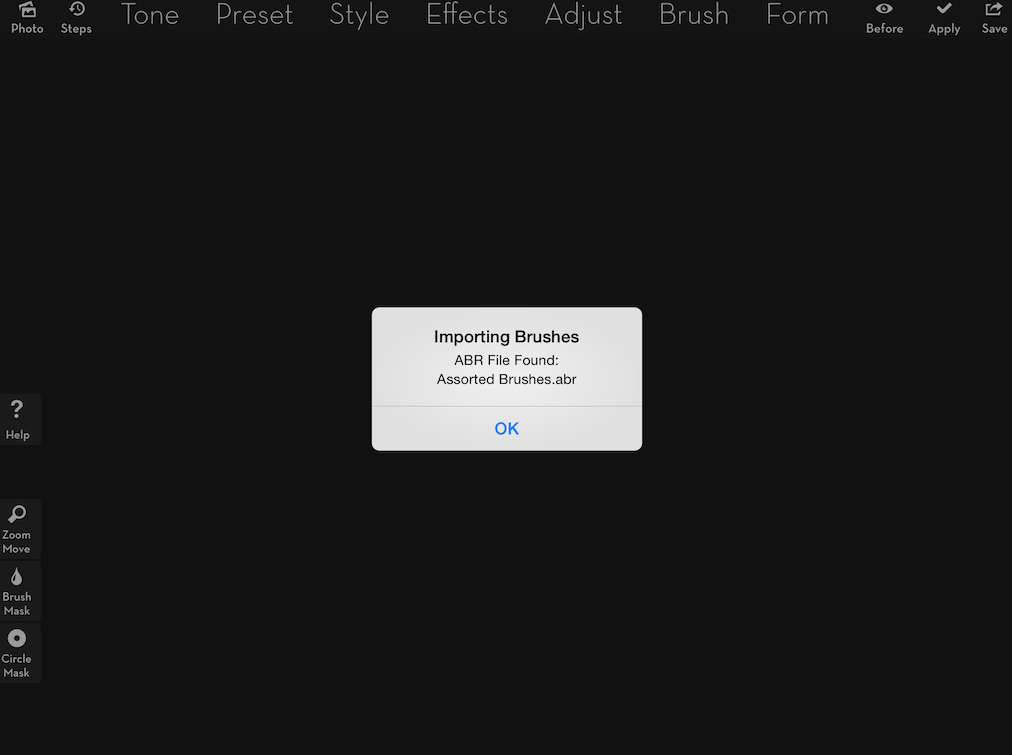
When I tap the Open in iColorama icon, iColorama opens and, after a short wait, the app tells you that your new brush file has been added through a dialog box.
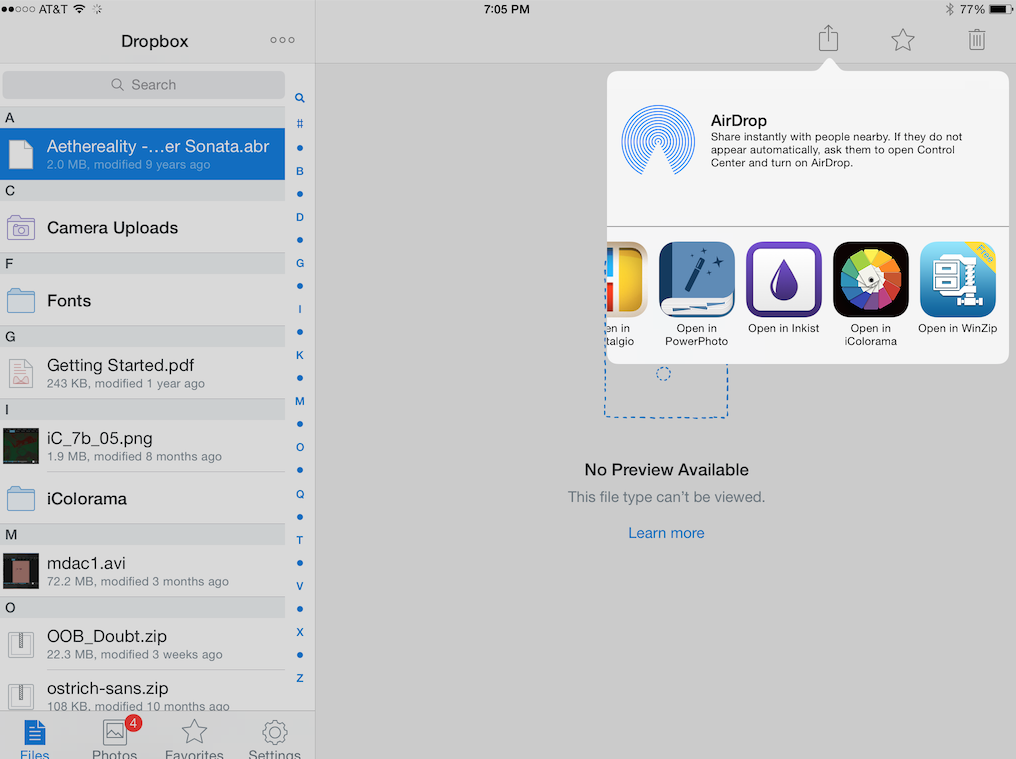
One other way to load the brushes is by sending your brush file to Dropbox and opening them from there. Below is the screenshot from the Dropbox app that shows you how you would open the brushes in iColorama. There is no intermediary Safari step.
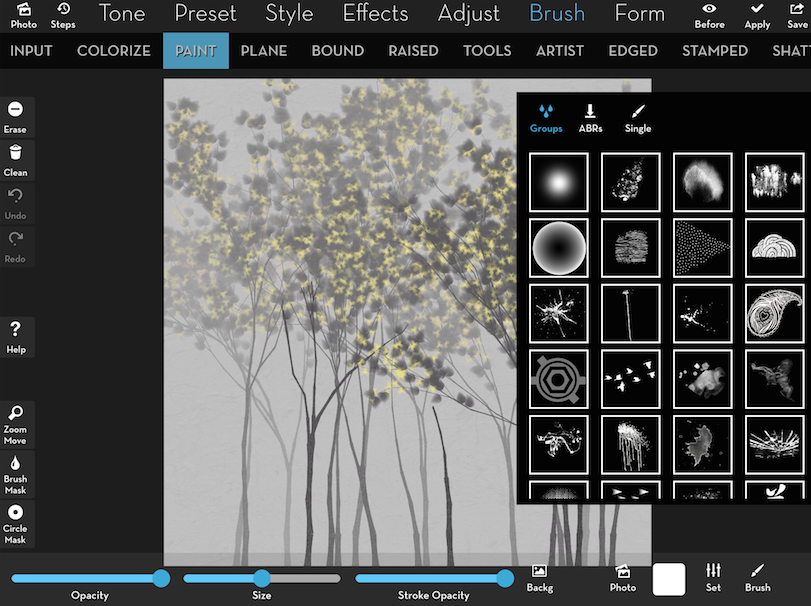
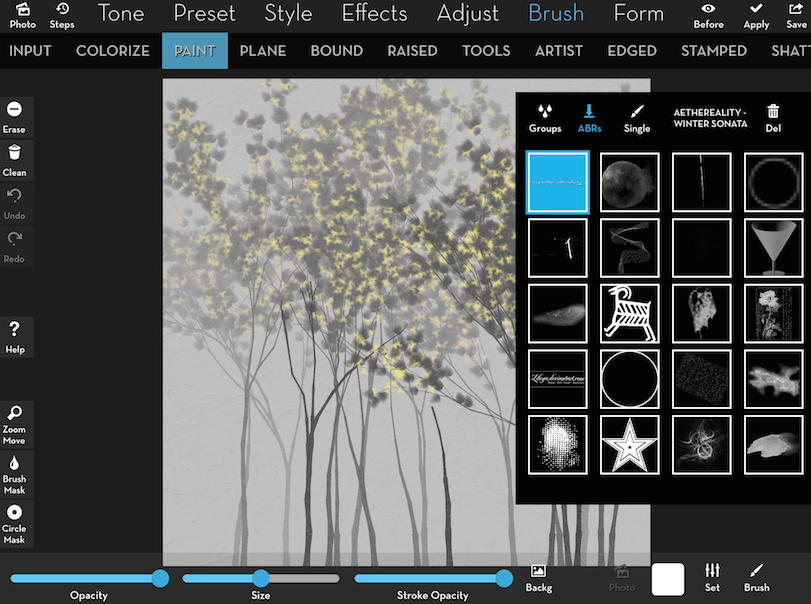
Once your brushes are loaded, how do you access them? Well, in the new release, the brush picker has been completely reworked. There are no longer the two Group and Single buttons at the bottom of the screen, with a single column of thumbnails to choose from. Now there is just the Brush button, which displays a table of thumbnails. Across the top of the brush palette are three buttons: the familiar Group and Single buttons, and the ABR button for the new groups of brushes you have added.
When you choose the ABR button, and then select a group of loaded brushes below that, the name of the selected brush set is displayed, along with a trash can to allow you to discard brush sets you no longer wish to use. To select a single brush within the set, tap the Single button and select an individual brush.
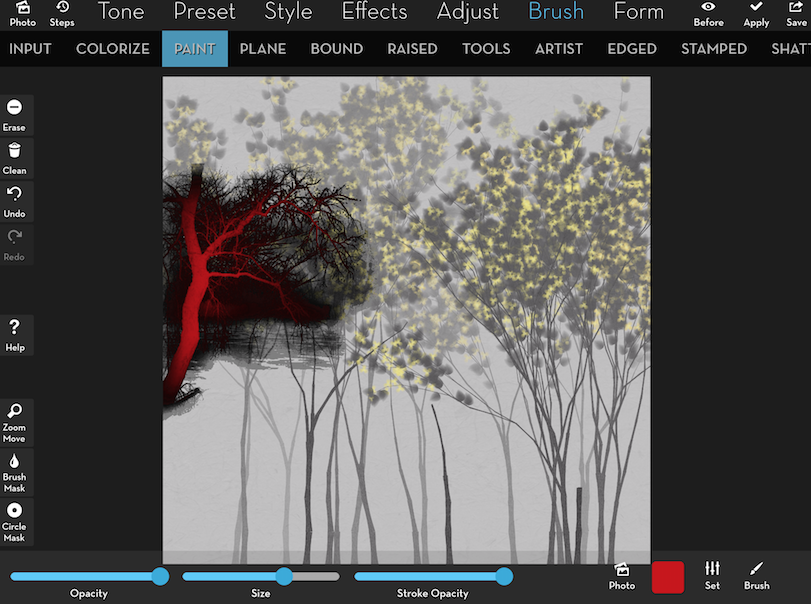
You may have noticed that the ABR group I selected suggests an ethereal brush set. Below you’ll see the effect when I use that brush in Brush>Paint. Not ethereal at all.
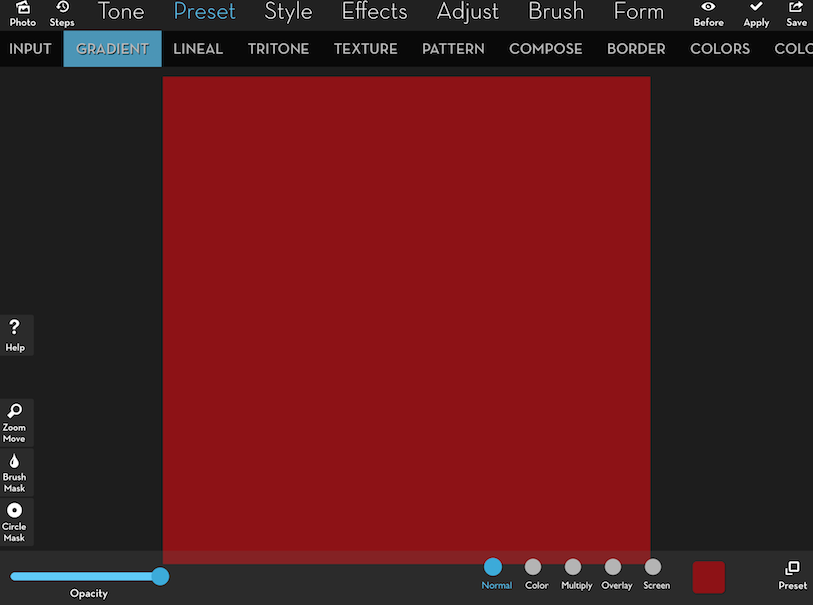
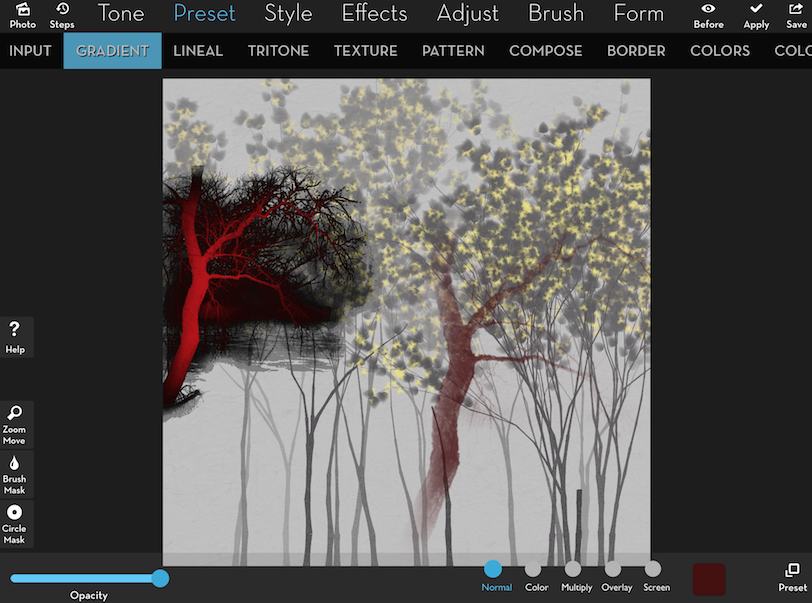
Before the Brush>Paint submenu option was available, you could accomplish the same kind of thing with Preset>Gradient and a masking brush. Let’s see the effect if we use that method. Here I’ve done a Preset>Gradient and selected a red colour.
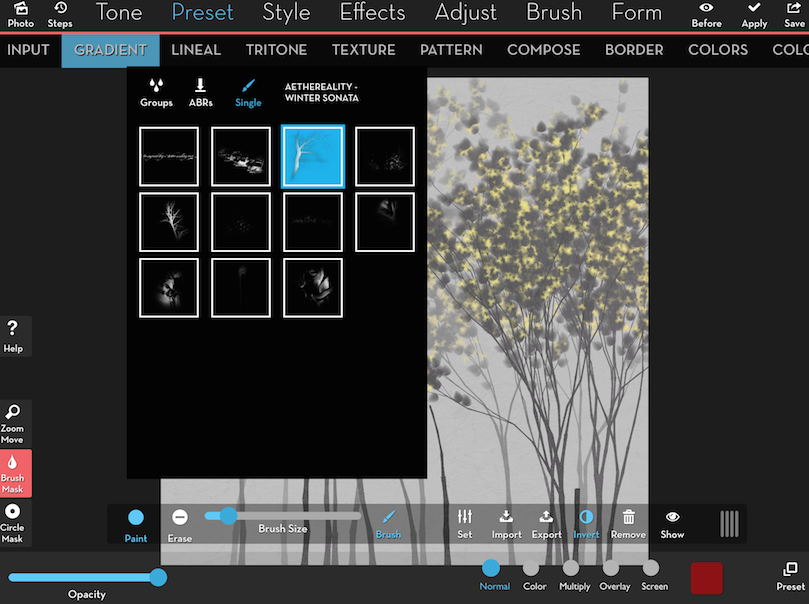
Then I go into Brush Mask and Invert the mask so that I will paint the red in, rather than out. I go into the Brush palette on the Brush Mask toolbar and select the same ABR and same individual brush.
Below you’ll see that I get a much more delicate effect.
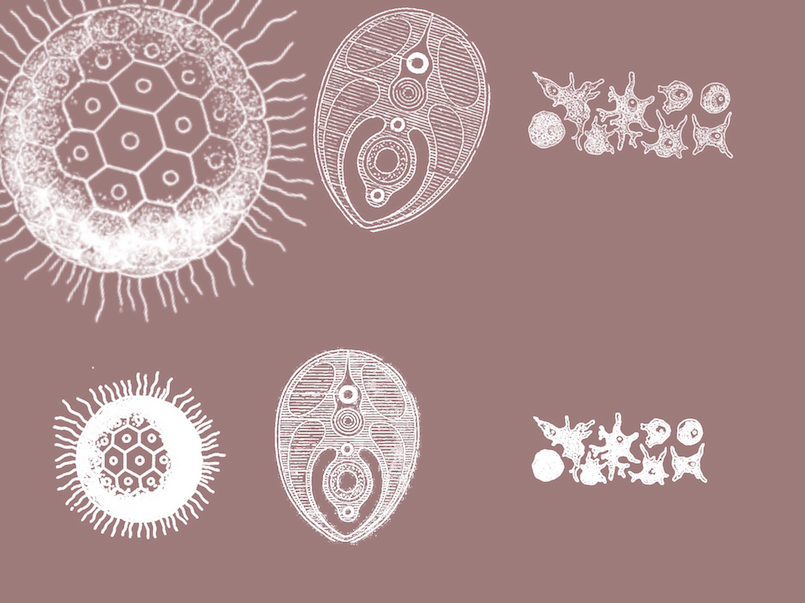
Below you’ll see sets of dabs with the built-in Cell brushes within iColorama. The top row is masked Preset>Gradient, and the bottom is Brush>Paint. You will see that the masked versions contain more detail, without the extra “bleeding” pixels around the edges. This is something to think about when using detailed brushes that you have loaded.
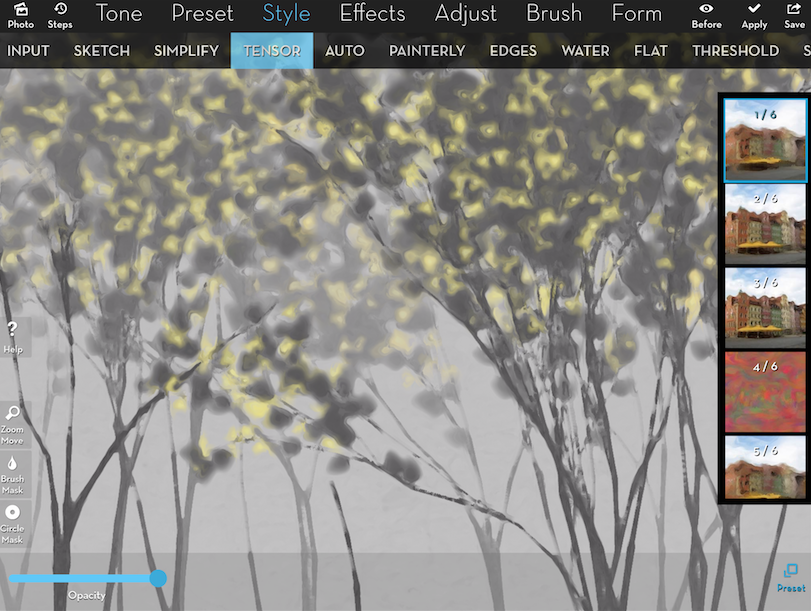
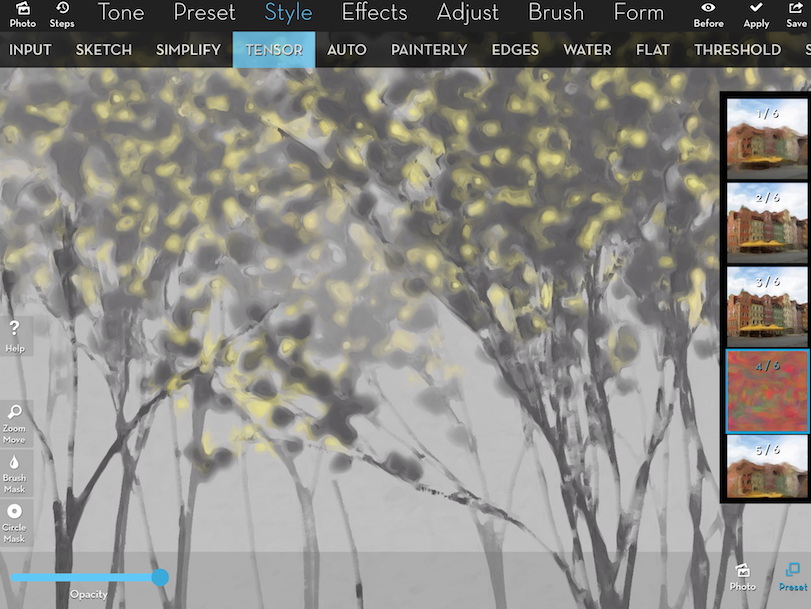
As if the ability to load your own brushes were not enough, the new release of iColorama has 50 new presets, some of which are truly spectacular. Most of these new presets come under the Style menu. The first of these we’ll look at come under the Tensor submenu. Tensor gives a blurred, wavy, painted effect to your images. The first three presets are at various strengths and have no adjustment. (By the way, our base image this week was created in Artree.)
The fifth preset has an Amount slider so you can really crank up the effect.
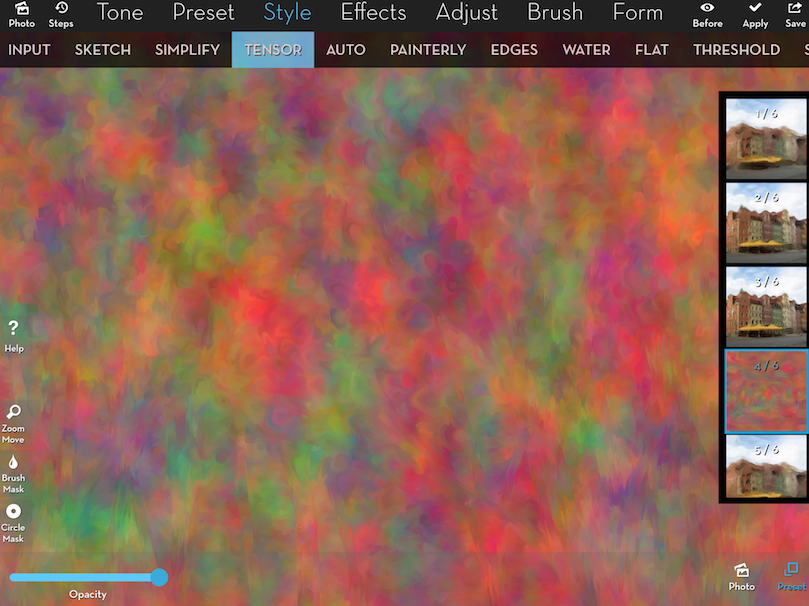
The fourth and sixth presets load a multicolored background, and offer a Photo button to load the image overtop. It works like the Effects>Distort feature.
Once you’ve loaded the image on top, it’s another lovely Tensor preset.
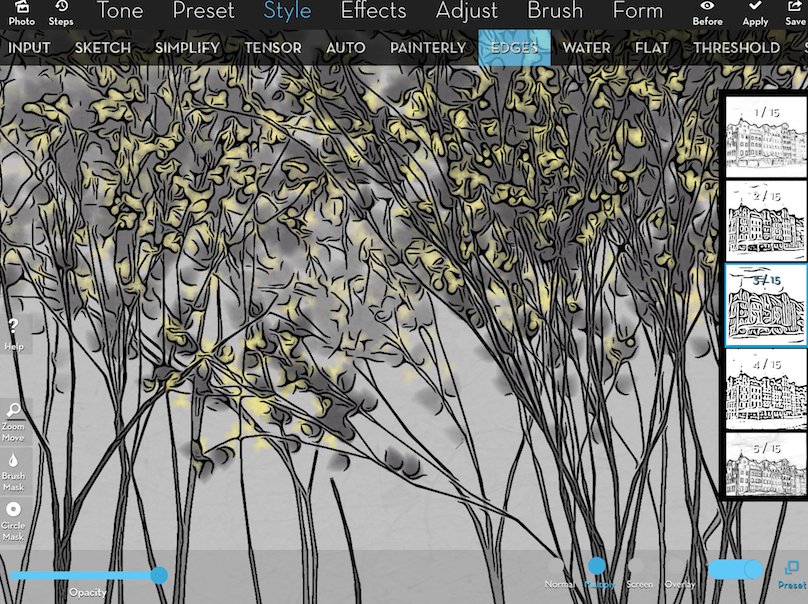
There are four new Edges presets, and I’m most thrilled with #3. In the image below I have the dark, smooth edges in Multiply mode so I can see the image underneath. In Normal mode the edges are black on a white background, so you know what that means – you could use it as a mask and get multicolored edges.
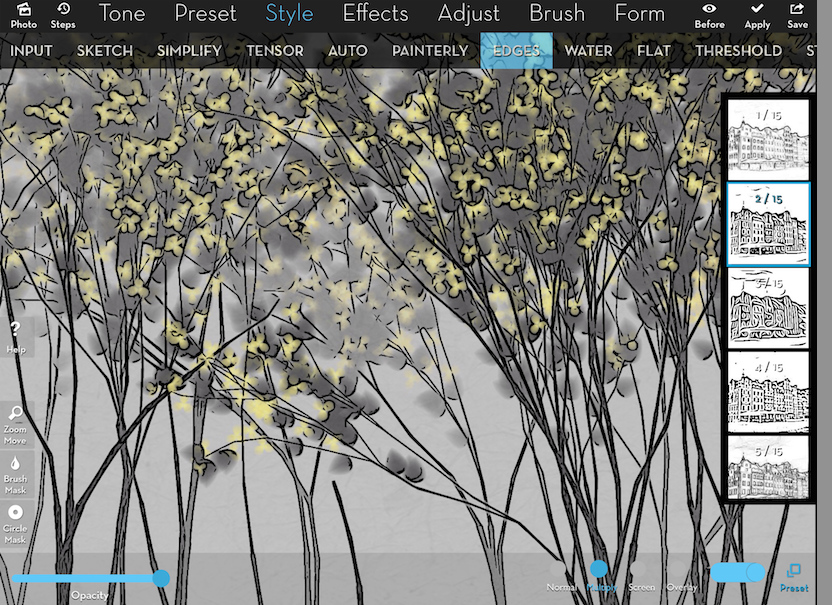
The third edge preset is not the only one that’s a great new preset, however. Below is an example of #2.
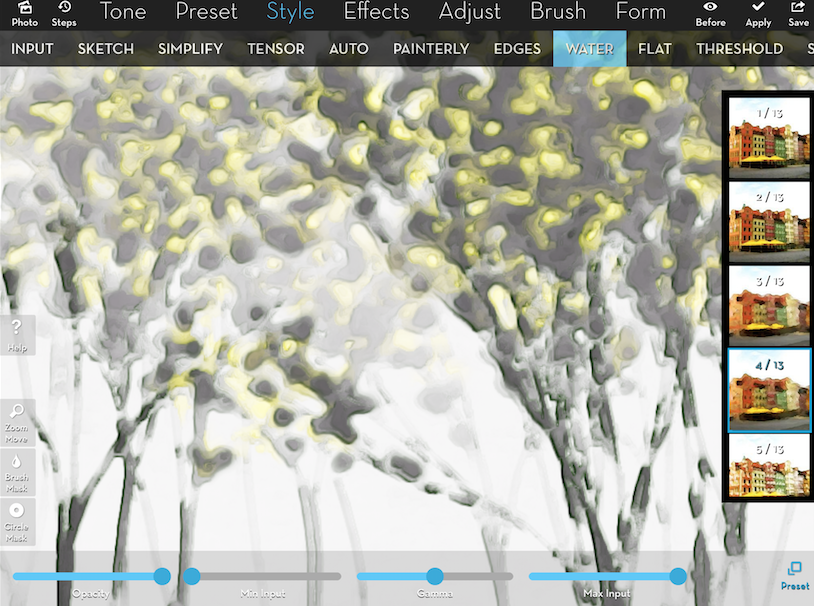
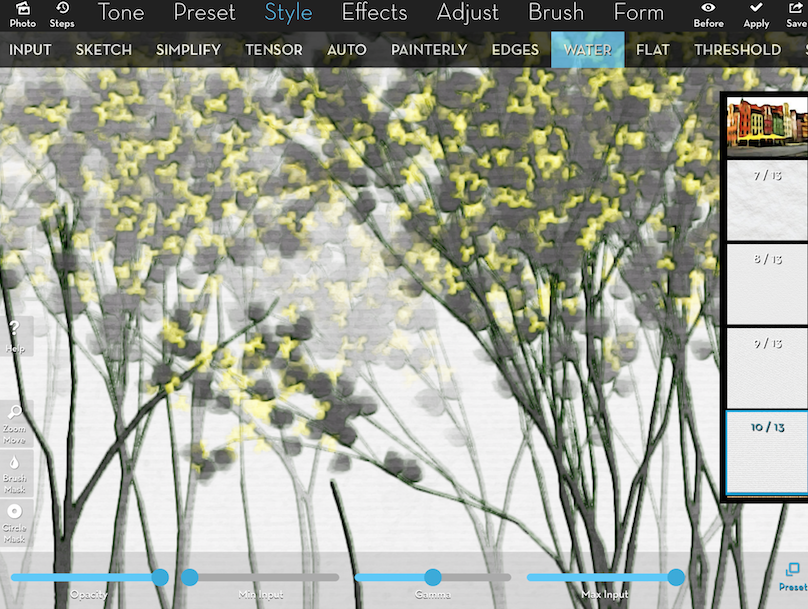
Another entirely new set of presets is Style>Water, with 13 new watercolor effects.
The last 7 of those 13 Water presets change the paper used, giving you a Water and Texture effect in one pass.
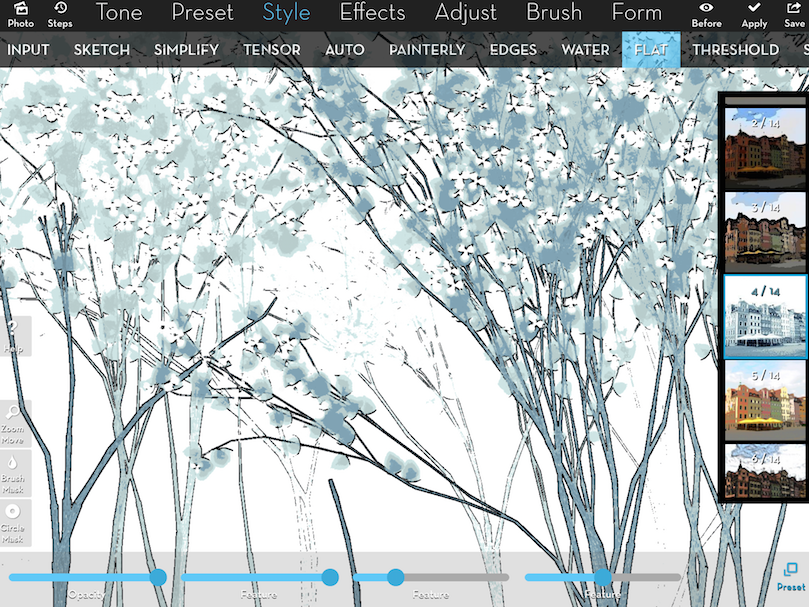
There are, it seems, six new Flat presets to bring the total up to 14. I really like this “cyanotype” effect.
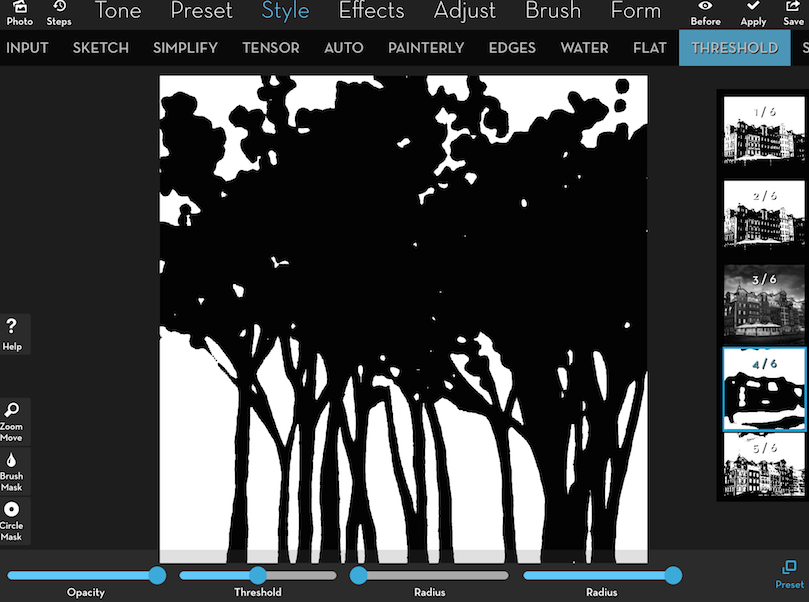
Two of the Flat presets, which converted the image to solid black and white, have been moved to the entirely new Threshold category. This is my favorite for making masks. Threshold preset 4 makes the black “bloom” out and rounds the edges. I save the result in order to Import it as a mask.
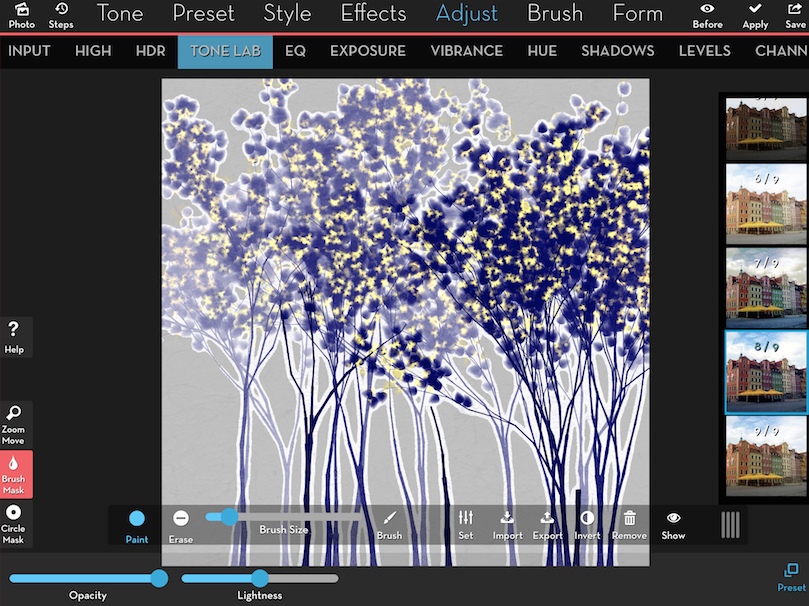
I’ve imported the Threshold result as a mask below, and applied Adjust>Tone Lab 8 through the mask. Pretty cool!
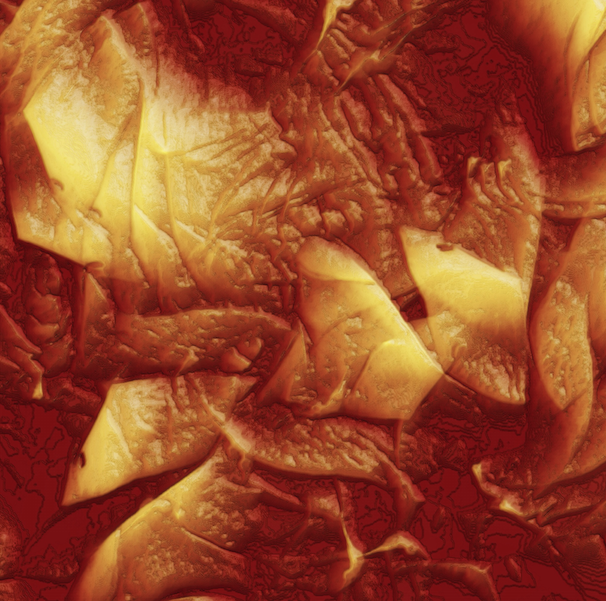
iColorama is constantly updated to give us all great new toys to play with. I’ll wrap up by showing you an image I created from scratch in just a few seconds. I laid down a Preset>Gradient of red, then used one of the “Aethereality” brushes I loaded to brush in yellow. Then a quick application of Style>Water>5 and I was done!
Look for that promised beginner iColorama tutorial soon, and enjoy!




One Comment
Laurence Zankowski
Jerry,
Joanne,
This app is becoming a bit more delightful! Who knows what will happen when they add video editing or some sort of paintbox approach to video in the next few iterations!
Wow, maybe a “baby” After Effects that will pop up out of no where!
Be well
Laurence