TangledFX – iPhone Photography App Tutorial – Part 3 – By Jerry Jobe
We’re delighted to publish the third and final part of a special series of iPhone Photography Tutorials with the app TangledFX by our incredibly talented Tutorials Editor, Jerry Jobe, don’t miss this. If you missed Part 1 or Part 2, please click on the highlighted links to view. (Foreword by Joanne Carter).
If you haven’t picked up TangledFX yet, you can download it here.
‘In the last tutorial we went exhaustively through the sliders that control the amount of Tangled FX you apply to your image. I mentioned that I thought the presets supplied are rather obvious, making large changes to my images. Using the sliders to tone down the effects, I have created three subtler presets: Lite Cartoon, Light Shock, and Shock.
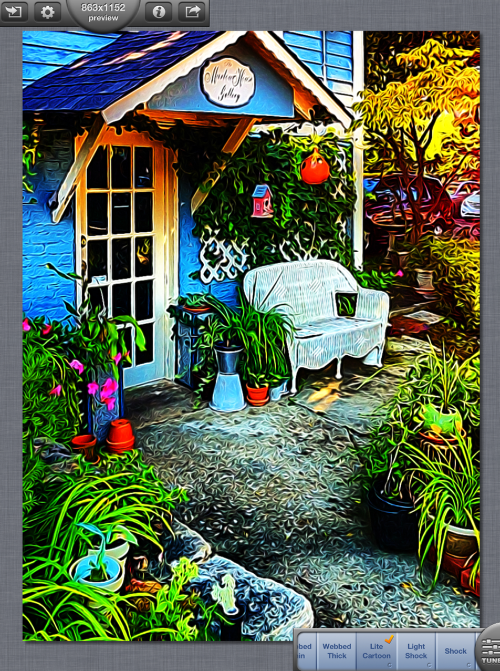
The “Shock” presets are named that because there’s an app that’s no longer supported that gave the same kind of effect called Shock My Picture.
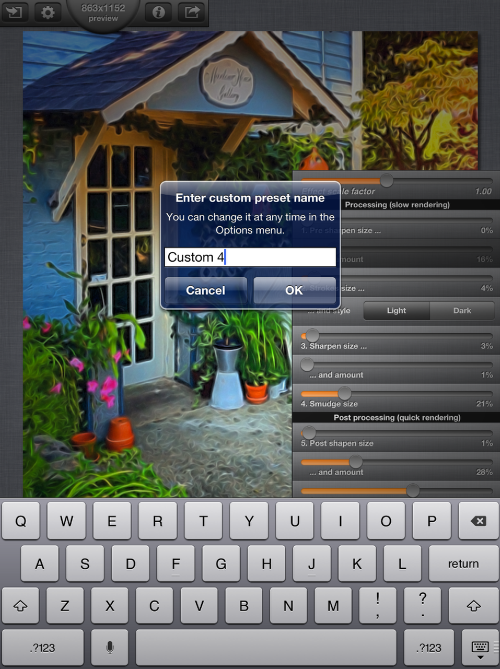
As I said last time, whenever you change a slider setting, the Save preset button shows up in the preset toolbar at the bottom of the screen. Tapping it allows you to name your preset. In order to share that preset, either to other users or to other devices, you have to go to the settings for Tangled FX, accessed by the Gear icon at the upper left of your screen.
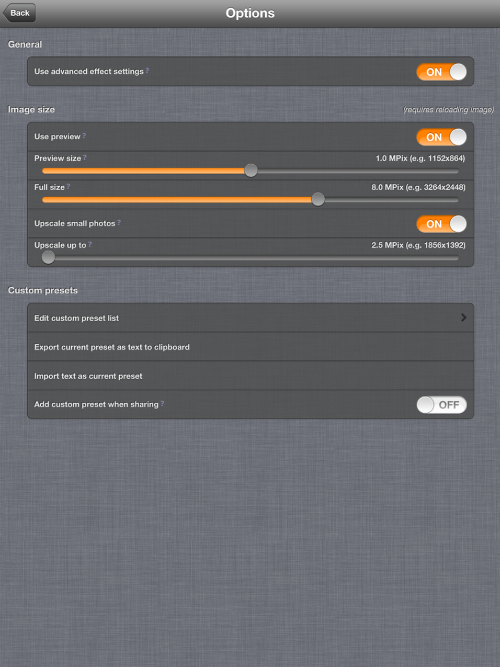
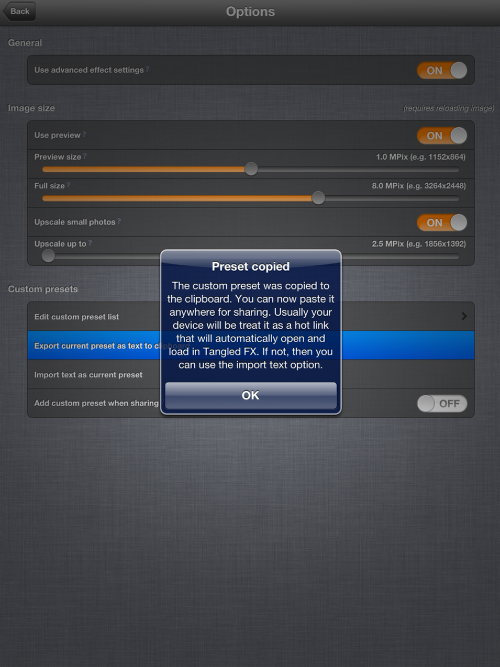
Custom presets are imported/exported at the bottom of the Setting screen, but first let’s discuss the other settings. The first, “Use advanced effect settings”, controls the number of sliders available to you when you Tune the sliders. Turning this switch off will mean you can’t access the Processing sliders we discussed last week like Stroke size and Smudge size. I recommend leaving this switch on.
The next group of settings deal with the size or resolution of the image. The Use preview switch should be left on, to cut down on processing time. I have preview size set at 1 megapixel, while the Full size is set at 8 megapixel. (That is an upper limit – if the original image is less than 8 megapixel, then the Full Size will be the same as the original image.) You can also upscale small photos automatically by turning on the switch. For example, with the settings as shown here, an original photo 1 megapixel in size would automatically be resized so the “full size” would be 2.5 megapixel.
At the bottom are the settings dealing with custom presets. You can delete your own custom presets using “Edit custom preset list”. You can export the current preset to a text version, or import the text setting into Tangled FX. You can also automatically add the text preset when you share the image on Facebook, etc. by turning the “Add custom preset when sharing” switch to On.
Below I’ve tapped the Export button, and the app tells me the text preset has been copied to the clipboard. It also tells me that it should work as a hot link, meaning that when I tap the preset in a text program, it should bring up the Tangled FX app and load it as a new preset. I devised the preset on my iPad, so let’s see how that works when moving the preset to my iPhone.
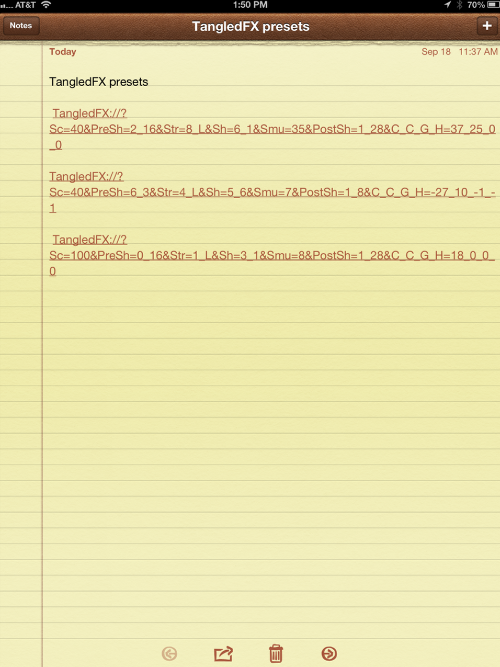
Below is the page in the Notes app on my iPad. Each time Tangled told me a preset had been copied to the clipboard, I went into Notes and pasted it into a note. Since I automatically share Notes between my devices, this text should appear on my iPhone.
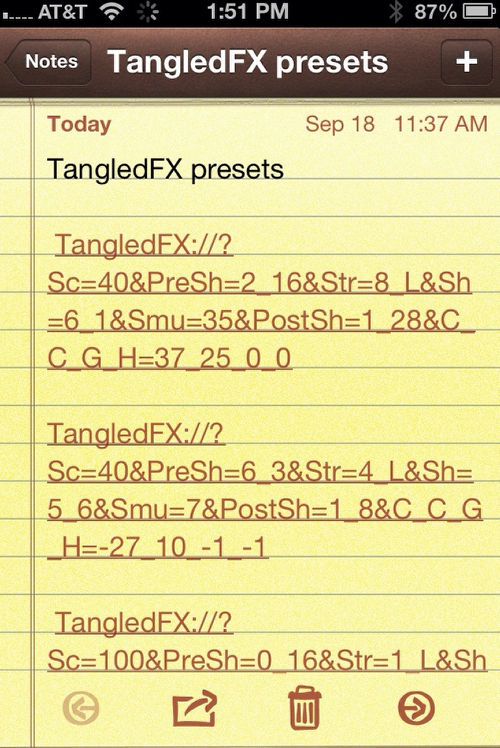
Here’s the Notes app on my iPhone. The text is underlined, meaning it is a link. I tap on the first link.
Tangled FX is brought up on my iPhone, and the app tells me the preset is loaded successfully. I tap Render to apply it to the current image.
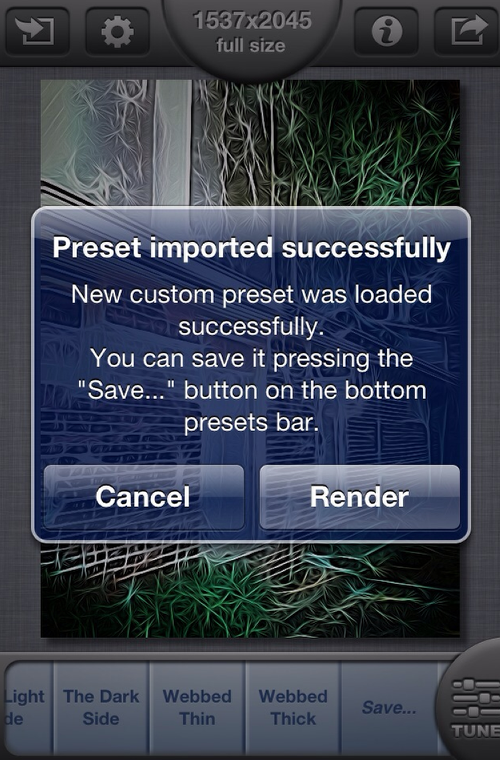
Then I tap the Save button in the Preset menu and enter a name for that imported preset. I repeat the process for the other two presets as well – tap it in Notes, tap the Render button in Tangled FX, then Save the preset.

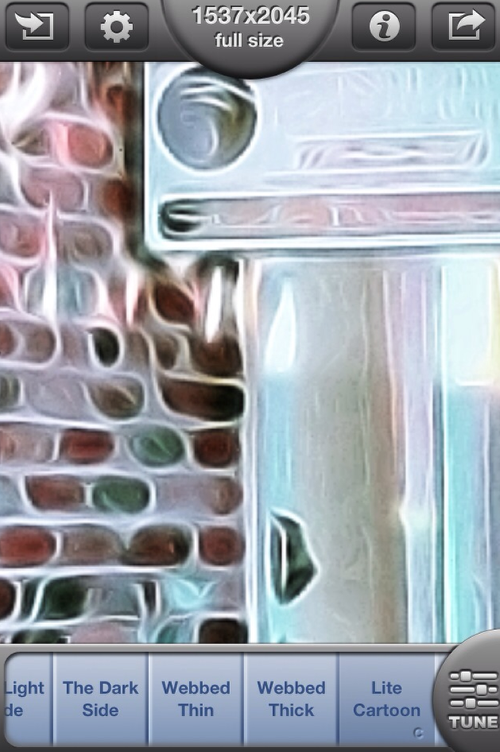
Below you’ll see the Lite Cartoon custom preset on a zoomed-in image on my iPhone. I didn’t have to move all the sliders individually to match what was set on the iPad; I just shared a preset.
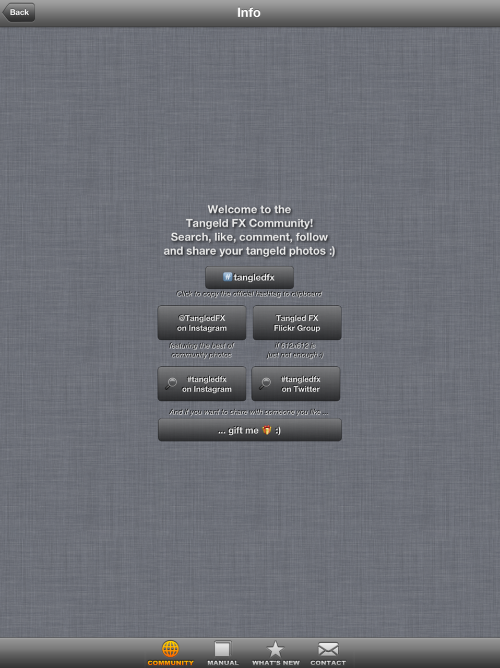
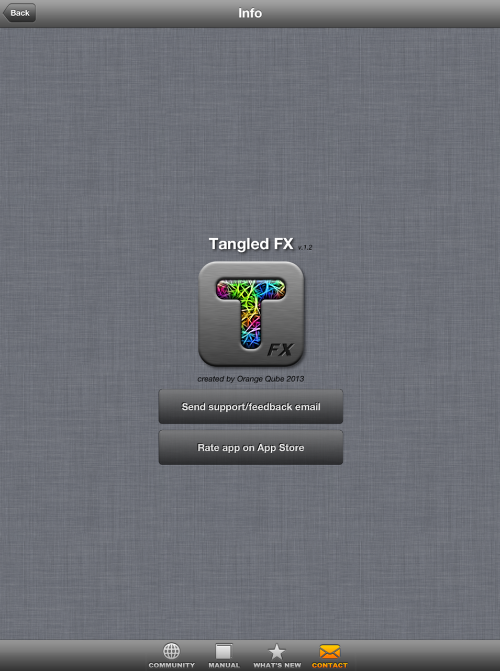
The info button in Tangled FX leads you to a wealth of resources. It’s divided into four sections. The first is Community, where you can be inspired by other Tangled FX users on Facebook, Instagram, Flickr or Twitter, or gift Tangled FX to a friend.
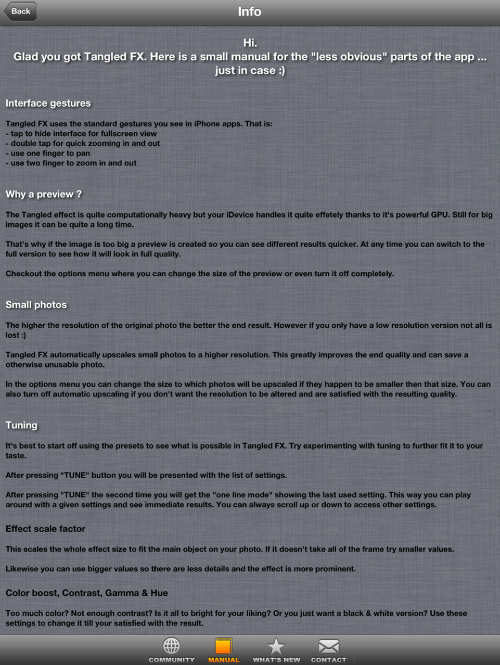
The Manual gives a good overview of the app (but doesn’t go into quite the detail I have in these tutorials).
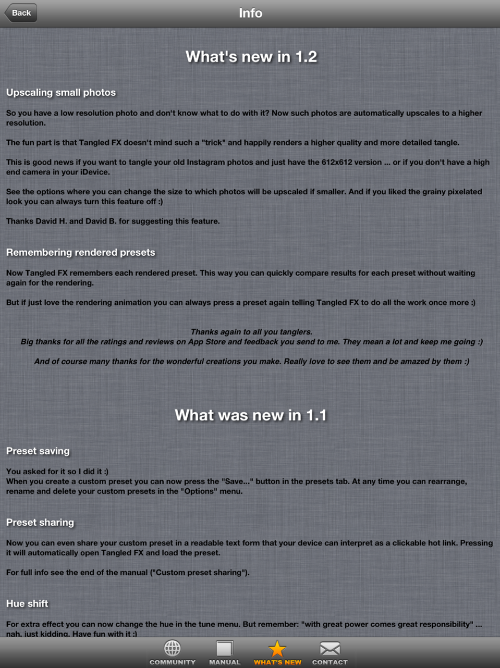
What’s New lists the improvements in the additional releases of the app.
The Contact tab gives you the opportunity to contact the developers through email.
My next example (produced in Diptic) goes through several steps. It starts with an original provided by Teresa Alonso Garit, developer of iColorama. I first took the image through Tangled FX, adjusting the sliders as I wished and not using a preset. In order to blur and de-emphasize the background foliage, I used Big Lens. Then I added an Orton effect through Dynamic Light.
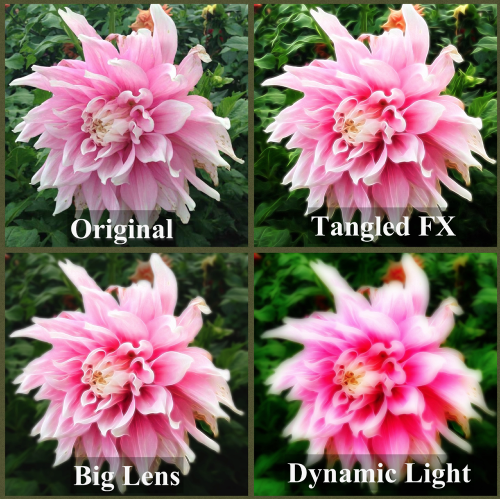
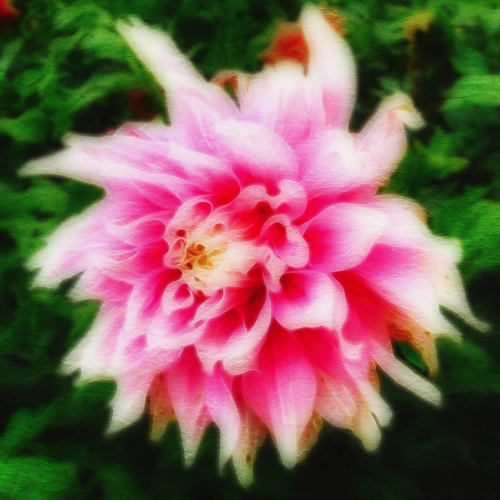
Finally, I added some painterly texture and grunge in Distressed FX. Gorgeous, if I do say so myself!
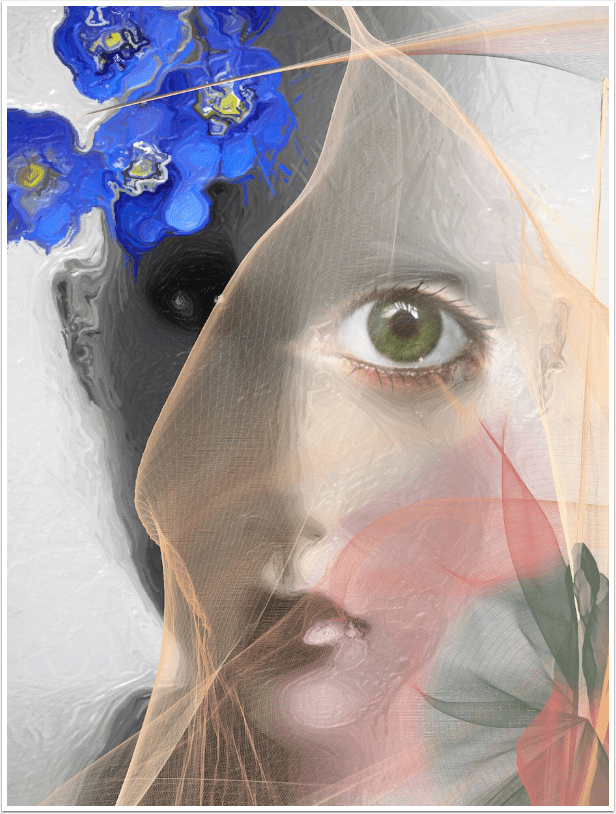
I’m going to finish up my discussion of Tangled FX with two more examples. The first is a blend of my Tangled curio shop (the sign and bench) with another version passed through Snapseed (for the frame) and iColorama (for the “starburst” paint effect).

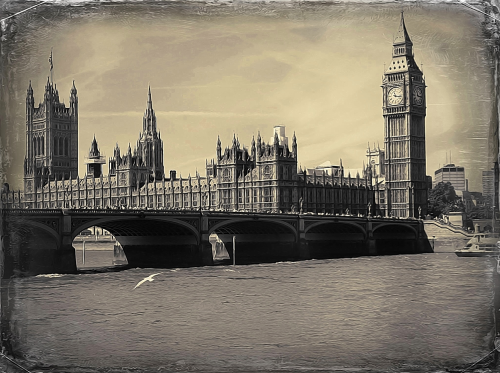
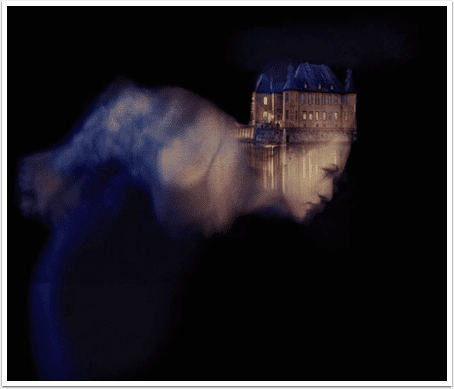
The final image is a friend’s photo taken in London, passed through Tangled, AltPhoto (grunge frame and B&W), and iColorama (duotone and contrast adjustments).
I hope you’ve seen that Tangled FX can be a powerful addition to your editing arsenal, both by itself and when used in conjunction with other apps in your workflow. Enjoy!
Jerry Jobe
Never content with just scratching the surface of what an app can do, Jerry Jobe decided to pass on what he learned about imaging apps to others. He’s constantly trying to figure out just what tools other artists have used, and trying to incorporate them into his own work, in an attempt to find his style. He’s written tutorials on over 145 apps so far, which you can find (along with his Song of the Day entries) at http://enthusiasmnoted.wordpress.com/ He lives near Atlanta, Georgia, where he also finds a creative outlet in acting and directing in community theater.
2 Comments
AlanH
Thank you, Jerry, for all 3 tutorials. Great job!!
Jo Jo
Thank you! : )