Tutorial – Olloclip For Street Photography
The Olloclip lens system consists of three lenses. A wide-angle, fish-eye and a macro lens. The Wide-Angle lens is great for when you need that extra field of view, approximately double that of the normal iPhone. We hope you enjoy this street photography tutorial by Lisa Waddell. We have written many Olloclip tutorials here at theappwhisperer.com, go here to read them.
Foreword by Joanne Carter
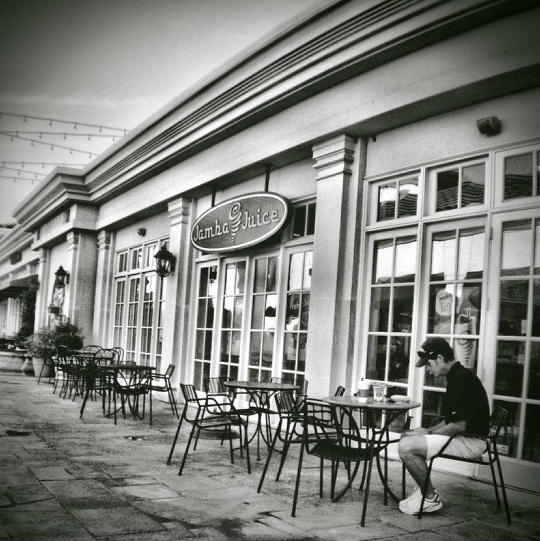
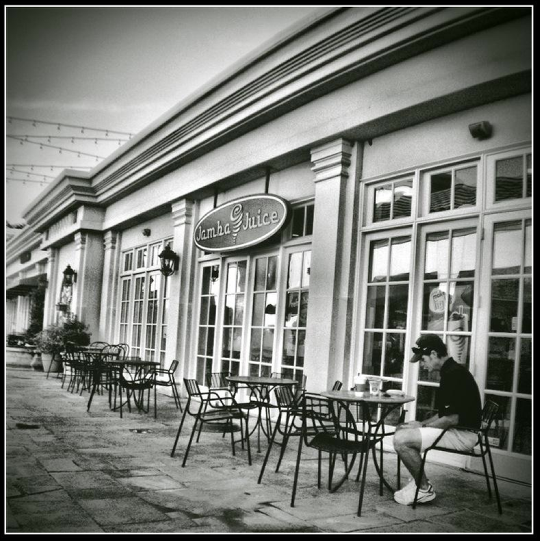
Those familiar with me and my work know that, in no way, shape or form, am I a street photographer. That did not stop me, however, when Joanne asked me to write a tutorial using the Olloclip wide angle lens and street photography. With all due respect to all the awesome street photographers out there, here are the steps I used to create “Morning Musing”.
Step 1
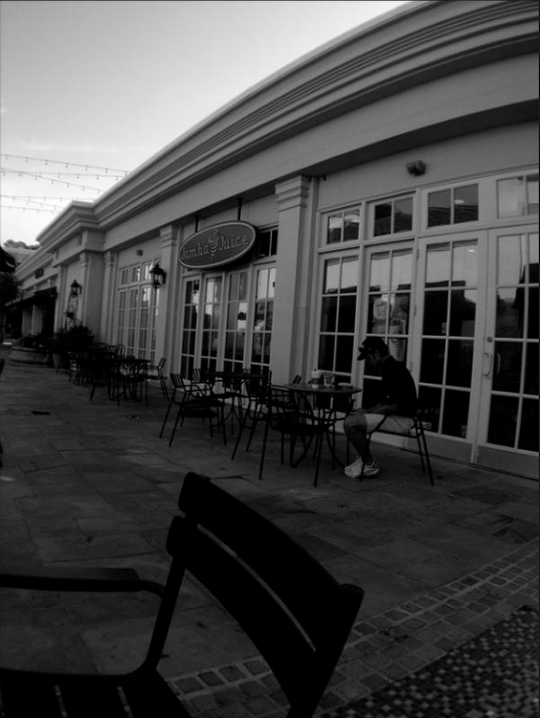
I was at a local retail area on a weekday morning. I sat at an outdoor table located on a walkway between Starbucks and Jamba Juice; an ideal spot for people watching. I used 645 Pro on my iPhone 4S with the Olloclip wide angle lens attached. My film choice was H5 in a 645 format.
Step 2
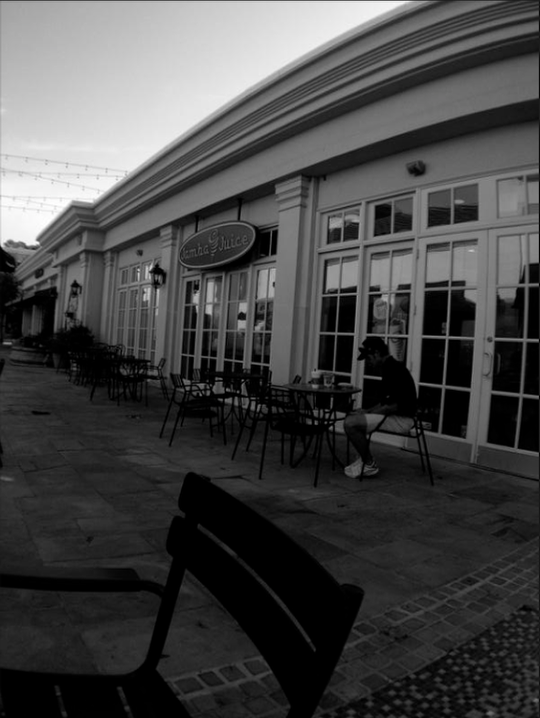
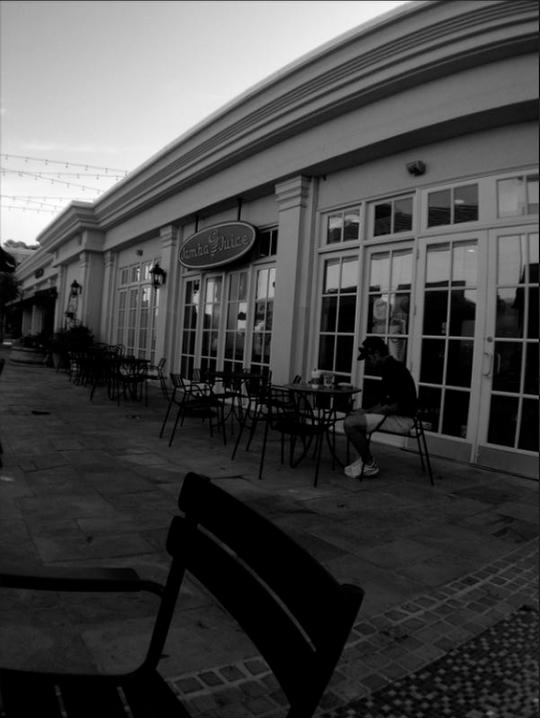
Because I was so intent on shooting photos I did not notice the chair at my table that appeared front and center in all my images! Once I chose the shot I liked best I put it into touchRetouch. Using a stylus and the brush option I brushed out the chair to remove it from the image.
Step 3
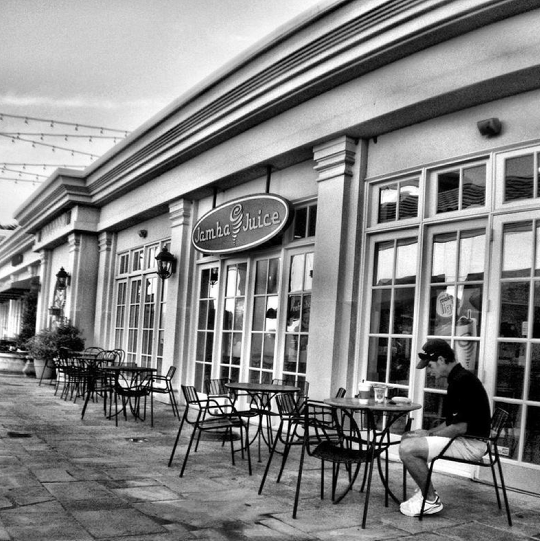
Once I removed the chair I realized there was too much pavement in the foreground. I moved the image into Iris Photo Suite. I cropped it to a square format which accomplished two things. In addition to removing the unwanted pavement, it also accentuated the angle of the building façade. After I cropped the image I went into Adjustments then Histogram to adjust the tone of the image. Instead of the manual controls I applied the Magic Touch option.
Step 4
Because I wanted to brighten the image I put it into Dynamic Light. I applied the No More HDR filter at 45% with no other changes.
Step 5
I always add some type of grunge or “old school” effect to my images and this one is no exception. I moved the image into Camera Bag and applied the Holga filter.
Step 6
To give the image a finished look I ran it through FX Photo Studio. I applied Photo Border #4. I did not want a wide border so I kept the slider all the way to the left.
I enjoyed my first serious attempt at street photography. The Olloclip wide angle lens was definitely an asset. I liked what I captured with it and the flexibility it afforded me to edit the image.
If you are interested in purchasing an Olloclip and we would highly recommend it, Apple sell them in their online stores, you can go here to view or order.
