iPhone Photography Tutorial – How To A Stunning Composite SkyScape Image
Our new mobile photography tutorial section is in full swing and we’ve received much acclaim from the mobile photography community, thanks to all. If you’ve missed our previous tutorials you can read them here.
The final image in this tutorial actually started life as two individual photographs. Read this easy to follow tutorial and see if you too can create a similarly wonderful shot. Links to all apps used in this tutorial is at the end of this article, just incase you’re inspired enough to give it a try yourself.
The First Original Image
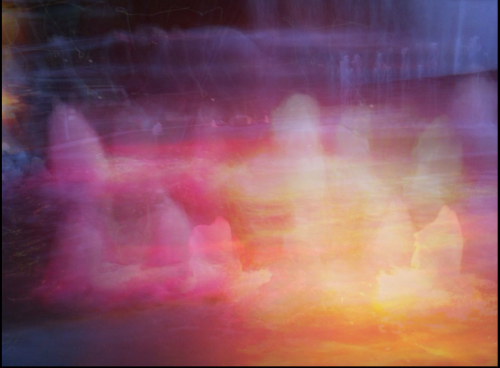
I had taken this SlowShutterCam image of an illuminated fountain, moving the iPhone to create the rainbow colored texture, thinking to use it at a future date.
The Second Original Image
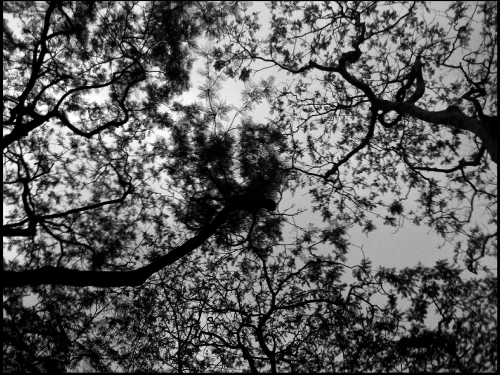
This is the second image, I shot this silhouette of tree branches against the evening sky with 645 Pro, I realized I could blend the two together to create something interesting.
Step 1
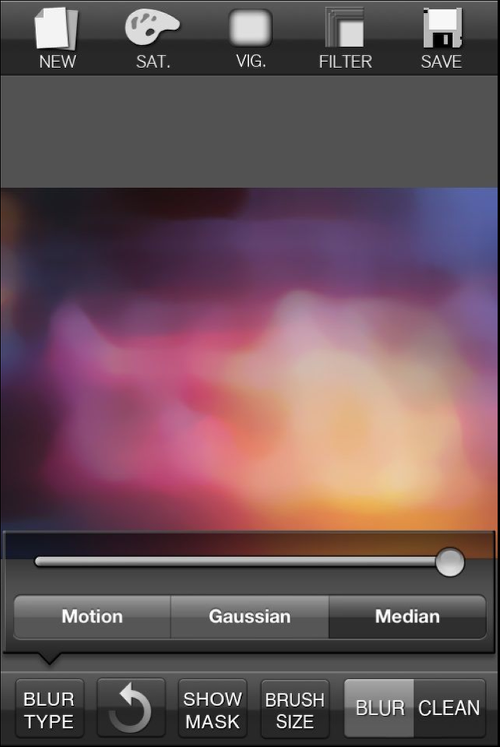
I felt the texture image needed some softening so I brought it into BlurFX and chose the median blur at full strength, as I felt this worked best for what I was hoping to do.
Step 2
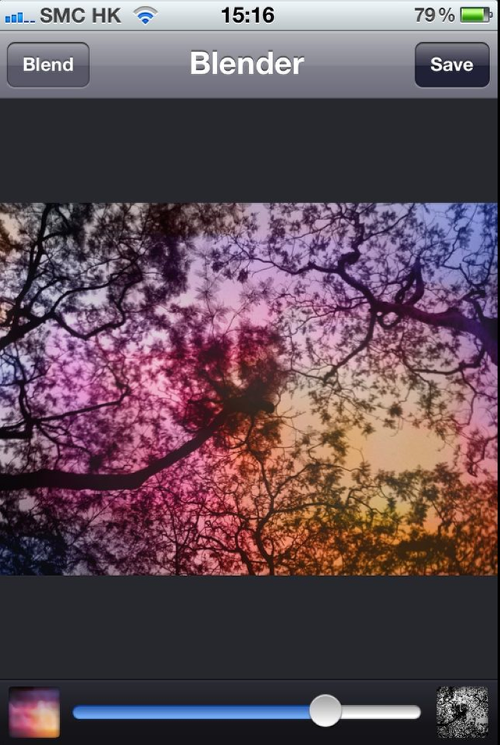
Next, in Image Blender, I brought the two images together, with the tree branches as the topmost image using the Luminosity blend. I moved the slider to adjust intensity until I got the silhouetting I wanted enough to show the detailing of the smaller fern-like leaves. I also double tapped to call up the Mask/Arrange option, so I could slightly size-up and reposition the tree branches. I then saved the image.
Step 3
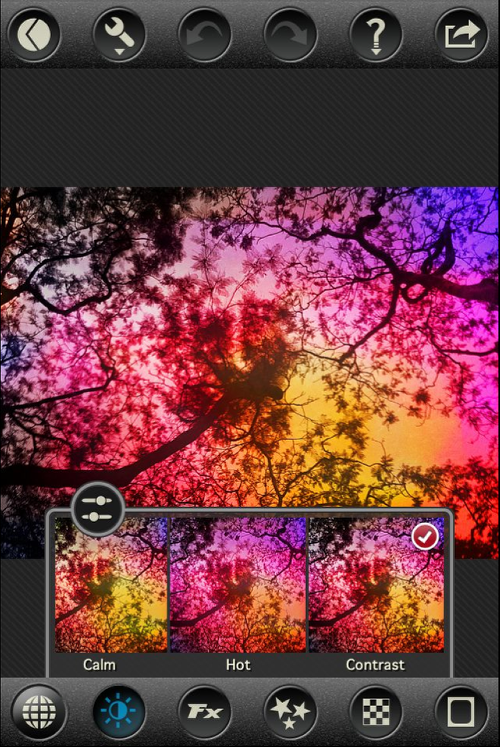
I opened the blended image in PhotoToaster next, I wanted two things first: to bump up the saturation of colors and to increase the contrast, since I had an idea that I might need to maintain these at a later stage. I began by selecting the Contrast option, then called up the sliders (tap the circle) to fine tune Exposure, Temperature, Shadows, Contrast and Blacks until I was happy with what I had.
Step 4
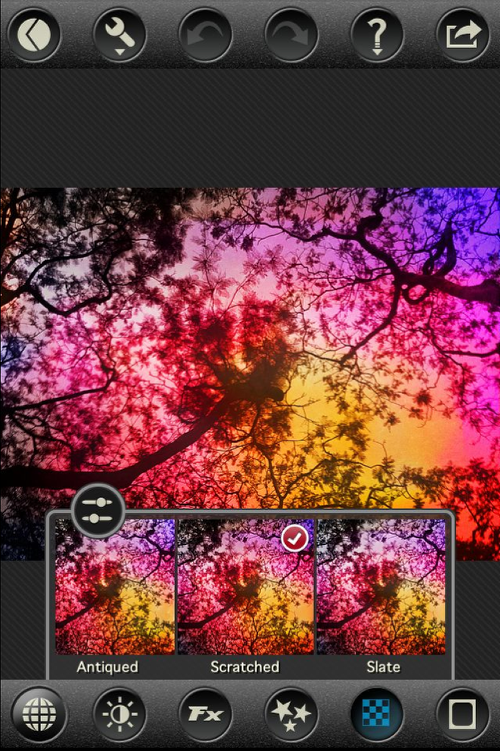
Still in PhotoToaster, I added a little texture, choosing Scratched. Again, I called up the sliders to fine tune.
Step 5
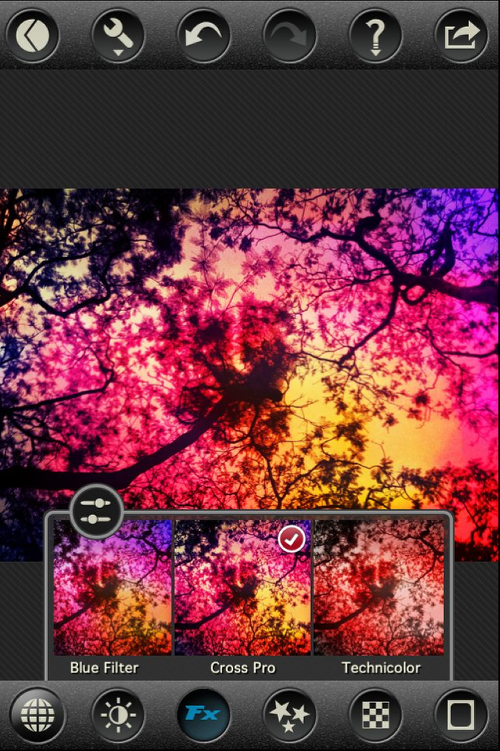
Moving to the Effects filters I chose Cross Pro to further strengthen the silhouetting of the tree branches. Although the hues shifted a little, this was fine for me as long as the saturation remained strong for the next steps. I then saved the image.
Step 6
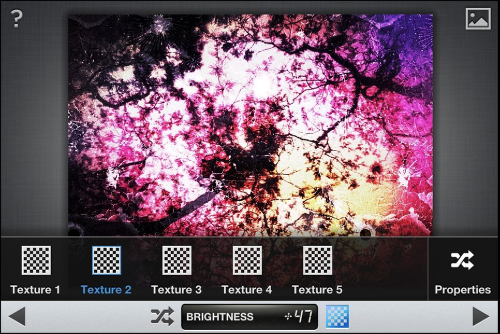
Opening the image in Snapseed, I began applying Grunge textures (07) hence the earlier attention to saturation, adjusting Styles, Brightness and Saturation and especially Texture strength (and cycling through the Properties). I brought down the texture strength from what is seen here so it was only barely visible, since there was one more step to go.
Step 7
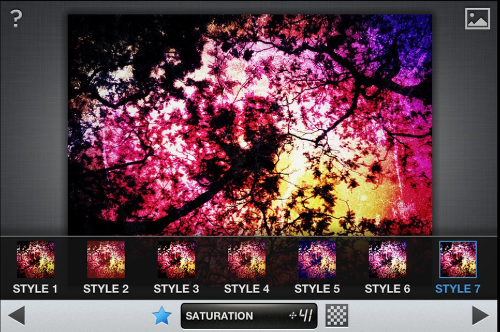
Still in Snapseed I applied the Vintage filter, again paying attention to Saturation, Style and Style Strength and Properties until I arrived at the final image (Rainbow sky-final).
Final Image
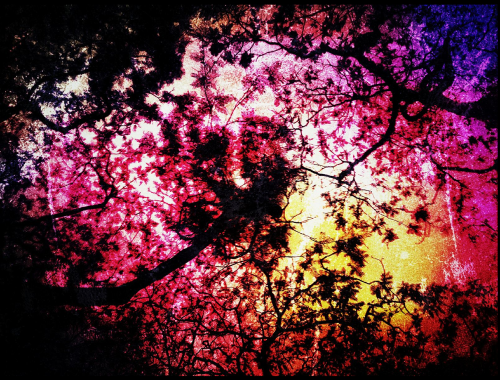
Then I was happy with the final image and here is it above. This image combined all the effects that I wanted to achieve and I was elated with it.
Links to Apps used in this article
BlurFX
Snapseed
Image Blender
PhotoToaster
SlowShutter Cam
645PRO


