iPhone Photography Tutorial – How To Create An Awesome Macro Ladybird Image
Our new mobile photography tutorial section is in full swing and we’ve received much acclaim from the mobile photography community, thanks to all. If you’ve missed our previous tutorials you can read them here.
I have always enjoyed macro iPhoneography and this image was taken on a day after some inspirational from reading Mel Harrison’s interview that Joanne published recently, you can read that here.
The sun came out for an hour in the afternoon this week and I decided to venture out into our damp garden for a bug search. I found one fly and one ladybird! Meet the ladybird ….
I have called this image ‘Don’t go …’
Read this easy to follow tutorial and see if you too can create a similarly wonderful shot. Links to apps used in this tutorial is at the end of this article.
Step 1 – The Original Image
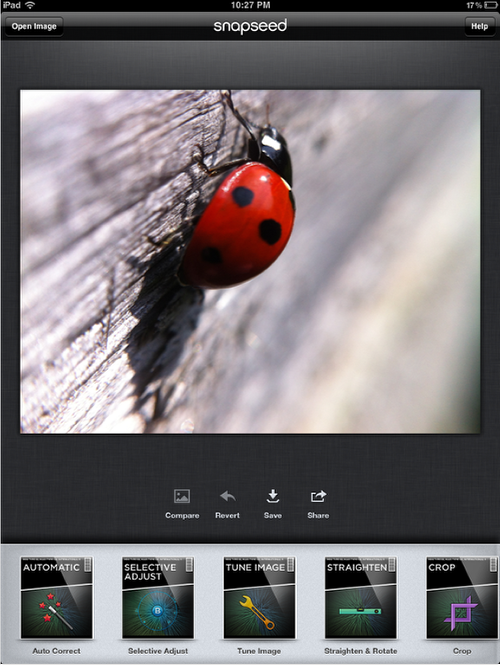
Here is the original image that I opened in Snapseed in order to rotate it. I opened the image and selected Straighten & Rotate and move the image around to where I wanted it to be.
Step 2
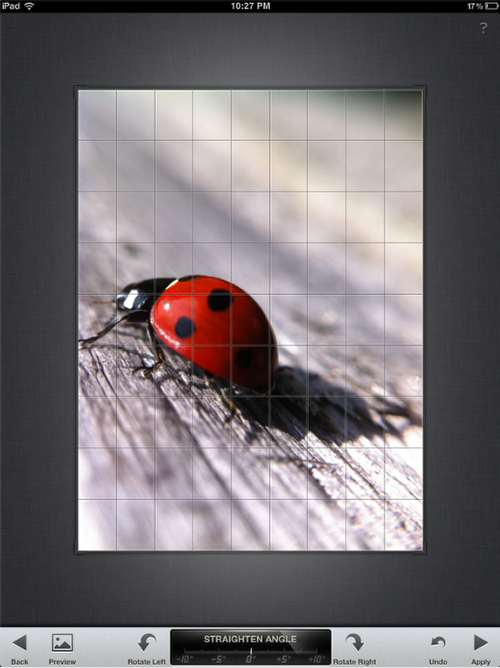
The above screen grab shows the image following rotation in Snapseed.
Step 3
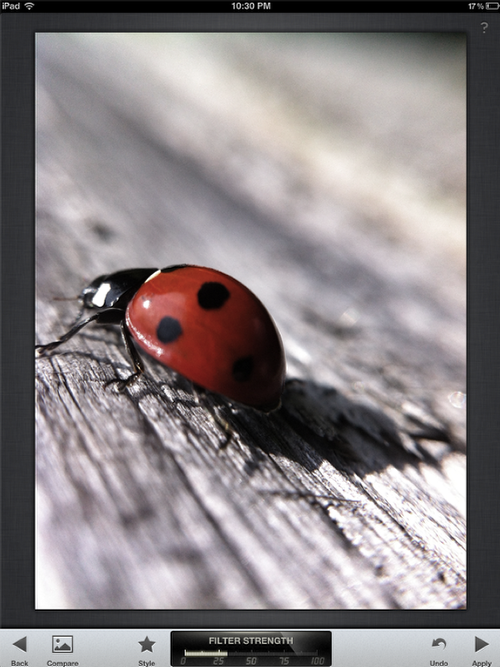
Next, I wanted to change the color definition slightly, so whilst still within Snapseed, I selected ‘drama’ to add clarity and light. I swiped the filter strength down to around 30 on the scale. I then saved the image to my camera roll.
Step 4
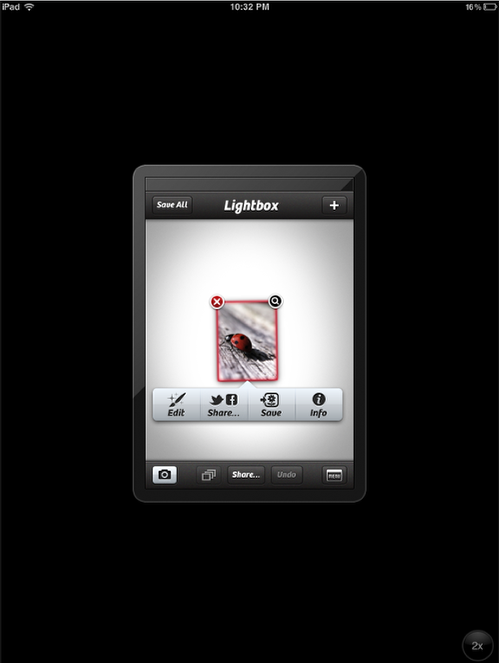
Next, I opened the image in Camera+.
Step 5
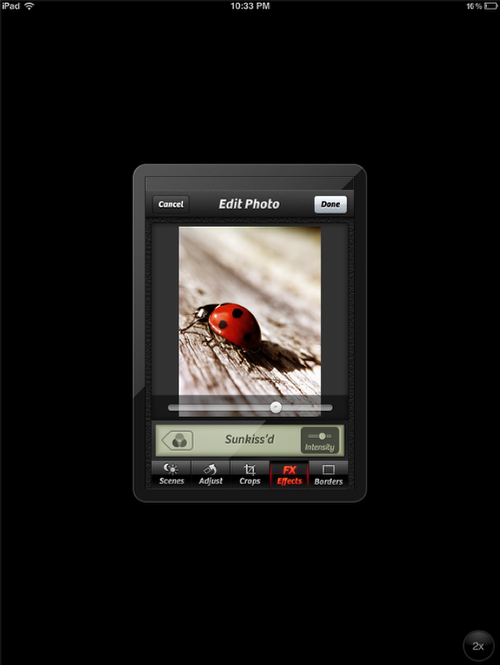
Whilst in Camera+, I selected Edit, then FX Effects and selected Color and the Sunkiss’d filter. I then clicked on Intensity and adjusted the strength to around 70%. I clicked Done and then Save.
Step 6
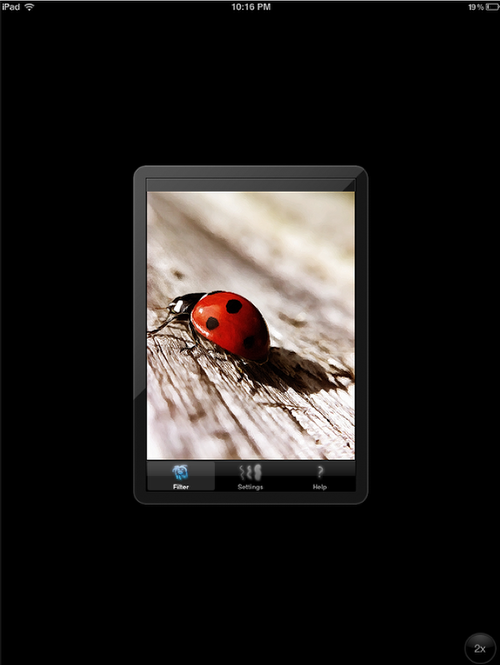
Next I opened the image in ShockMyPic.
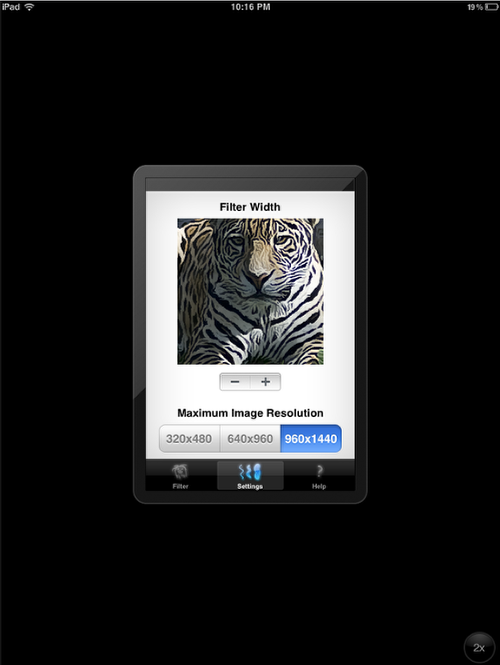
I then adjusted the resolution to 960×1440 within ShockMyPic and then saved the image.
Step 7
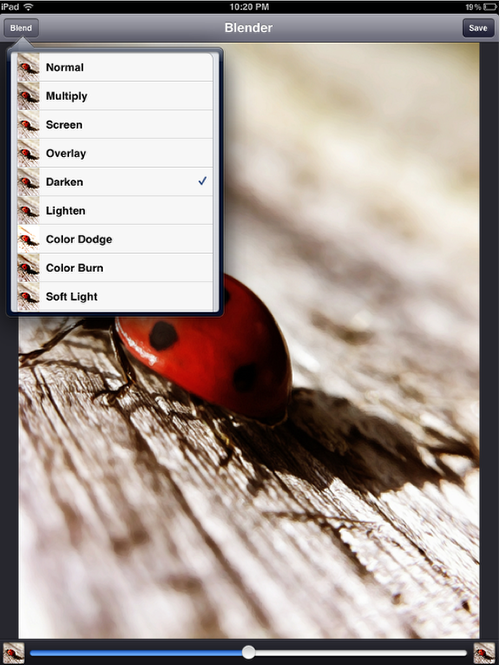
Next I opened Image Blender and opened both the Sunkiss’d image from Camera+ and the ShockMyPic and then blended them in Darken’ mode.
Step 8
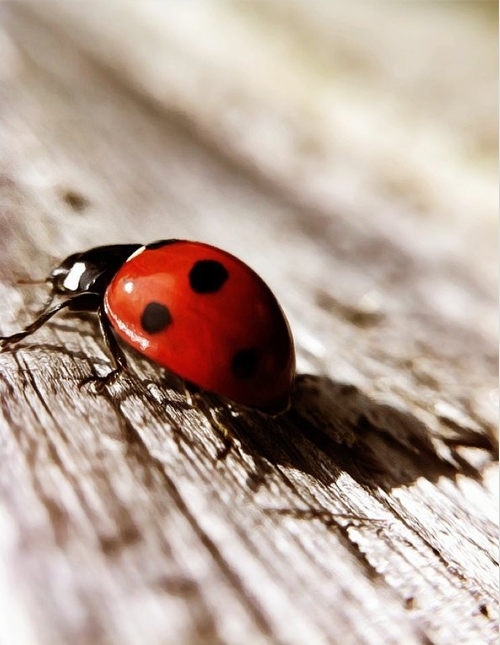
This is the result at this stage of the tutorial. I then saved the image.
Step 9
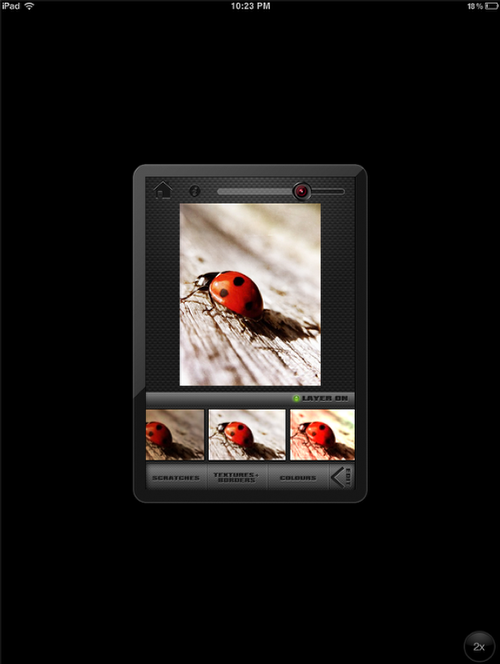
Next I opened the image in ScratchCam Run, I selected Scratches and color filters with texture and border filters off.
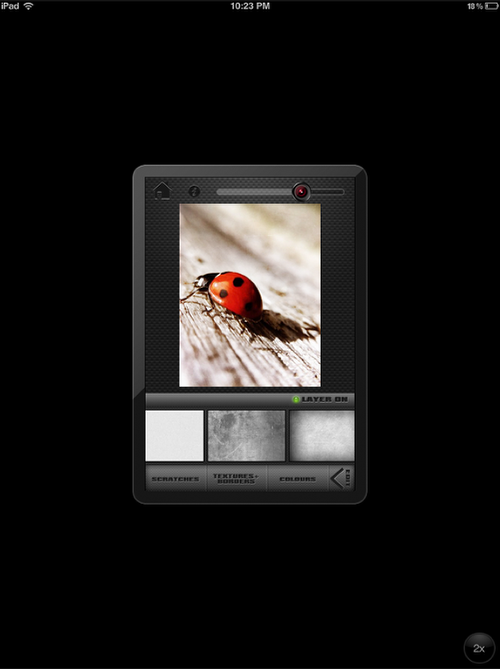
This is the result at this stage with the Scratch layer applied.
Step 10
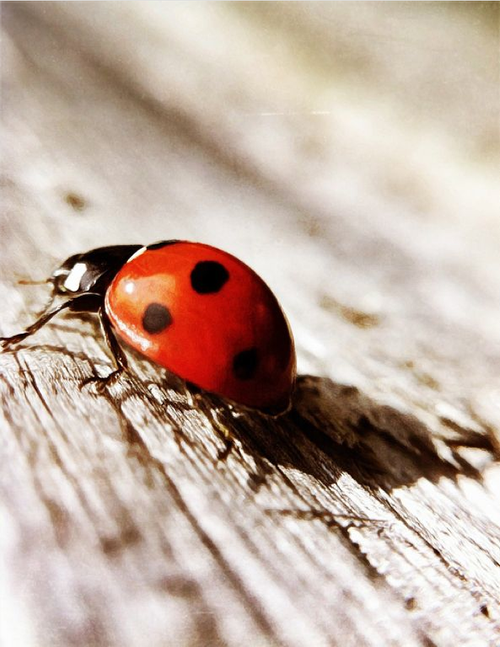
This is an enlarged image following the ScratchCam result.
Step 11
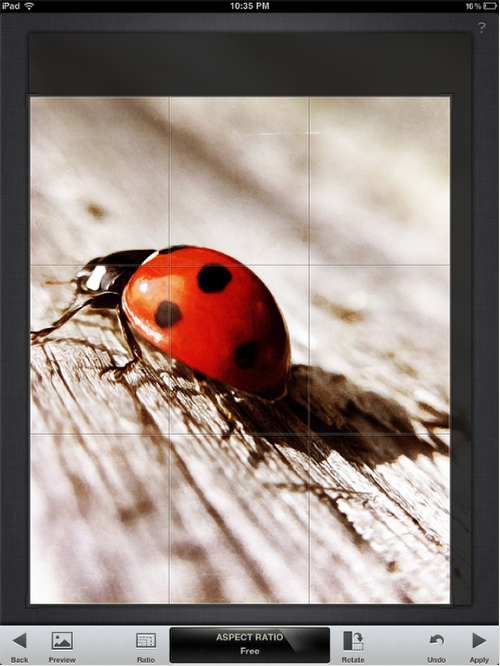
I wanted to crop the image slightly next as I was not completely happy with its shape. I opened the image in Snapseed and selected Crop, I then saved the image.
Step 12
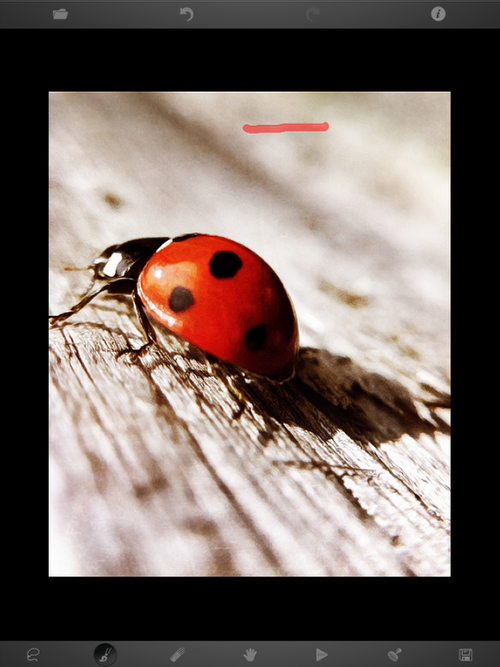
Next I opened the image in TouchRetouch to remove a random scratch from ScratchCam that I found distracting in the photograph. I then saved the image.
Step 13
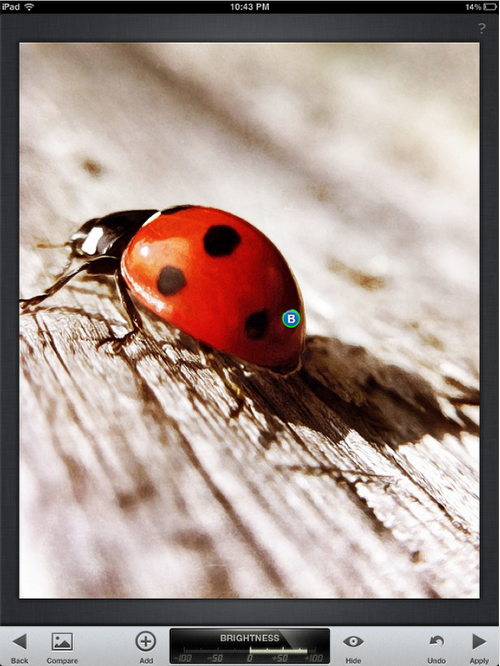
It was at this point thought that I felt the back of the ladybird was a little dark, so I opened the image up again in Snapseed and selected ‘selective adjust’ to add light to a specific area, as shown above.
Step 14
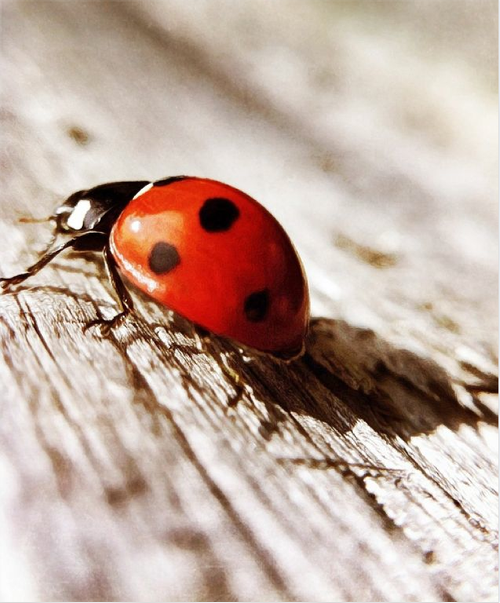
Then I was happy with the final image and here is it above. This image combined all the effects that I wanted to achieve and I was delighted with it.
Links to Apps used in this article
Camera+
Snapseed
ShockMyPic
TouchRetouch
ScratchCam
Image Blender

2 Comments
Kat
A big Thank You to TheAppWhisperer and Lindsey Thompson for this amazing tutorial. I’ve been playing around with macro on my Nikon & iPhone with uneven results.
This is very helpful indeed!!!
Kat~
Lindsey Thompson
Thank you so much Kat for the kind comments on this, so glad you found this helpful 🙂