Olloclip Tutorial – Creating Fish-Eye Art With Mel Harrison
For this tutorial I used the fish eye lens of the Olloclip to take this photo of buildings in the city using the 6×6 app. I loved the lines and the way the fish eye curved the buildings. I thought this would be a good image to work with and decided on a painterly effect to contrast the modern lines of the buildings.
Take a look at the steps below and see if you can also create something like this. All the apps I’ve used are available with links at the end of this article.
Final Image
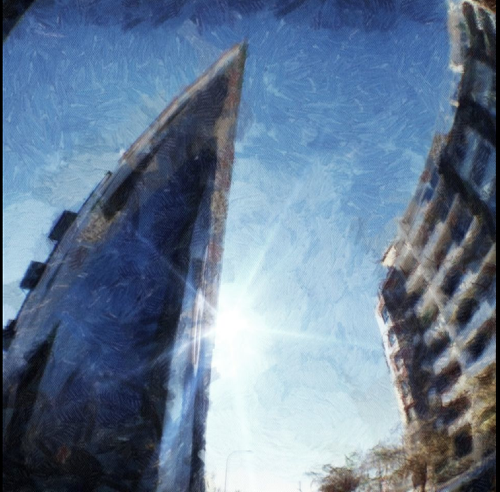
This is the final image, the one I am going to show you how to create.
Step 1 – Original Image
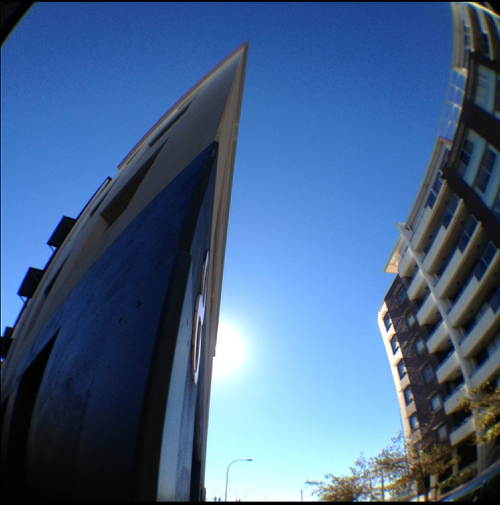
This is the original image, I used the app 6×6 to capture this shot. I then saved it within the app.
Step 2 – Underpainting
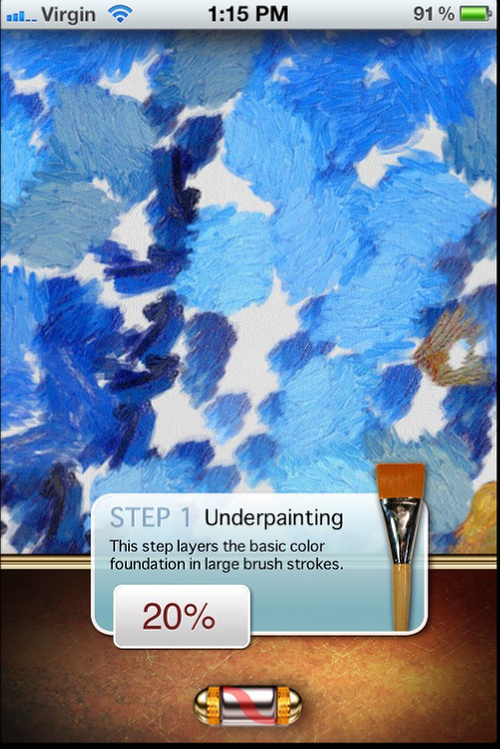
Next, I chose to use the Autopainter 3 app using the Gogh 2 setting. Autopainter goes through three steps, underpainting, drying and fine details.
Step 3 – Dry Reveal
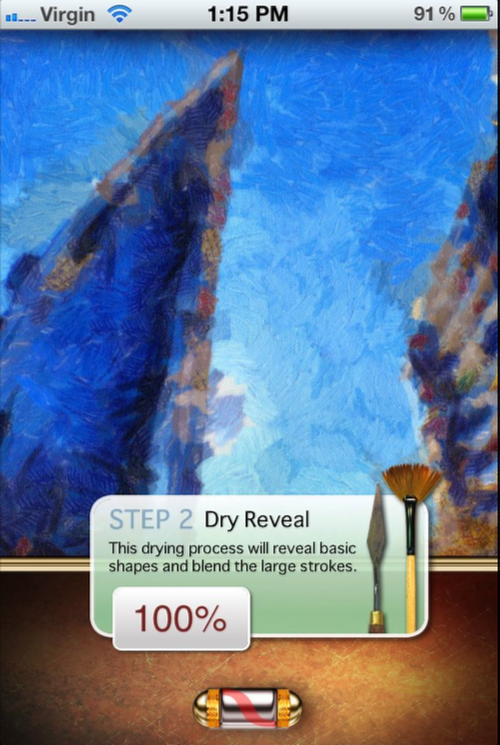
Step 4 – Detail Brush
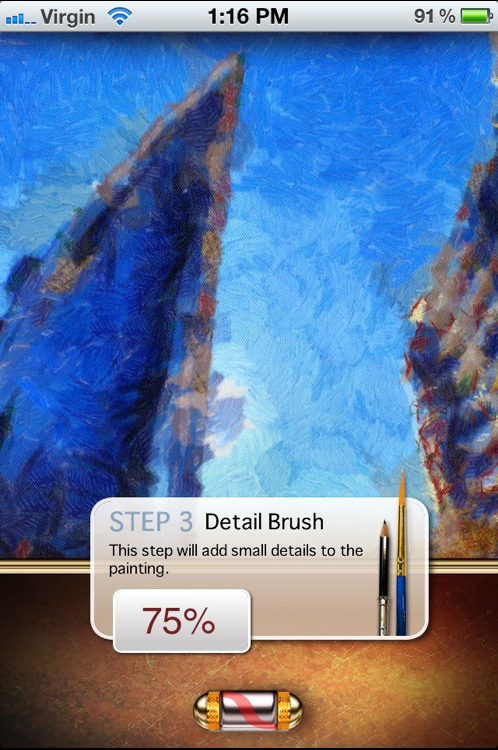
Step 5
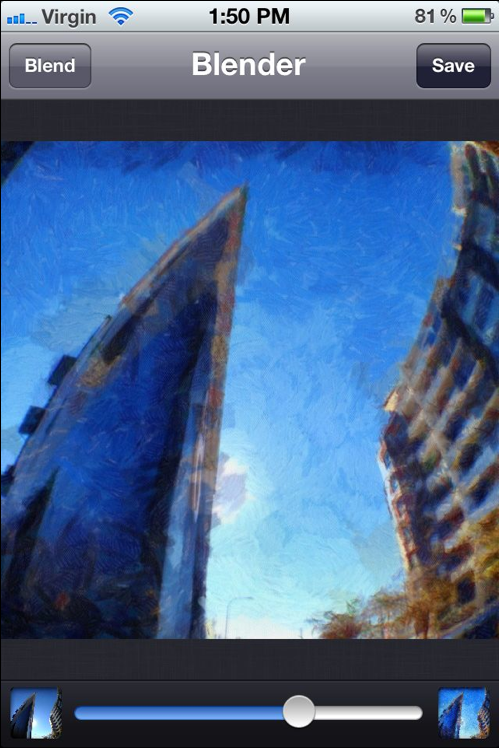
Once Autopainter had worked it’s magic I used Image blender to layer the original image and the autopainter image in normal mode. I did this to bring some more detail back into the image.
Step 6
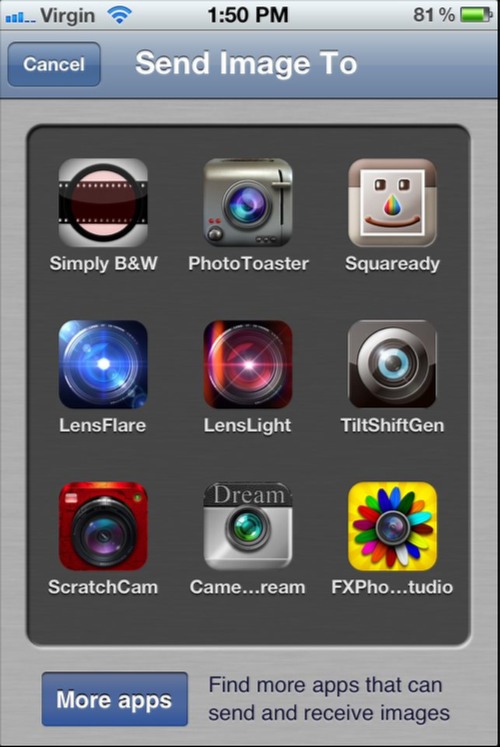
Next, I transferred the image from Image blender to Lenslight using the ‘save to other apps’ function within the app.
Step 7
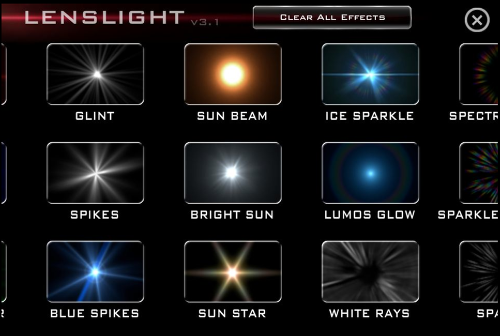
I then added in a blue spike where the sun was glinting in the original photo. I adjusted the brightness and saved to camera roll.
Step 8
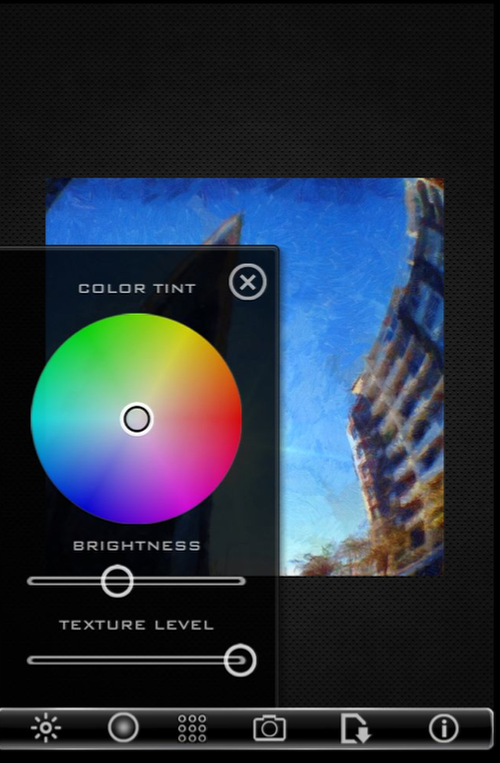
I wanted to bring down the brightness in the blue and give the image a steel grey overtone so I loaded the image into Pixlromatic.
Step 9
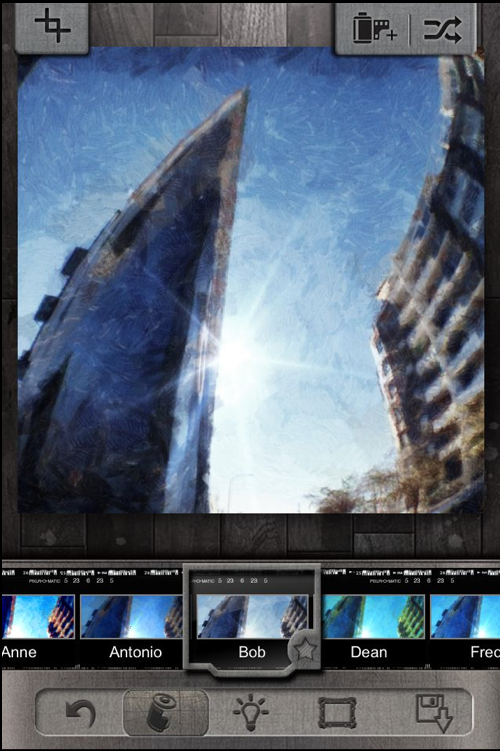
I then used the Bob filter to utilize this effect.
Step 10
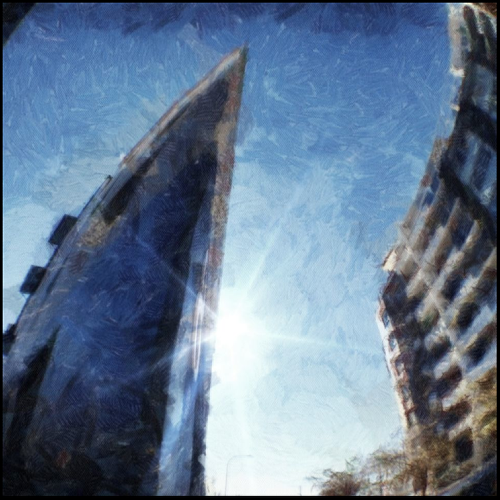
Here is my final image once again, it’s a great fish-eye image with an arty twist.
