Androidography Tutorial – Layering, Editing, Blending and Producing
We recently interviewed the author of this tutorial, Donny Tidmore in our A Day In The Life series of interviews, if you missed that you can read it here. We were very impressed with Donny’s Android photography and wanted to learn more about his techniques. Donny has created a great tutorial here demonstrating the apps he uses and how he uses them to create his great images. Don’t miss this. Links to all apps used are at the end of this article.
(Foreword by Joanne Carter)
‘I have to admit that I’m a bit like a mad scientist when it comes to my editing process. That is to say, I often don’t know where I’m going with something until I get there. It’s safe to say that I do heavily edit my images…but the process certainly isn’t always the same. I am often asked about the use of working with textured layers on an Android. So in this tutorial I will use both a “custom” texture layer and an “in app” texture to create a heavily weathered looking image . I’ll be using Vignette, PicShop, and PicsPlay Pro’.
Donny Tidmore
Email – dtidmore@gmail.com
Instagram (@mynamesdonny) – http://web.stagram.com/n/mynamesdonny/
Flickr – http://www.flickr.com/photos/mynamesdonny/
Tumblr – http://donnytidmore.tumblr.com/
Google+ – http://plus.ly/donnytidmore
Step 1 – Vignette
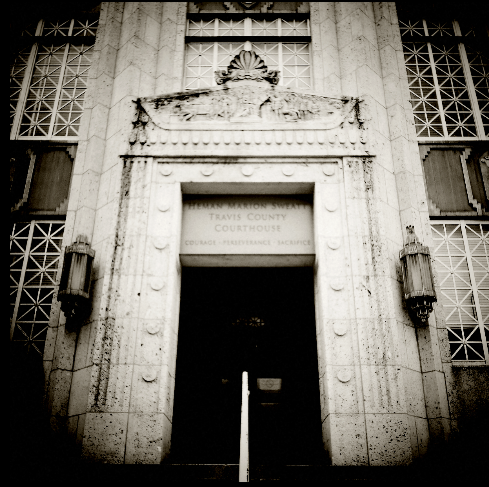
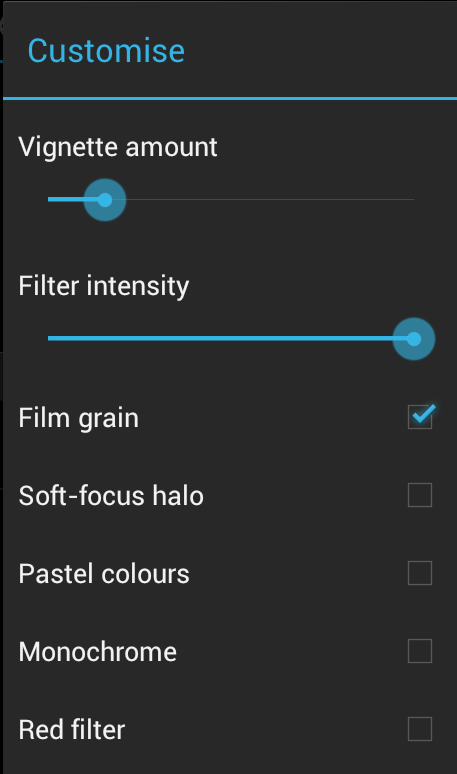
I shot the original image with the native camera and then imported it into Vignette. I applied the “Toy Camera B&W” filter and a square crop. This filter applies some serious vignetting…so I altered the filter by reducing the vignetting.
Step 2 – PicShop
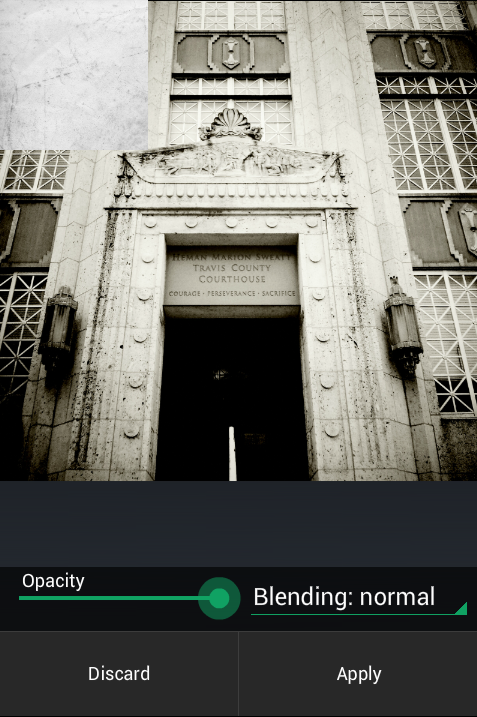
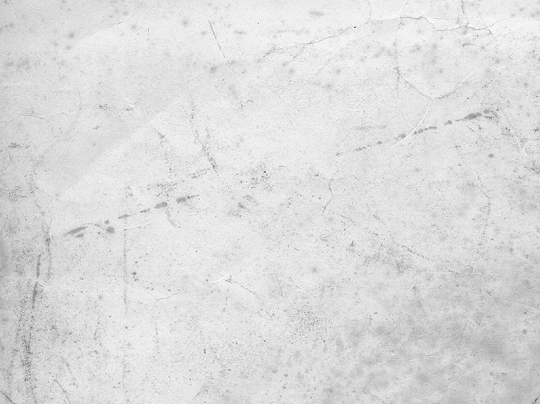
In this step I will be working with a texture layer. The particular layer that I’m working with looks like a scuffed up, wrinkled piece of paper. I don’t remember exactly where I got this one, but there are many place you can find online with free textures (or you can make your own).
After saving the image from Vignette, I’ve imported it into PicShop. PicShop is the only app I’ve found so far that has an image layer feature (for adding my own textures) and allows for saving images in full resolution. Once opening the image in PicShop I go to the “Extras” tab and then the “Image Layer” tab. When you select image layer it will open your Gallery where you can anything you’d like to layer over the original image. Once your layer is selected it will open for cropping to your liking, and then dragging it to place over your original image. You can see it positioned at the top left corner…I then stretched it over the image by dragging from the corner diagonally.
Texture Image
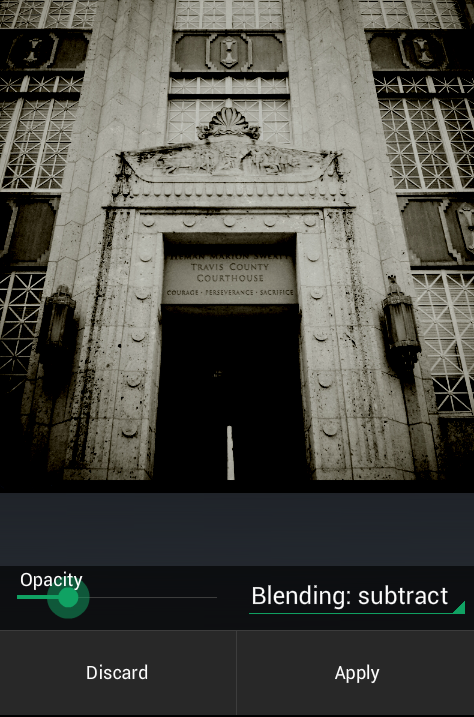
As I want to darken the image, I’ve chosen to blend using Subtract and tuning down the opacity to around 20%. I’m now done using PicShop and save the image.
Step 3 – PicsPlay Pro
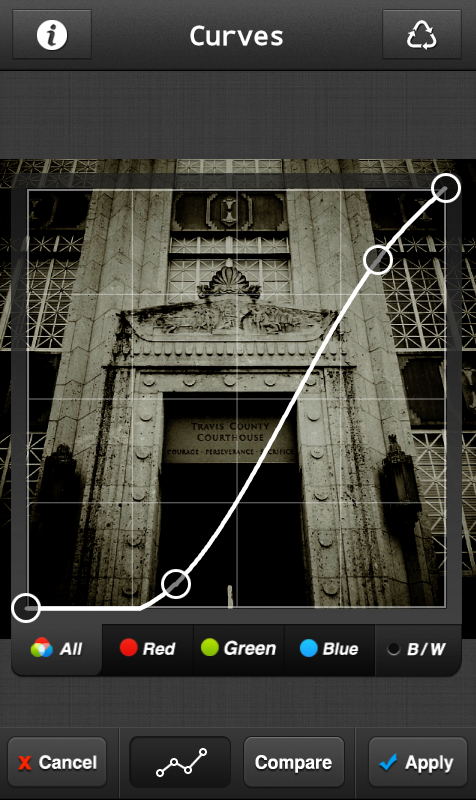
I open the image in PicsPlay to work with curves, filters, an “in app” texture, and cropping. I first want to work with curves and use it to darken shadows and brighten highlights. I then select the “Blur” filter and tune it down to about 30% opacity.
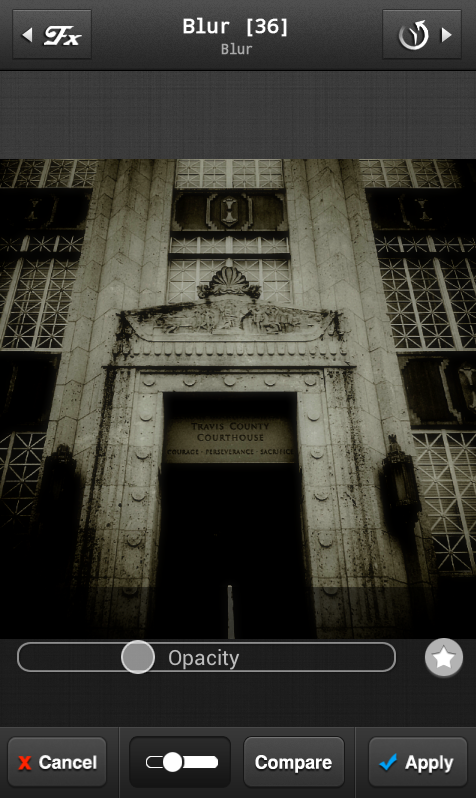
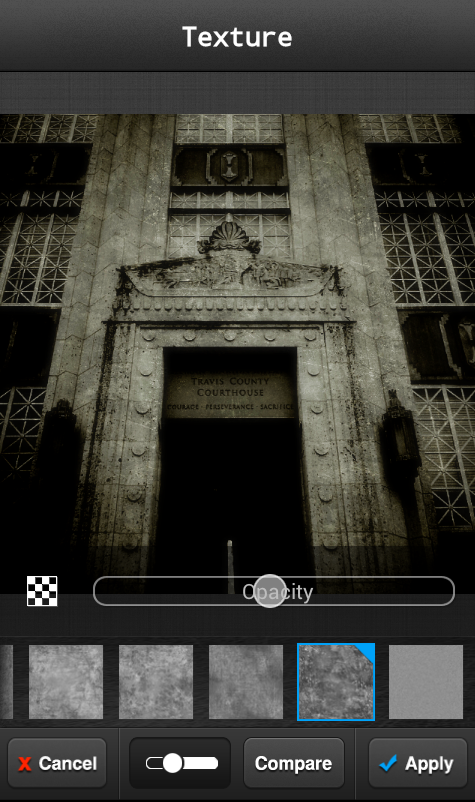
I very well may have overdone the texture on this image, but I go ahead and select one of PicsPlay’s textures and set it to about 50% opacity.
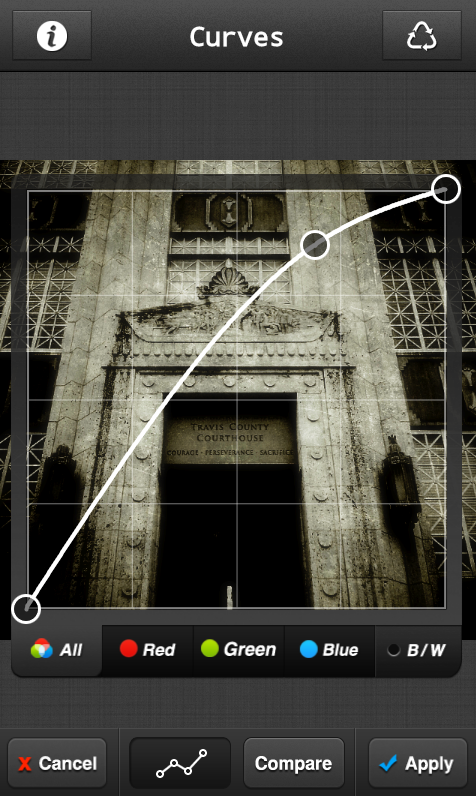
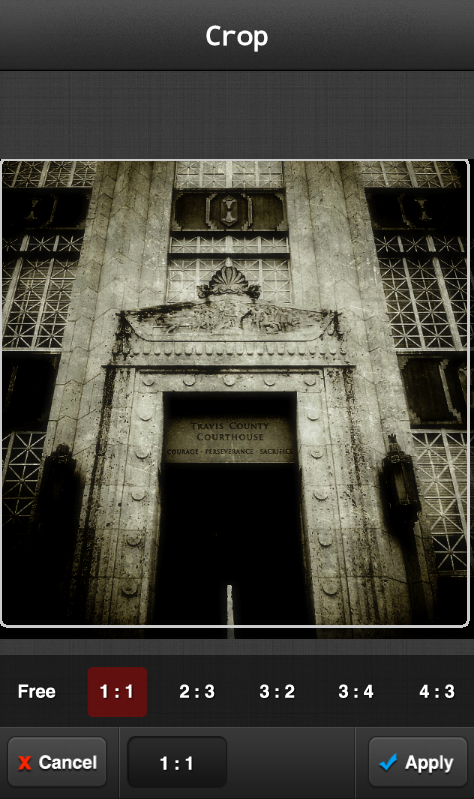
I’ll work in curves one more time here and brighten highlights again, and then cropped the image very slightly to better center the subject. I then save the image and exit PicsPlay.
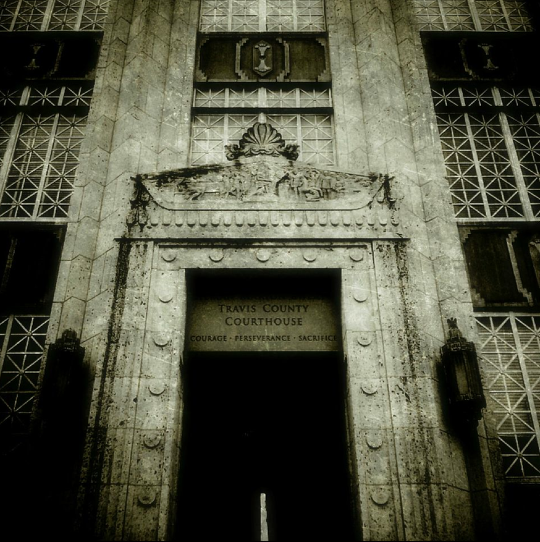
Step 4 – Vignette
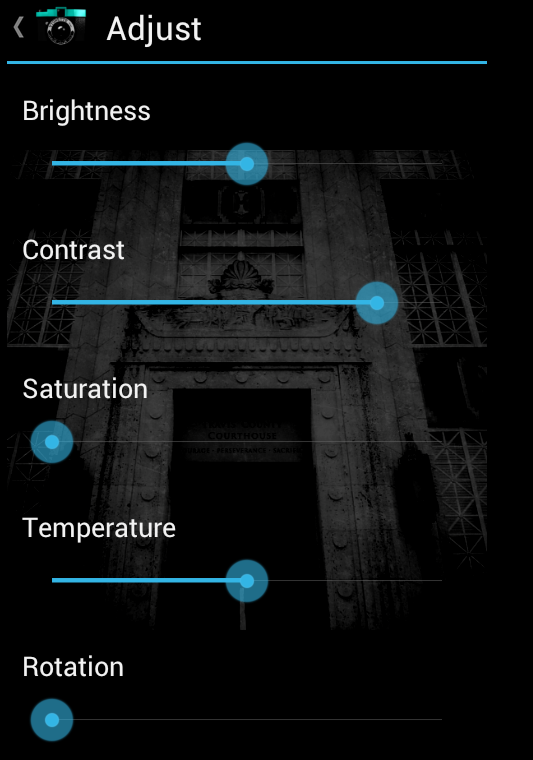
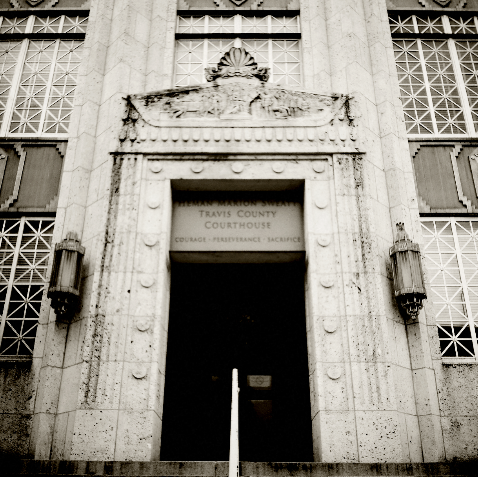
I like to put some finishing touching on my images in Vignette. So in Vignette again I simply make some adjustments by upping the contrast and, deciding I want to go all the way black and white, desaturate the image.
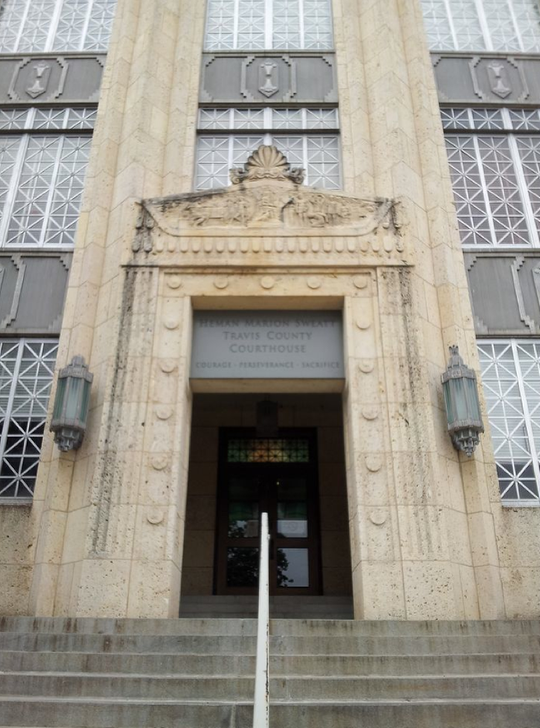
I then save the image and re-open it in Vignette. I find that when you tune down the contrast on an already contrasty edited image, it adds a very soft screen look to the image.
Final Image
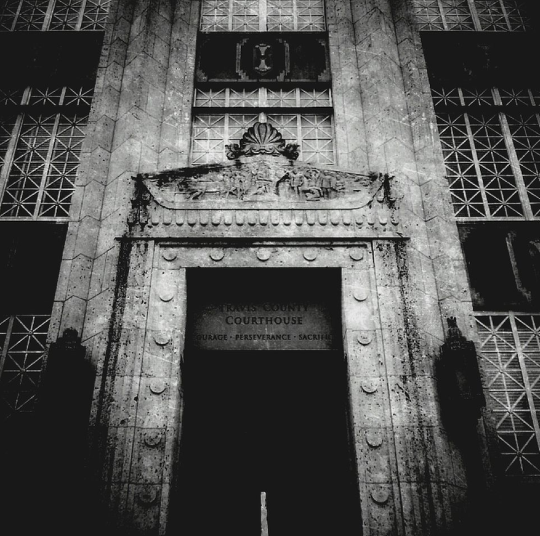
And at this point I think that I’m somewhat happy with what I’ve created and decide to call it a day!

